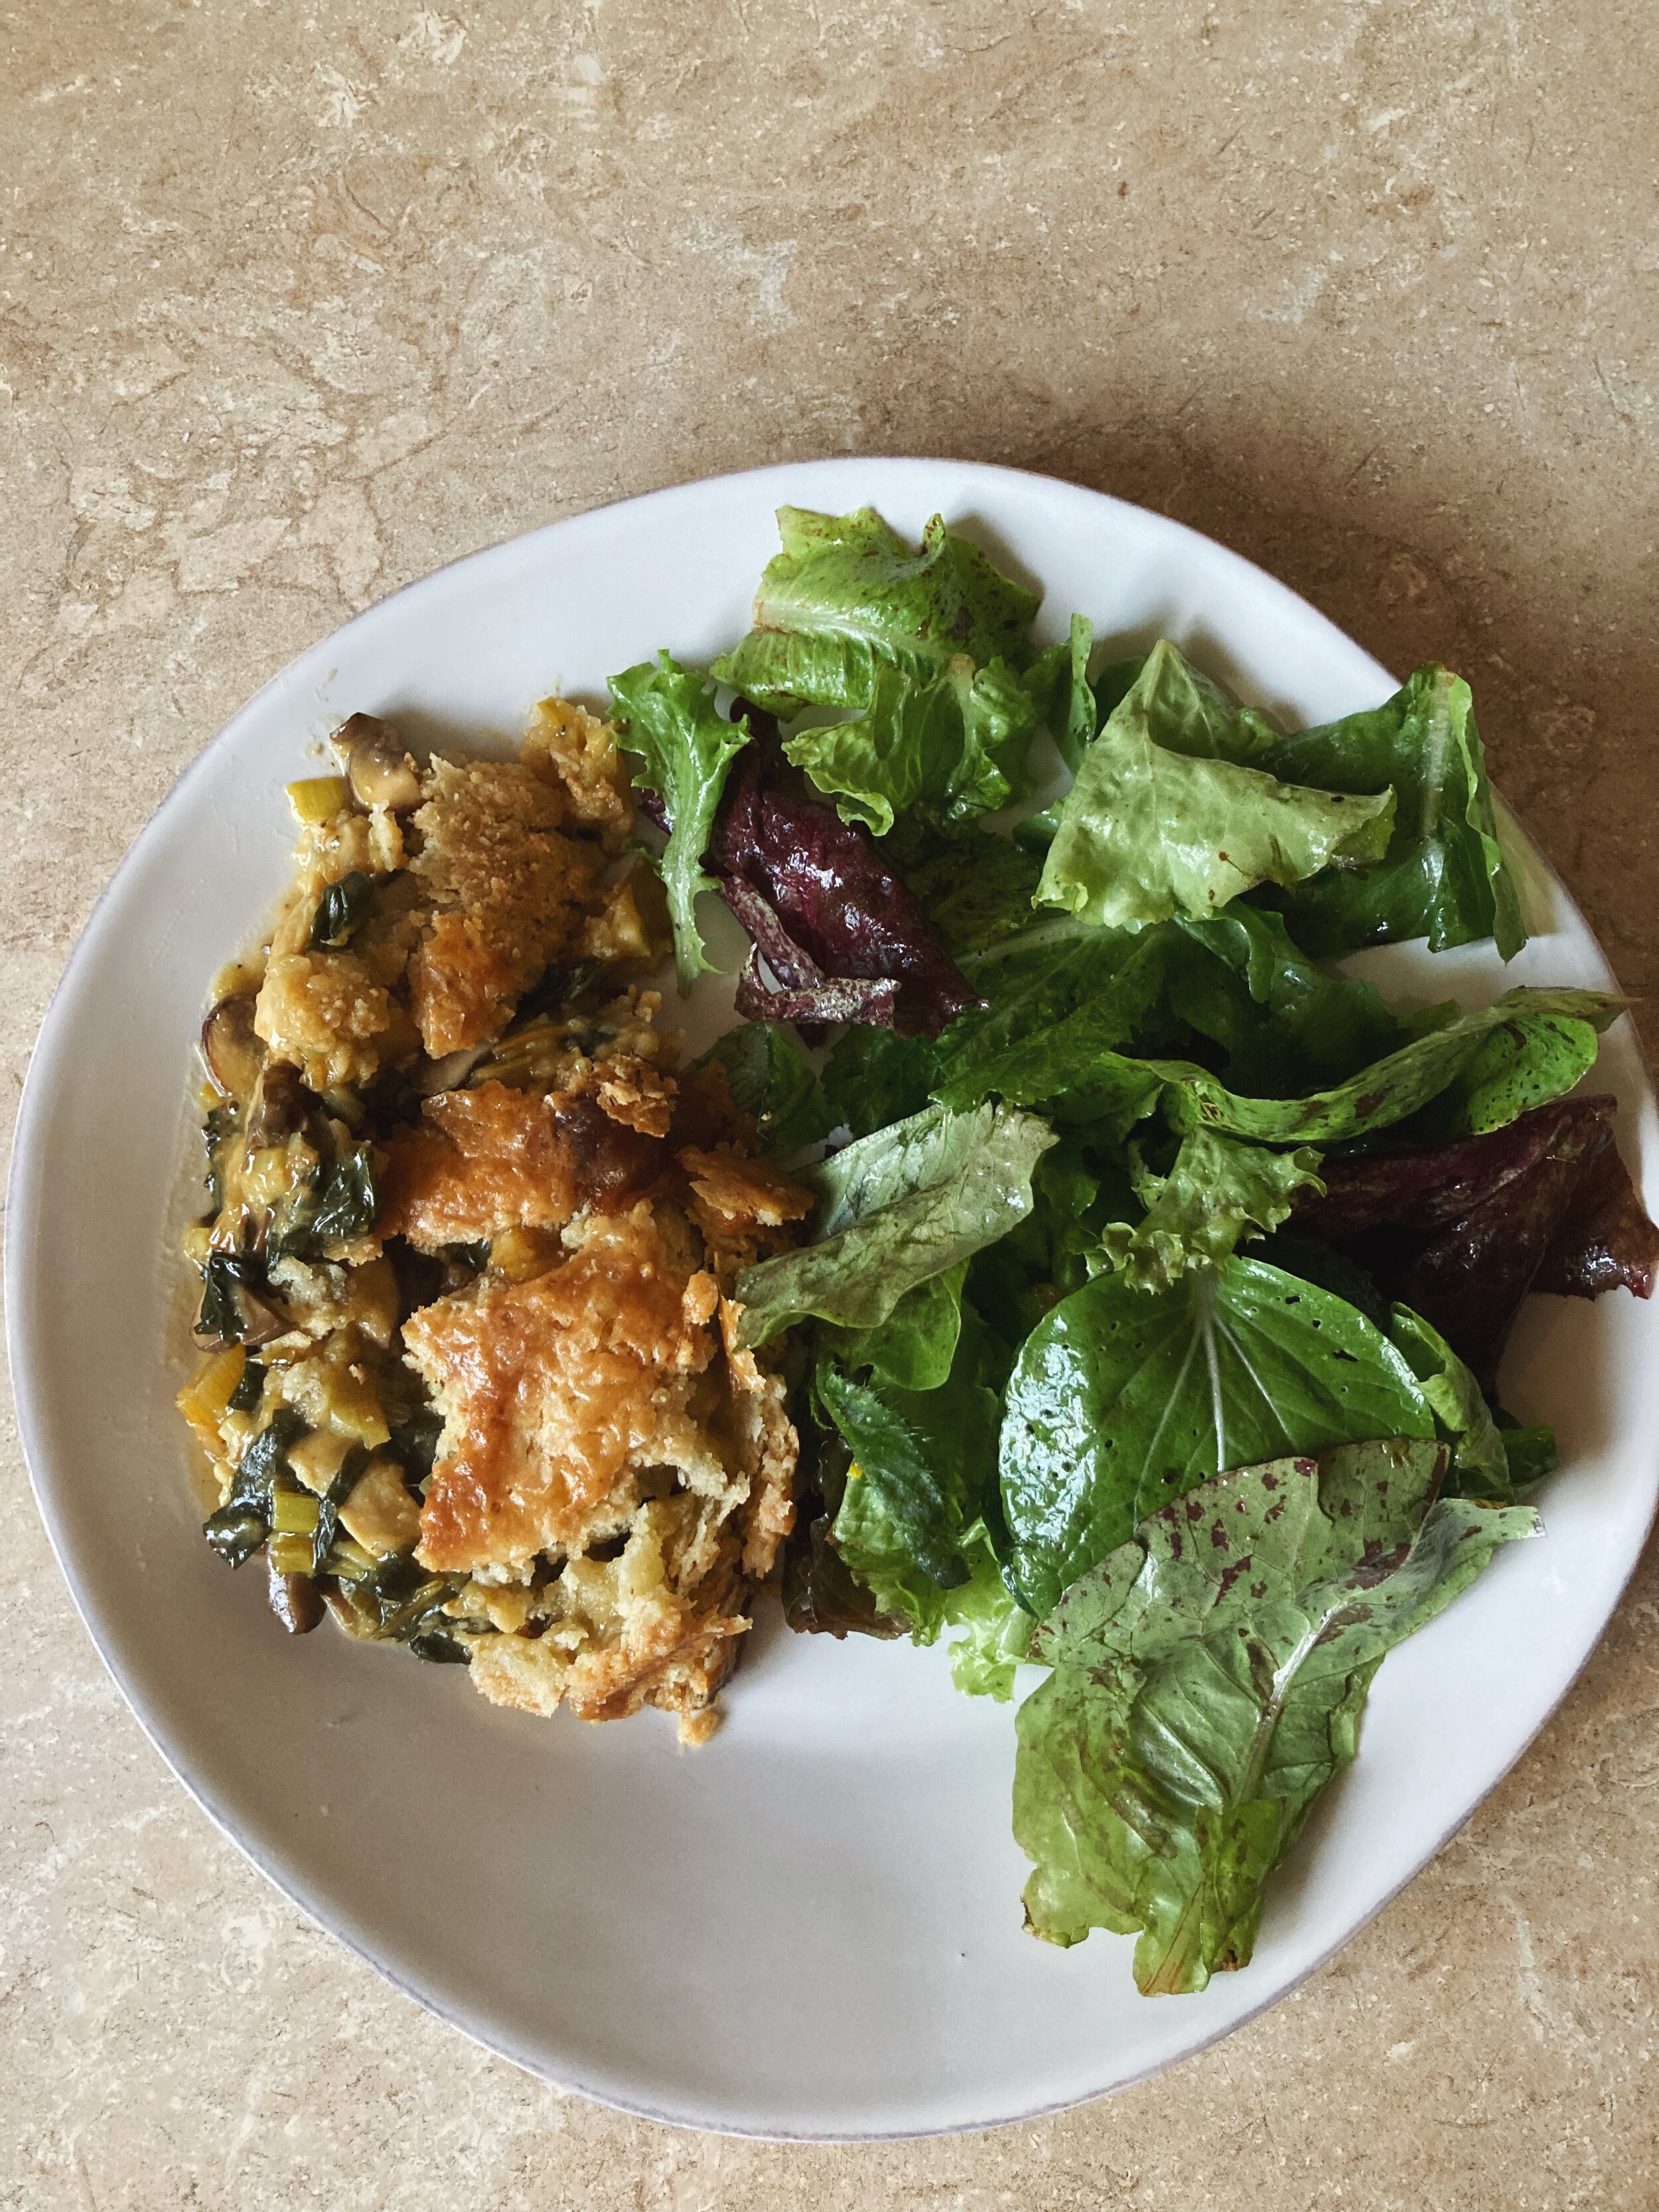
Chicken and Mushroom Skillet Pie with Greens and Tarragon by Alison Roman

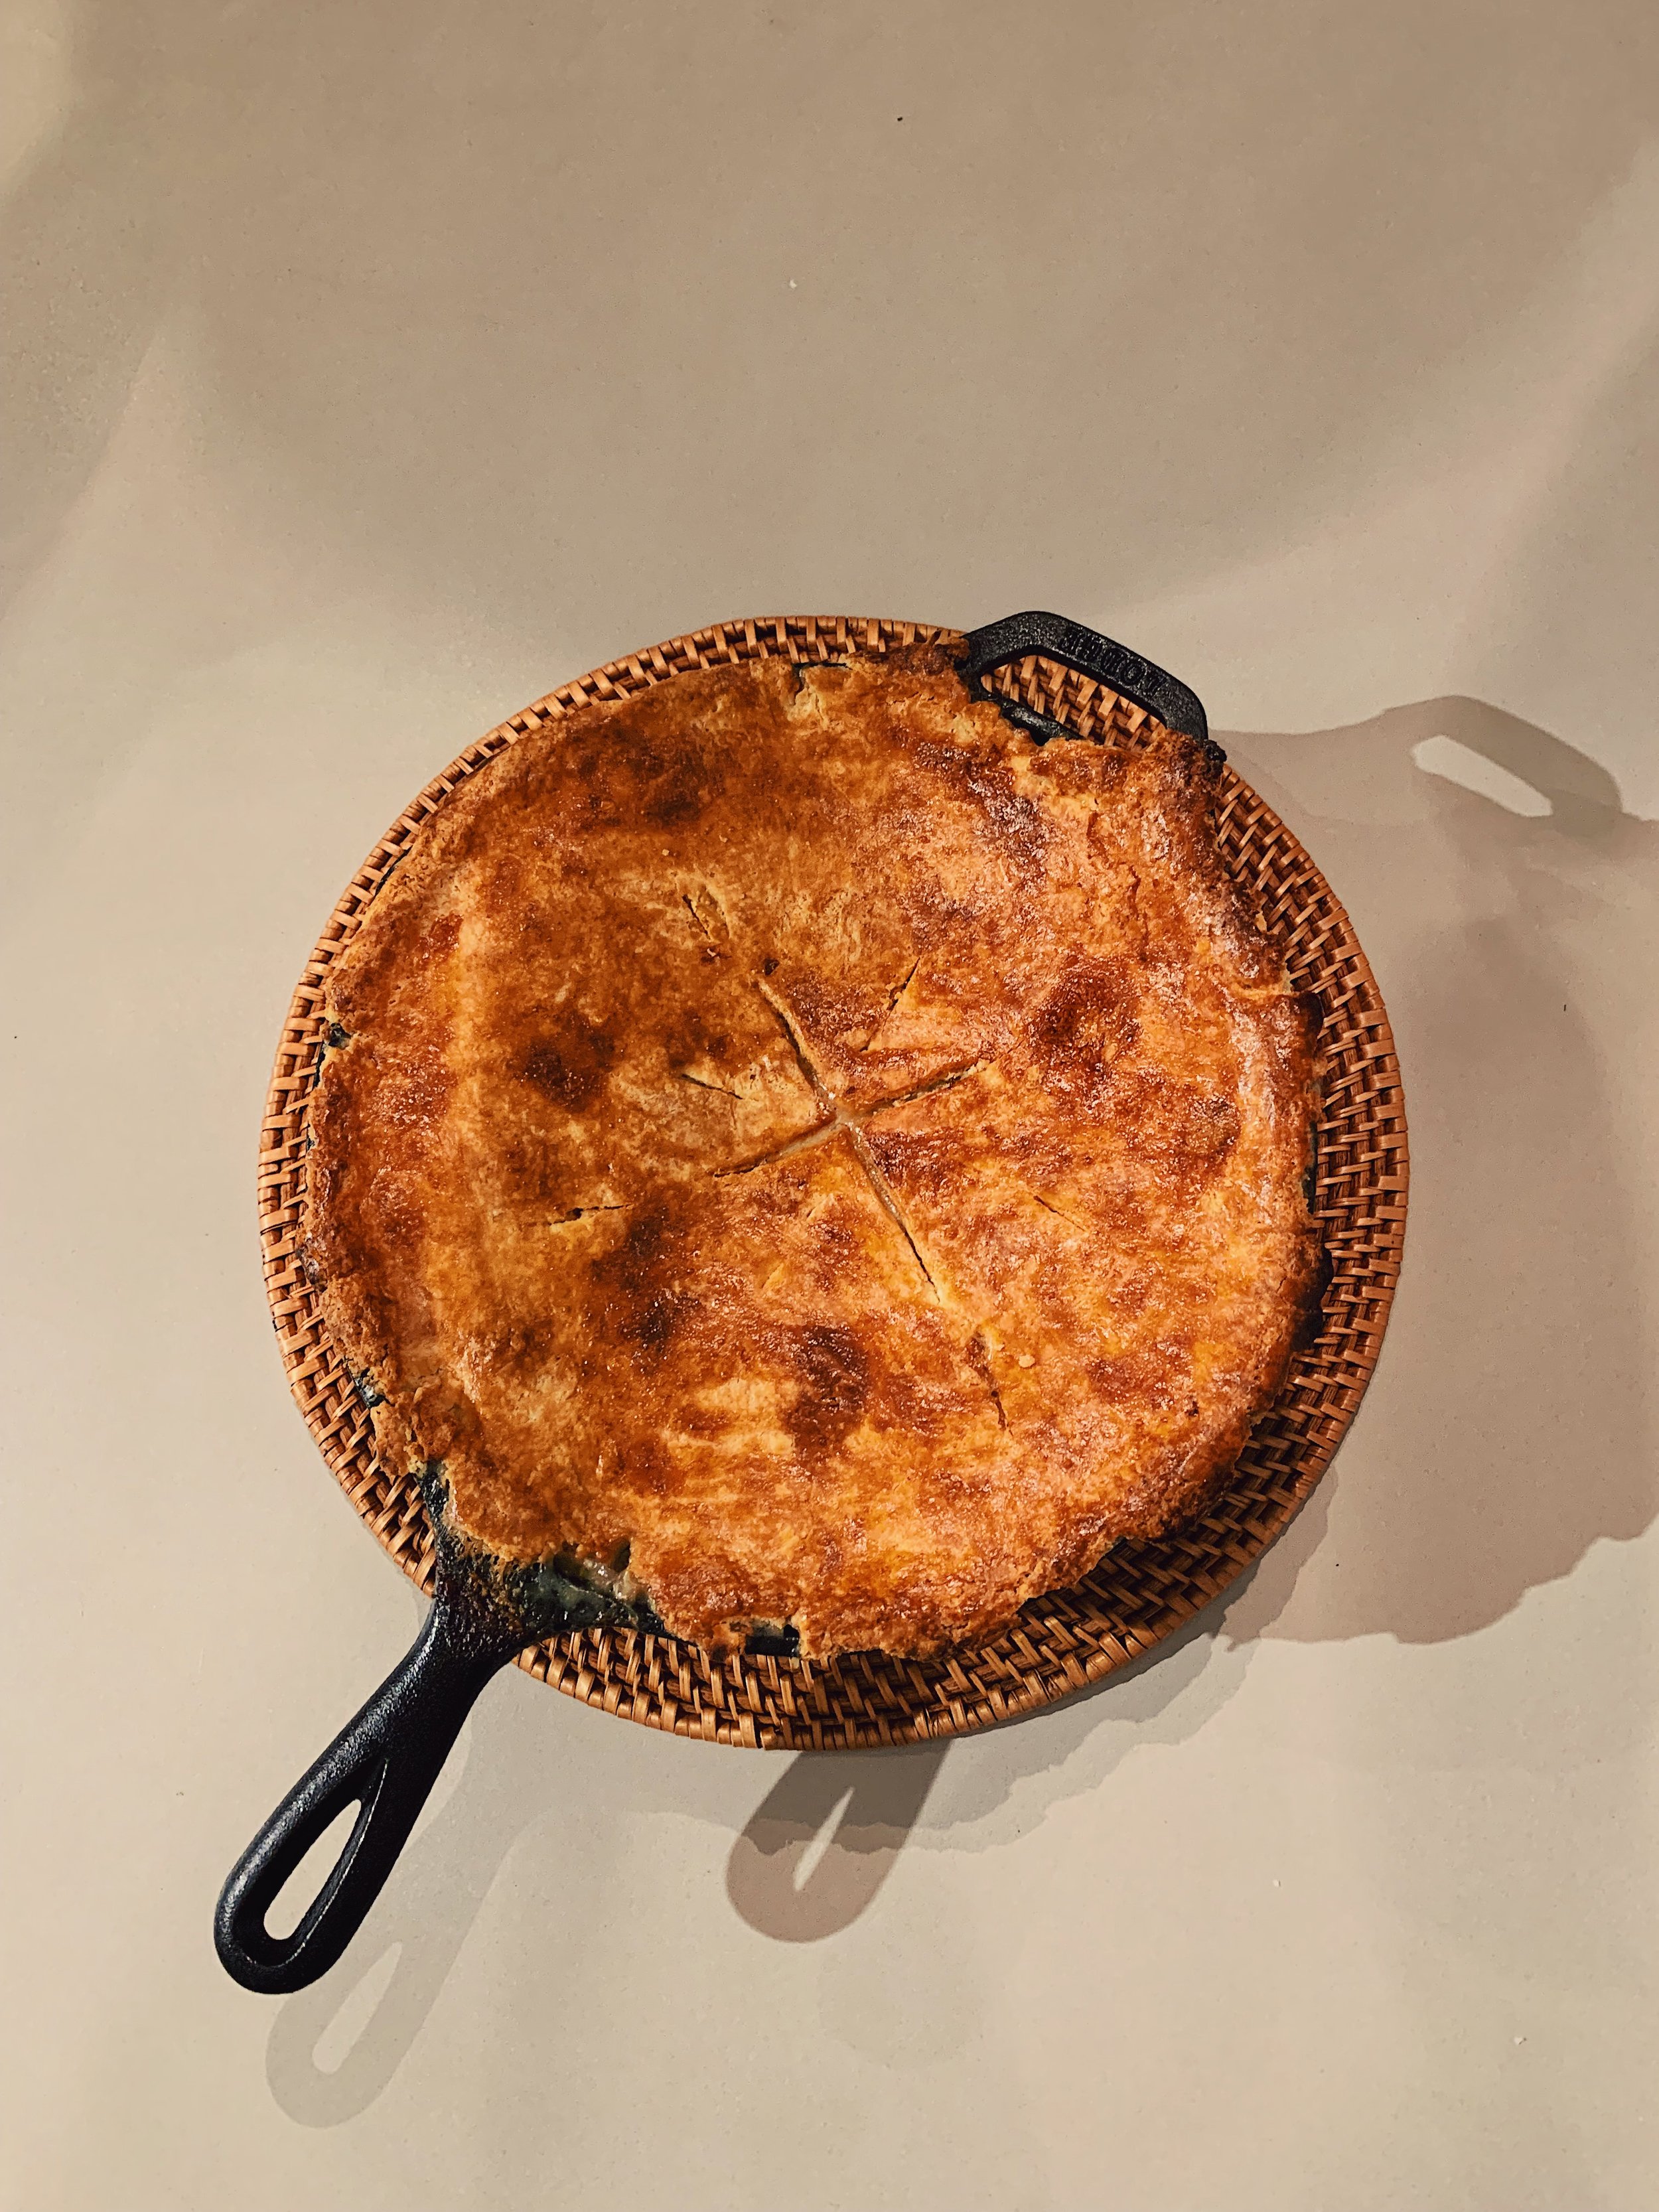
What a ride this pie was. How buttery, how delicious, how messy. 

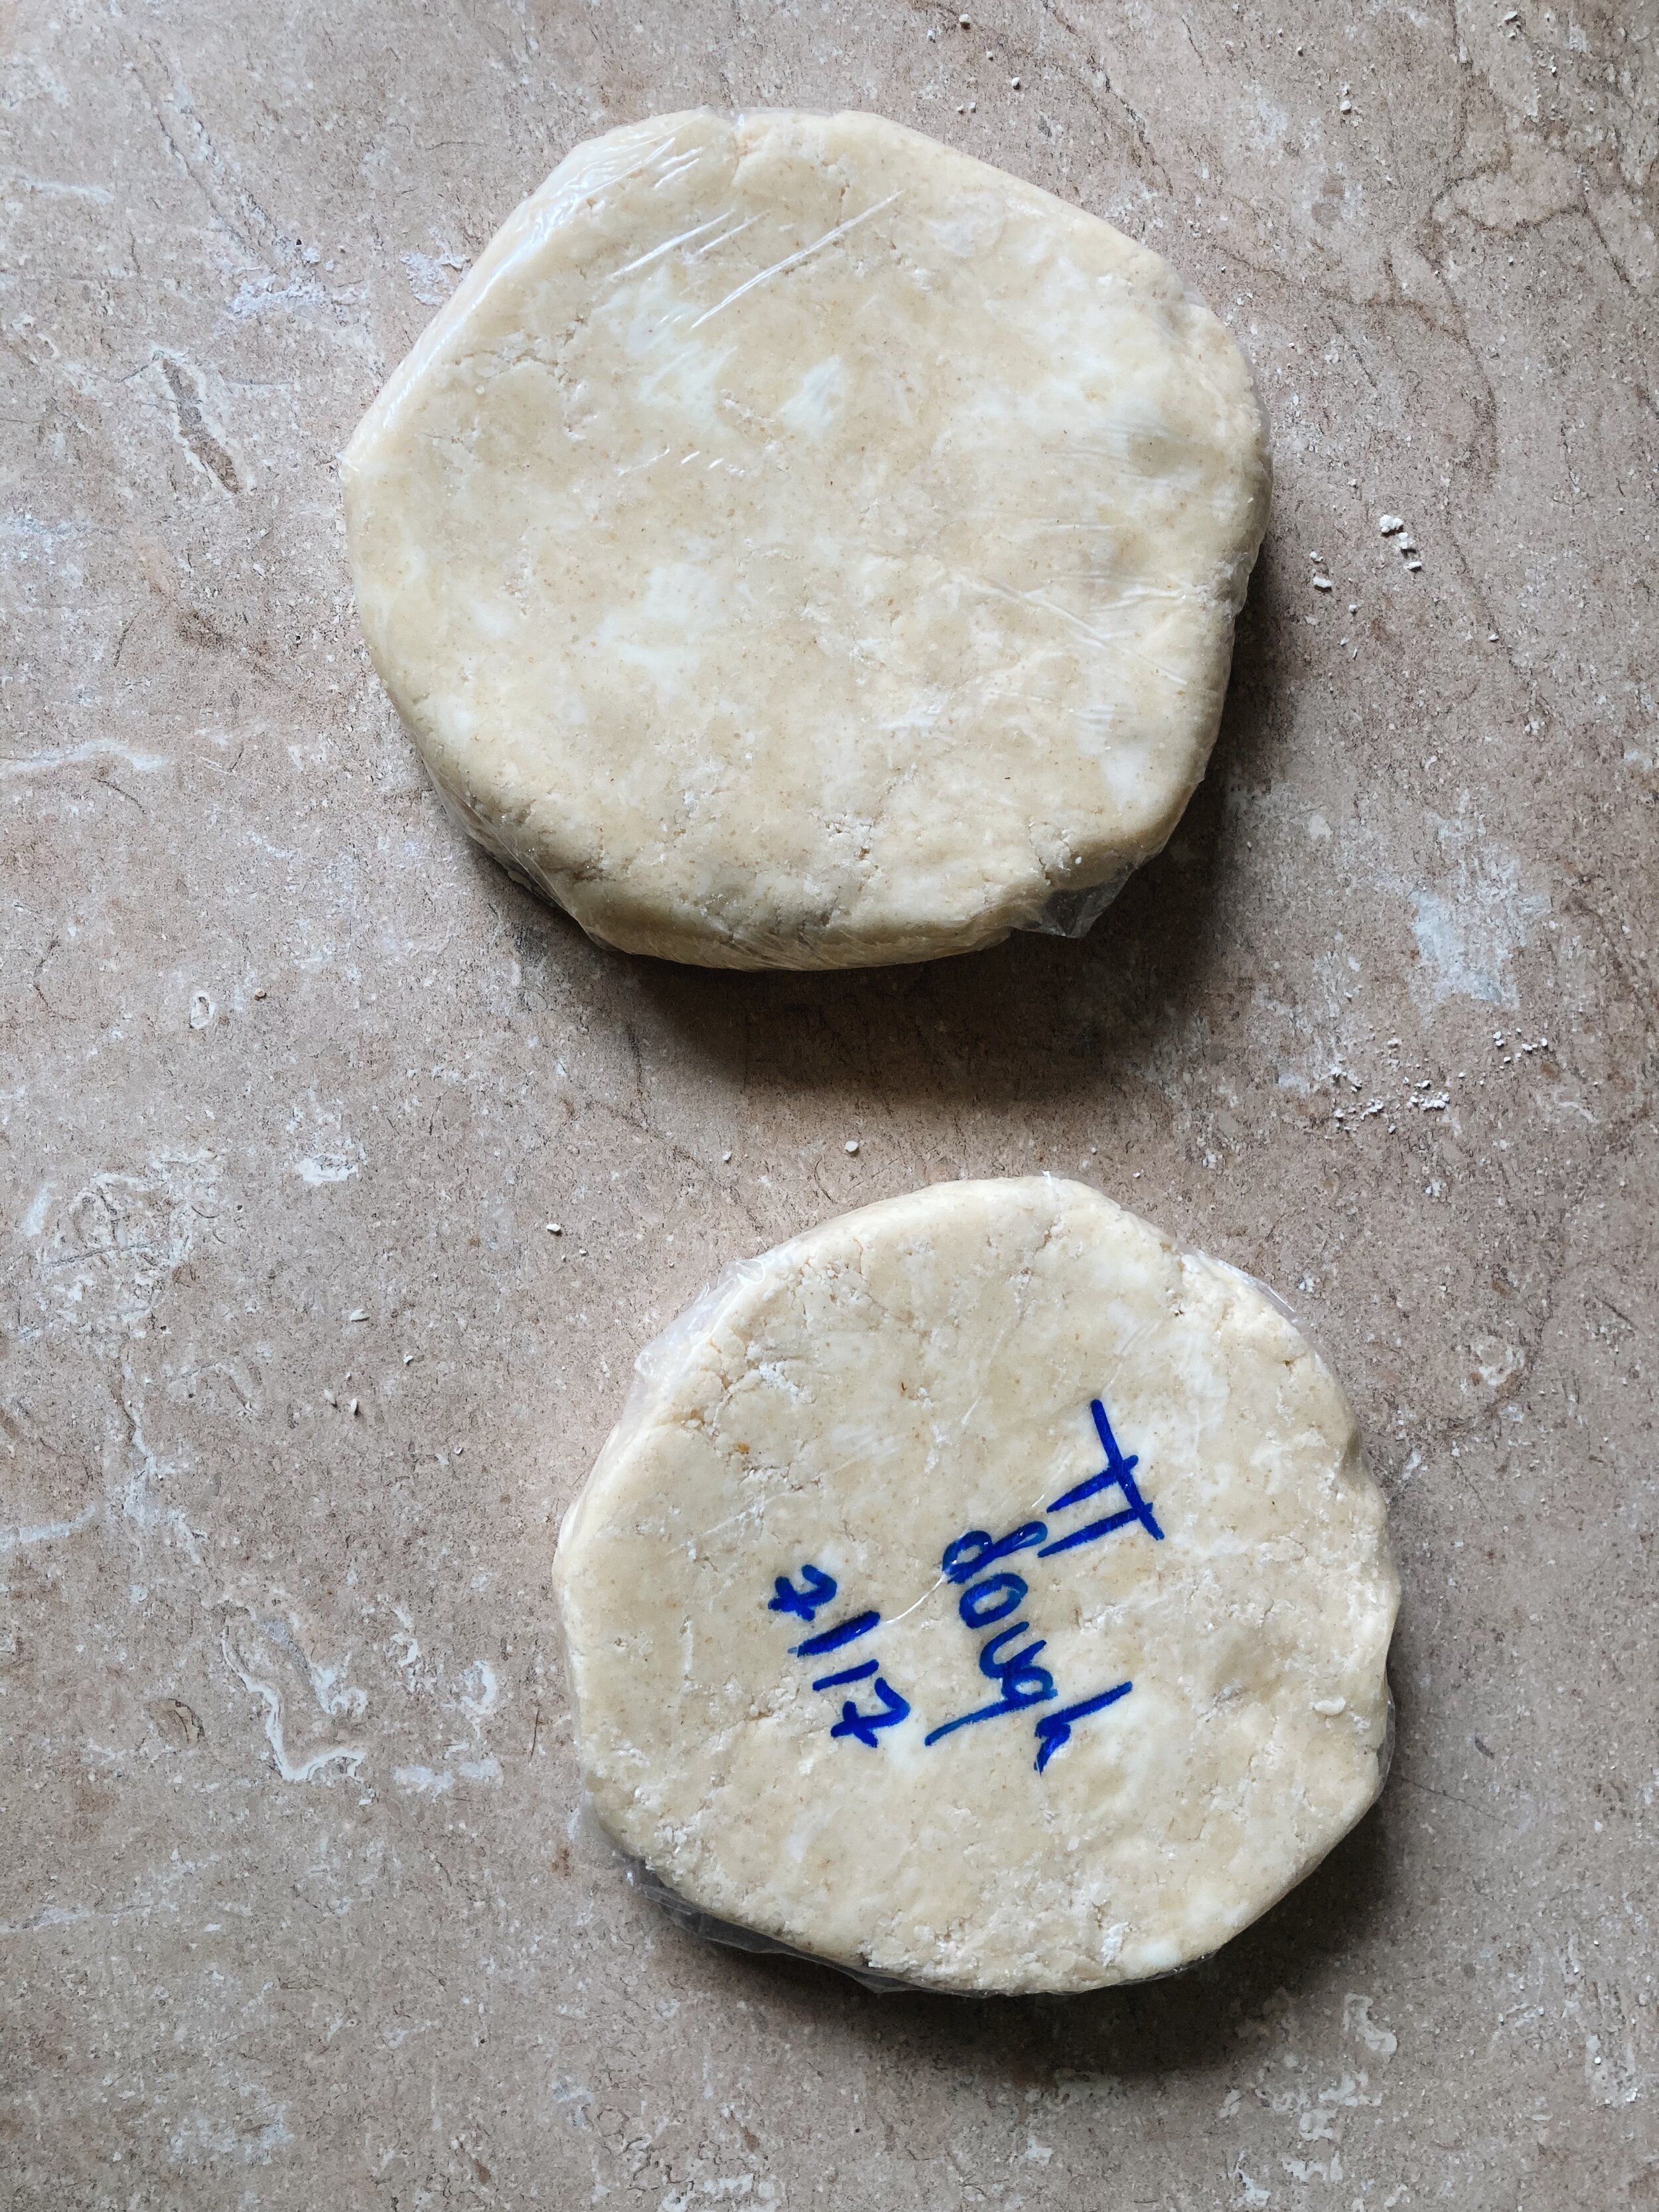
It all started with a single disc of gluten-free pie crust (yes, the King Arthur one). I prepared the dough to chill at about noon, and once again felt like this disc is the best one I’ve made yet. My pie crust skills improve every time I attempt the task. It’s been personally satisfying to watch myself improve in this way over the course of the project. Of course, there’s always a mess with pie crust. Powdery flour that escapes from the saran wrap. Bits of butter that stick to the counter when rolling it out. But this doesn’t at all compare to the mess of the pie filling. 

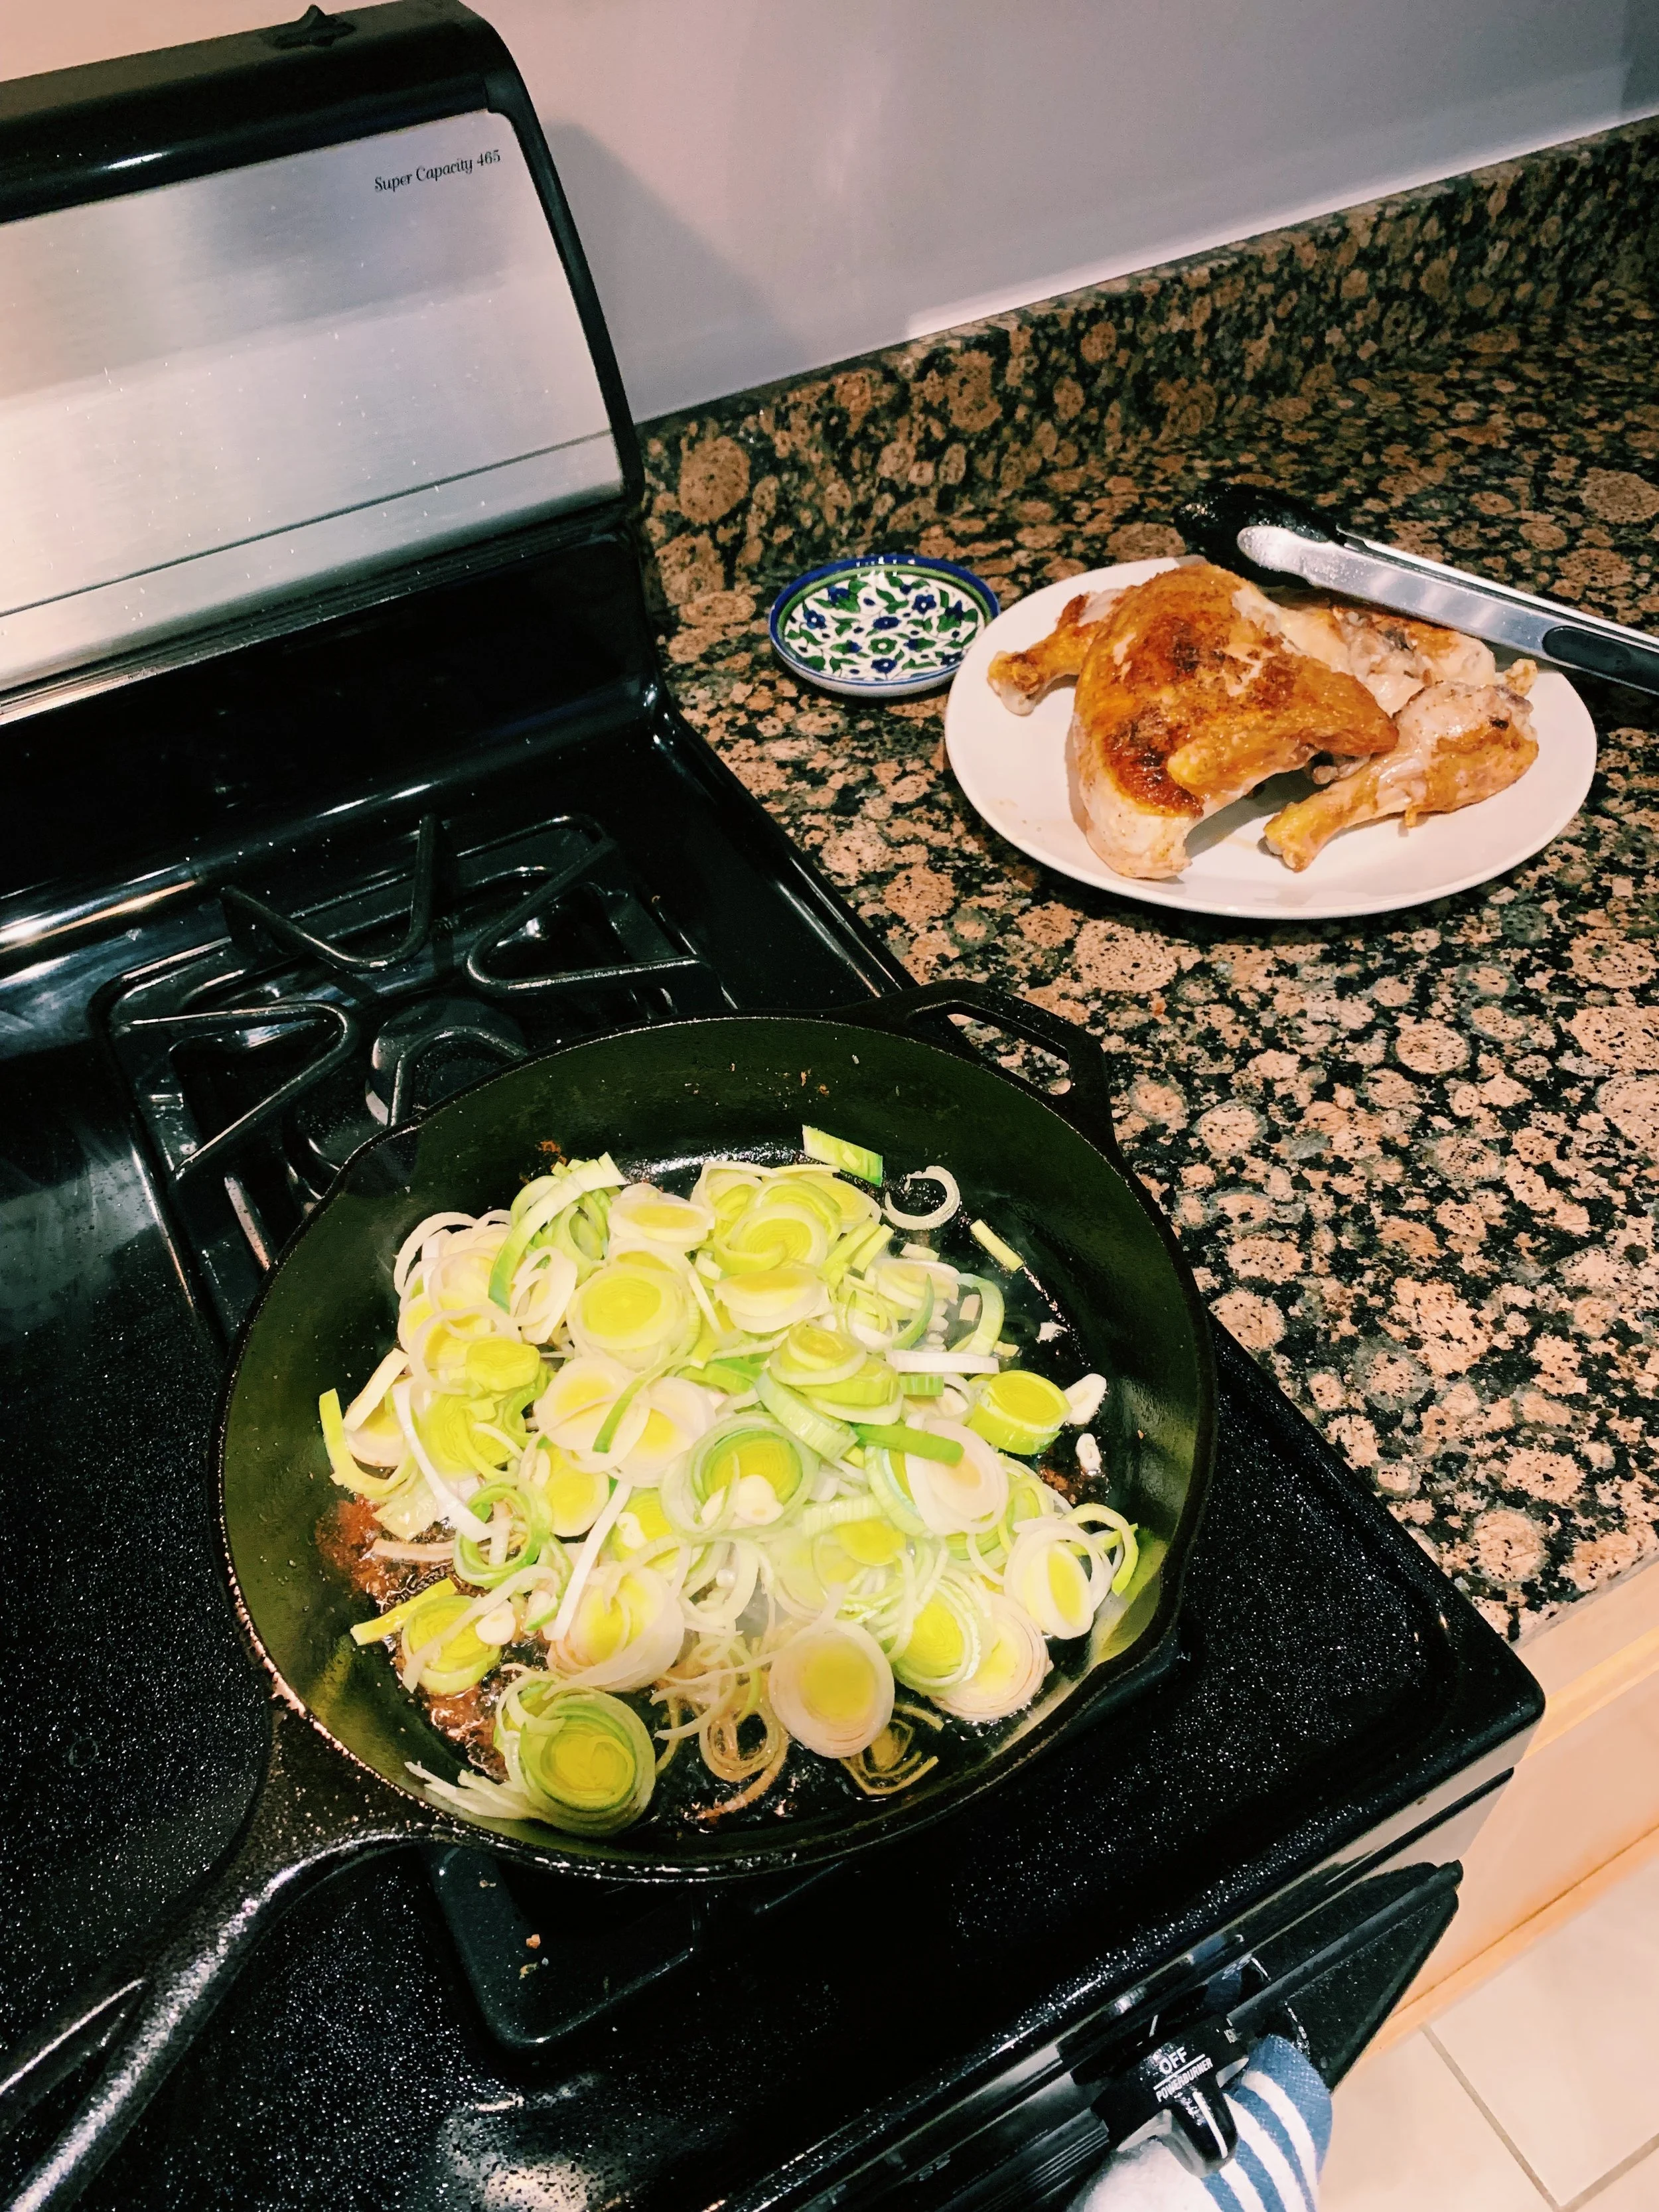
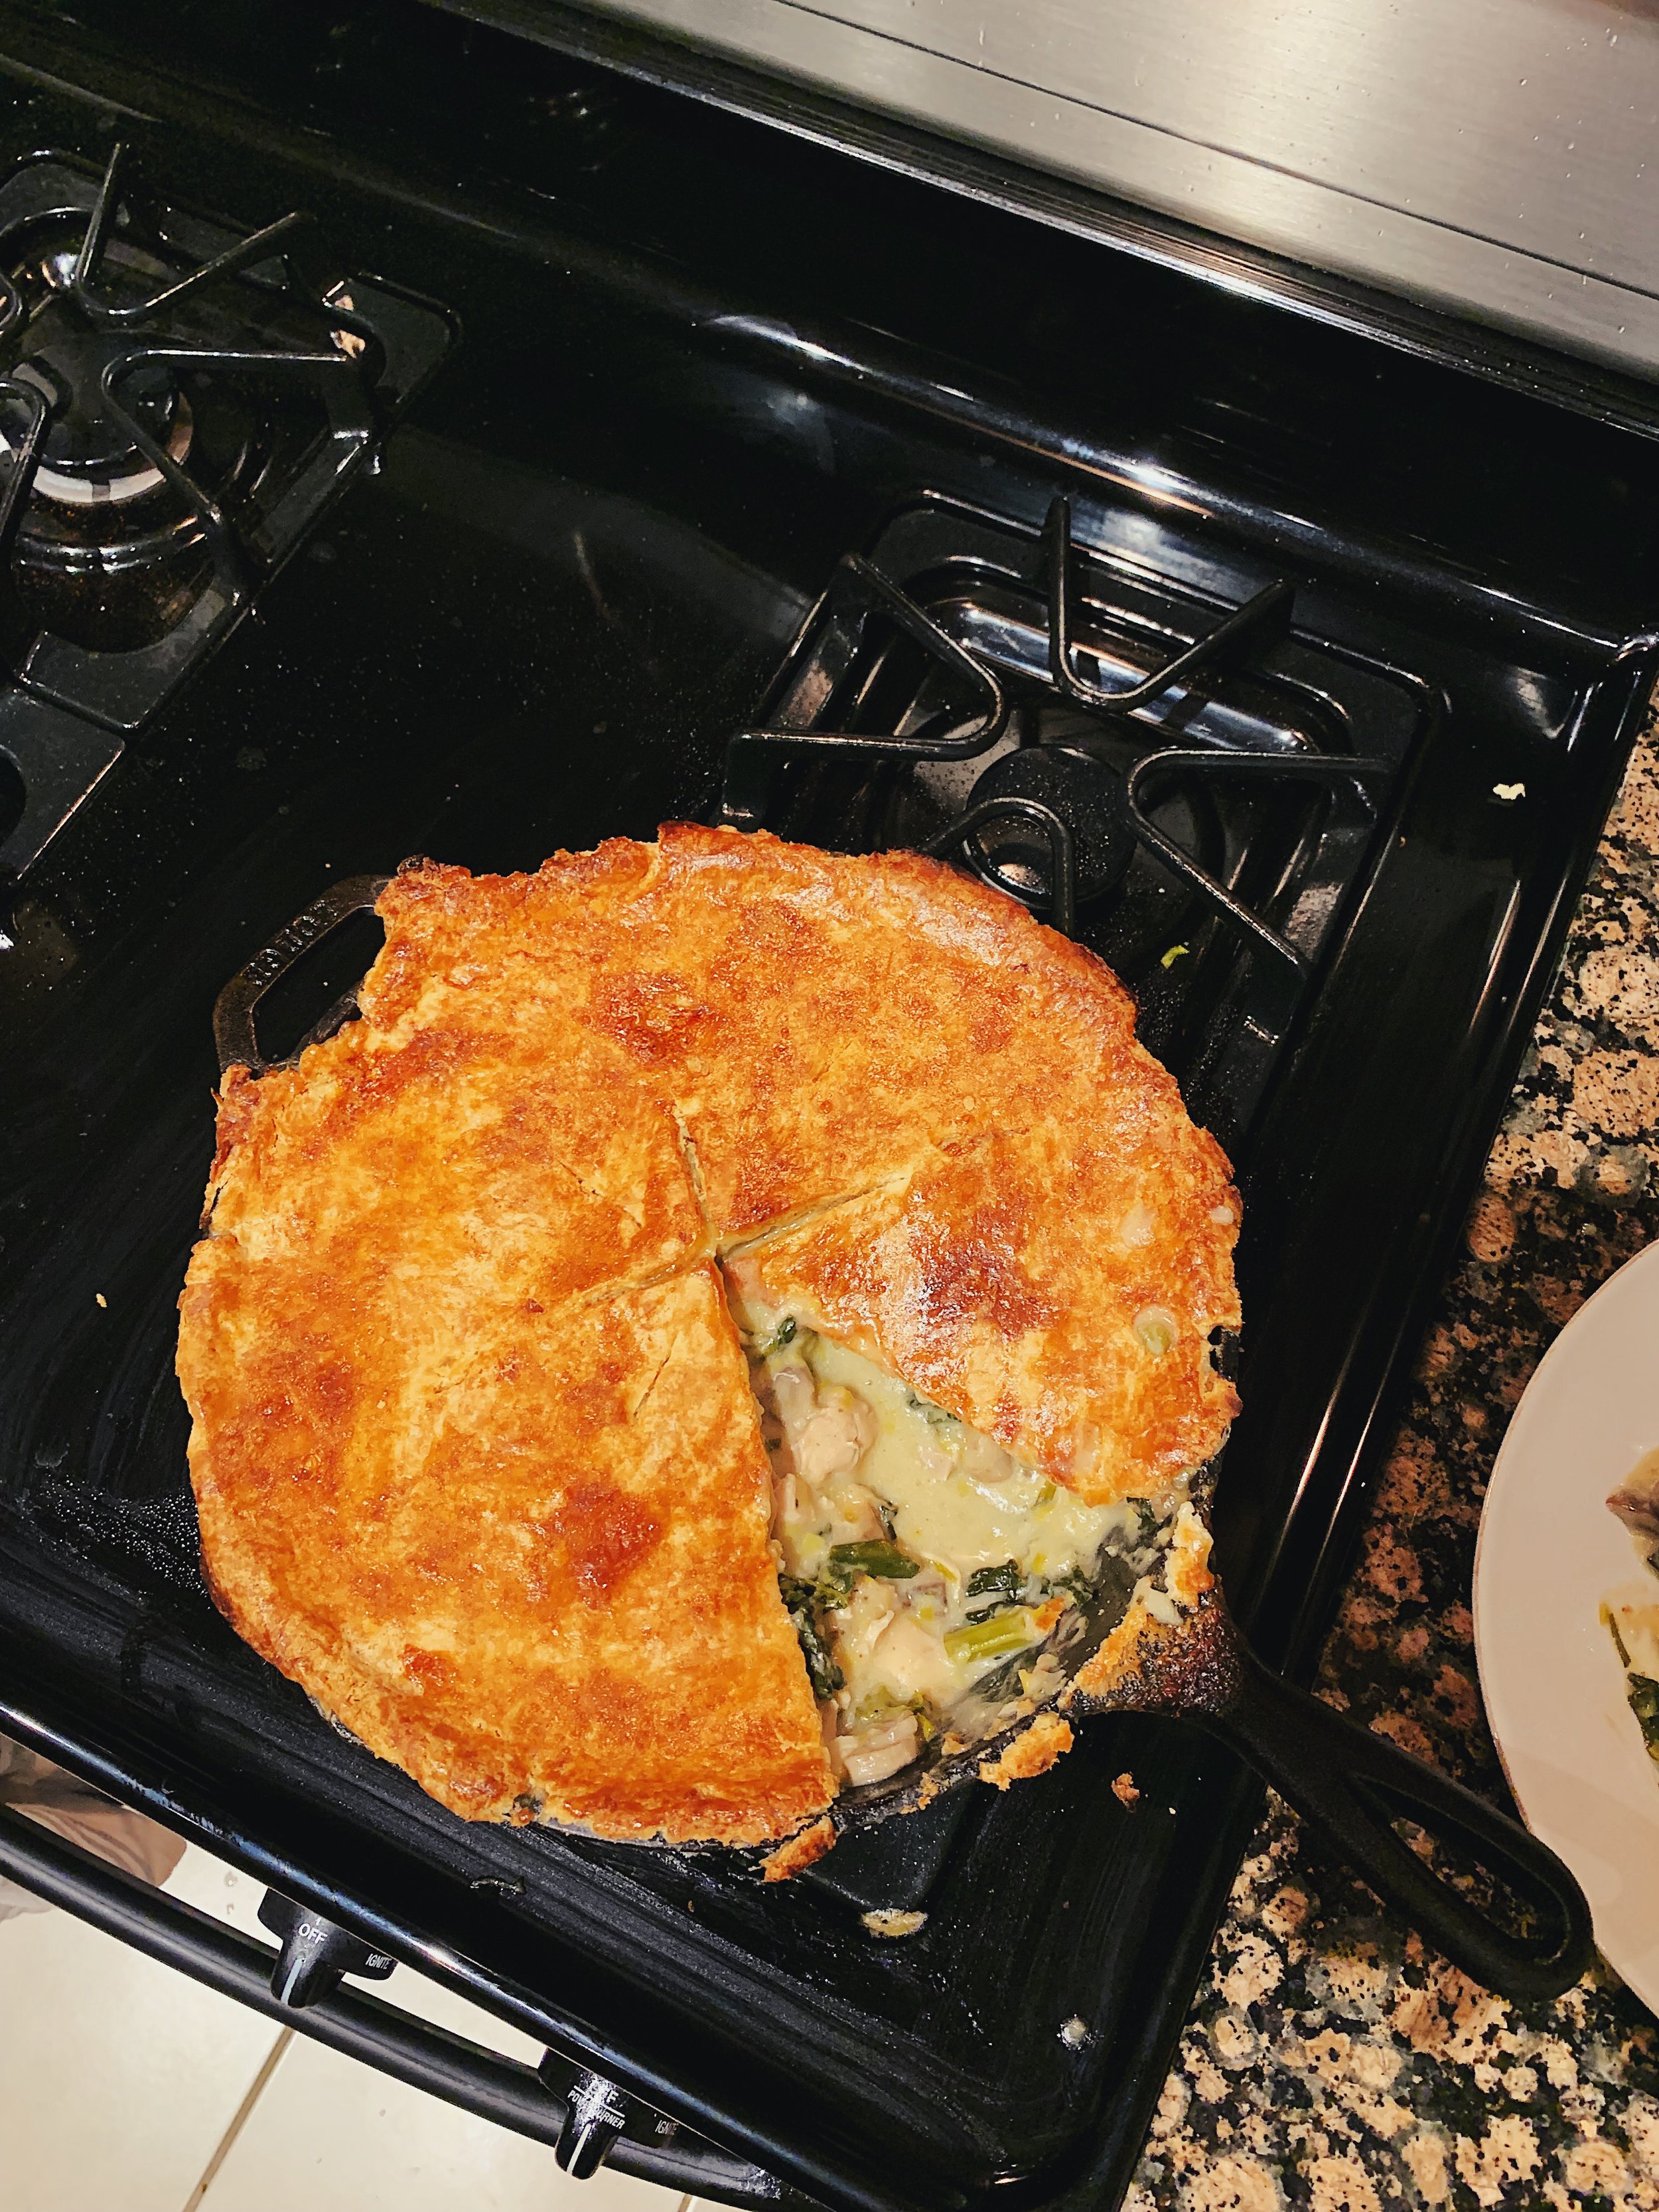
Alison instructs us to brown and cook bone-in, skin-on chicken breasts and thighs in a large skillet. Cue the splatters of hot oil dotting the floor, counters, stove, and occasionally, my arms. The oil flies as the skin crisps and browns. It’s really a shame though, because after it cooks, Alison has you remove the meat and discard all bones, sinews, and skin. All that crispy goodness gone. The meat, though, is tender and juicy. 

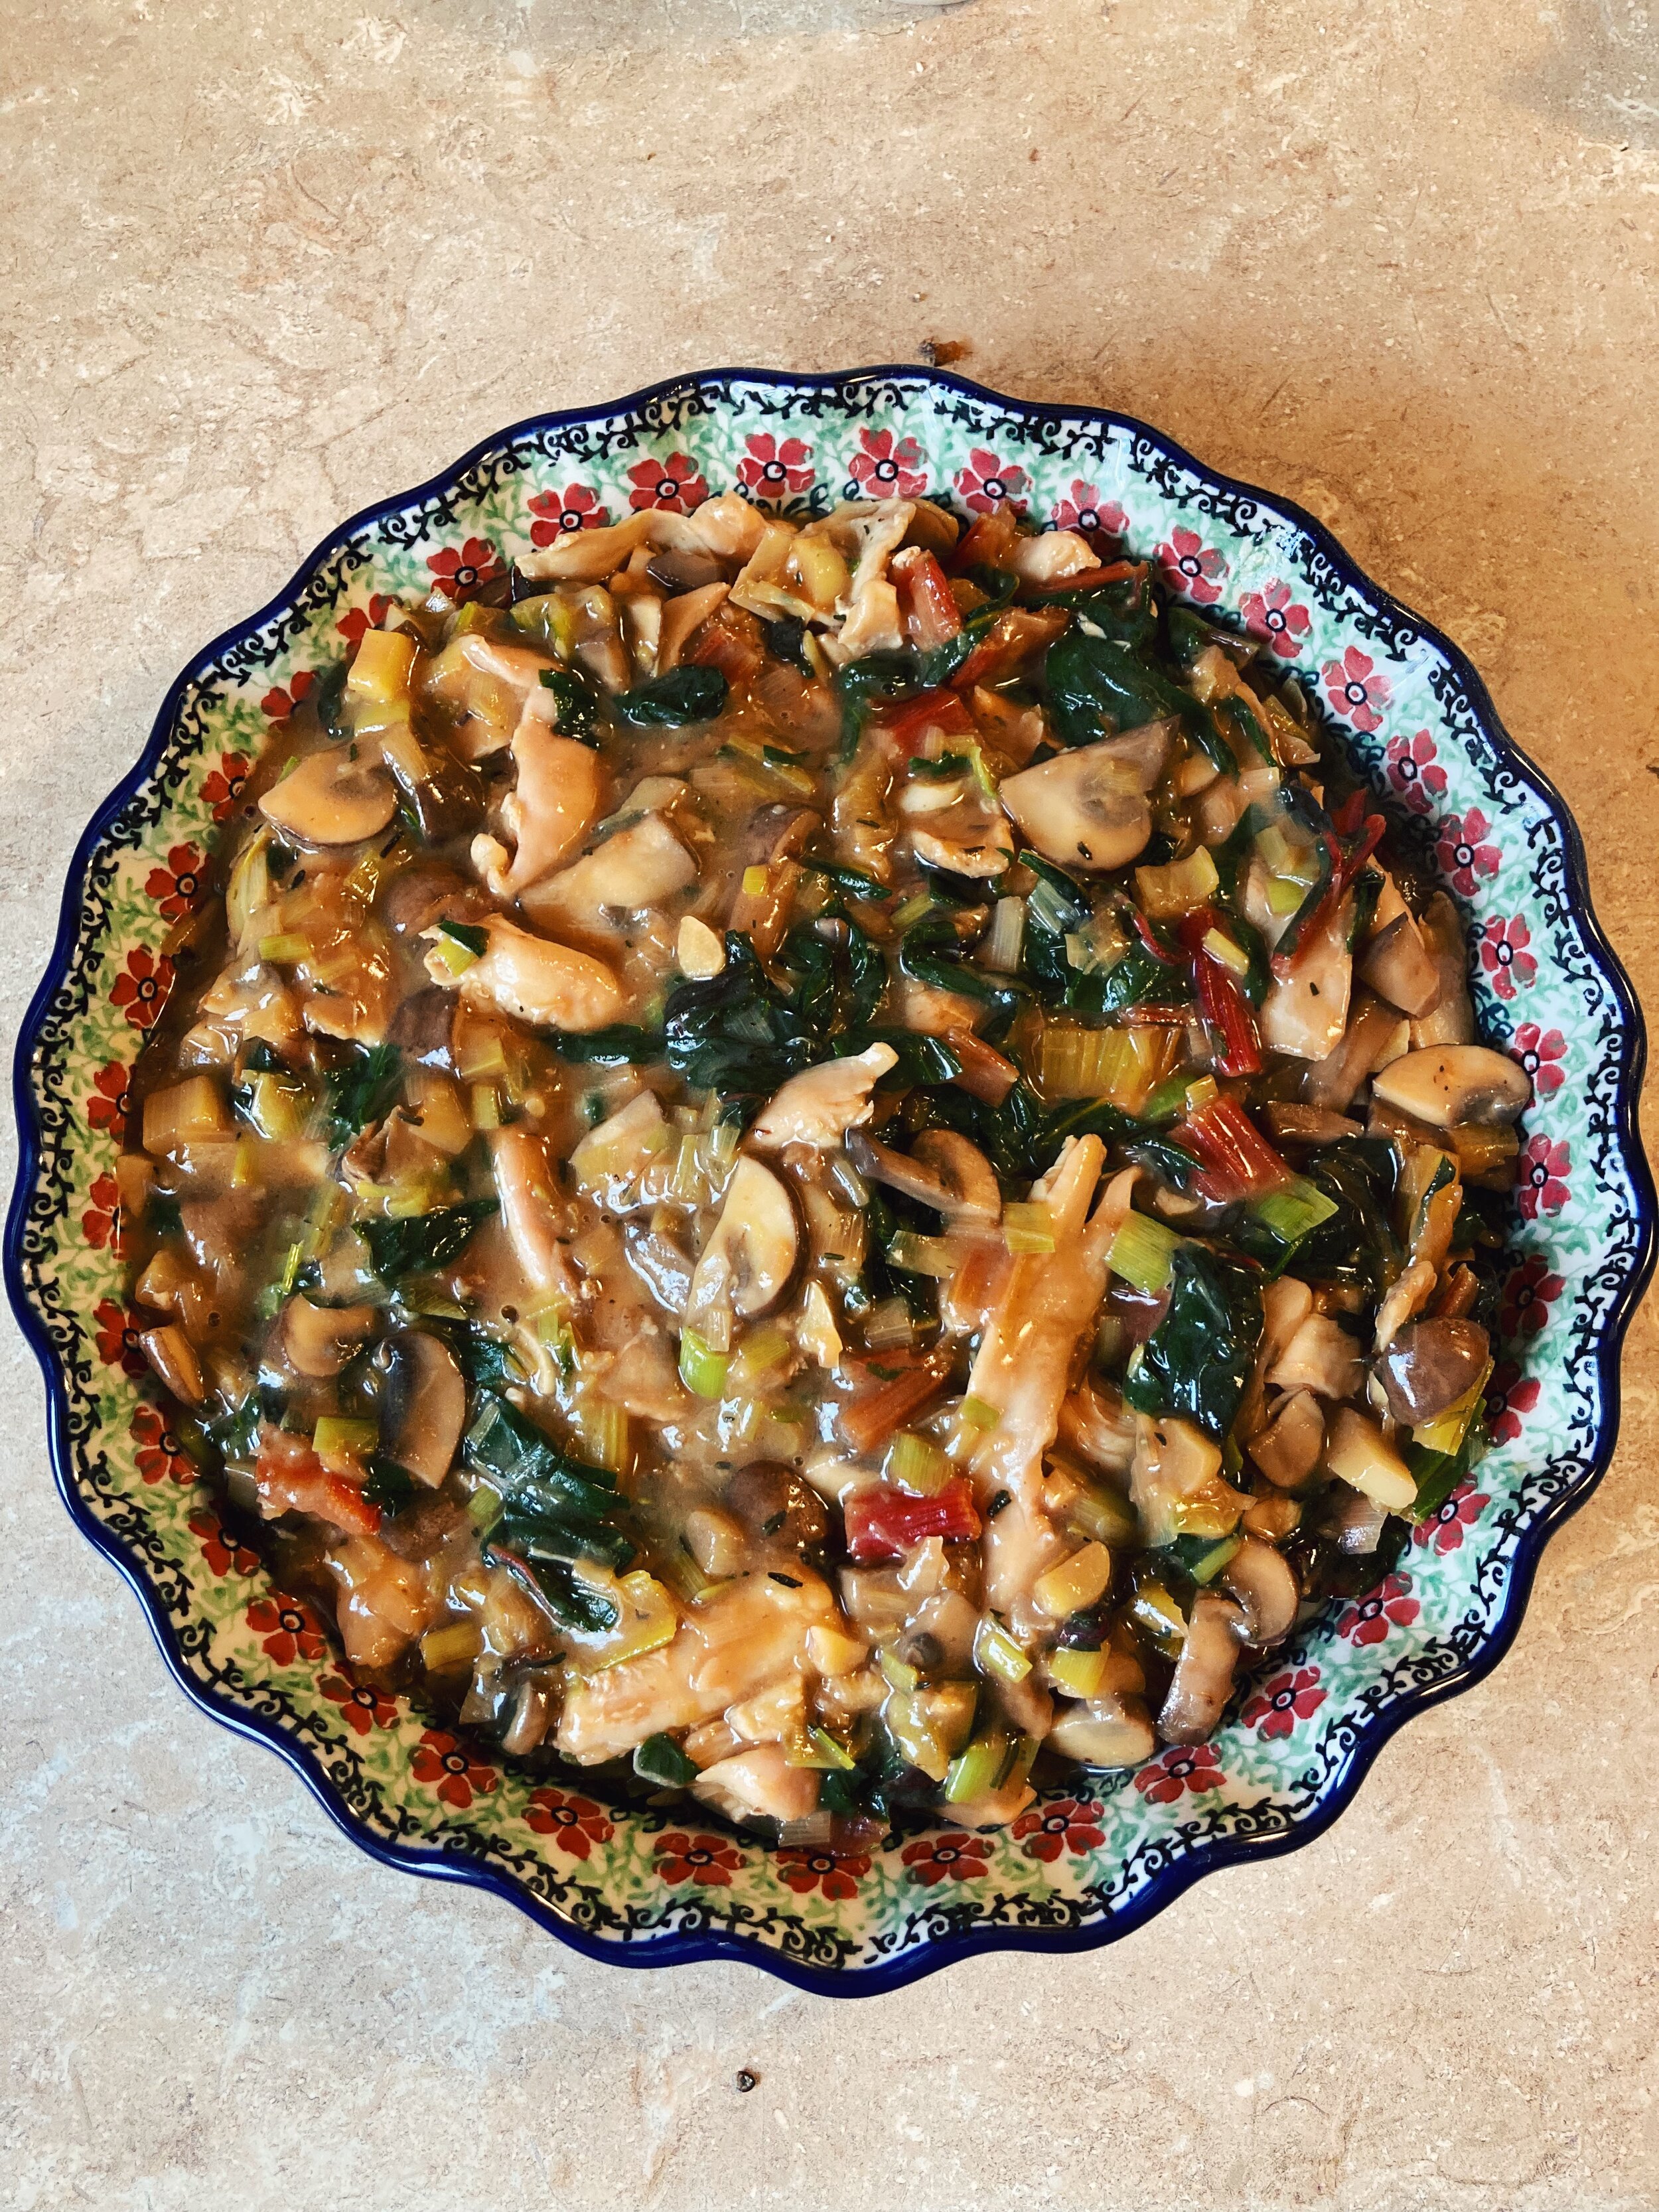
Next, in the same skillet with all the chicken fat, garlic and leeks join to become soft and vibrantly green. I then added a pound of fresh mushrooms with salt and pepper, never minding the few little mushroom bits that always flop out of the skillet when I cook mushrooms. A few of them escaped and fell next to the flames underneath the skillet – don’t ask me how. 

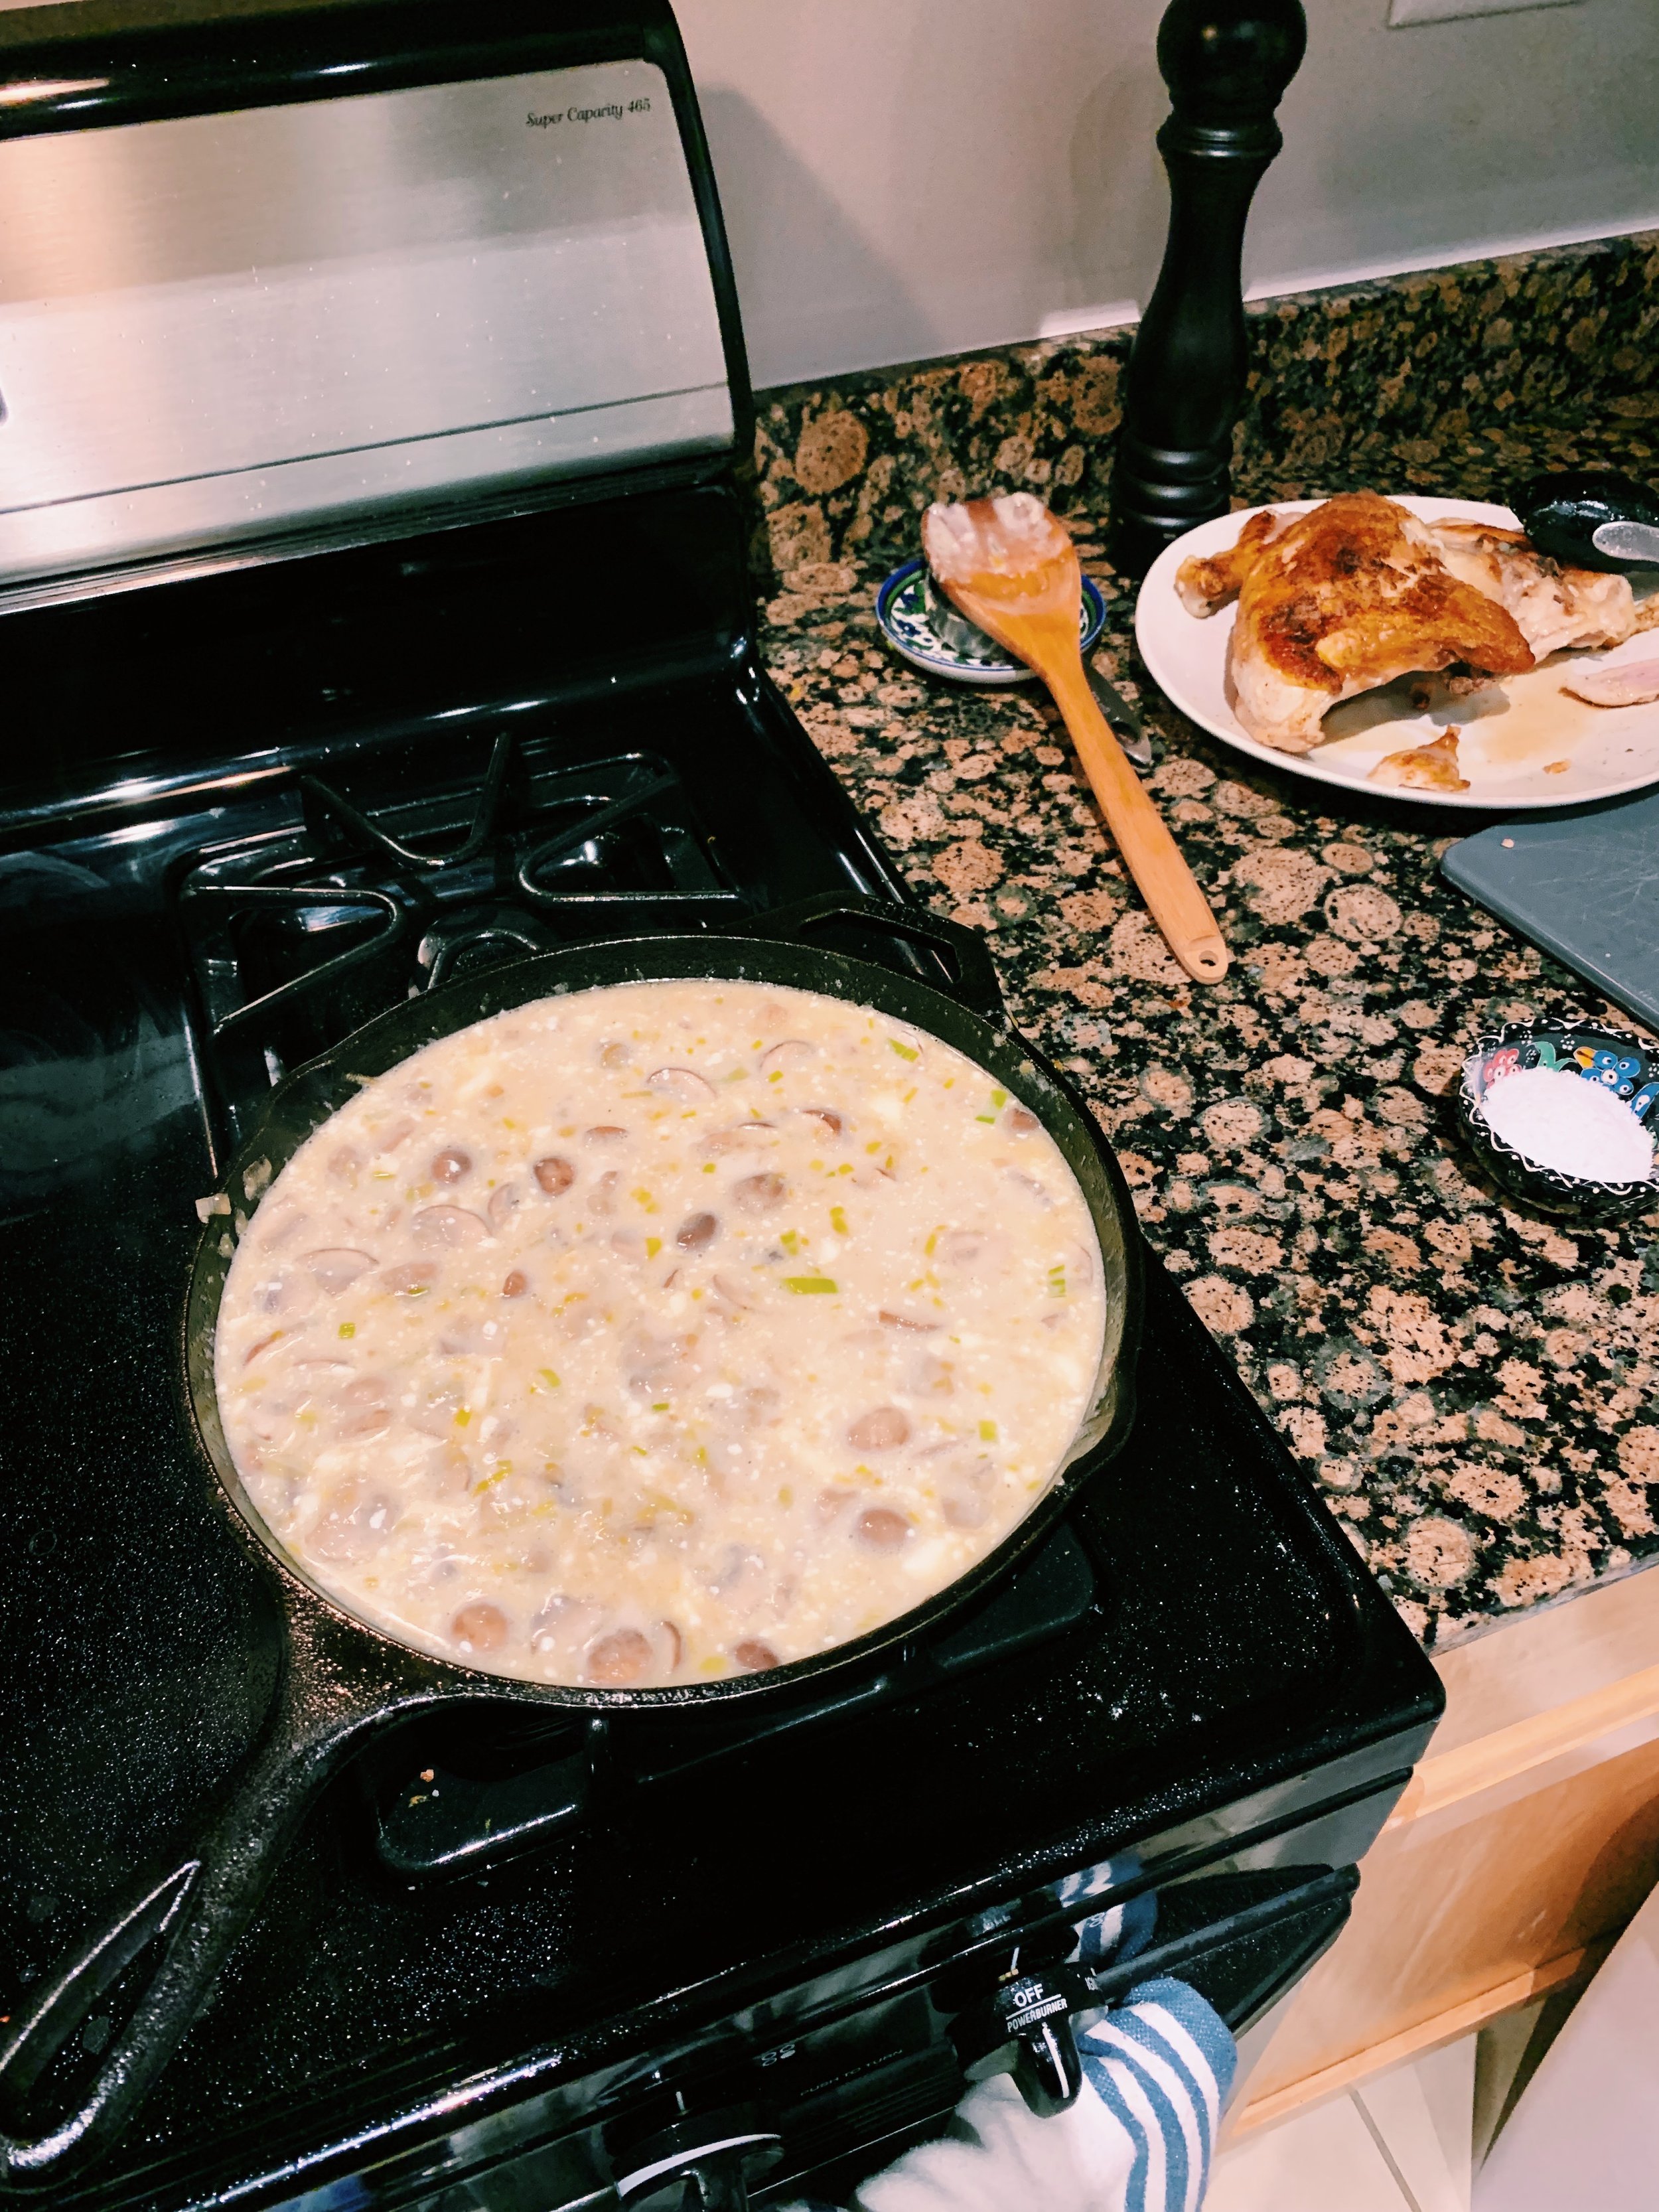
Once the mushrooms softened, I mixed in a pat of butter and a quarter cup of gluten-free flour, which quickly thickens up the filling mixture. The next step calls for chicken broth, and I want to mention here, in case I haven’t already said this on the blog, my newfound love for Better than Bouillon. Margaret exposed me to this brand of chicken broth flavoring in goop form, and it’s changed my pantry for the better. Instead of buying (and wasting) so many cardboard boxes of chicken broth, and also needing to find places to store said broth boxes, I now have a jar of flavoring sitting in my refrigerator door, waiting to make batches upon batches of chicken broth, right when I need them. All it takes is one teaspoon of flavoring for each boiling cup of water, stirred in to make it a nicely flavored, not too salty bit of broth. I just bought my second jar at Costco today, which will last me for many months. Everyone should buy this product! 

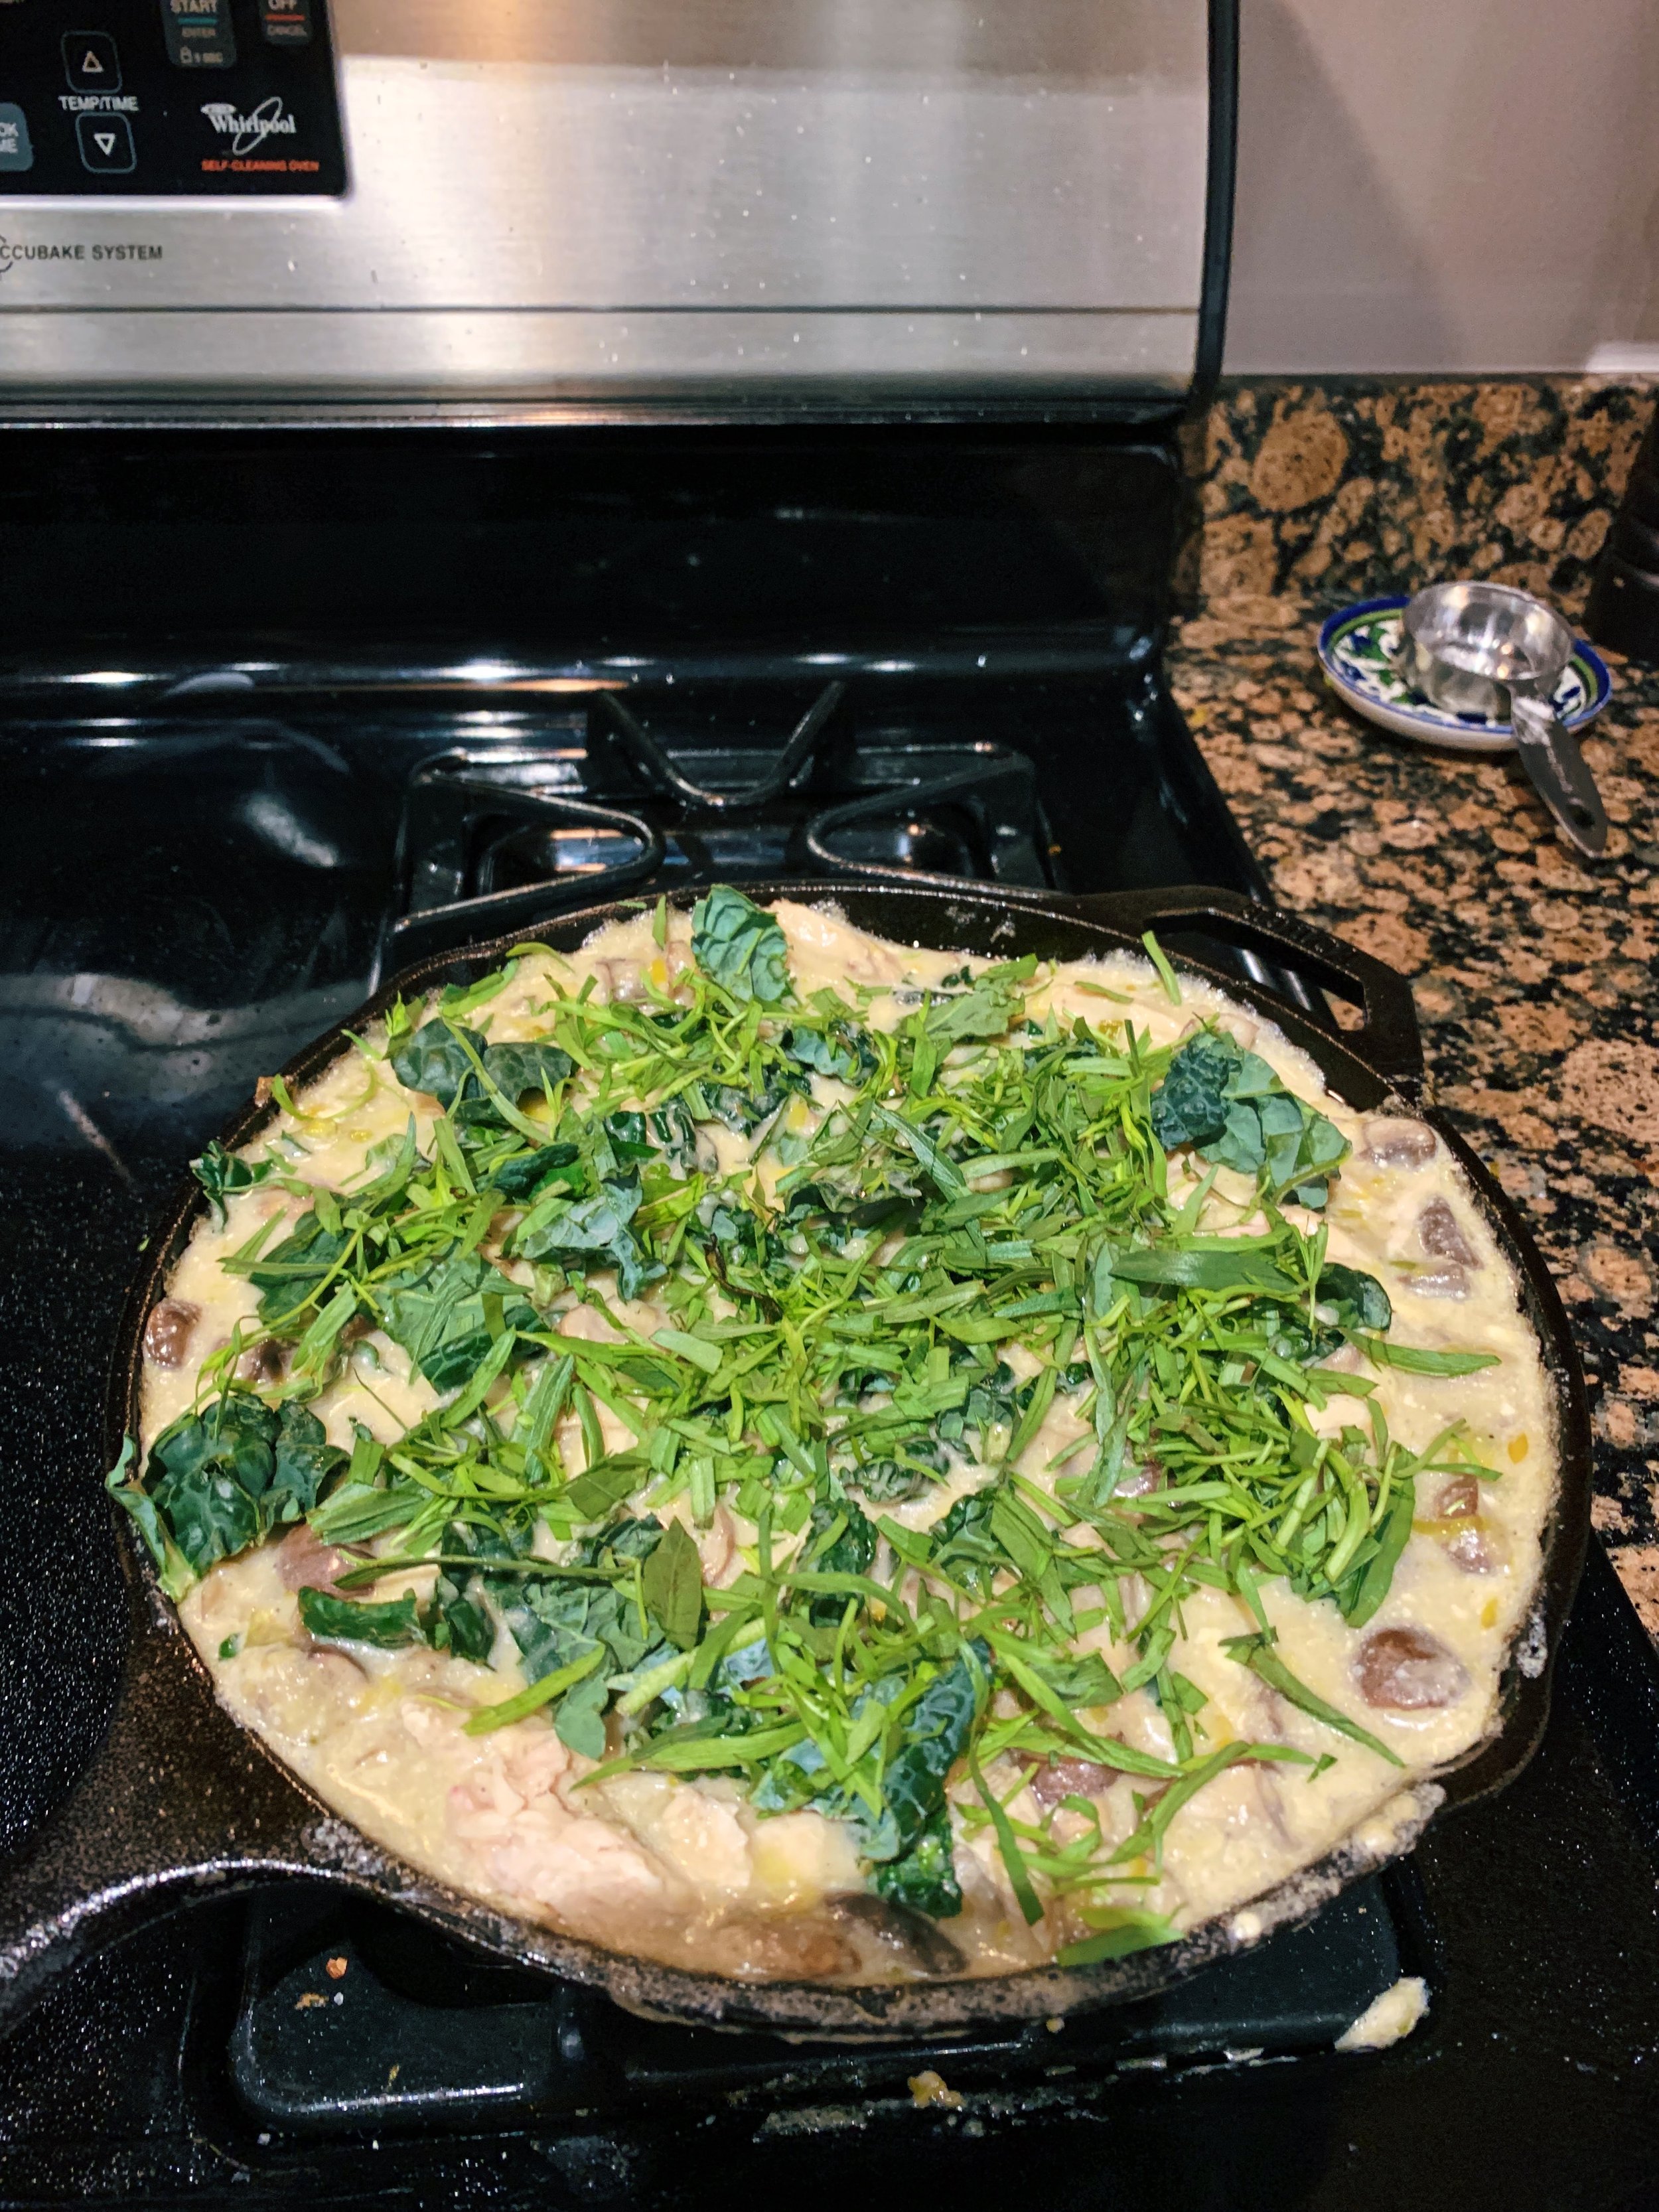
Before turning down the heat, I streamed in heavy cream and a tablespoon or two of creme fraiche that I had leftover from The Greatest Creamed Greens. I then tossed in the separated chicken, chopped tarragon, and kale pieces. And here’s where I mention that Alison does NOT give instructions on the size of skillet to use. Which is problematic. By the time I added all of my ingredients, my 10-inch cast iron skillet was filled to its very brim. Any sudden movements, and the mixture would spill right over the edge. If you have a 12-inch ovenproof skillet, definitely use it here. 

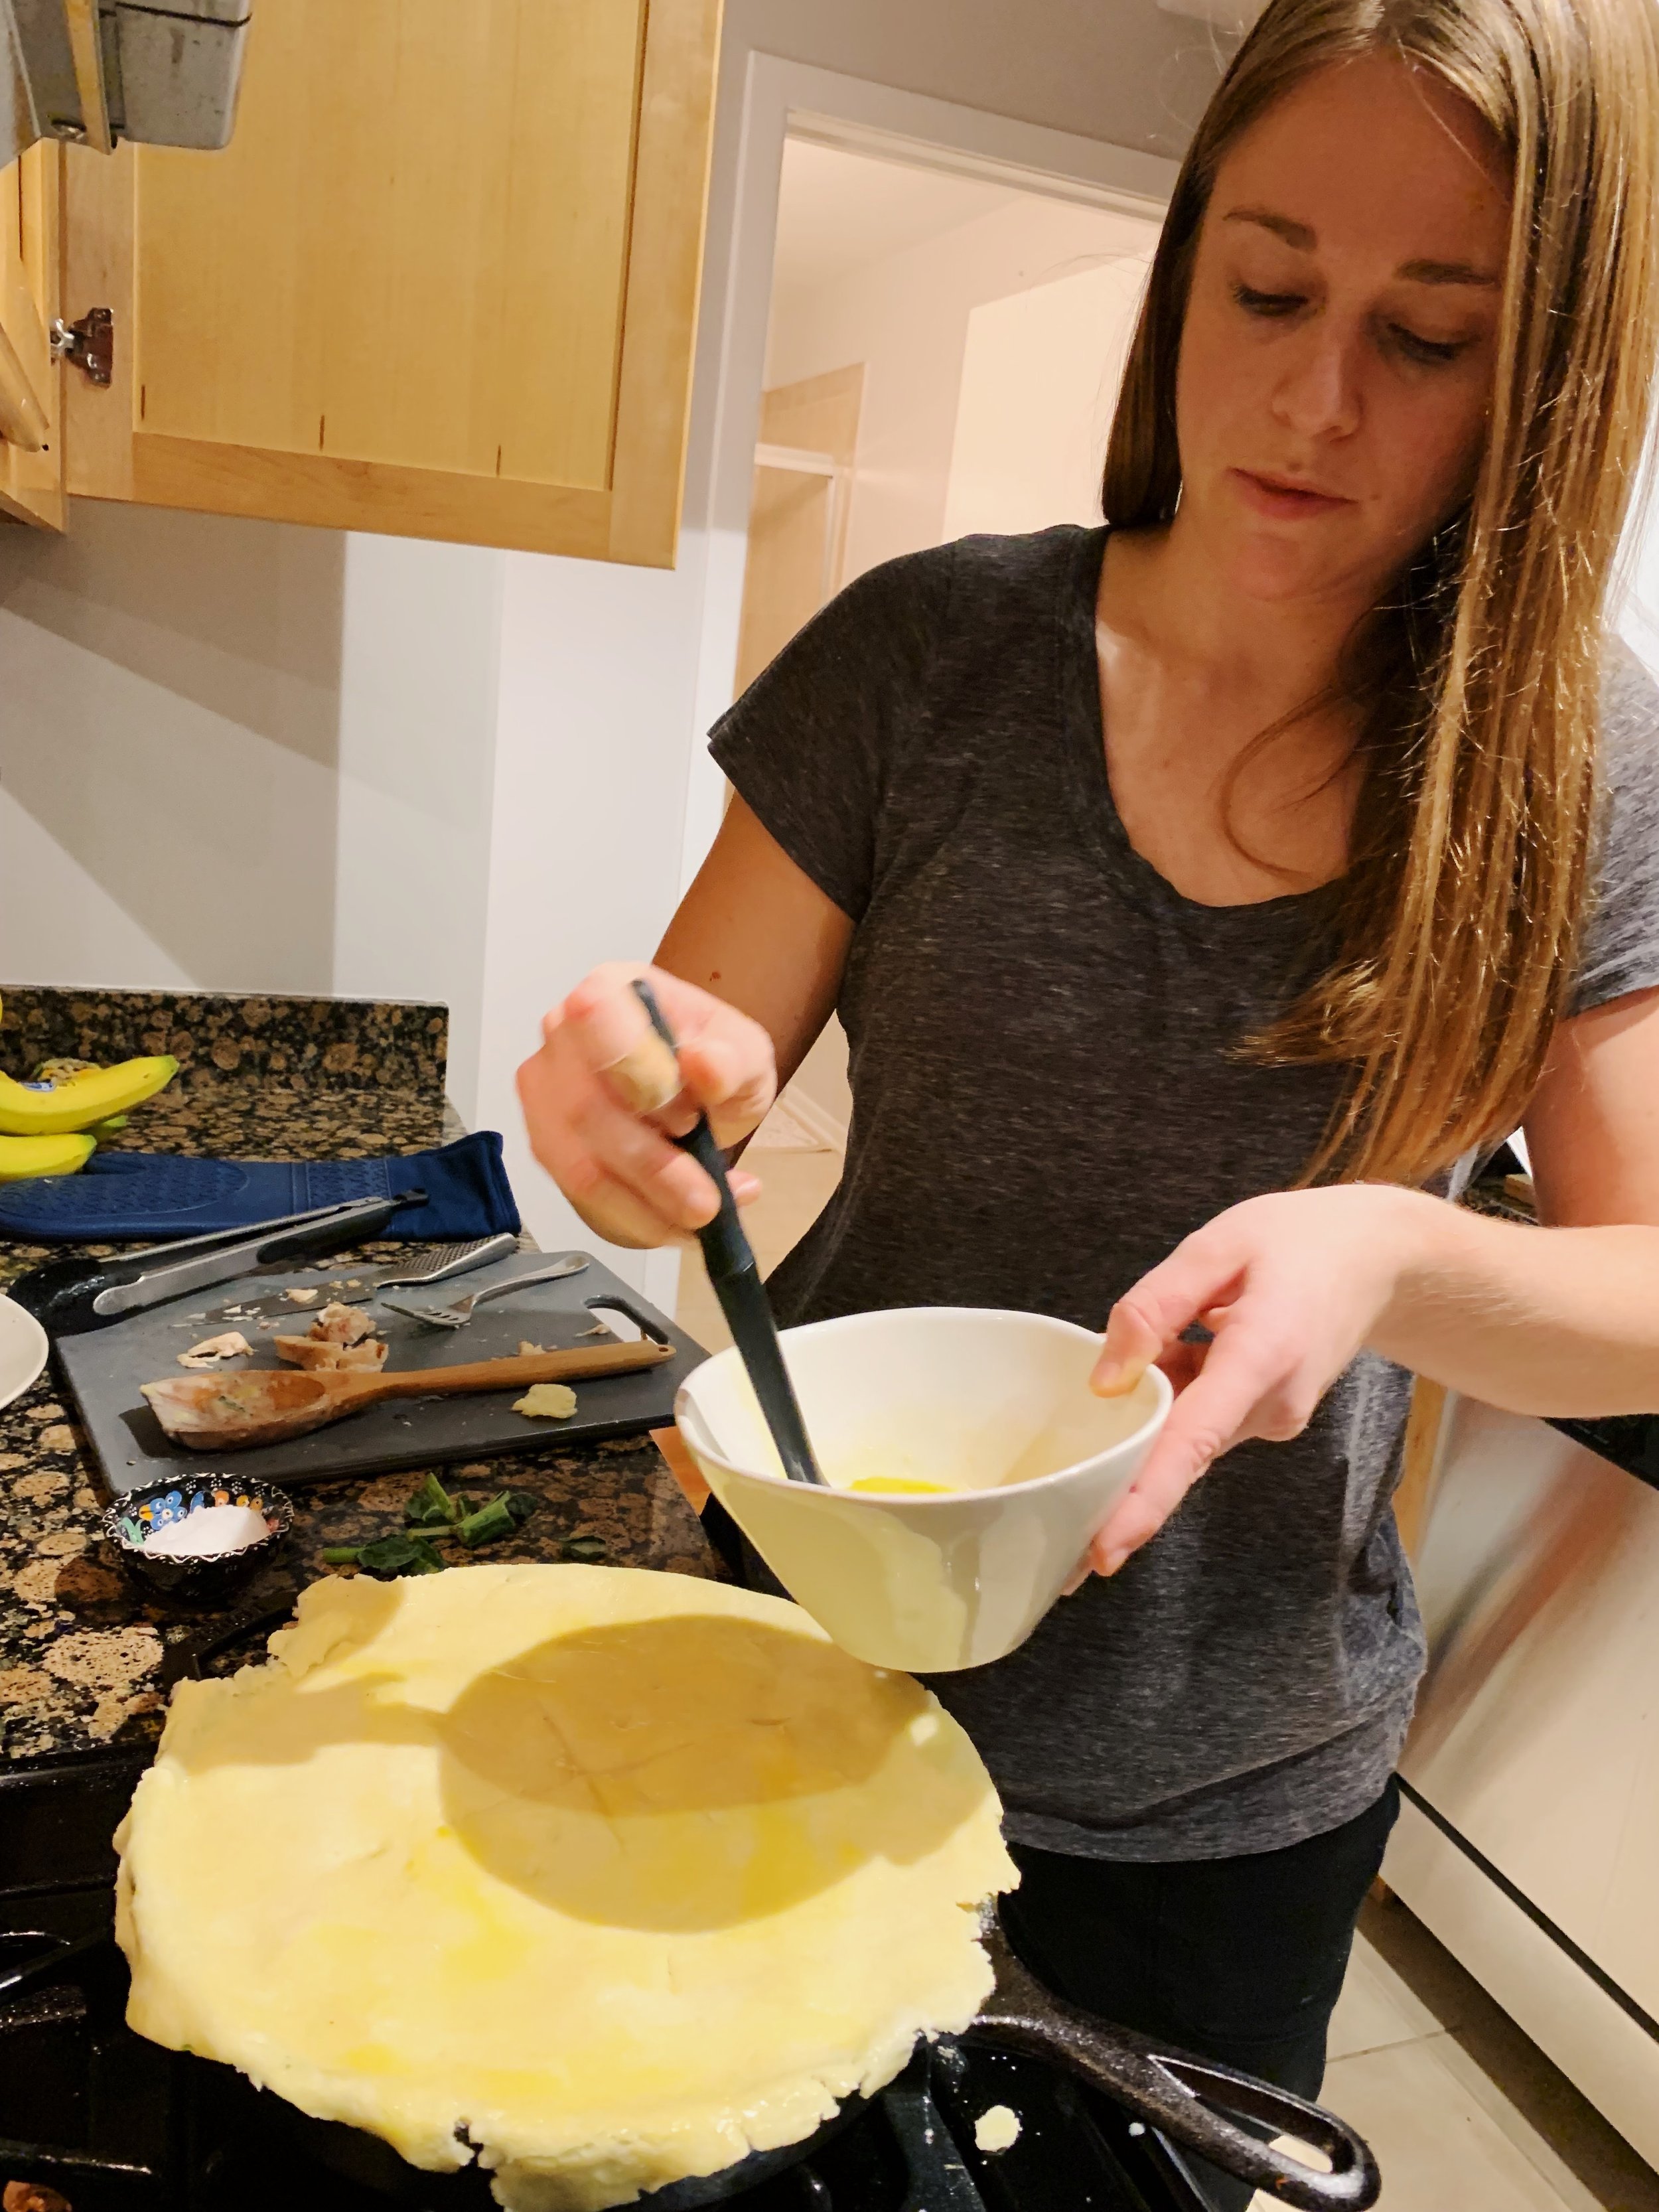
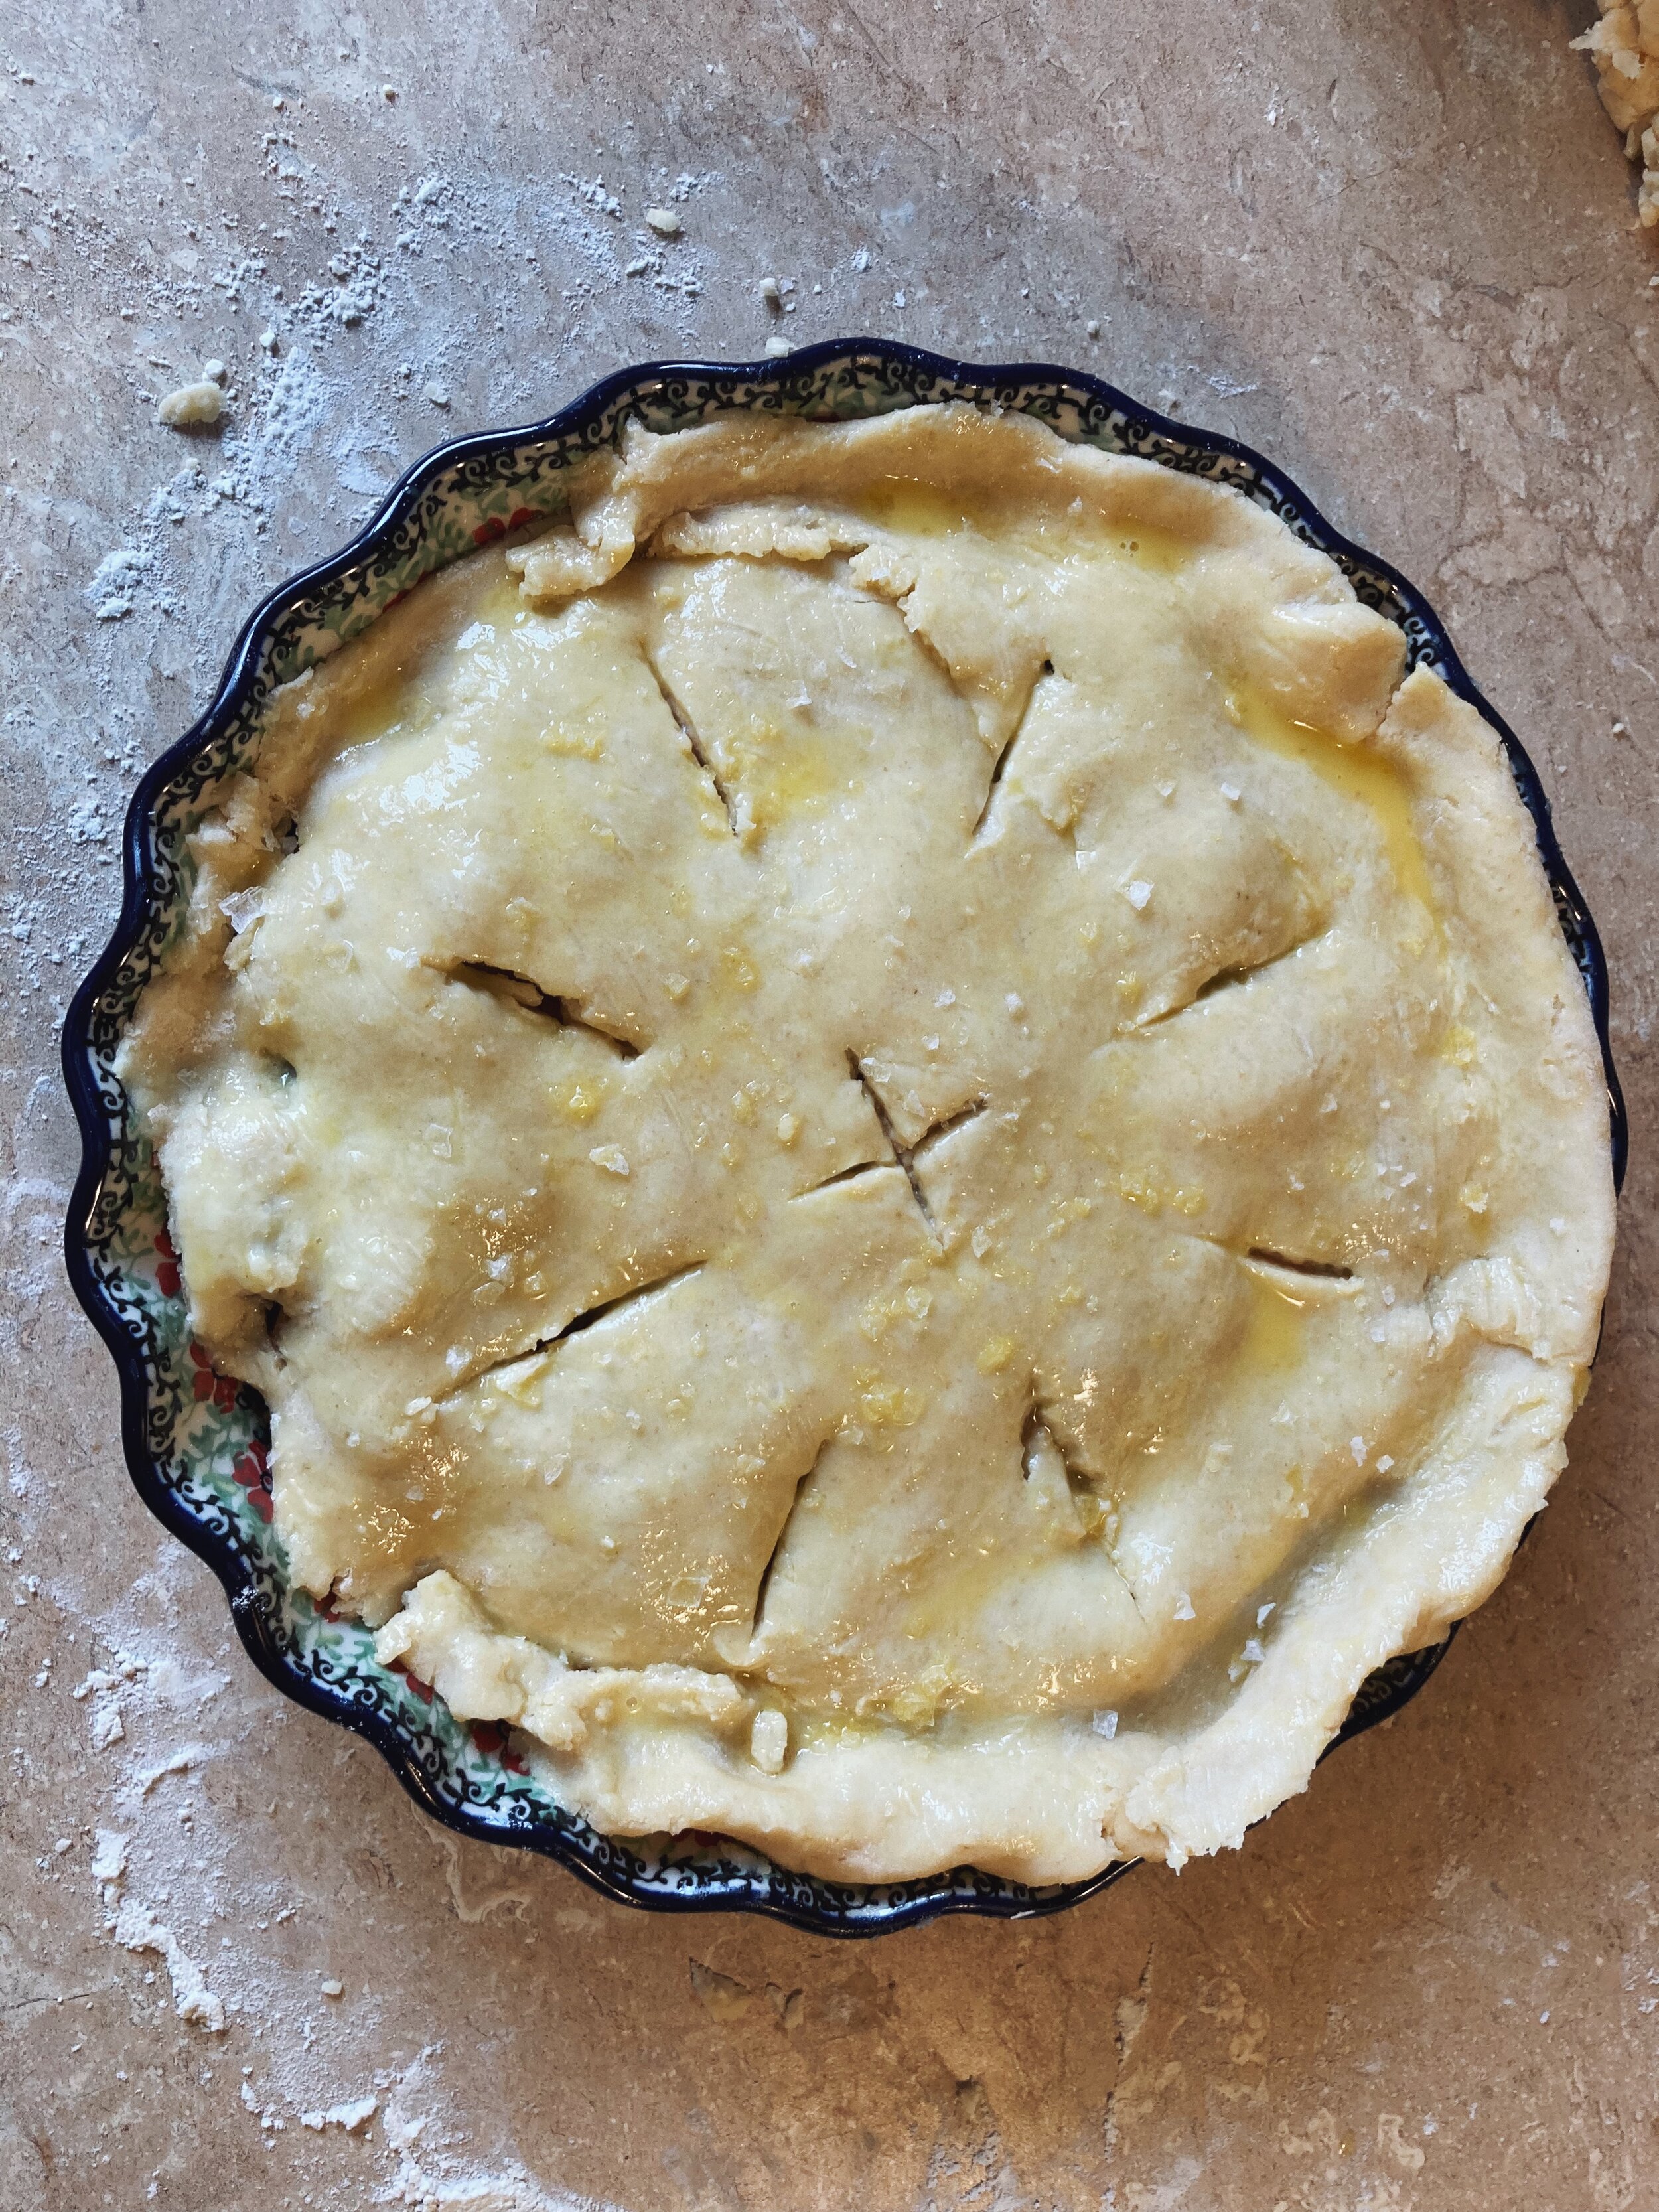
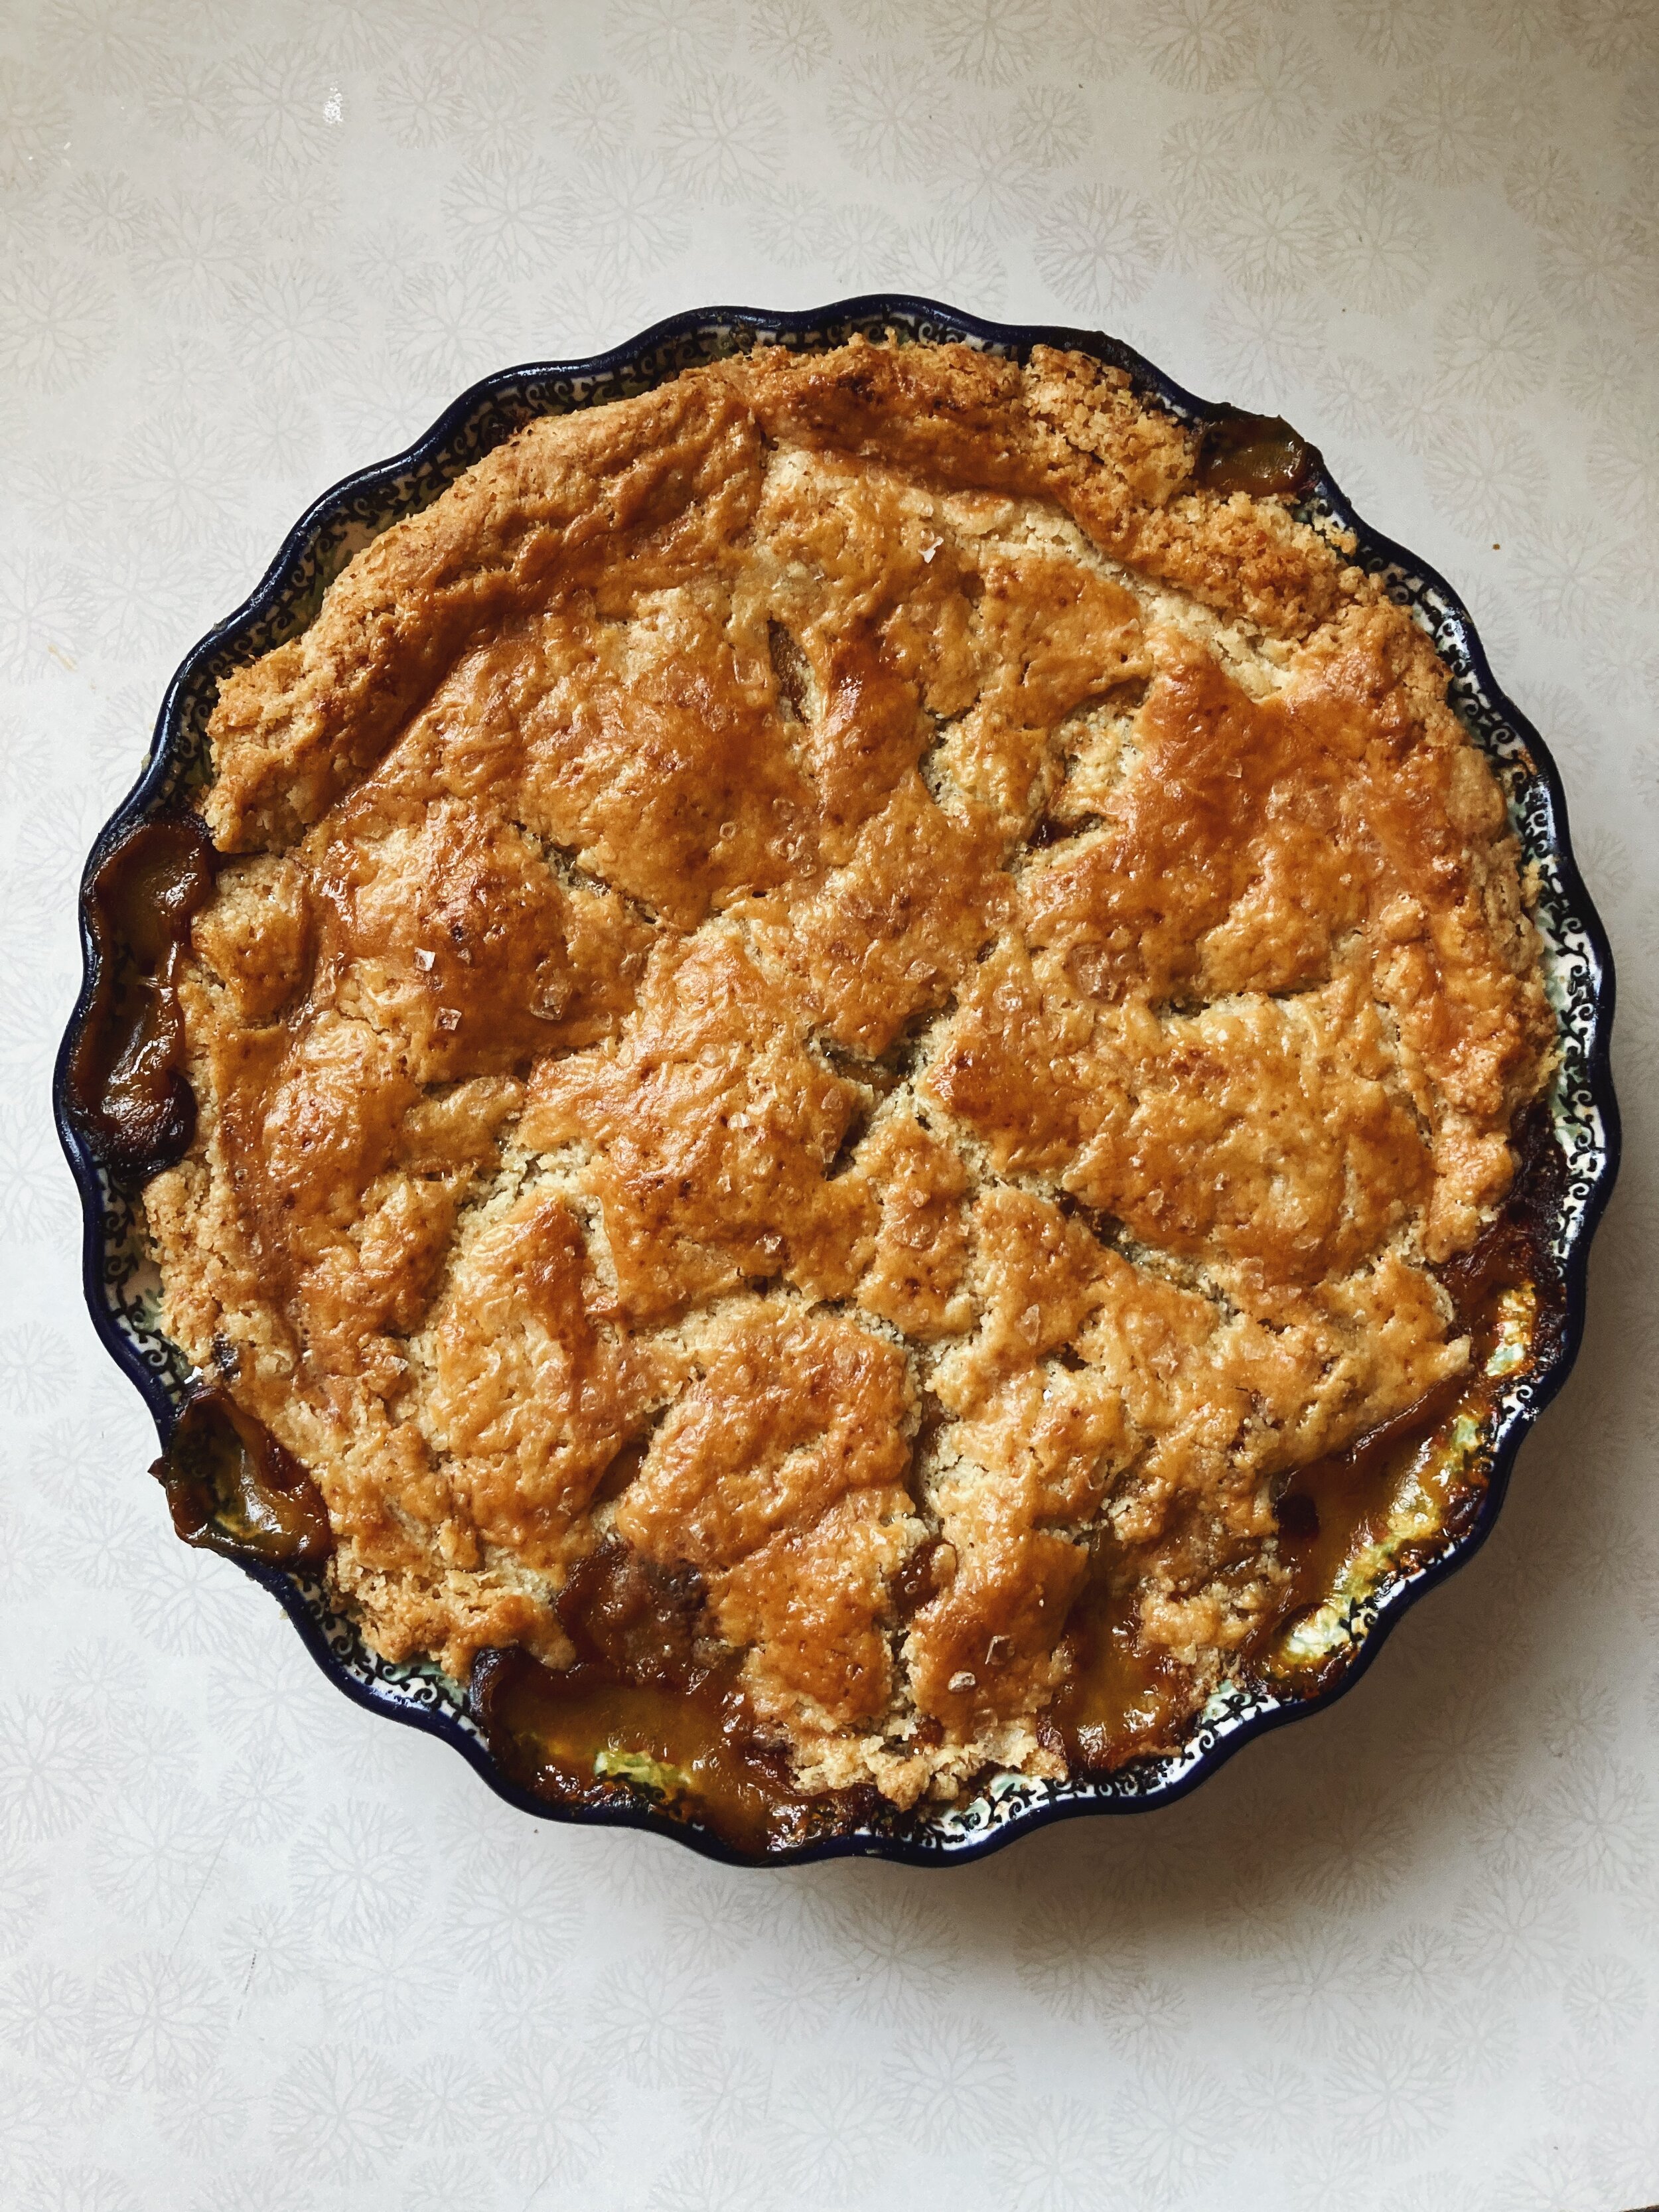
Feeling precarious and cautious, I still chose to top the skillet in its very full state with the rolled out pie dough and stick it in the oven to bake. Which I realize now, was a mistake, but couldn’t know it then. Alison says nothing about how full the skillet should be or how to crimp the edges of the dough around the skillet rim to secure the filling. There’s a real lack of information in the book so allow me to fill in the gaps: 

  1. It would be best to let the filling come up about a fourth of an inch from the top of the skillet. That way, when you lay the dough, it sort of falls into the pie and acts as a pseudo lid. Also, when the filling starts to bubble up, you will hopefully avoid it seeping over and making a huge, smoky mess in the oven as it burns on the bottom. (Yes, this happened to me.)

  2. Trim off any straggling pieces of dough that drape far down the sides of the skillet. I tried to do this, but didn’t do it enough. Within a few minutes, several pieces of dough fell from the sides and burned at the bottom of the oven. 

  3. Beware that the pie crust may turn golden faster than you think, so be ready to cover it with foil if it browns too quickly. I, thankfully, thought to check this and caught mine in time. 

  4. Finally, though you make sizeable slits in the dough’s surface to allow steam to escape, beware that they could close up as the butter melts and tries to seal the surface again. Be ready to reinforce the slits with a sharp knife, as necessary. 

If you’re reading between the obvious lines, you’ll see that this was clearly a chaotic cooking/baking process. I learned a lot. I also honestly enjoyed eating the fruits of my very thorough labor. This pie is delightfully tangy, salty, and filling. Perfect for a cold night with a glass of red wine. It also made fantastic leftovers. I don’t know how soon I’ll make this again – I’m exhausted just thinking about it. But I know I’ll crave it again this winter. Perhaps I’ll make a “Skillet Pie Revisited” post to report back on how my suggested adjustments work. To be determined! 

170 recipes cooked, 55 to go.

Double-Crusted Peach Pie with Honey, Ginger, and Lime by Alison Roman

It’s been a minute! I just took a full two weeks off of this project to relax, reconnect with my husband, and spend time in nature. We spent a few days up in Northern Minnesota in the Boundary Waters, which is a collection of over 1,000 lakes and many islands between the Minnesota and Canadian borders. To get to our campsite, it took eight miles of canoeing and six different portage sites where we had to move all our gear, including the canoes, from one side of an island to another. It was hard work, but very rewarding. 

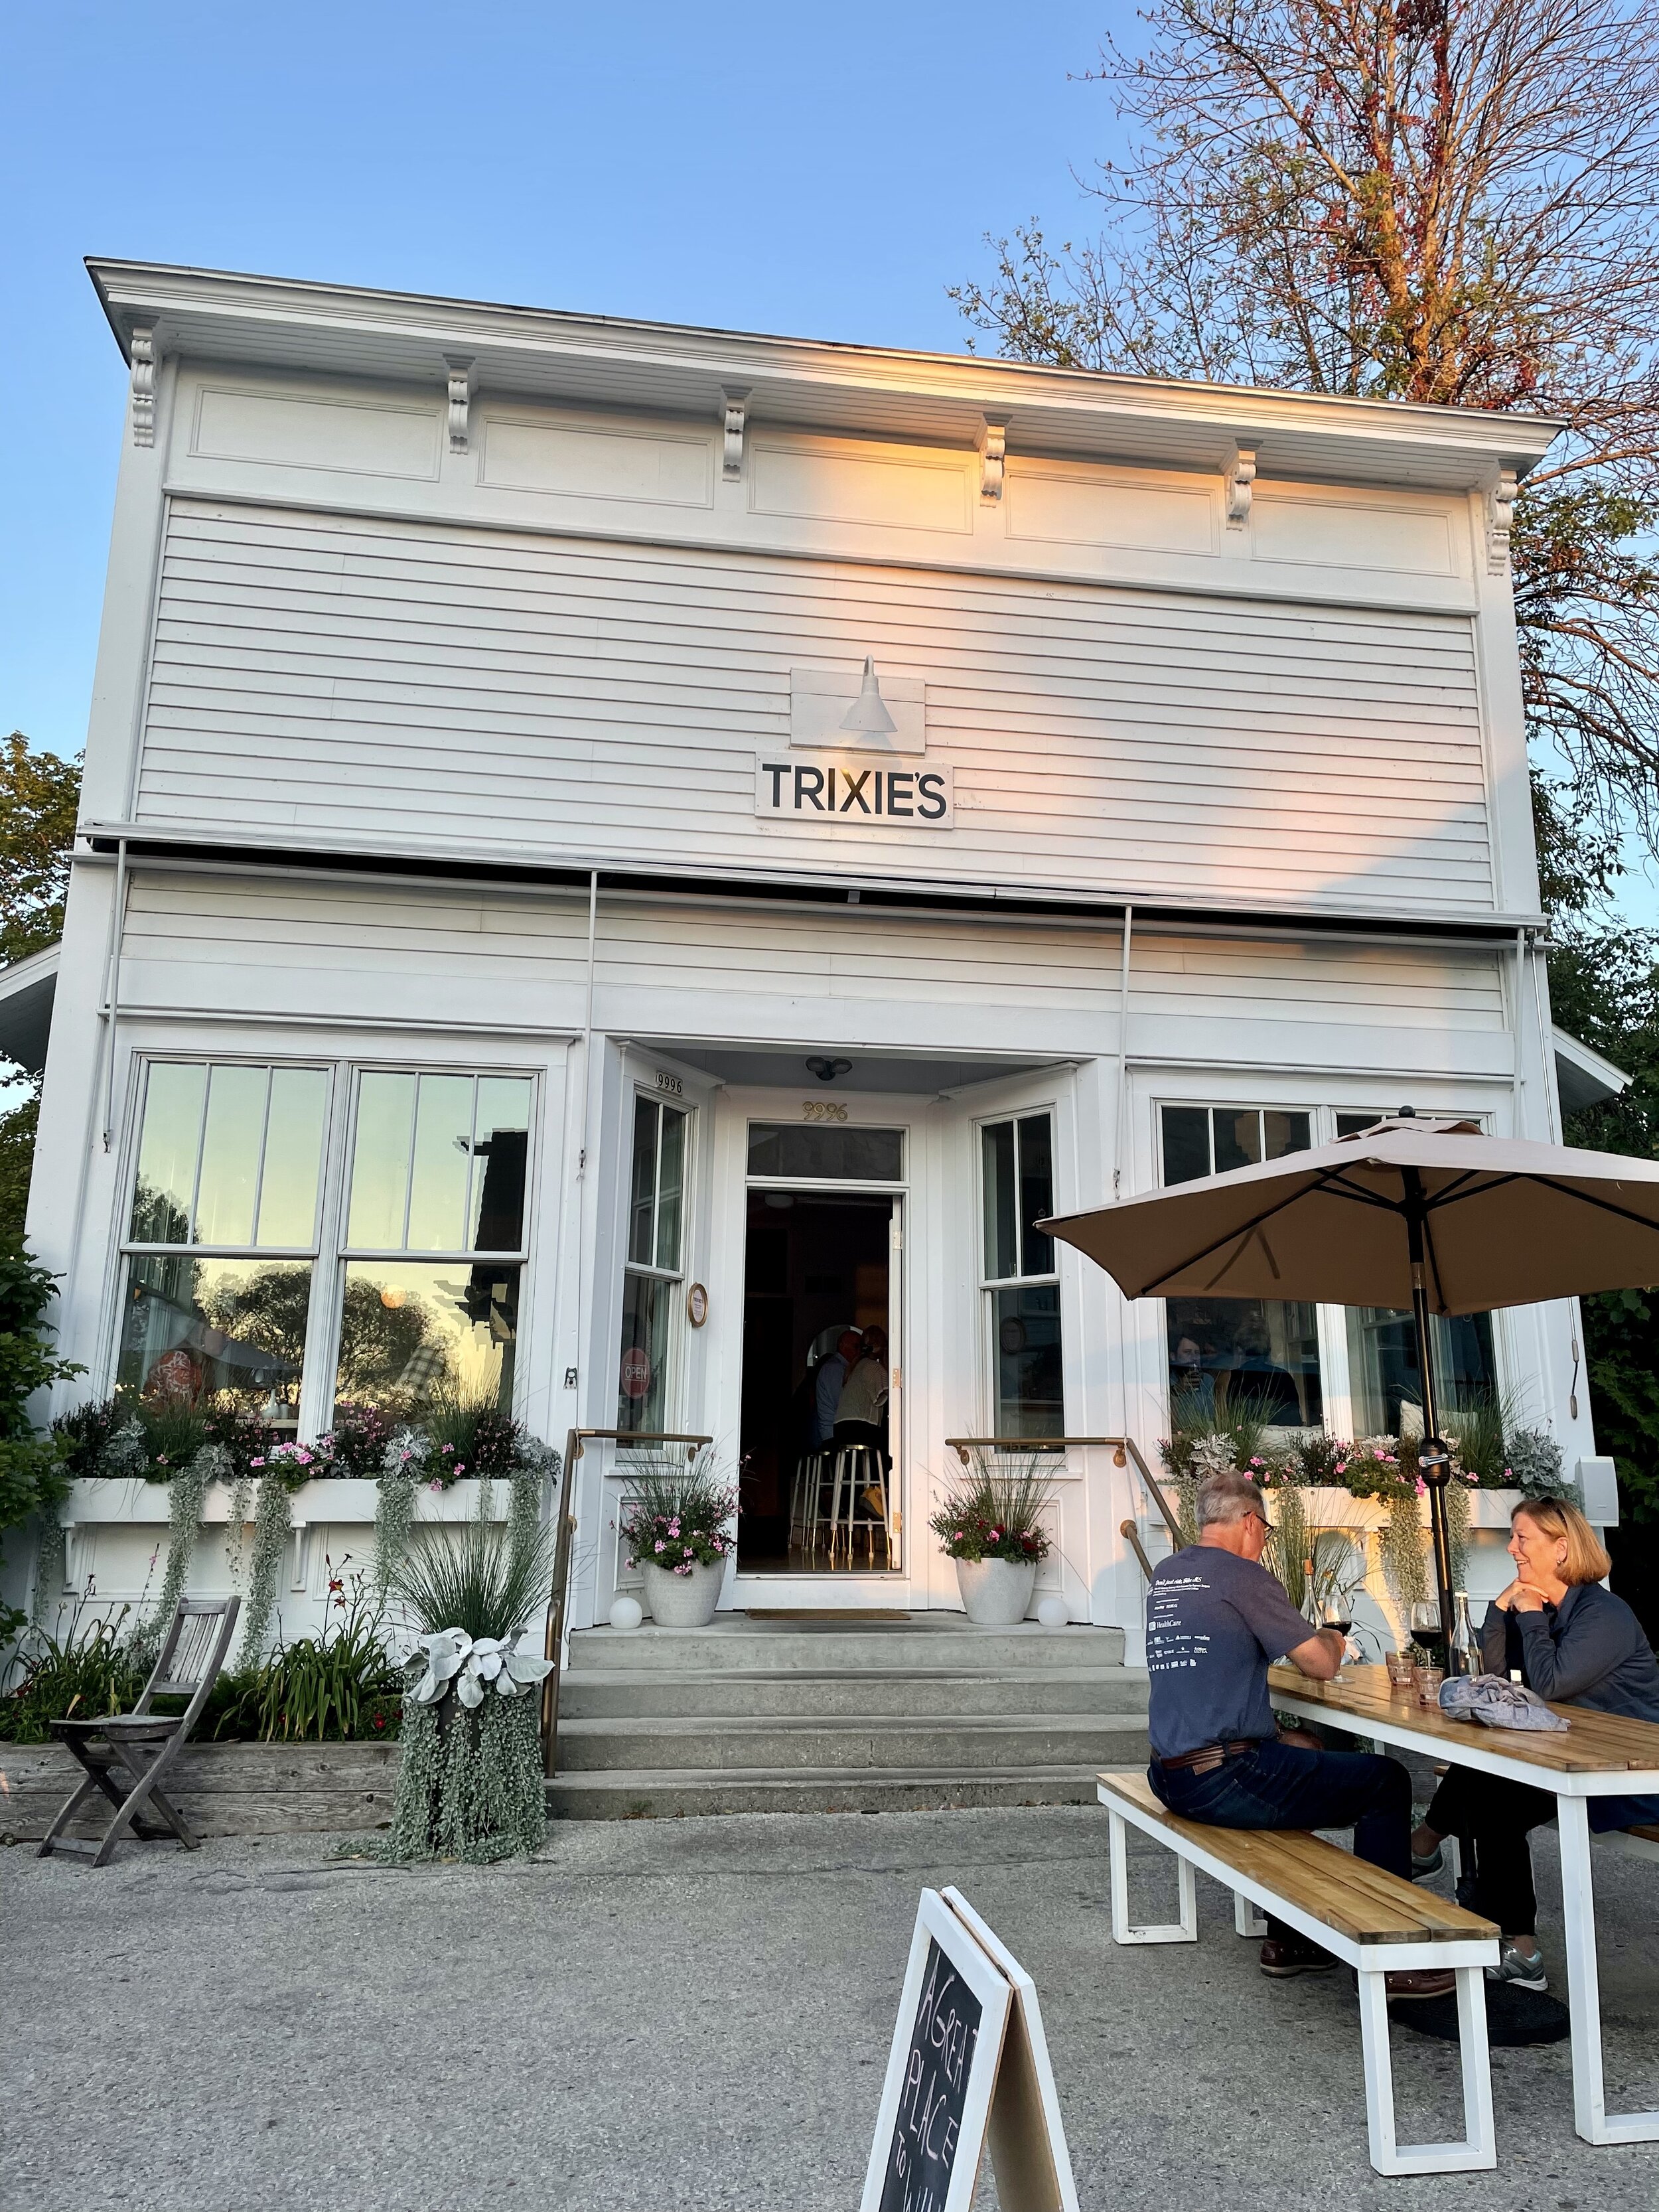
We spent our second week of vacation mostly in Door County, WI. We biked, hiked, sailed, and ate some surprisingly fantastic meals. I even discovered what Jordan calls “my spirit restaurant.” A magical, thoughtful, incredibly delicious place called Trixie’s. It was so good that we ate there on two different nights. I plan to write about it at some point because it really was that special. 


Alright, now back to our regularly scheduled programming. Because what you’re really here for is pie. A peach pie. A double-crusted peach pie. A double-crusted peach pie with honey, ginger, and lime. A pie for the summer, for standing apart from other regular fruit pies, for making a statement. 

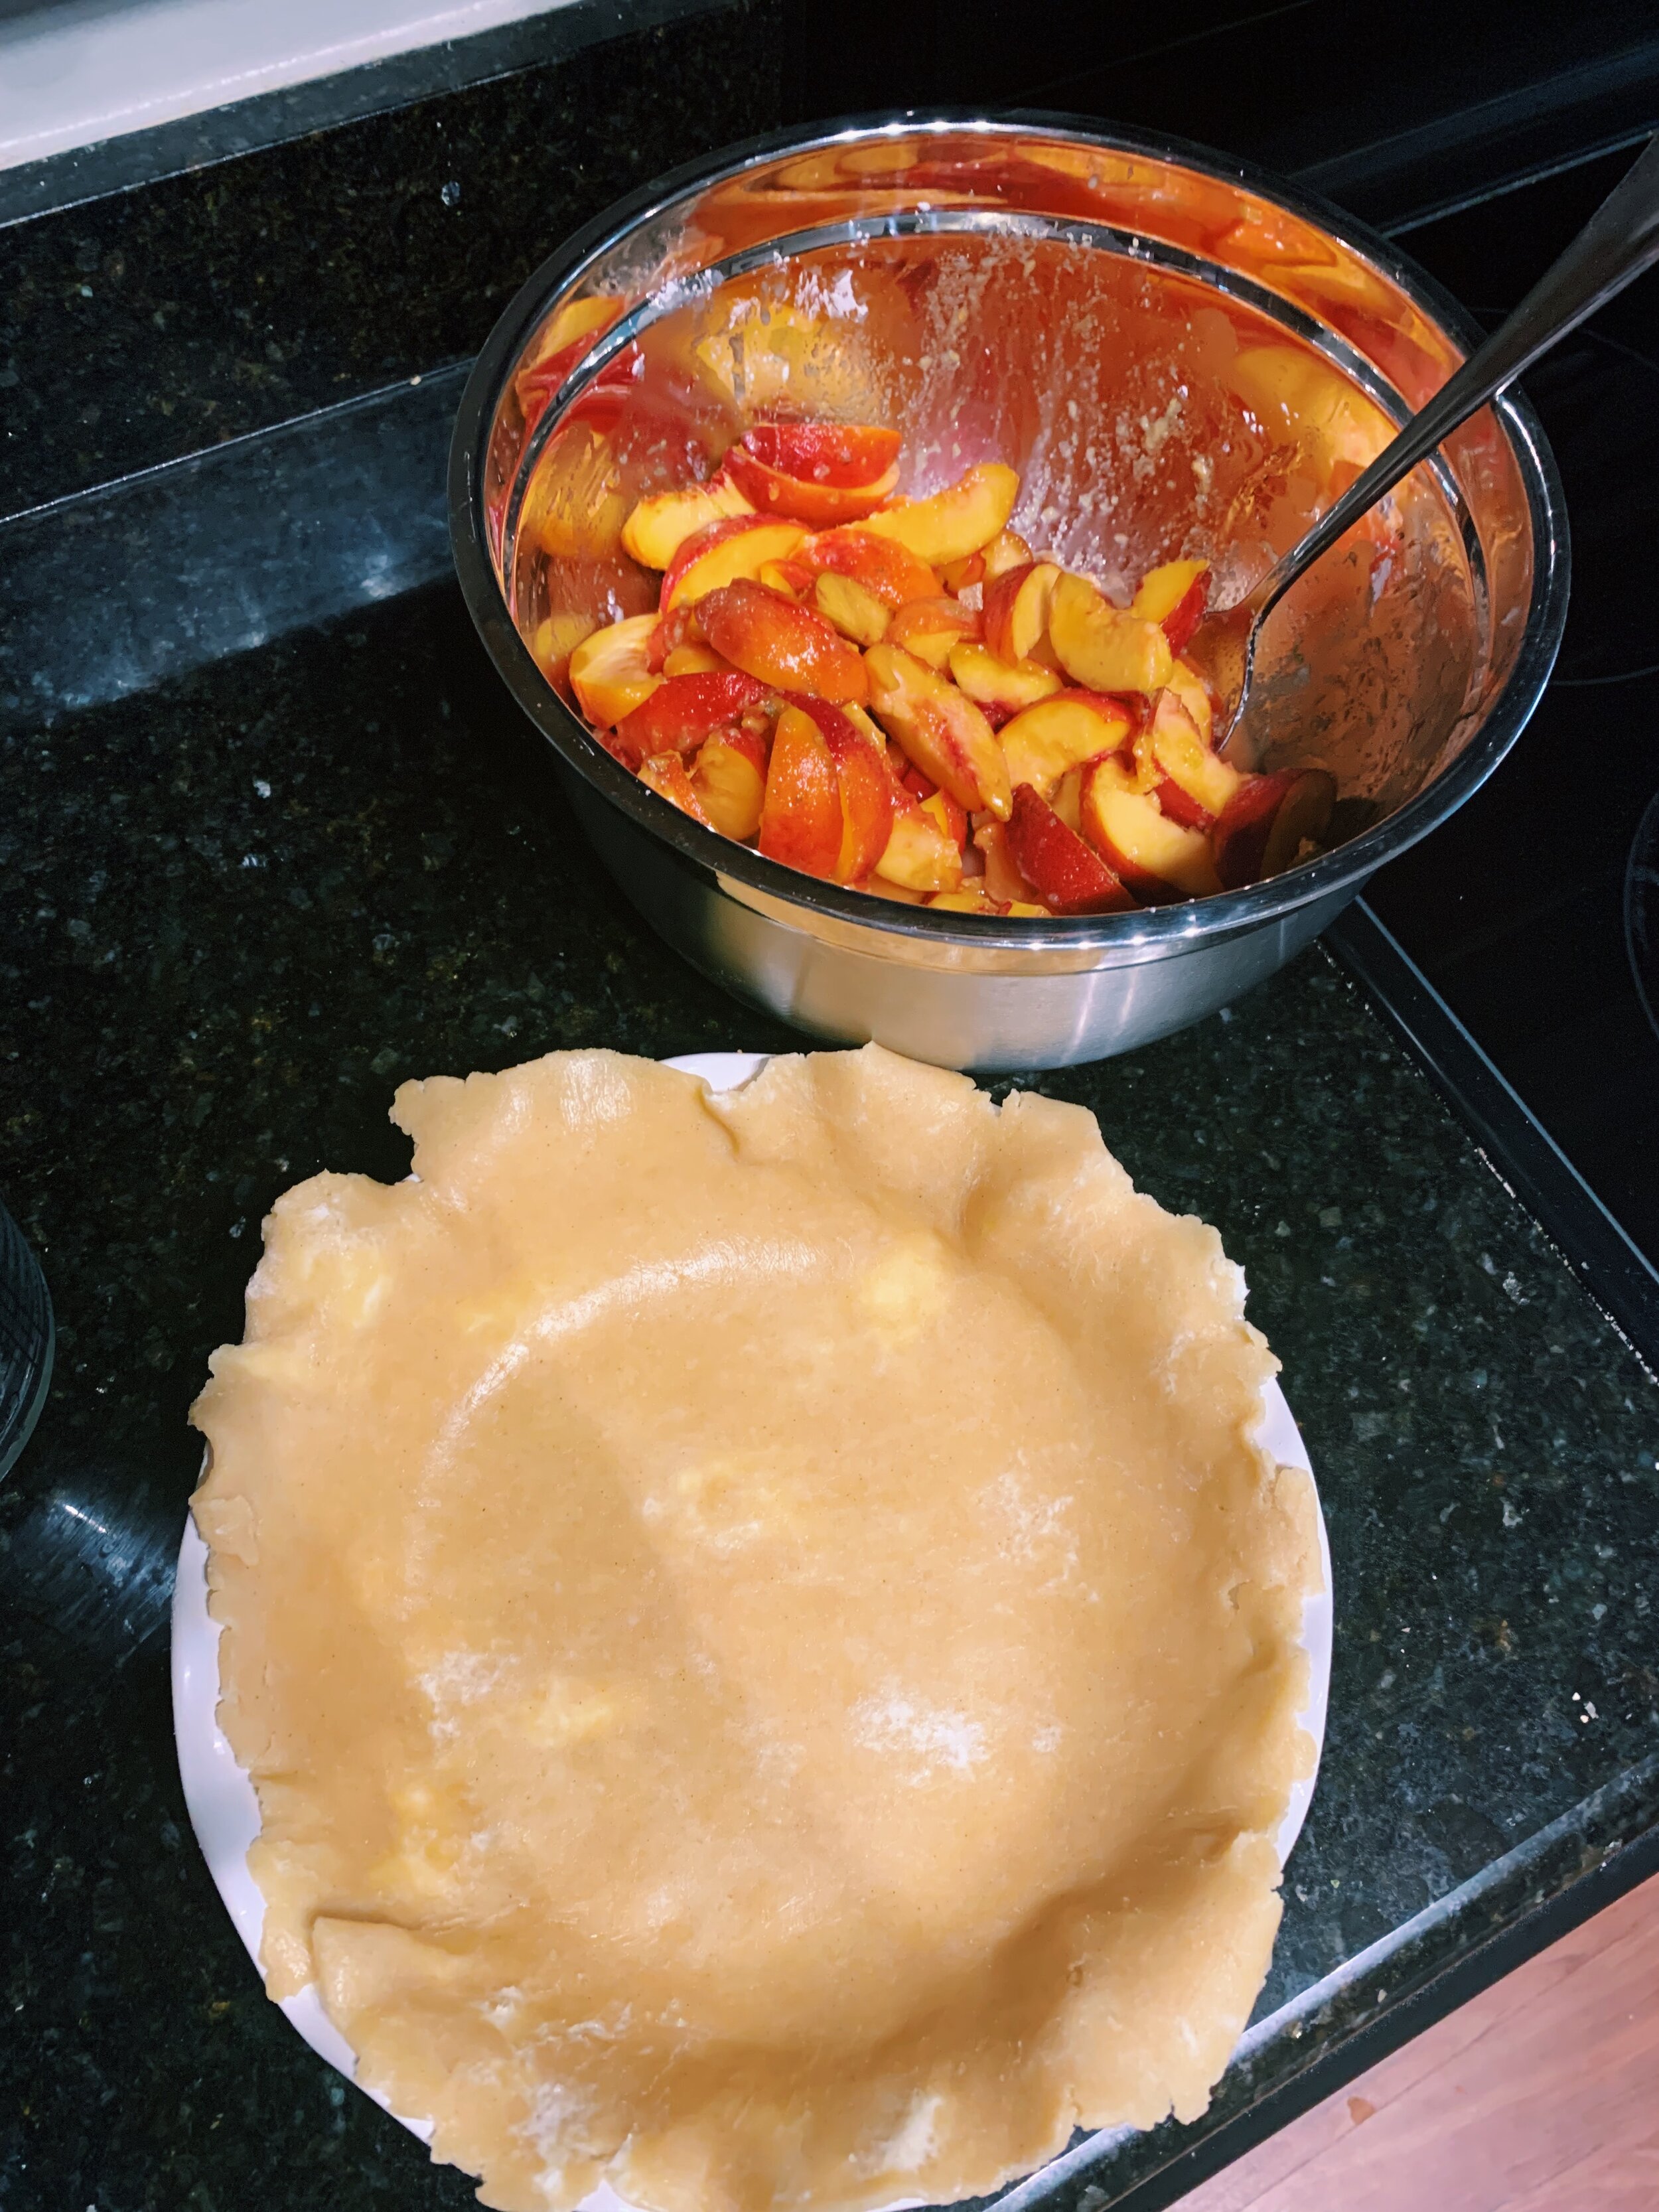
As per usual, I made both pie crust discs from King Arthur’s Gluten-Free Pie Crust recipe. It’s become a reliable staple for me as I venture further on this gluten-less journey, and I recommend it to all others who find themselves on the same gluten-less road. Once I prepared the dough and let it chill for about two hours, I followed Alison’s suggestion to roll both discs out to roughly 14-inch rounds and then stuck both of them back in the fridge to cool. It was a really hot day, so the butter seemed glad to spend maximum time in the cold. 

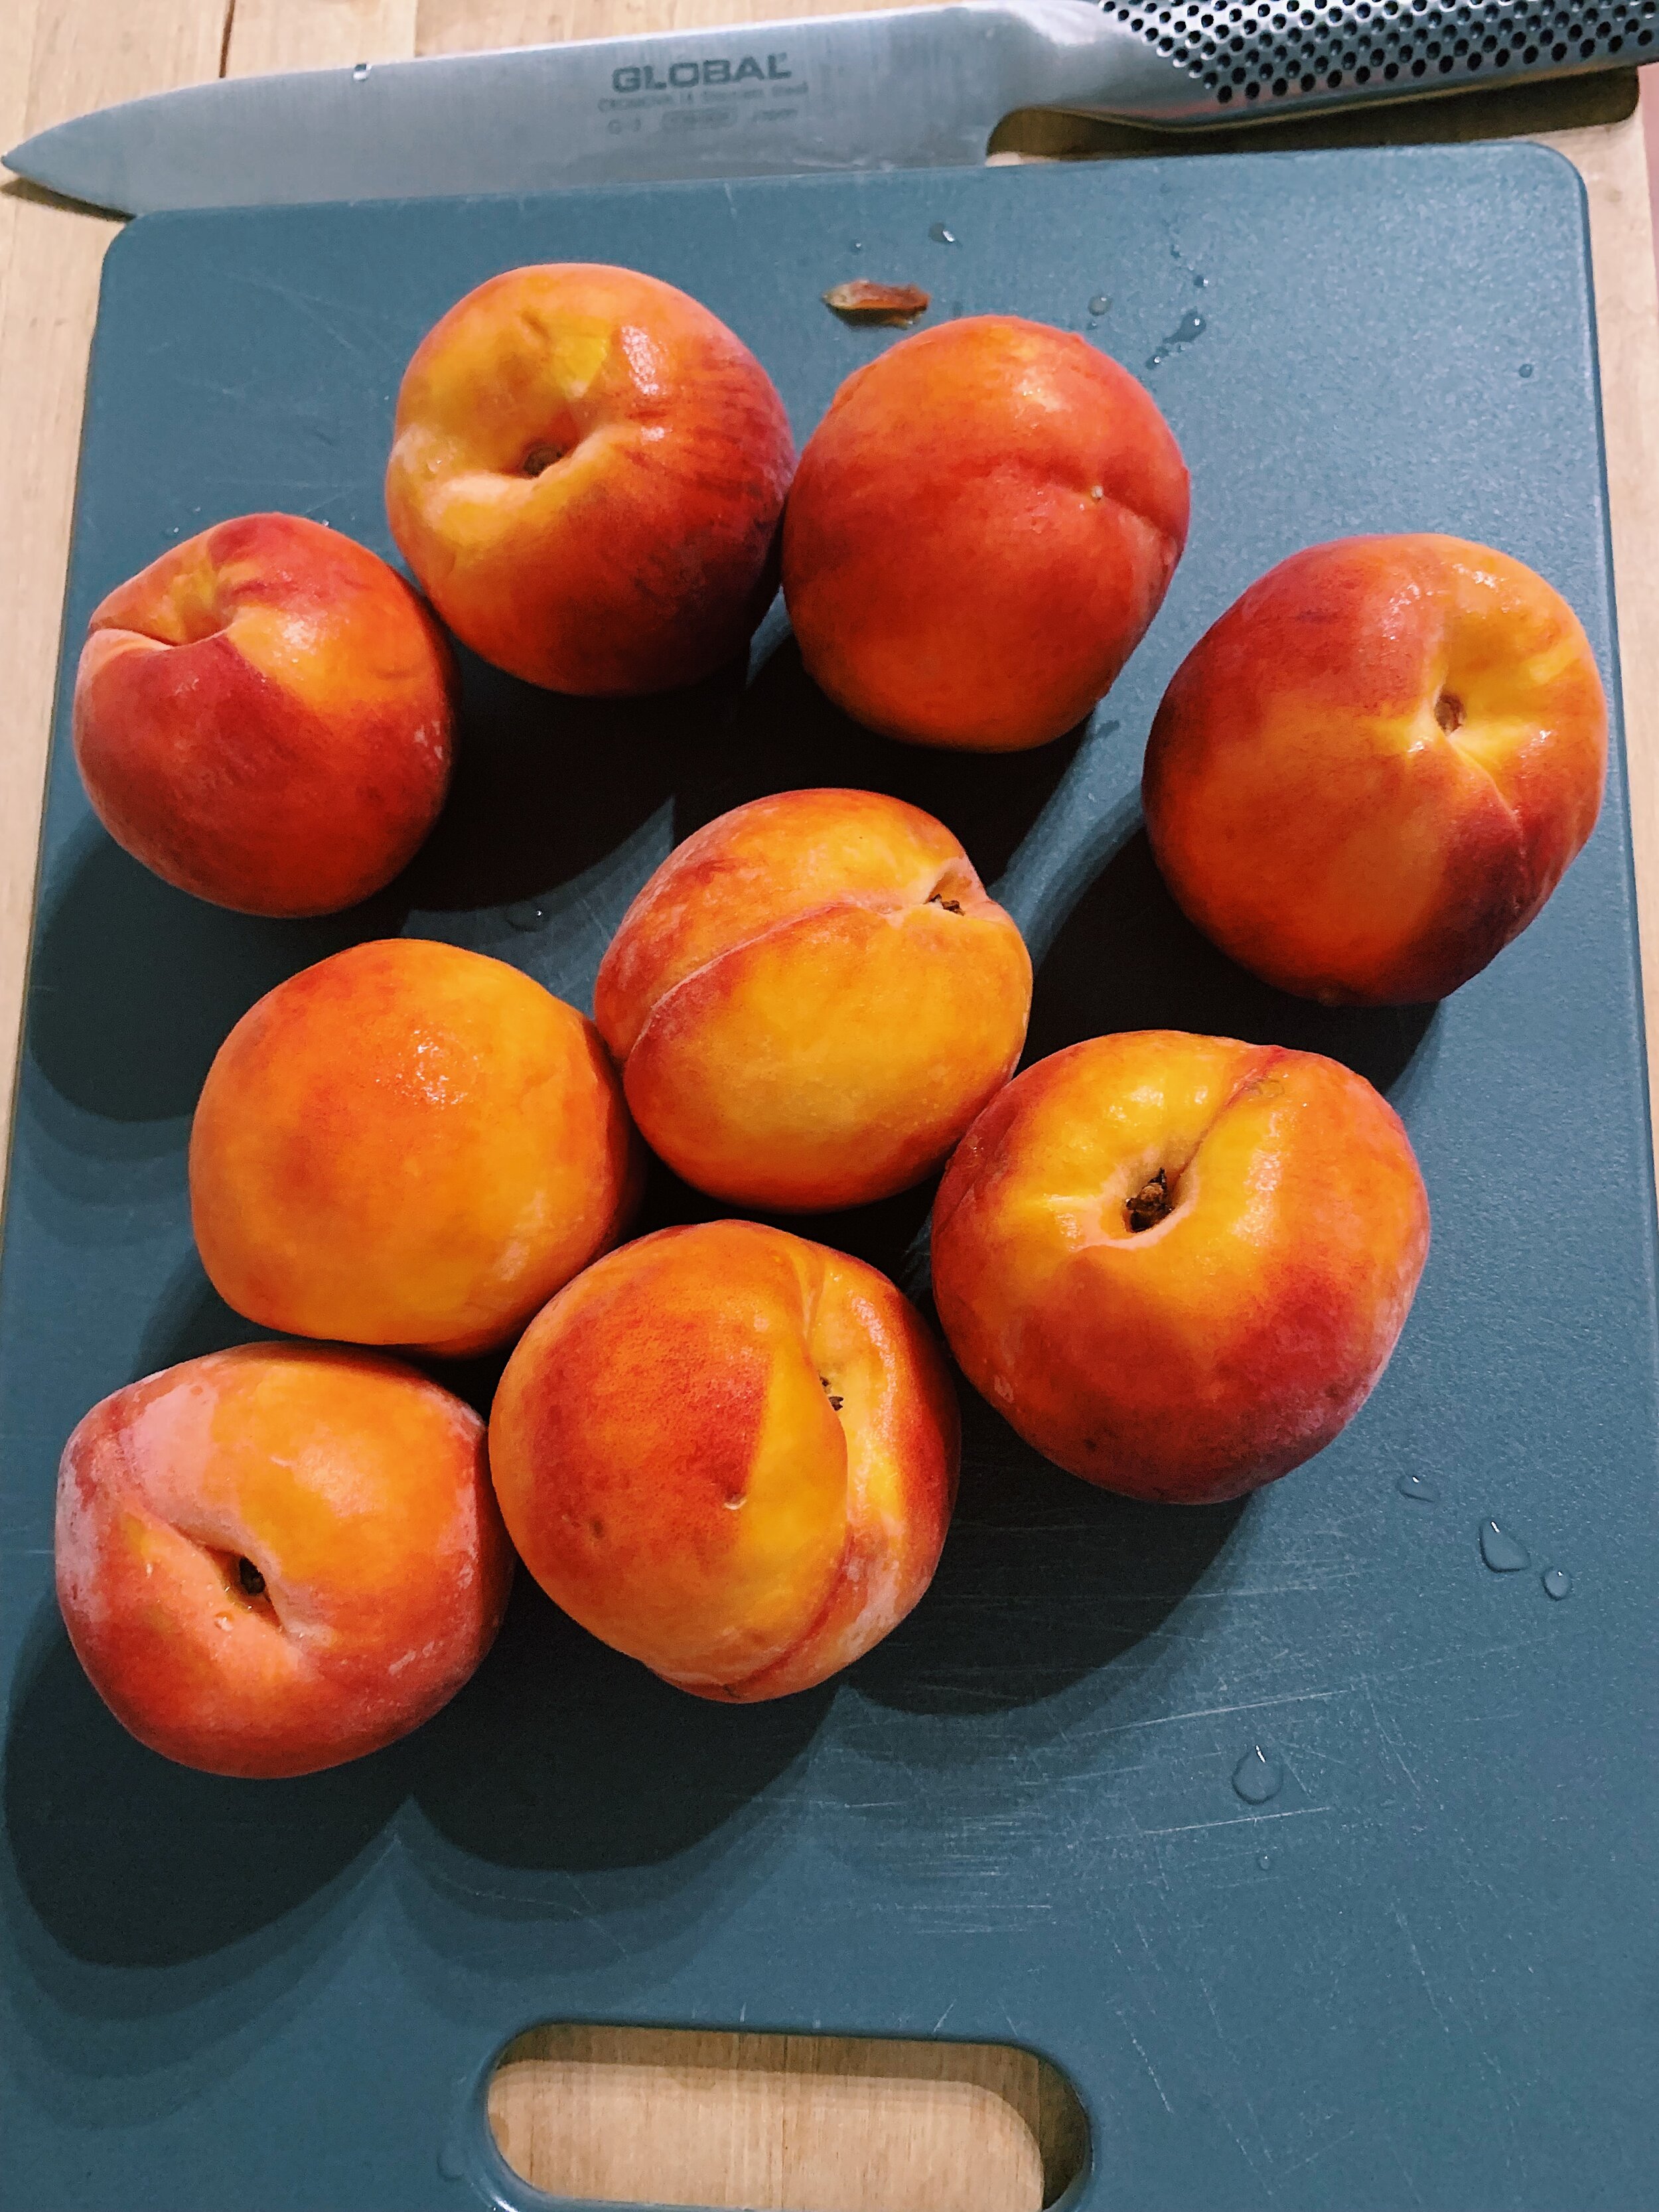
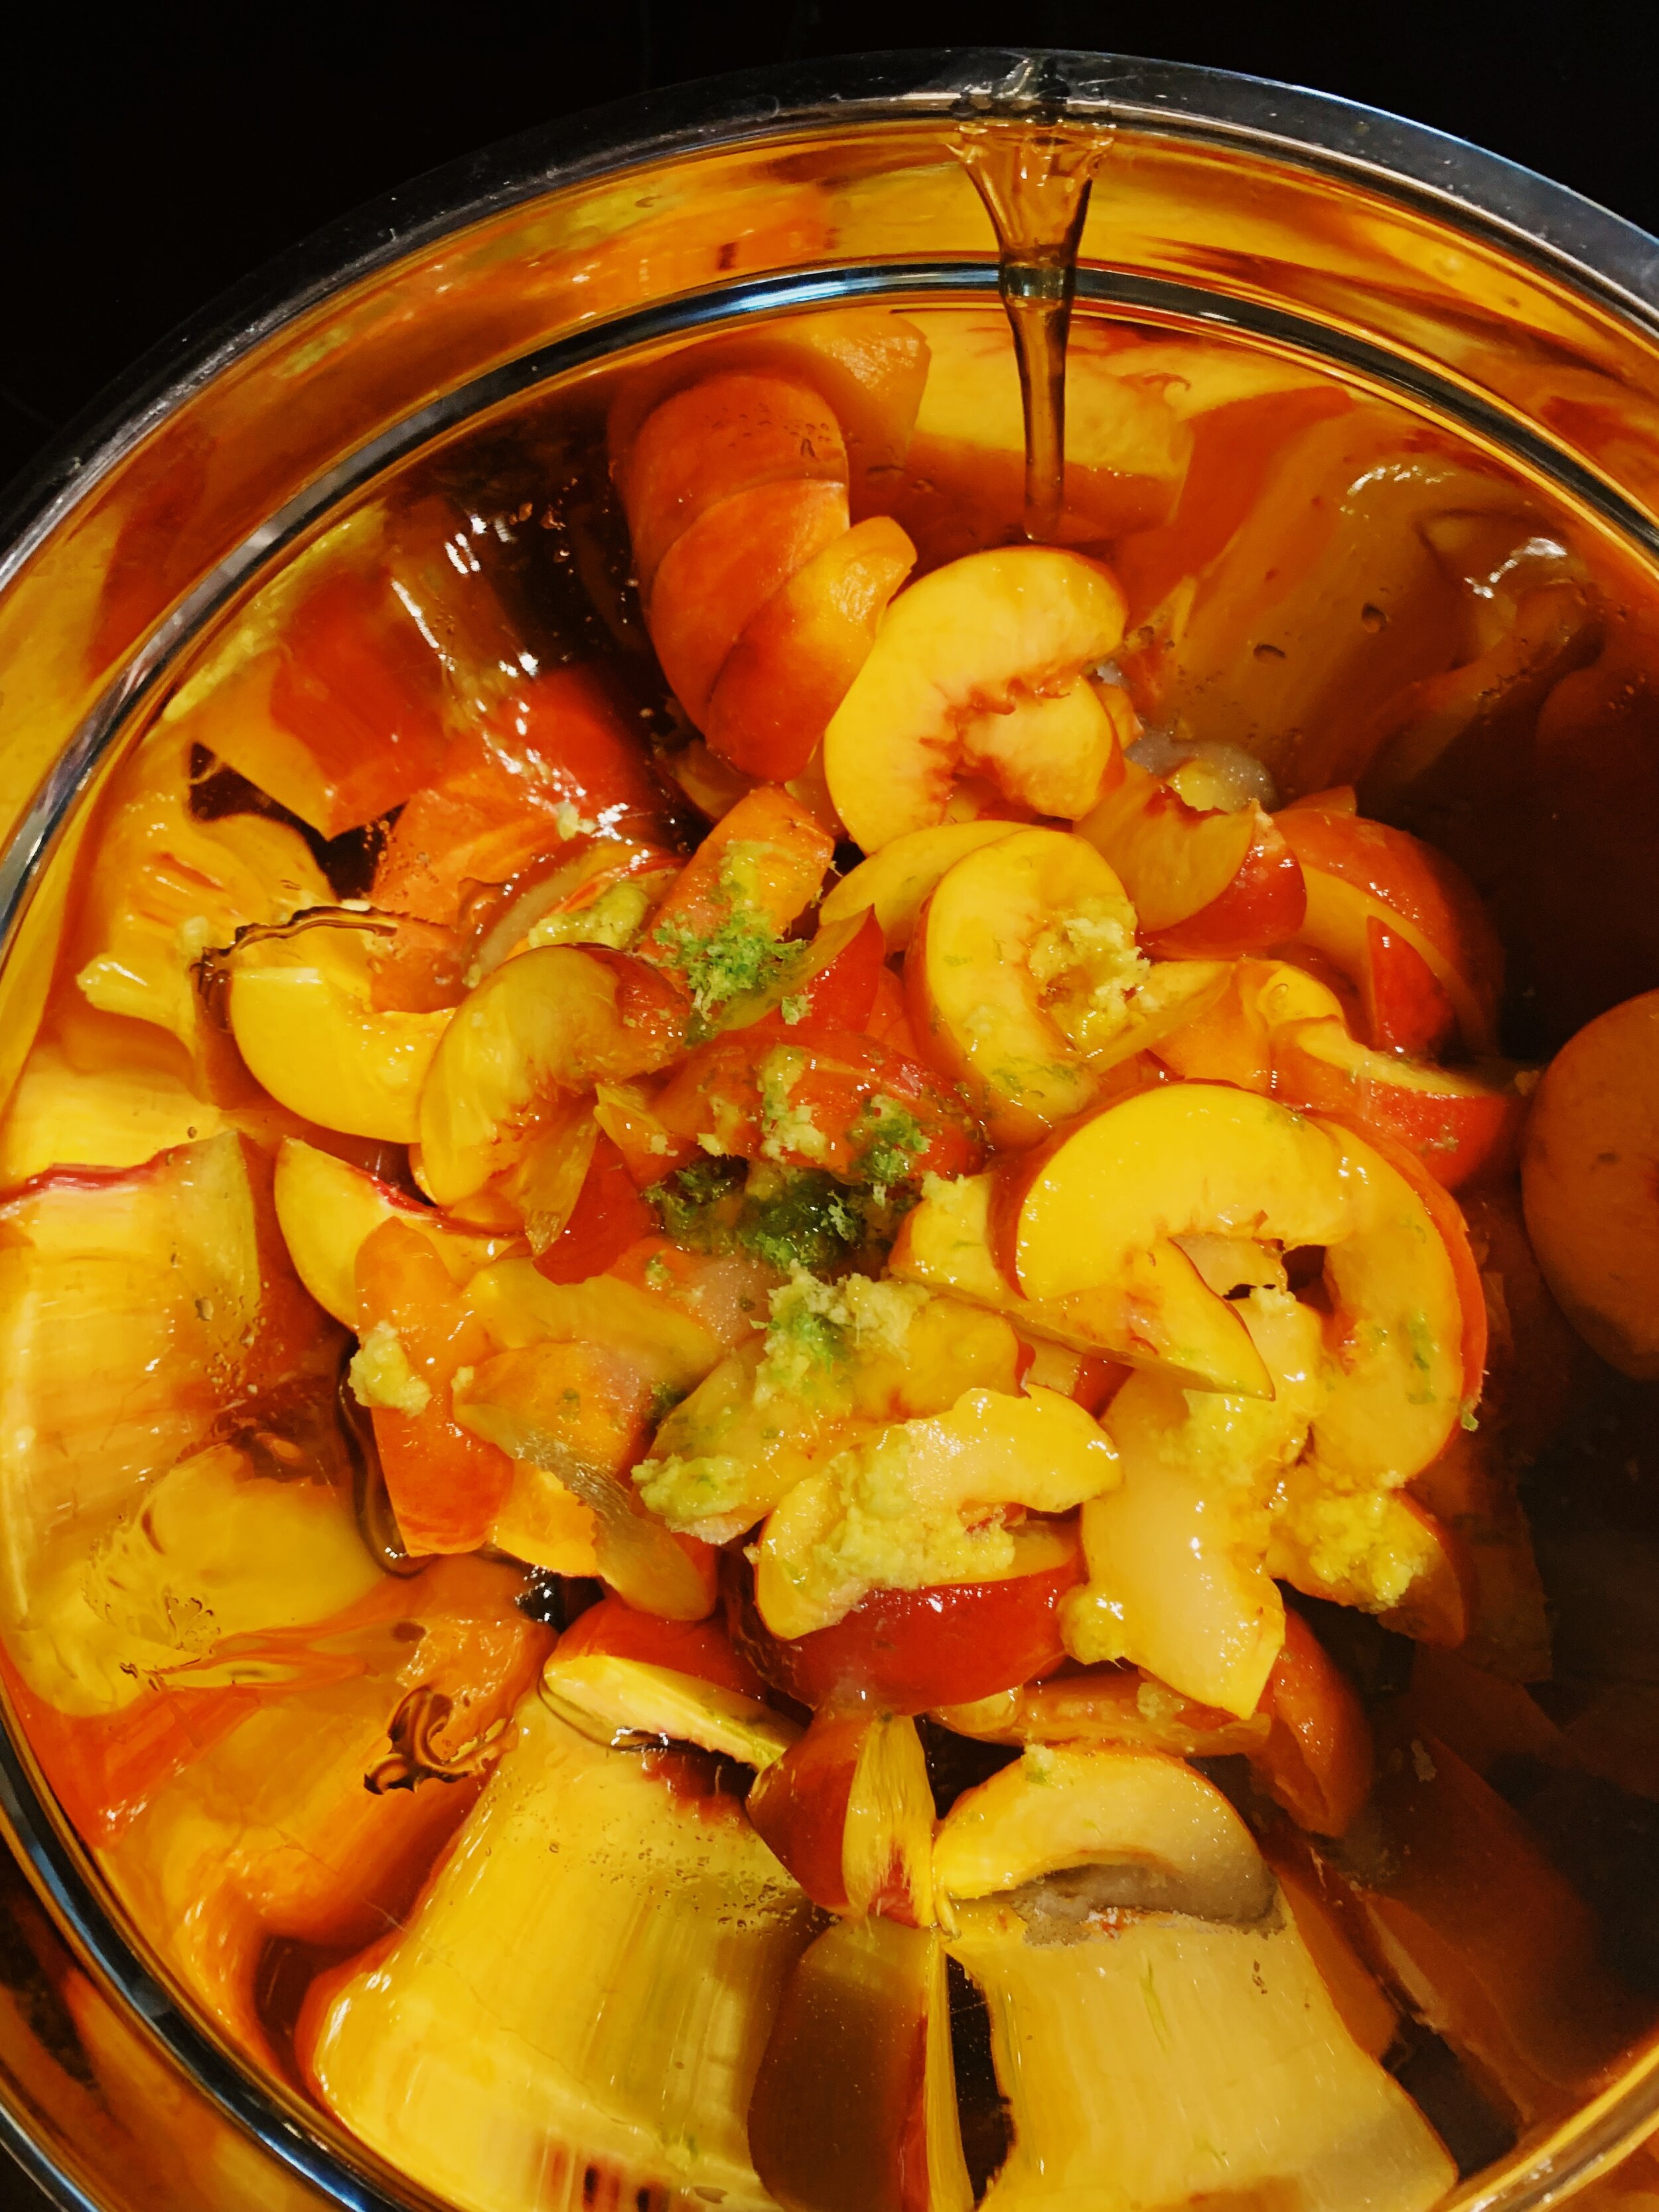
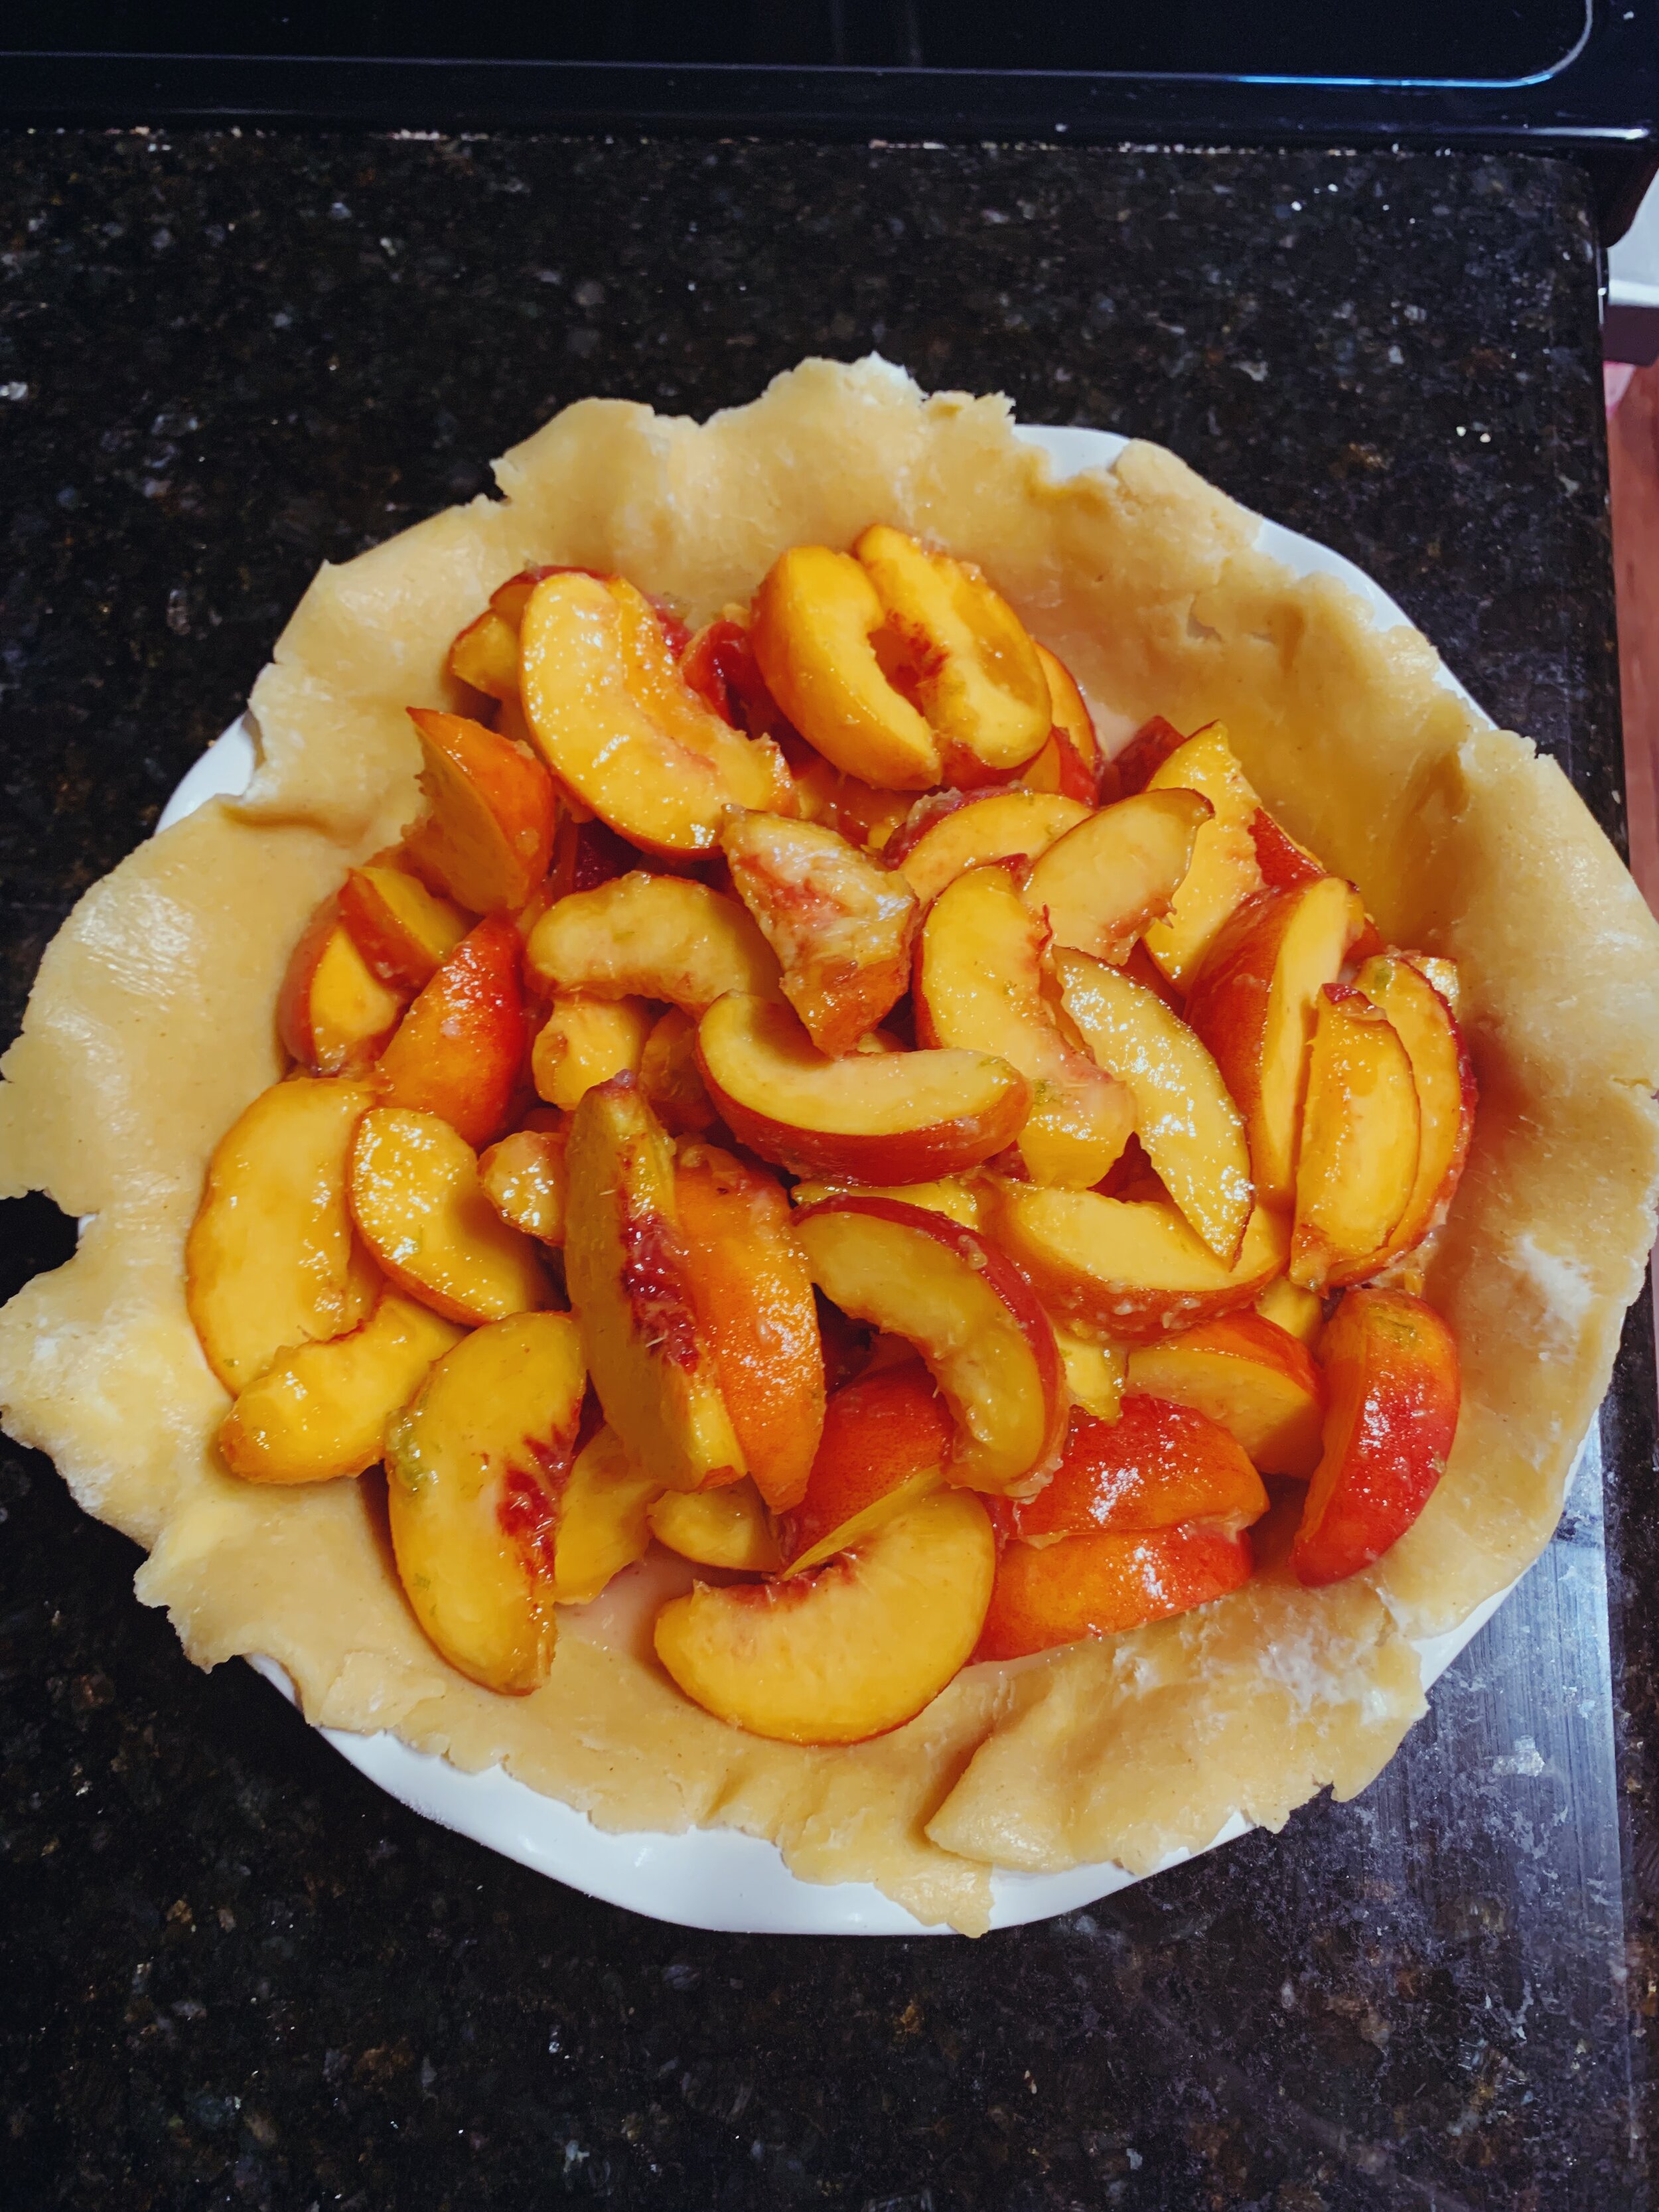
Meanwhile, I prepared the filling, which consists of 4 lbs. of ripe peaches, sugar, honey, lime zest and juice, cornstarch, and a good bit of freshly grated ginger. Unlike some of Alison’s other fruit desserts, I actually followed the suggested amount of peaches. In the past, I’ve found that for whatever reason, her quantities of fruit far surpass the capacity of my baking dishes. So I’ve ended up with anywhere from 1-2 lbs. of extra sliced fruit. Not the worst problem to have, but not ideal either. But this time around, I had a feeling that the pie could handle a piled-high mound of slices. And so it could. 

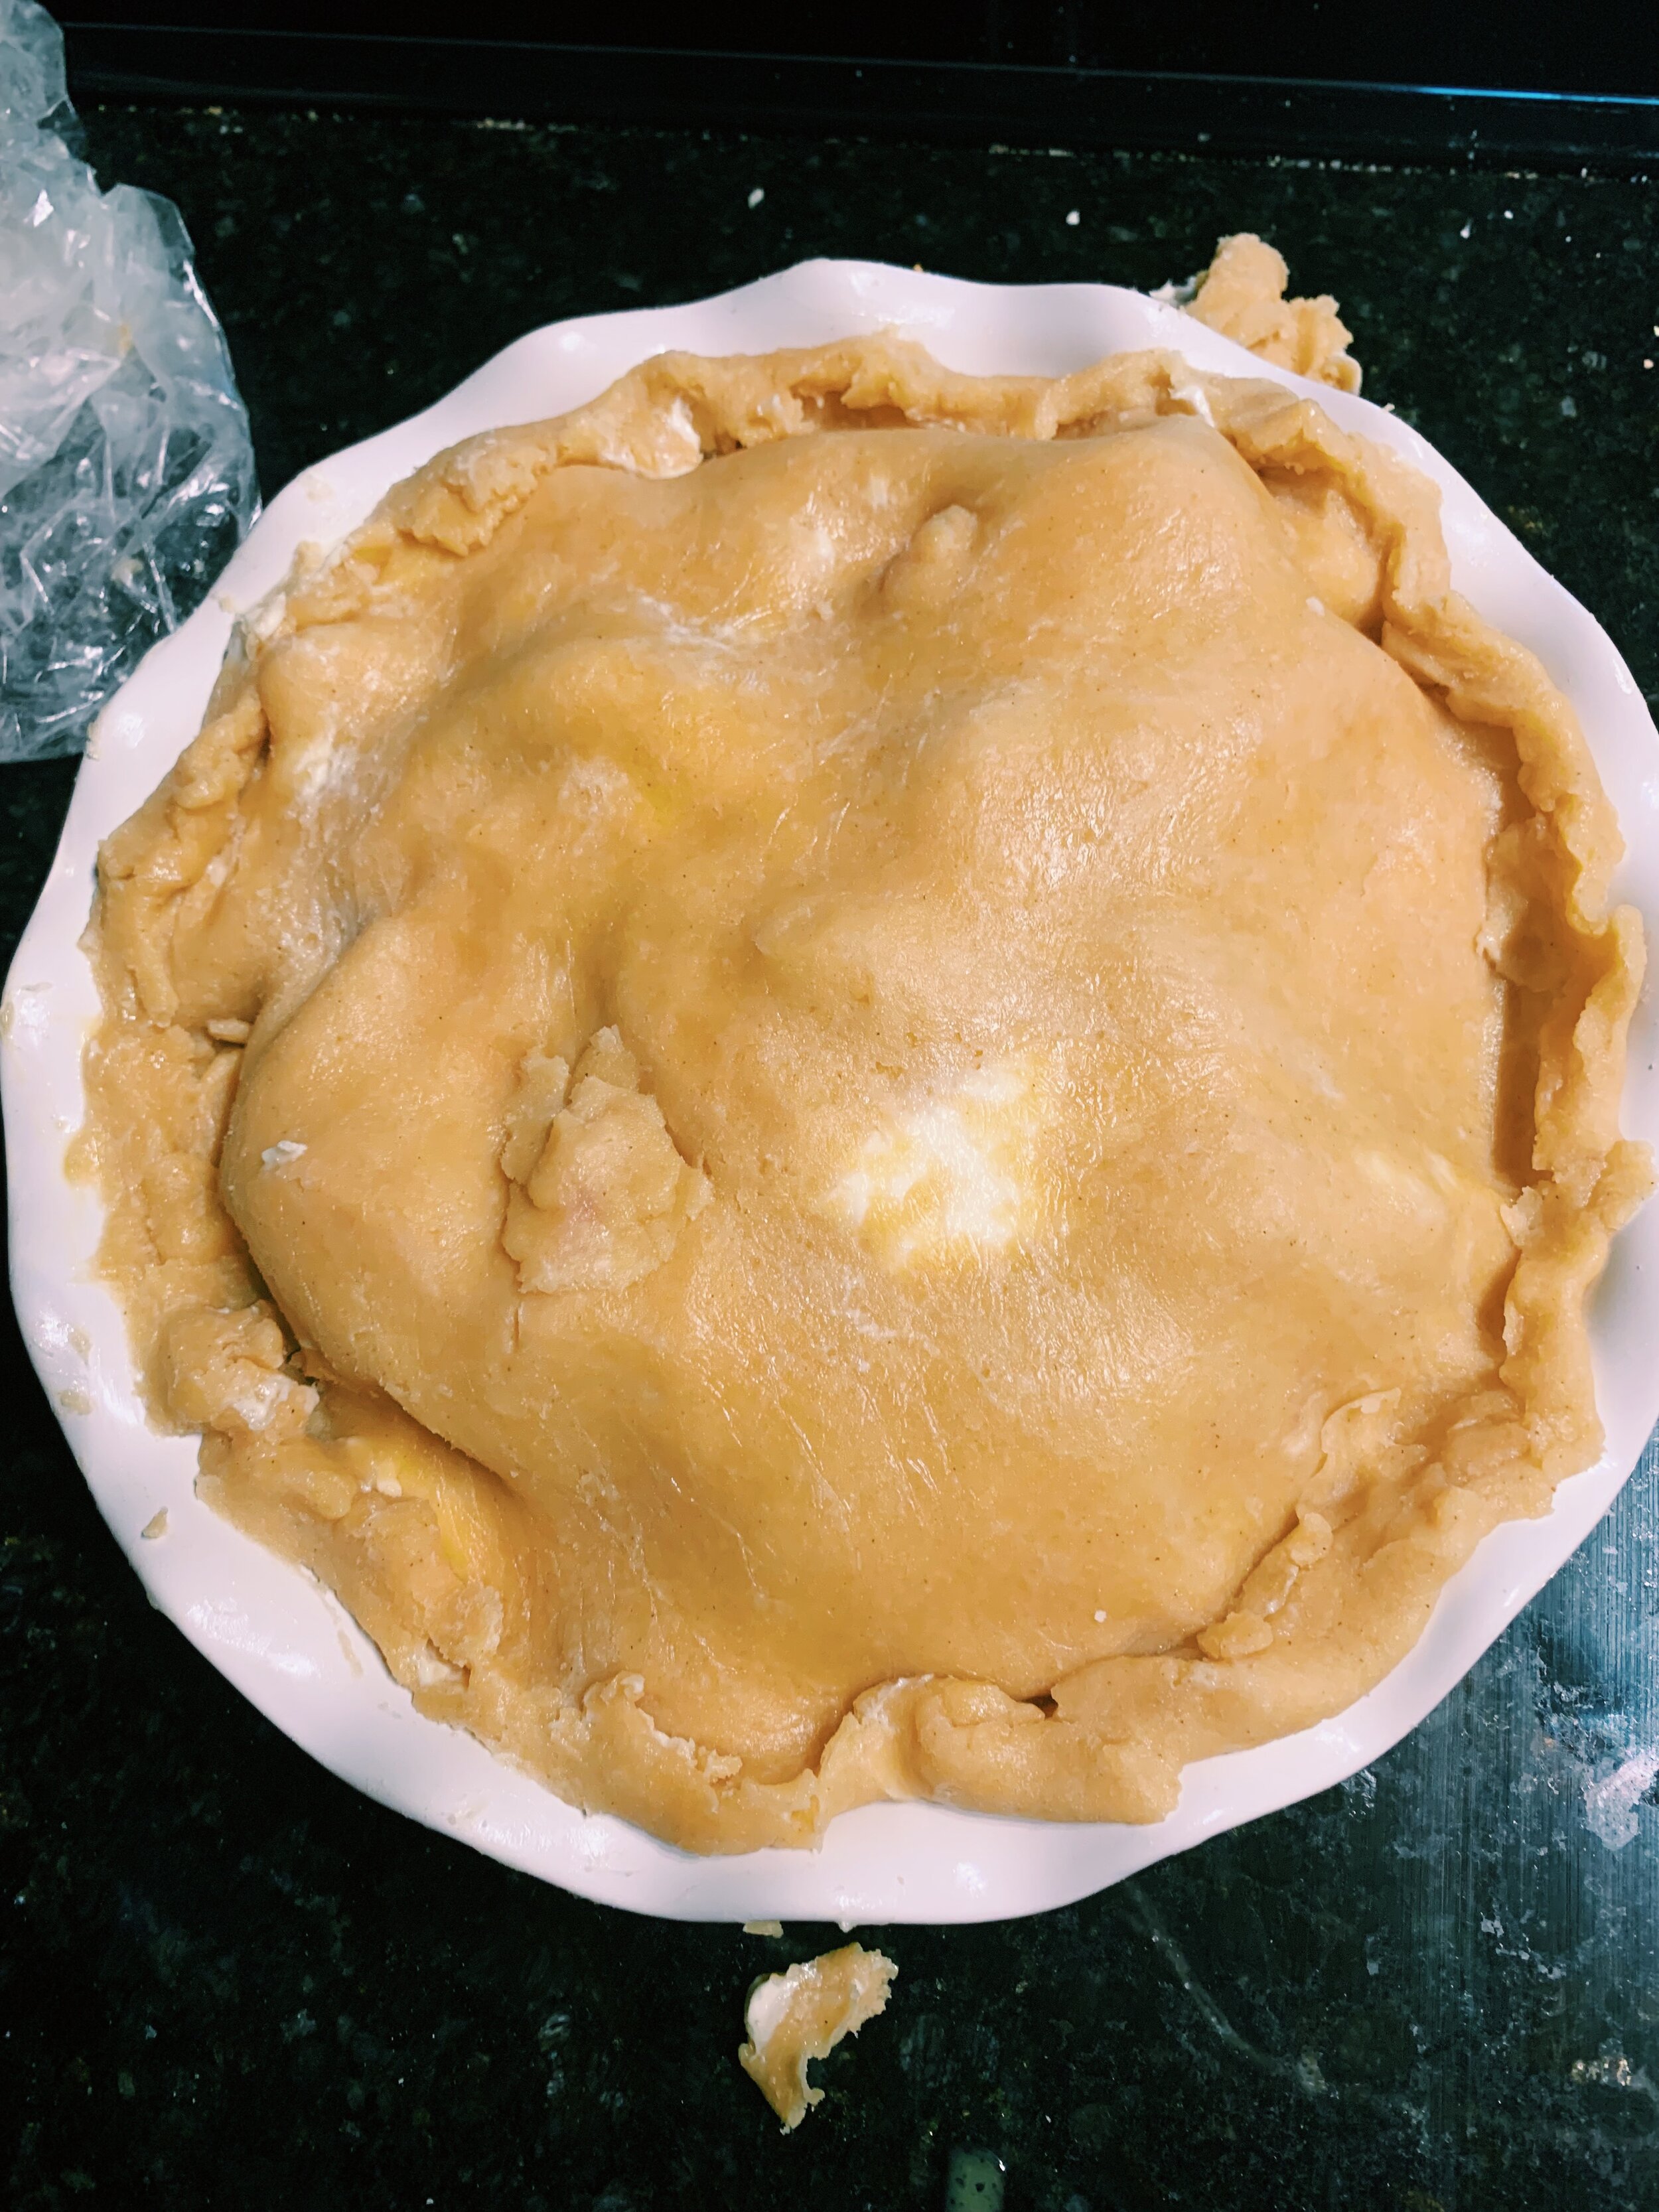
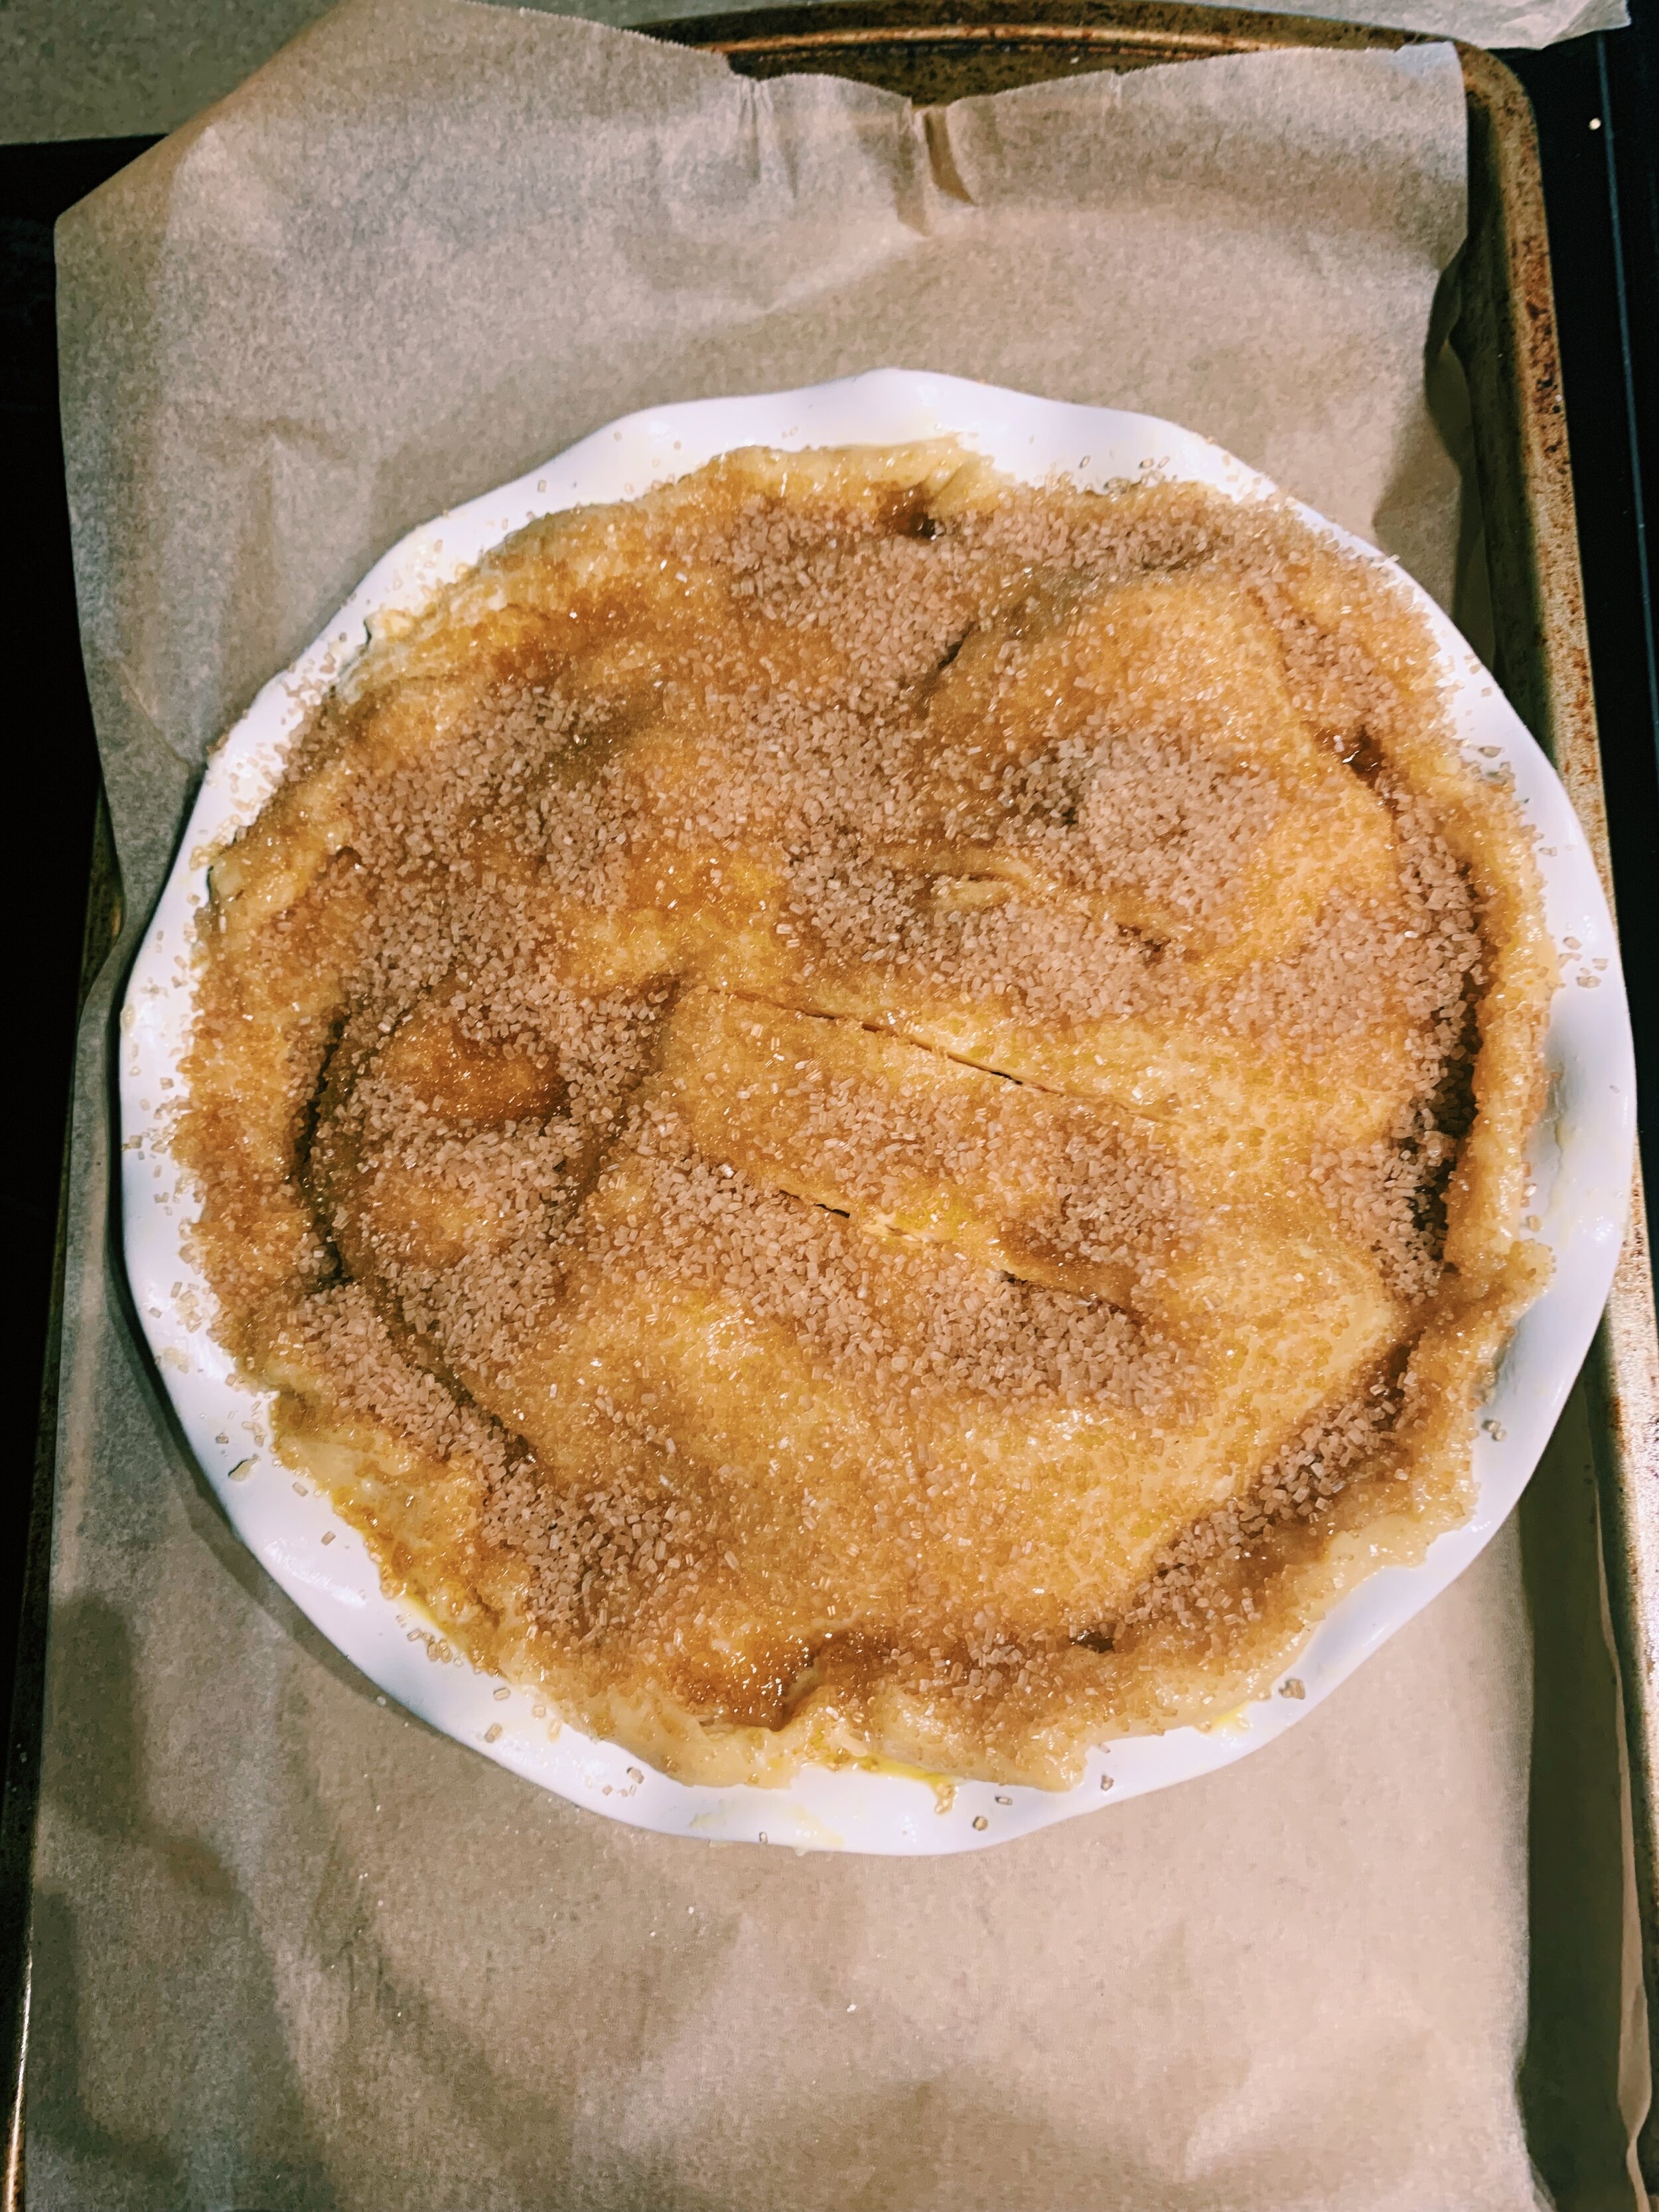
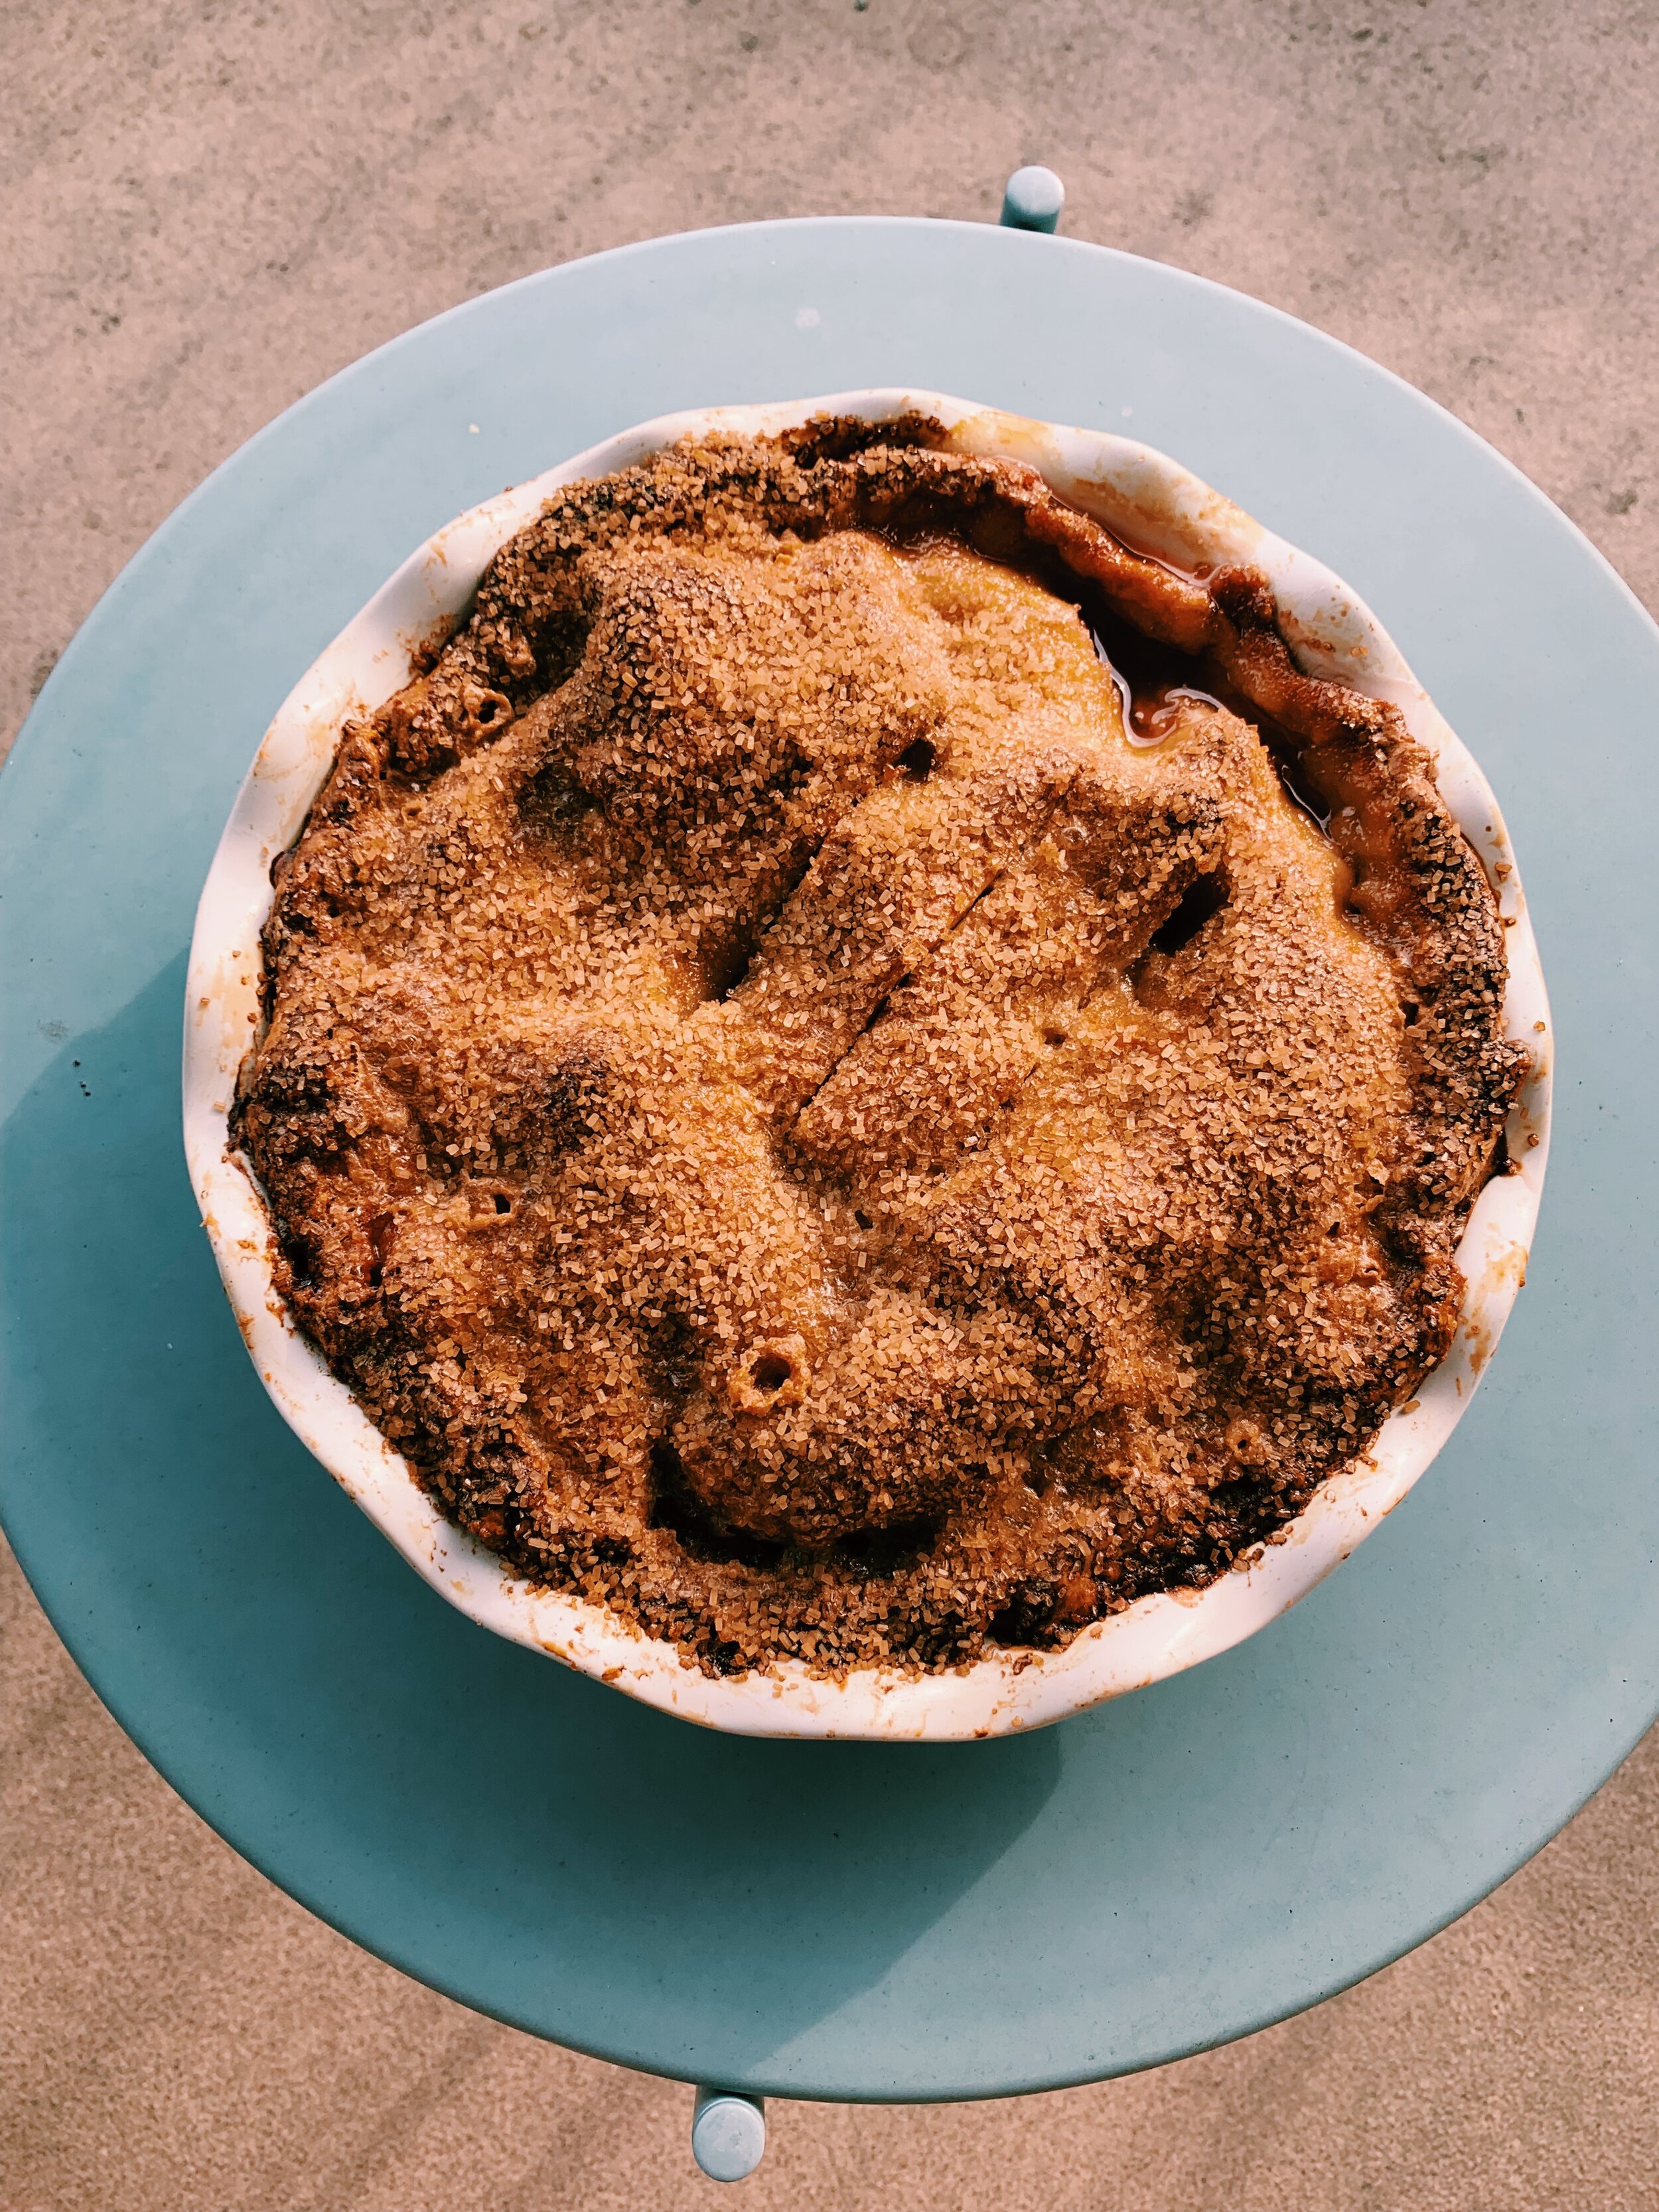
The rest of the process was rather straightforward as far as pie construction goes. One crust on the bottom, filling added, another crust on top with three slices into the dough to allow steam to escape. The whole thing is covered in egg wash and a third cup of Demerara sugar. The tough part is the time! The pie spends roughly an hour and forty-five minutes in the oven, and then it needs three hours to cool! Talk about an opportunity for character development. The pie most certainly tested my patience. 

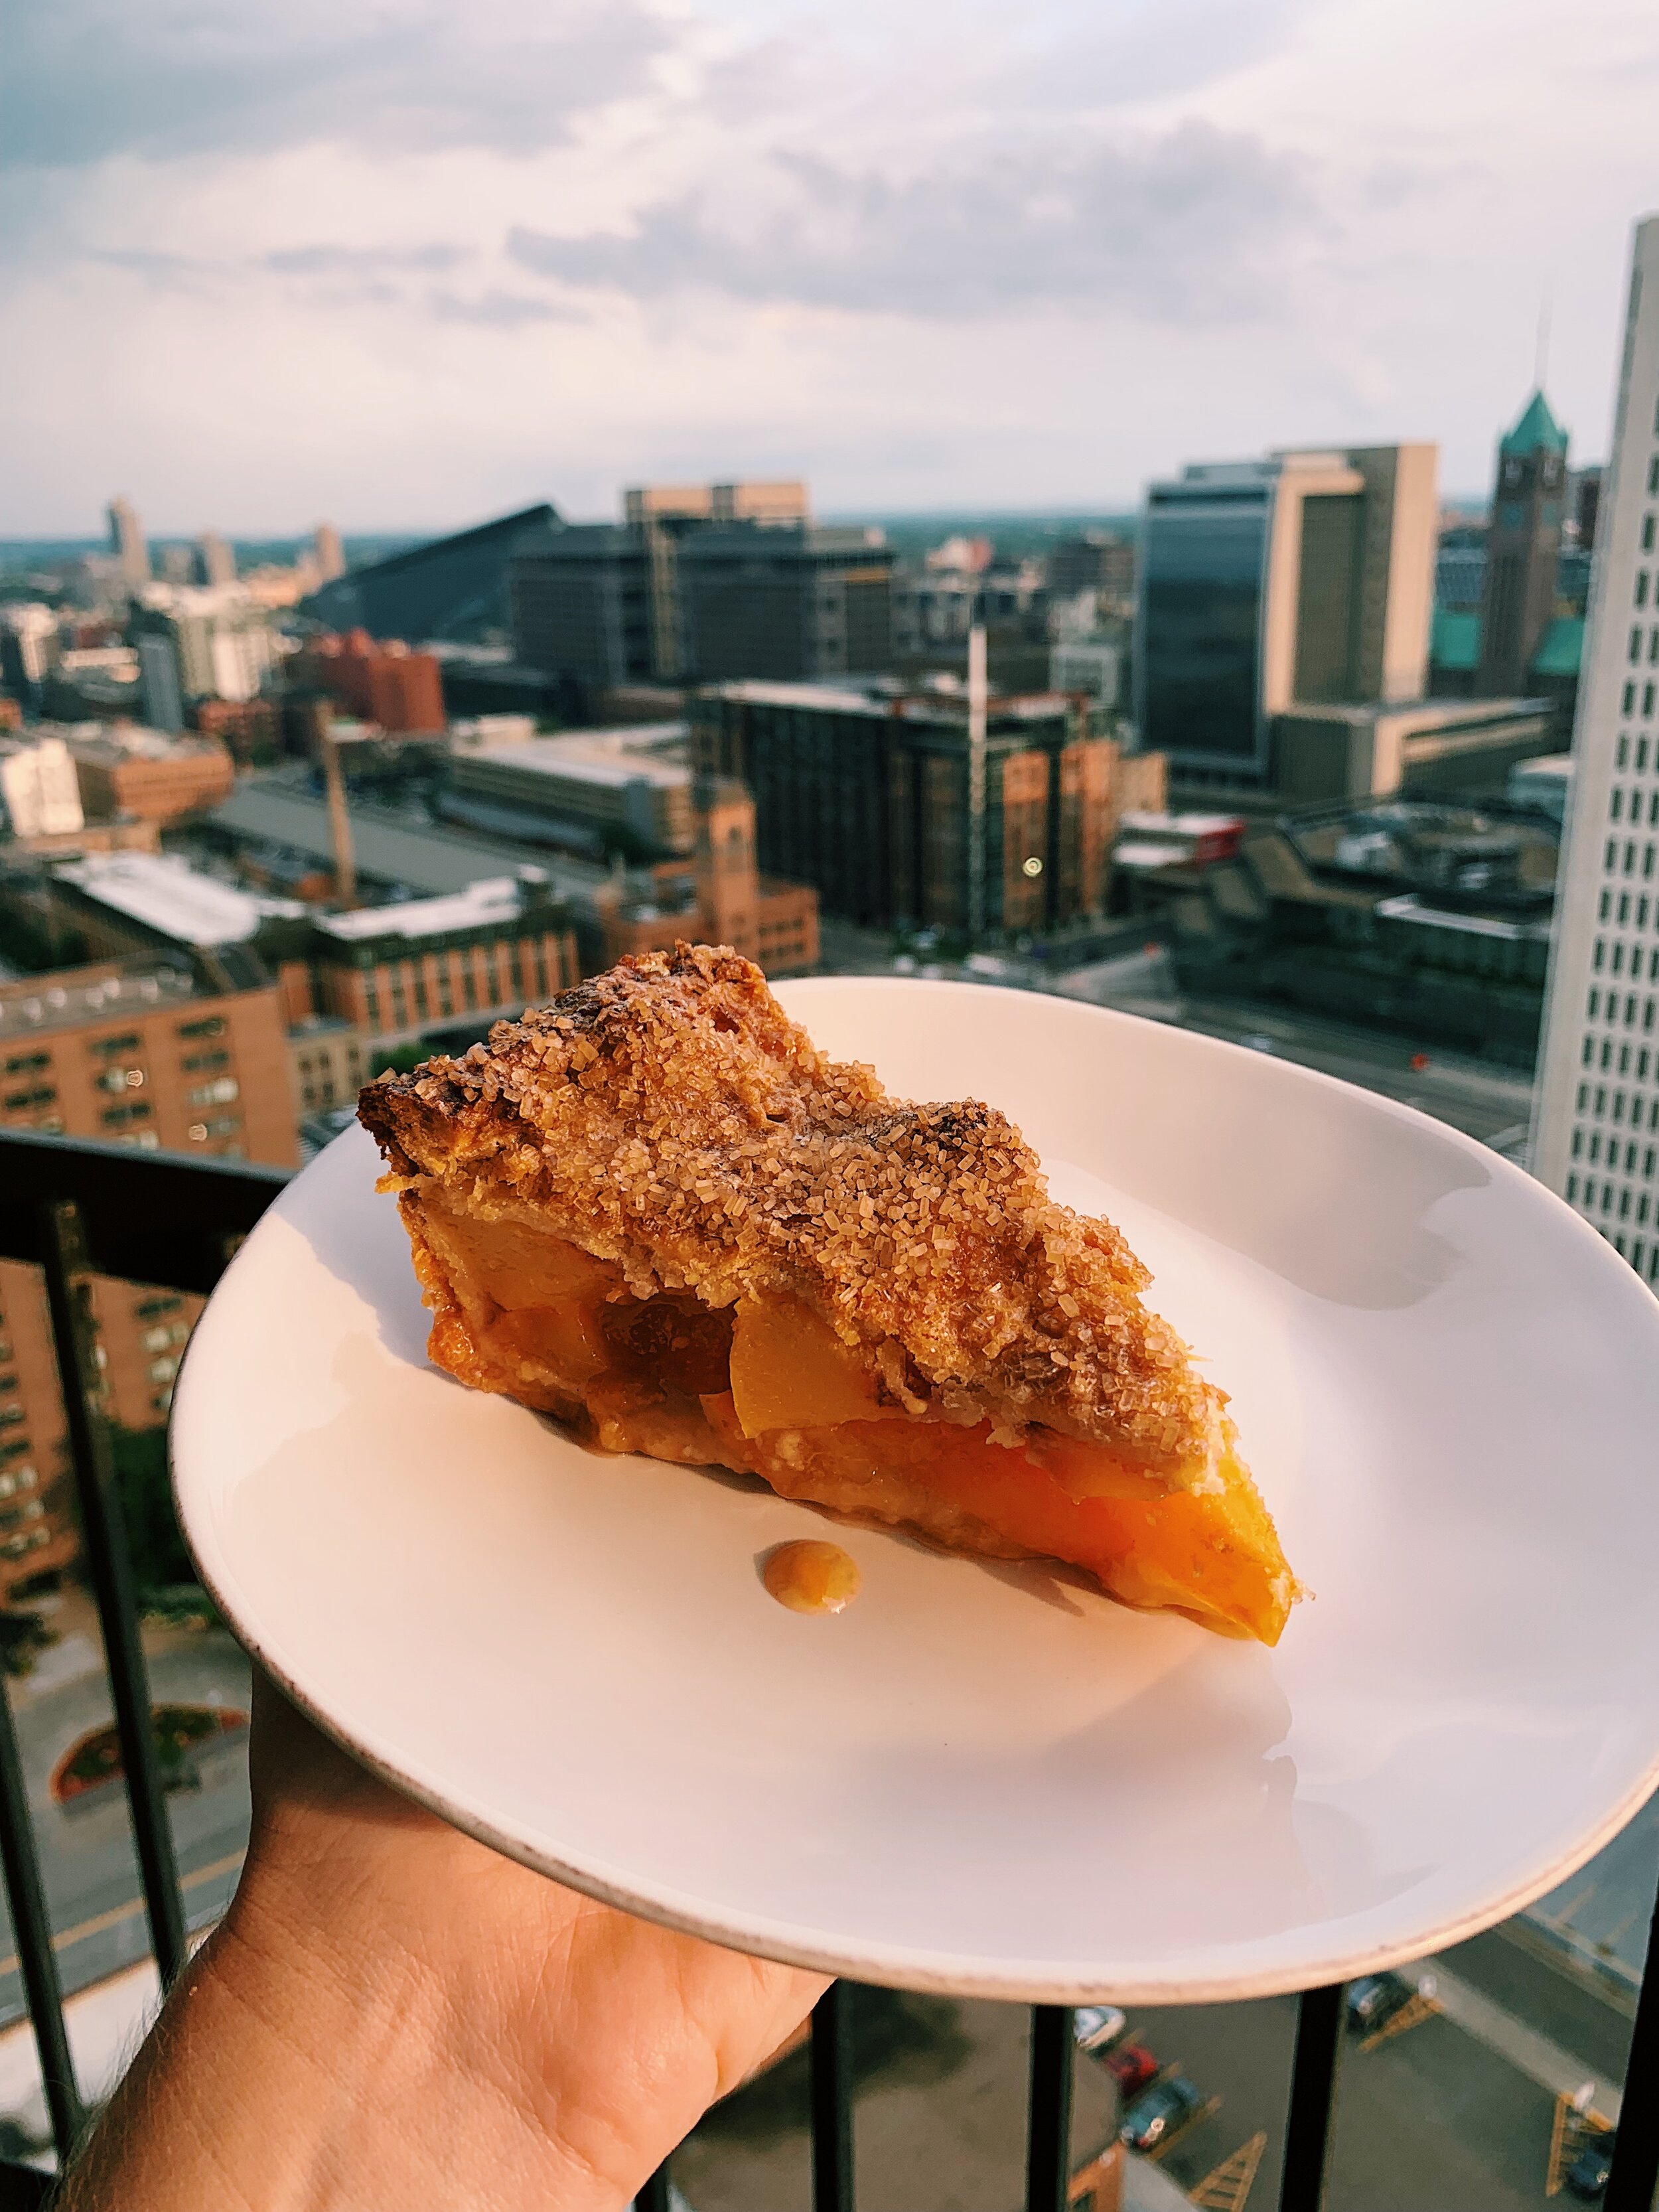
But boy, the reward was worth it. As I said in the beginning, this is no ordinary fruit pie. The lime zest and ginger, though simple, add complexity and elevate the peaches to a tangy, snappy sweetness. The ginger mellowed out a bit by day two of leftover pie, but it was still the strongest flavor. If you don’t love ginger, don’t cut it out completely, just cut it in half, or reduce it by a third. In my opinion, ginger is the key to a non-boring peach pie. And you don’t want to be boring, right? 

125 recipes cooked, 100 to go!!!!!

The Only Pie Crust by Alison Roman - GUEST POST by Margaret Winchell

Margaret, my dear friend who I mention frequently on this blog, has generously made and reviewed Alison’s pie crust recipe. Due to my gluten intolerance, there wasn’t a way for me to keep the integrity of this recipe AND eat it. So I asked Margaret, queen of pies, to do the honors. What a TREAT this post is. Margaret knows her pie crust, so listen up….


Pie crust recipes are everywhere. Everyone has their own method, and the recipe is more of a shorthand for that method than any kind of unique formula. The key players are flour, butter, salt, and water, with recurring guest stars sugar and vinegar. If you see eggs on the ingredient list, keep looking. If the recipe doesn’t mention keeping things cold, run. And if anyone tells you it’ll always be the same precise proportion of ingredients, give that recipe writer the side eye. Pie crust is about feeling your way through a bunch of decisions about variables, and it’s a little different every time.

Here’s what I like about Alison’s recipe:

  • She acknowledges the need for flexibility and restraint. There’s a guideline for how much water you’ll need and advice about how much wiggle room you should allow within that quantity, and she tells you to add less than you think. Smart.

  • She specifies that ingredients need to be chilled. Pie crust is a greasy mess when they’re not, so this is critical.

  • She has you rest the dough. Any dough involving gluten (so, pie crusts, bread doughs, even cookies) benefits from a rest before rolling. Just like when a person gets worked up, sitting in a cool, quiet room for an hour allows the dough to relax and limber up for the next event. In addition, this gives moisture a chance to distribute itself evenly among all the little bits of flour so you don’t end up with crumbly bits at the perimeter of the dough.

Here’s what I wish Alison did differently:

the-only-pie-crust-alison-roman.gif
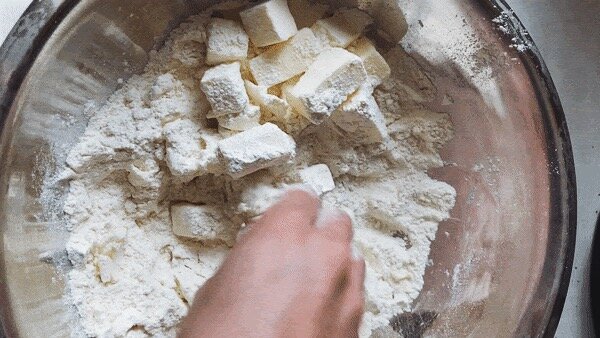
  • Cut the butter smaller. She has you cut it into 1-inch pieces, which just makes a little more work for your hands when you incorporate it into the flour. Hands are hot. Knives are cool. Cutting butter smaller = less warming up of the butter as you rub it in. (Pie math!)

  • Get the palms OUTTA there. I don’t understand why Alison tells you to smash the butter between palms and fingertips and later, to knead the dough with your palms. Fingertips stay cool, but palms are hot. Keep! It! Cold! I like to crush the cubes of butter with a motion akin to aggressively rubbing a dog’s ear, tossing the exposed butter in flour every few seconds. (Picked up that tip from my main science dude Alton Brown.) See? ^^^

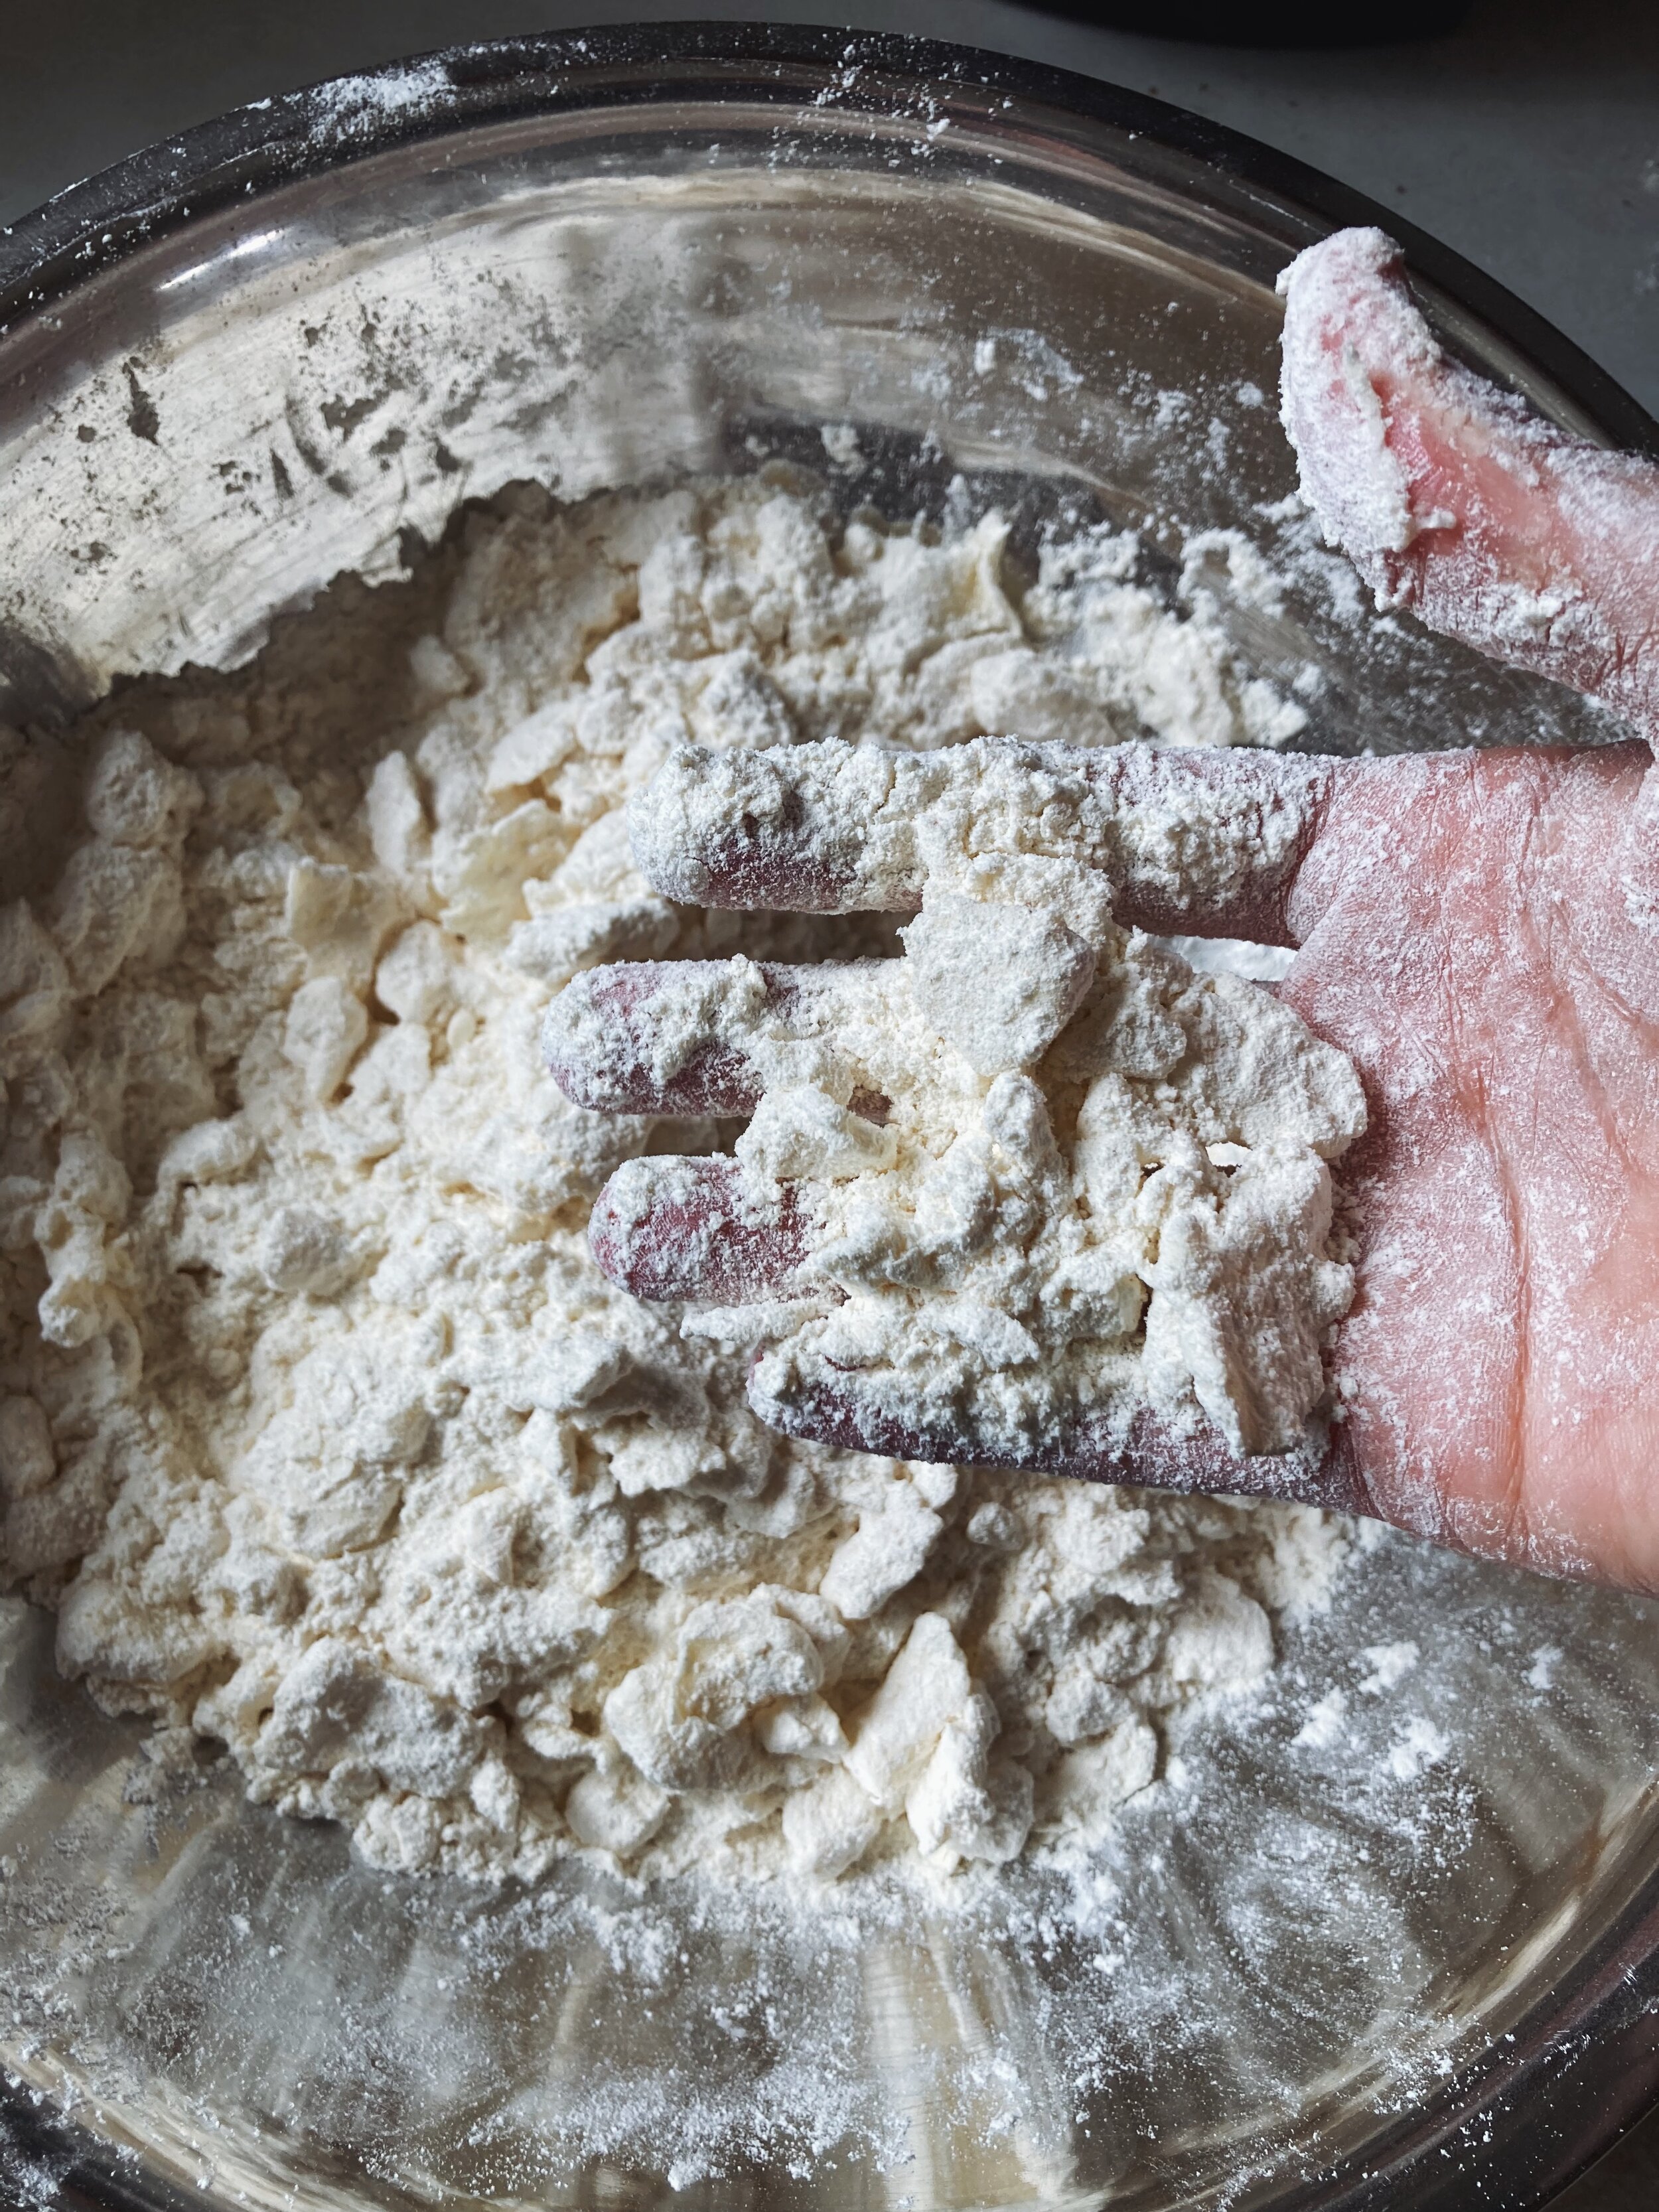
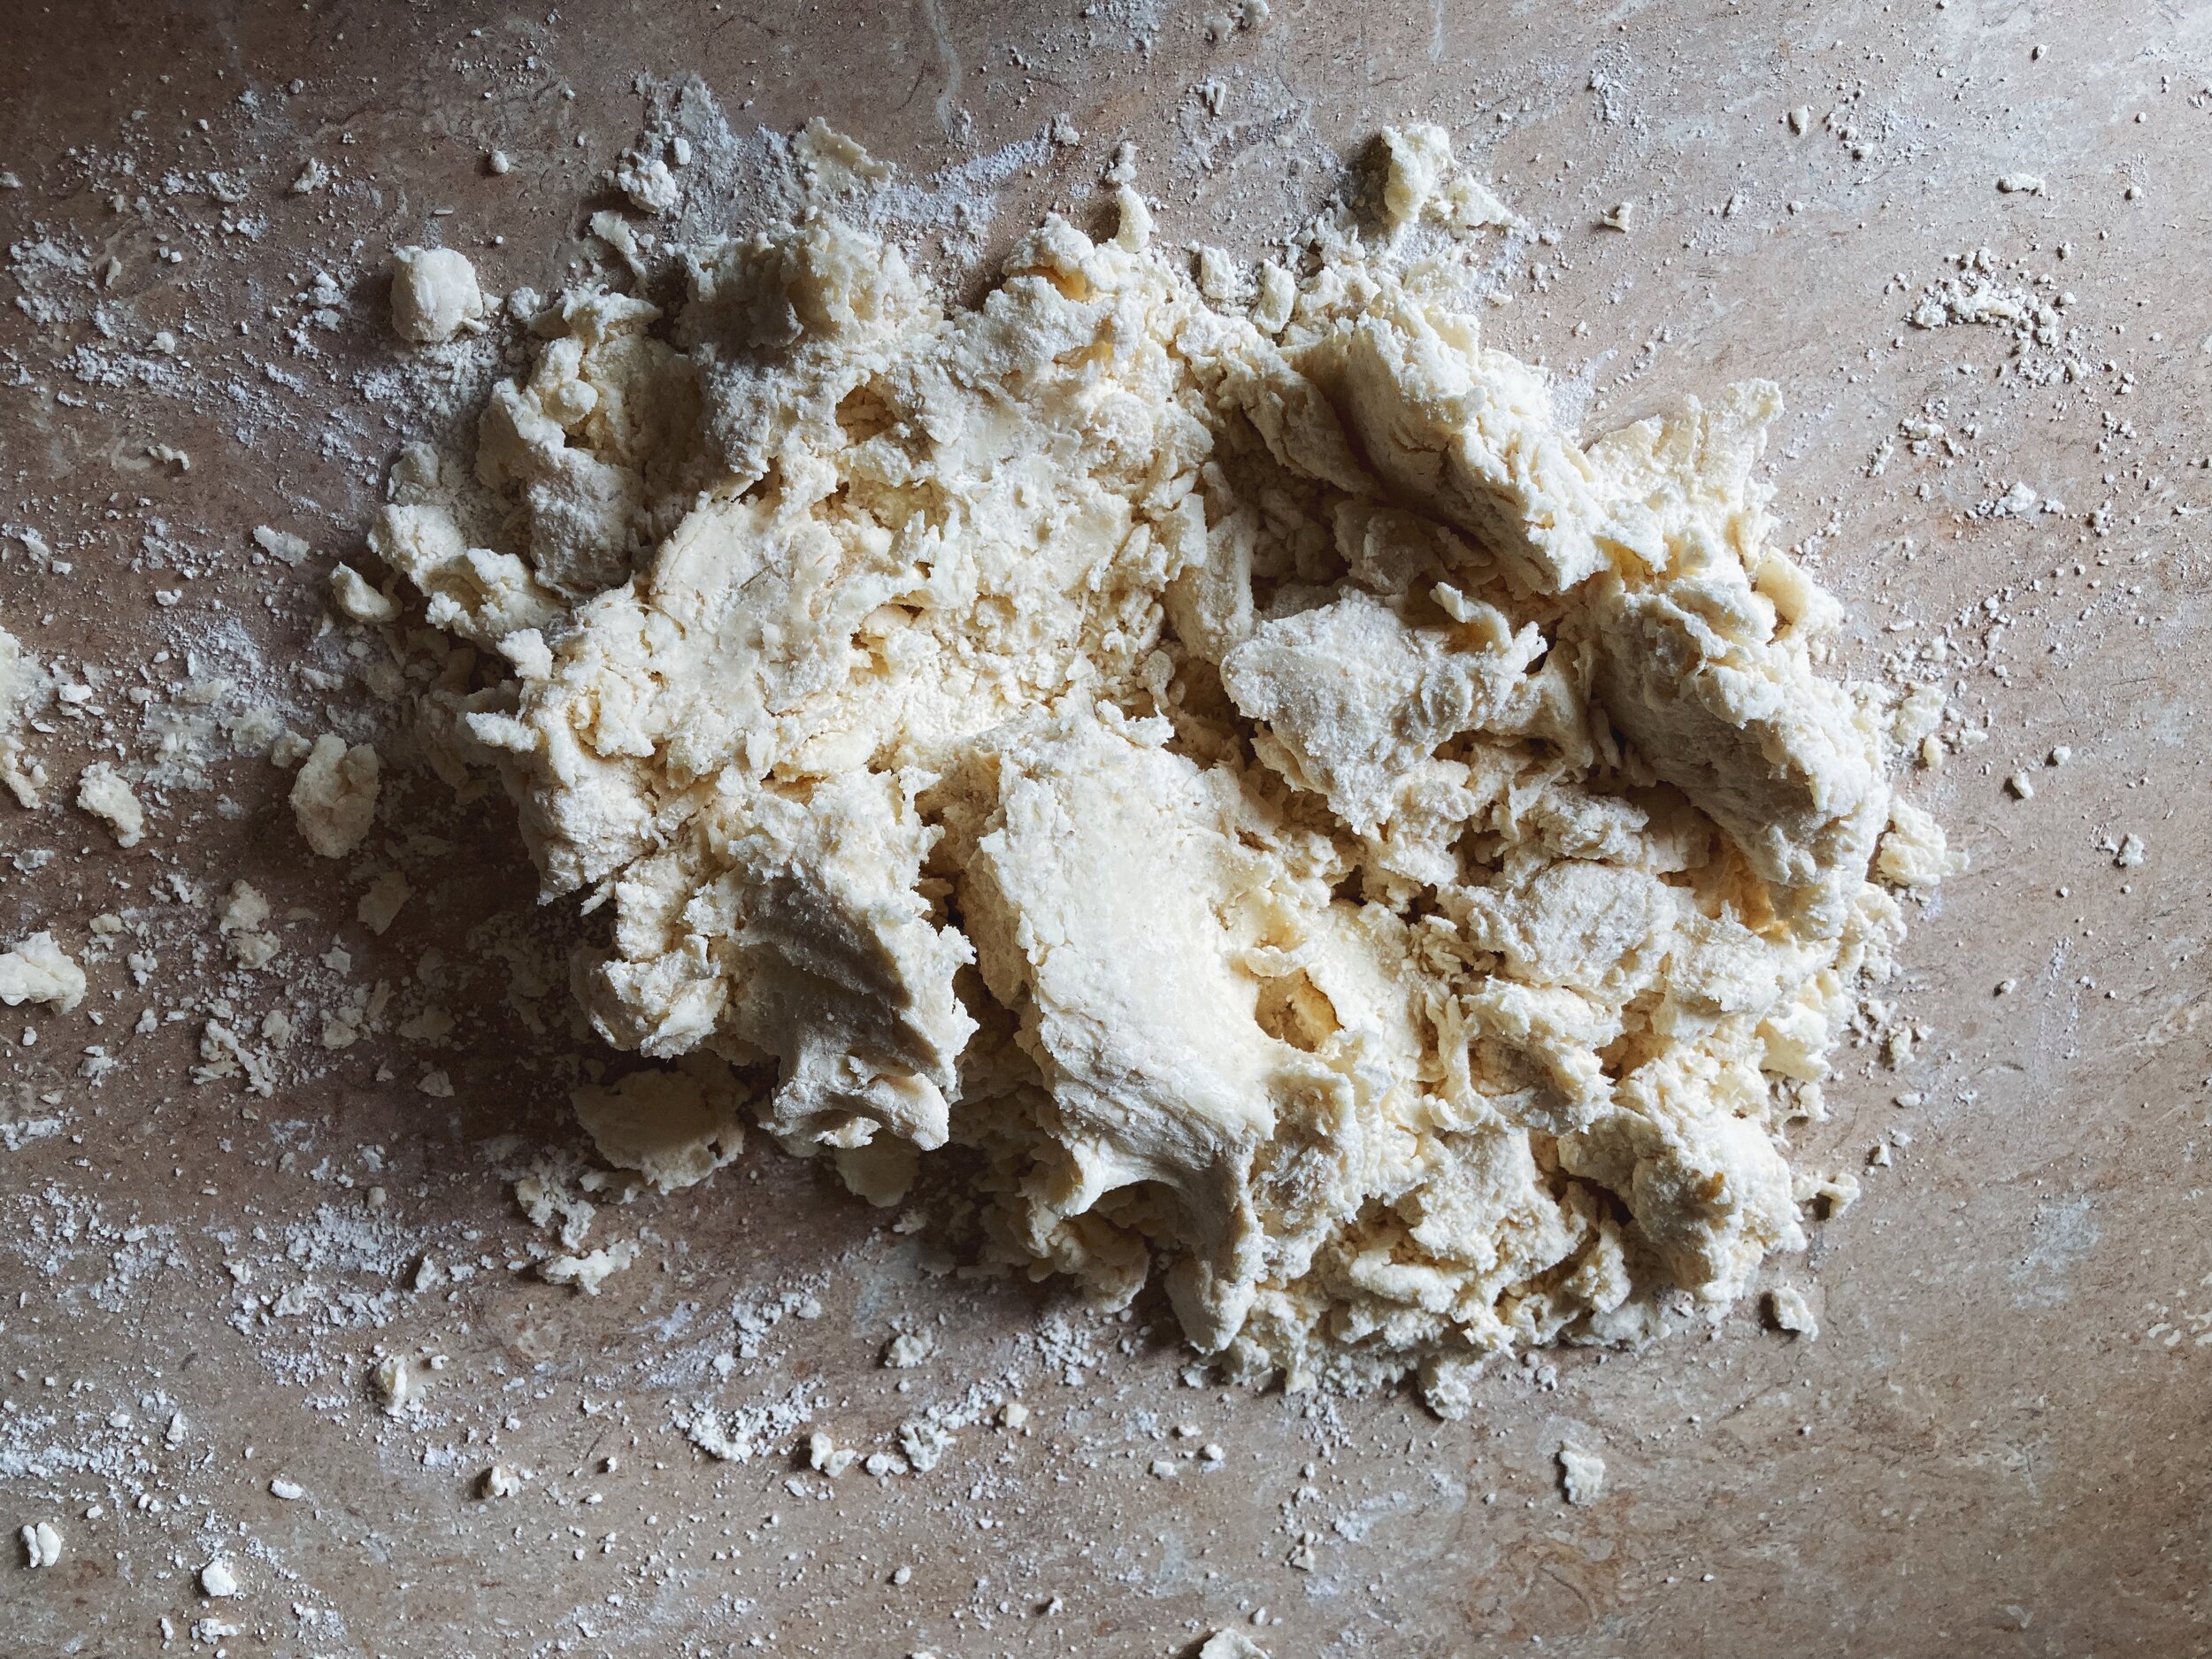
  • Keep the flour-butter mixture in the bowl. WHY do we have to dump it out on the counter? This just means I’m chasing flour and water around the counter as I work. I think keeping it in the bowl makes it easier to toss with your fingertips (see notes on palms, above) and helps the water find its way to the floury bits. I added a little more water than I meant to in making this because it was harder to mix it all together evenly on the counter. 

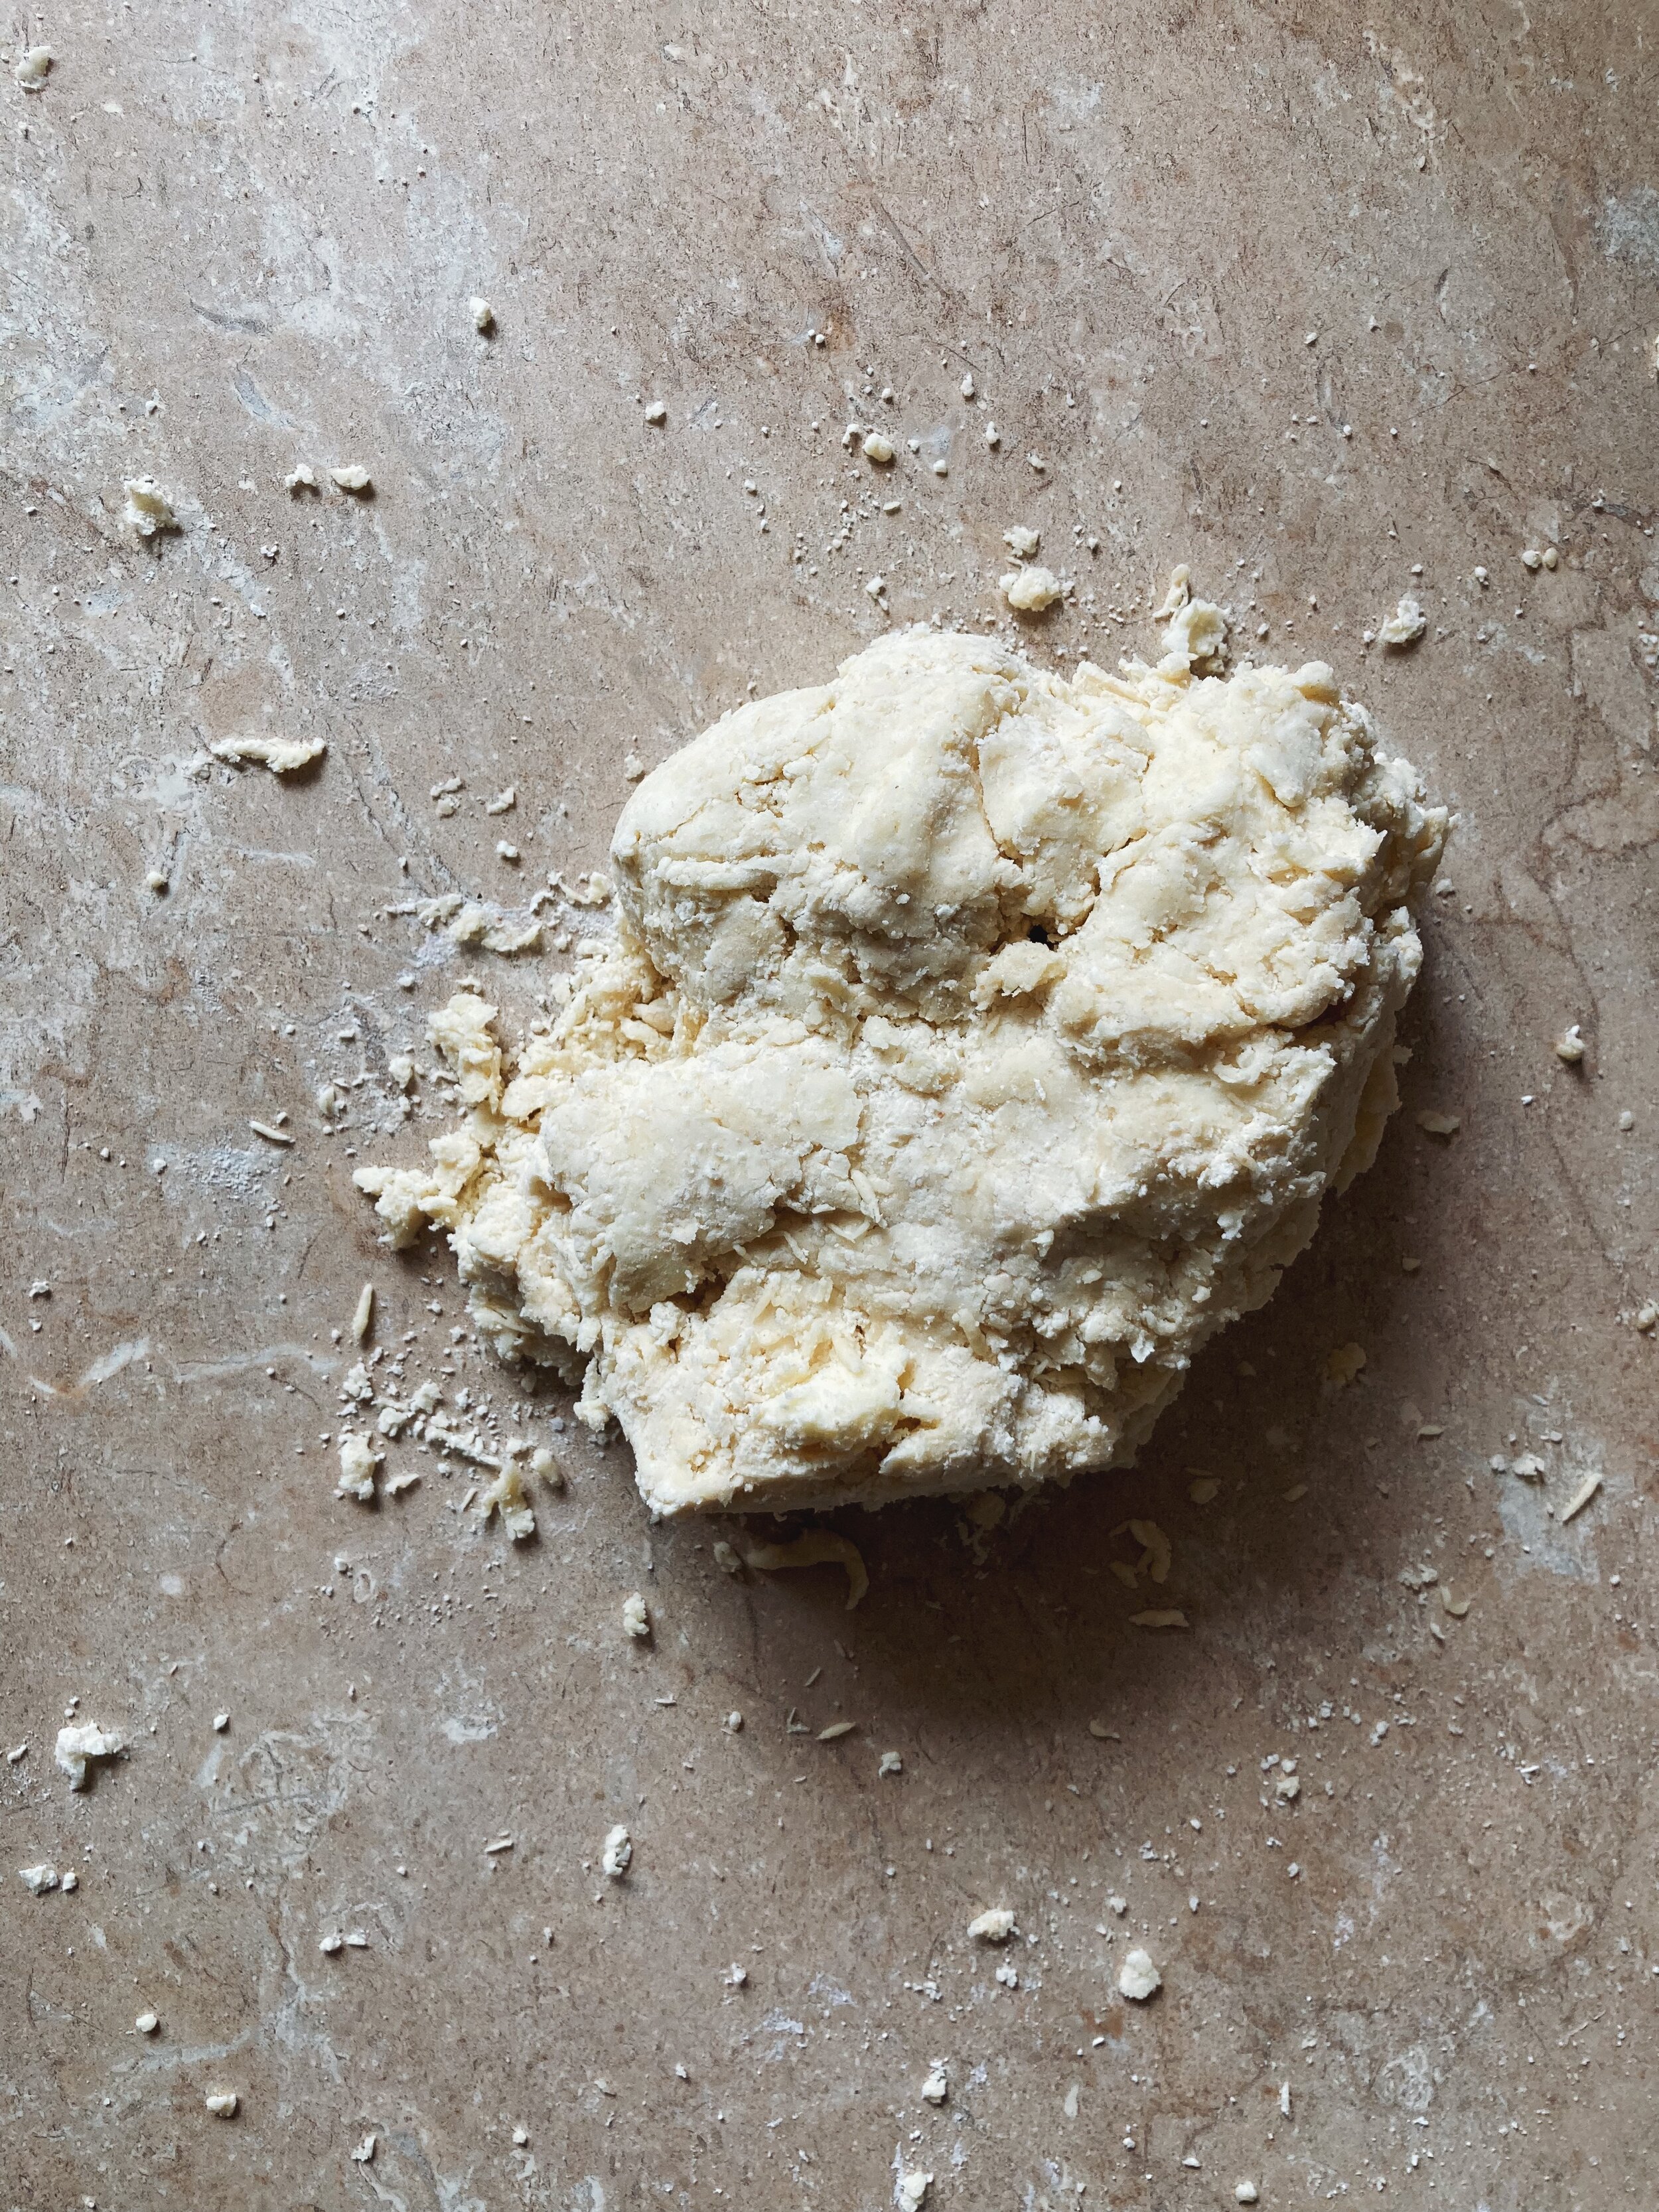
  • Give a clue for when you’ve added enough water. I follow the rule that if you can squeeze a clump of dough in your fingertips and it mostly holds together, you’re done. 

The recipe makes two discs, so one went in my freezer, and I rolled out the other to make a lid for a little skillet pie with some mushrooms and rainbow chard I got at the farmer’s market this morning with a friend (summer, amirite?).

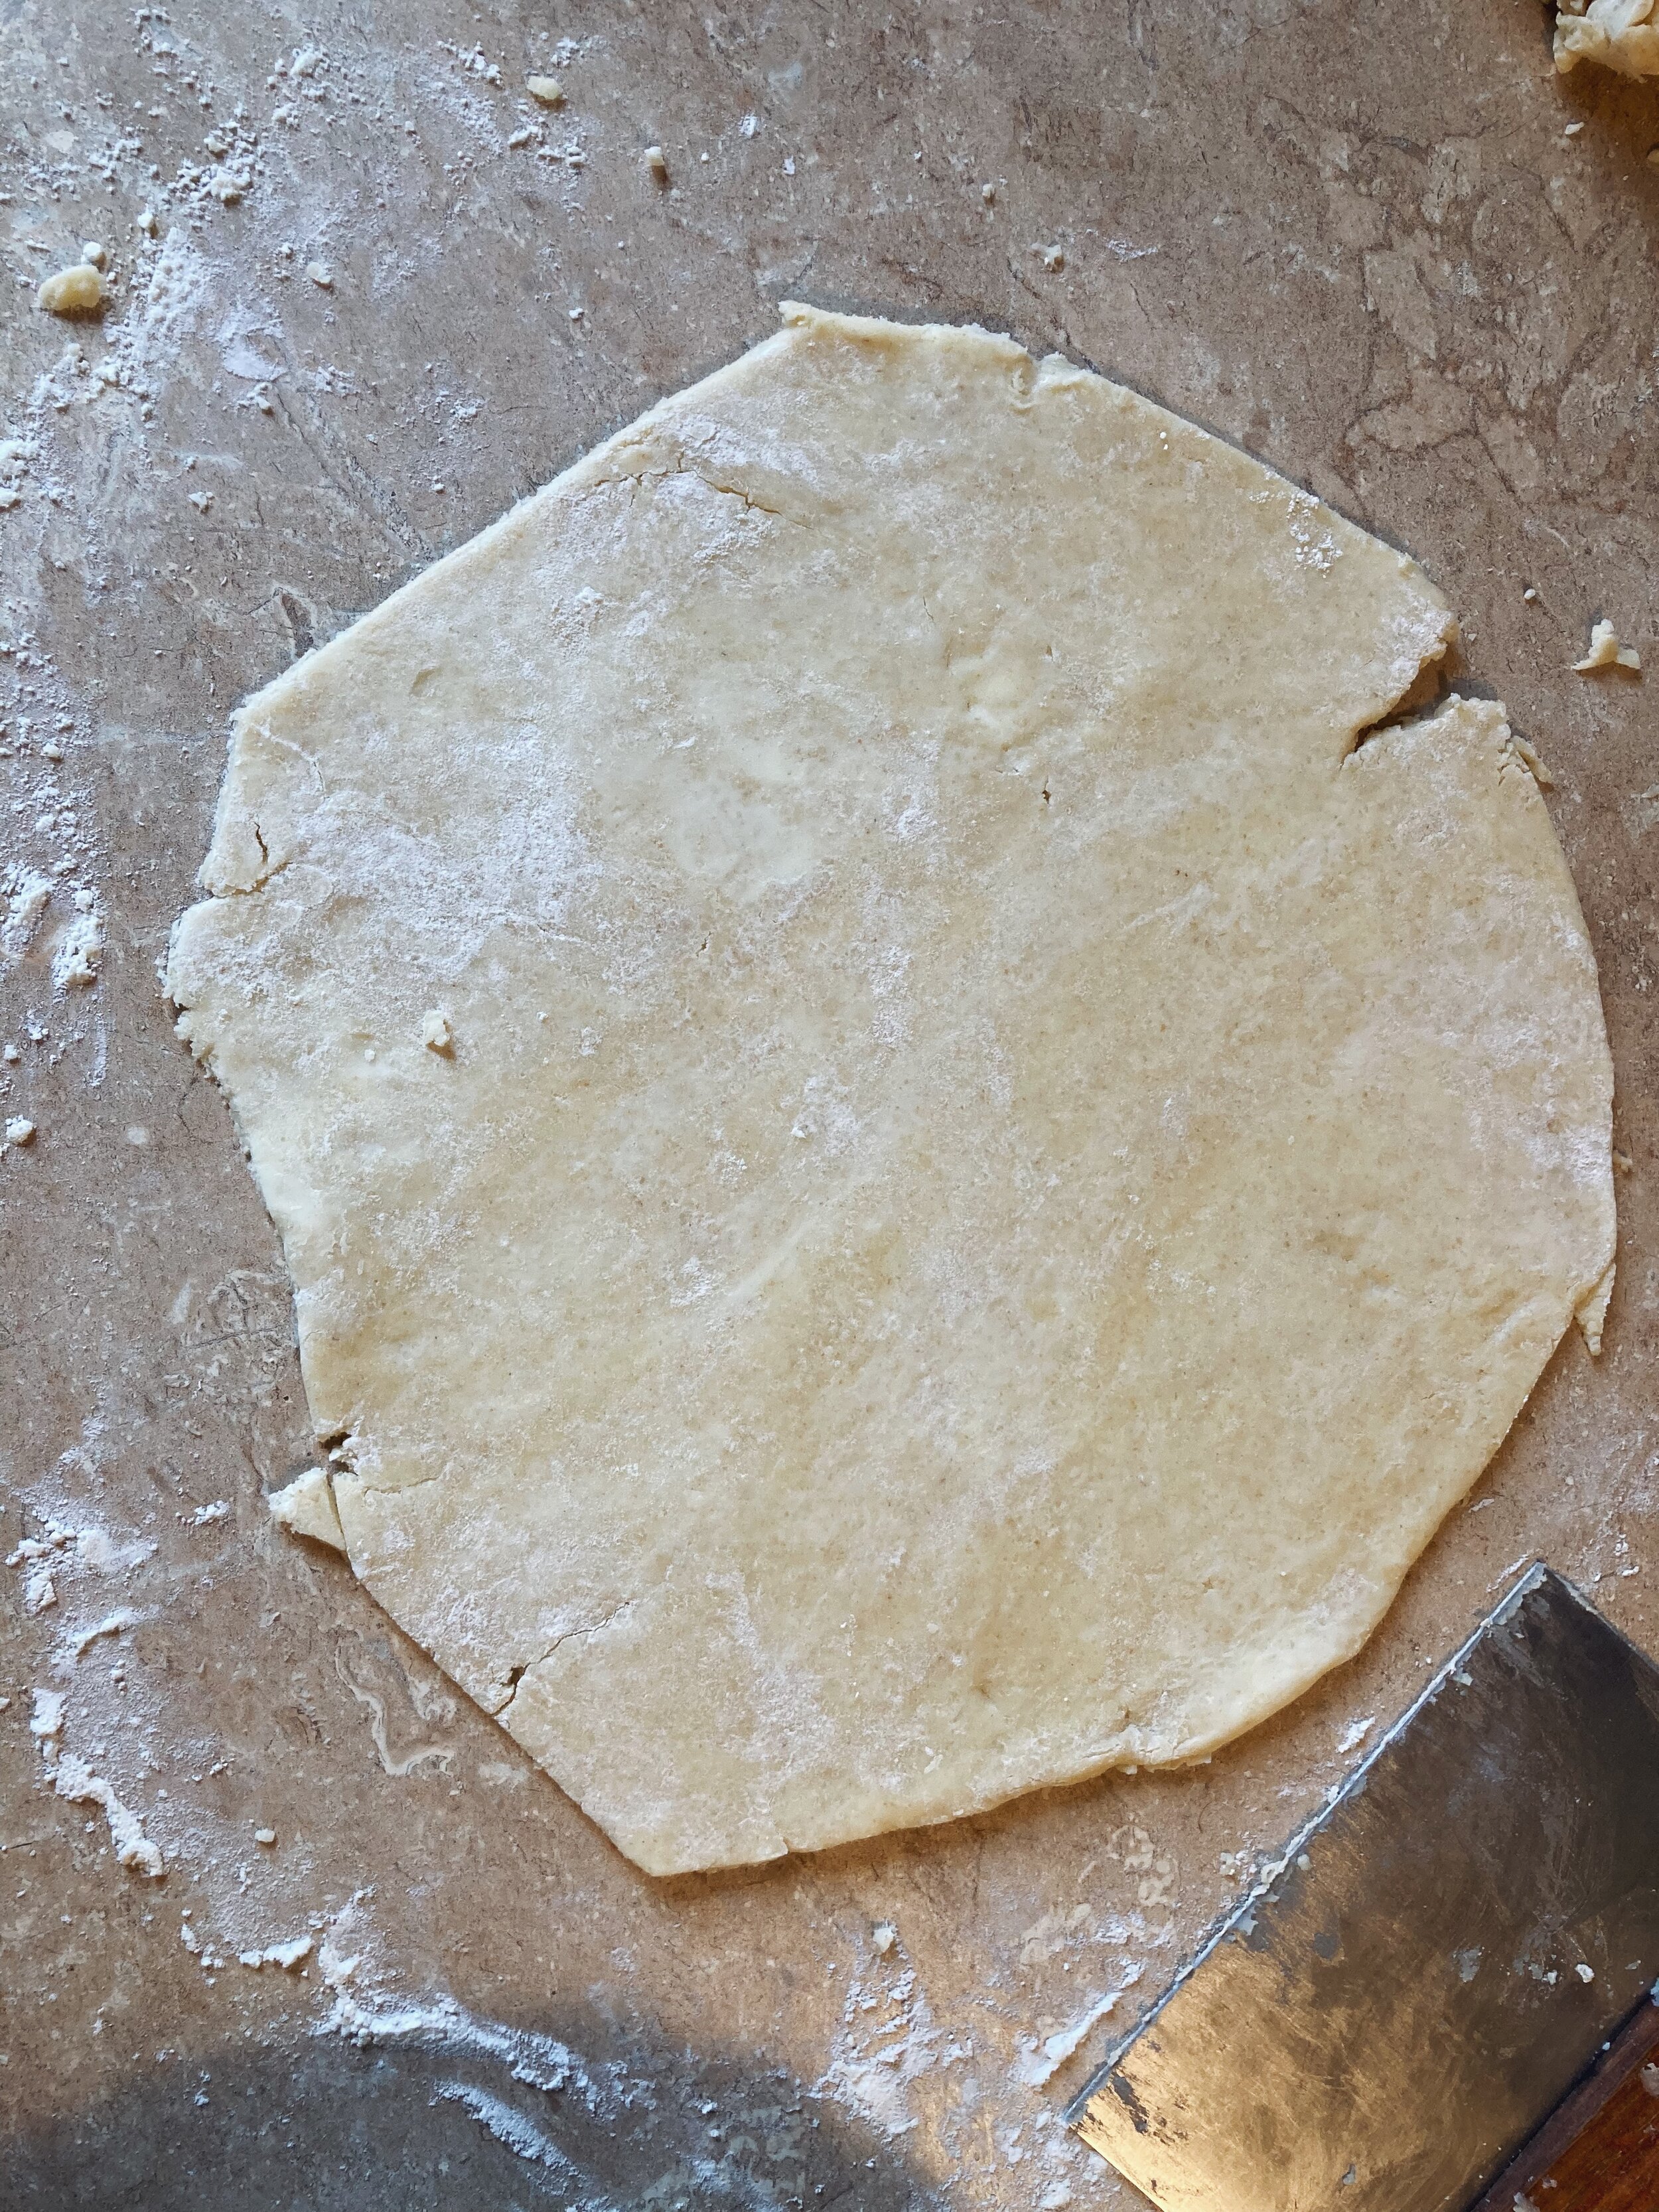
Rolling out the dough was a little tricky. It was a hot Michigan summer day, and the larger chunks of butter that remained got a little soft and stuck to the rolling pin a bit, but the dough sort of fused back together in the oven, hiding a couple cracks in the crust. Using Alison’s skillet mushroom and chicken pie as a guide, I brushed the crust with egg wash and baked it at 425, but not before sprinkling it with some flaky salt for extra crunch.

In the end, the crust had superior flakiness and was very, very buttery. It’s delicious, but I might dial back the butter just a bit for warmer months when I want a lighter meal. Alison goes full throttle on flavor, and the salt was no exception; if I foresee wanting to sprinkle flaky salt on top again, I might reduce the quantity in the dough. All that being said, this is a totally delicious pie crust. I don’t know that I’d call it the only pie crust you’ll ever want, but you could certainly make it so if rich, buttery pie crust is up your alley.

107 AND 108 recipes cooked, 117 to go. This recipe appears in both cookbooks, and thus, it counts for two recipes.

And now, back to Annie for regularly scheduled A&A content!

Buttered Raspberry Hand Pies by Alison Roman

I love pie, but I rarely make it. Pie crust is intimidating, primarily because it deals with very cold butter that must remain very cold whilst being cut, massaged, rolled, re-rolled, and rolled one more time. Pie crust requires knowing when to stick it in the fridge to keep the temperature right, and how to roll it out without creating any cracks. It’s a delicate balance of precision and intuition. 

Pie crust is kind of like golf. It can take years to become a consistently average golfer. A strong golf swing requires the right form, nuance, and attention to detail. So does making a pie crust. 

I cannot claim proficiency at golf or pie. Which is why I asked my friend Margaret to make this recipe with me while she was in town. Margaret knows pie crust like an old childhood friend, and her guidance was crucial to this process. She also helped me find a Gluten-Free pie crust recipe from King Arthur, which we used instead of Alison’s pie crust recipe. (Note: we skipped the ClearJel step in the recipe.)

Hand pies look like more buttery, sophisticated versions of Uncrustables. You know, the pb&j sandwich with sealed edges? A childhood dream! The process boils down to creating the crust, then the filling, then assembly, and finally, baking. 

I won’t go into the step by step of making the dough – that’s what the link above is for – or the filling. Instead, I’ll share some process photos below. Then keep reading for final thoughts! 

The filling of the pies consists of raspberries, lime zest, and sugar. Margaret and I agreed that the center tasted a bit too tart for our liking. If we make hand pies in the future, we may try using cherries, or adding some apple to the raspberry to balance out the sourness. Apricots would be nice, too. 

The hand pies were delicious, but I haven’t decided whether they were worth the hours of work. I loved the activity because I made them with a friend, but I doubt I’d have the desire or patience to bake hand pies alone. 

All of Alison’s recipes involving pie crust use her “The Only Pie Crust” recipe, which is listed in both cookbooks. But due to my gluten aversion, I asked Margaret to make the pie crust for me and write a guest post about it! More to come from Margaret. 

93 recipes cooked, 132 to go.

Jen's Key Lime Pie by Alison Roman

Before you ask, I’ll answer. No, I don’t know this Jen - she’s apparently Alison’s cousin. I do, however, know a few of my own Jen’s, including one who is a dear friend. She lives in Spain and teaches theater and is a great dancer and has an infectious, fun-loving spirit. I miss her. But my Spain Jen didn’t inspire this recipe. Alison’s Jen did, which means that Jen must be pretty great, too. 

This pie was just delicious. The balance of sweet, sour, and slightly salty was absolutely lovely, and I can’t wait to make this again. The results were great, but about the process—I have questions! 

key-lime-pie-alison-roman-crust.jpg

Step one, making the graham cracker crust, is rather straightforward. I found GF graham crackers that honestly taste just like the Nabisco brand that I grew up with. Alison says she likes to break up the crackers into tiny crumbs with her hands. So I started doing that too. After having only gotten through half of the crackers in about 10 minutes, I decided to abandon the mission and settle for a food processor. Excellent choice, in my opinion. This went so much faster. The crumbs are then combined with melted butter, coconut oil, and a bit of sugar and salt. Press ‘em into the pie dish and bake for about 15 minutes. 

key-lime-pie-alison-roman-limes.jpg

The filling is where my questions lie. The ingredients and assembly seem to mirror other key lime pie recipes I’ve seen on the Internet. Just a lot of lime juice, zest, egg yolks and a can of sweetened condensed milk. And lots of whisking as each ingredient is added. Once it’s all light and fluffy, the mixture is poured into the crust and baked… 

Alison’s recipe instructs the pie to be baked at 350° for 20 to 25 minutes. She says, “the center should barely jiggle.” So at about 22 minutes, I administered my first Jiggle Test. And boy, did it jiggle. The liquid had become more solidified, but I witnessed a lot of movement. So I put it back in for another 4 minutes. Jiggle Test #2: still rather jiggly. I checked 3 MORE TIMES! The top of the filling began to form cracks, but the jiggle was still present. Finally, after about 35 minutes, I decided to remove the pie because the cracks were becoming too worrisome, and I didn’t want the egg yolk to curdle. 

key-lime-pie-alison-roman-filling.jpg

My questions are: How do I properly measure a pie jiggle? Are my jiggle standards too high? Is there a jiggle scale? Is Alison’s oven at 350° way hotter than my oven at 350°? 

In my search for answers, I compared this recipe with another NYT key lime pie recipe. This only left me more confused. The NYT recipe uses the same filling ingredients, and tells you to bake the filling at 325° for 10 to 15 minutes, “until the center is firm and dry to the touch.” If I had baked my pie at that temperature, it might have been 40 minutes by the time I reached that result! 

Alas, my Nancy Drew skills can only take me so far. If you or your loved one are experienced key lime pie bakers and have any leads on answers to my questions, please contact me by commenting on this post. Thank you in advance. 

Despite the filling confusion, the pie tasted excellent. The X factor for the whipped topping was adding in some yogurt after the heavy cream and sugar were fully whipped. This gave it a fresh, light, slightly sour taste that wonderfully complemented the other elements. 

We shared this pie with our dear friends, Madeline and Sam after an Alison-inspired dinner of Paprika-rubbed Chicken and Crispy Smashed Potatoes. Madeline brought excellent glazed carrots from The Food Lab, which I can’t wait to make myself.

31 recipes cooked, 194 to go.

key-lime-pie-alison-roman-plated.jpg