Wow, the final dessert. It’s hard to wrap my head around it all. My first dessert of the project was Alison’s Cocoa Banana Bread. I chose it because it sounded familiar and safe. Obviously, Alison wouldn’t include an ordinary banana bread in her cookbook; it had plenty of flare like crystallized Demerara sugar and mascarpone. It was delicious and I felt really proud of crossing it off the list.
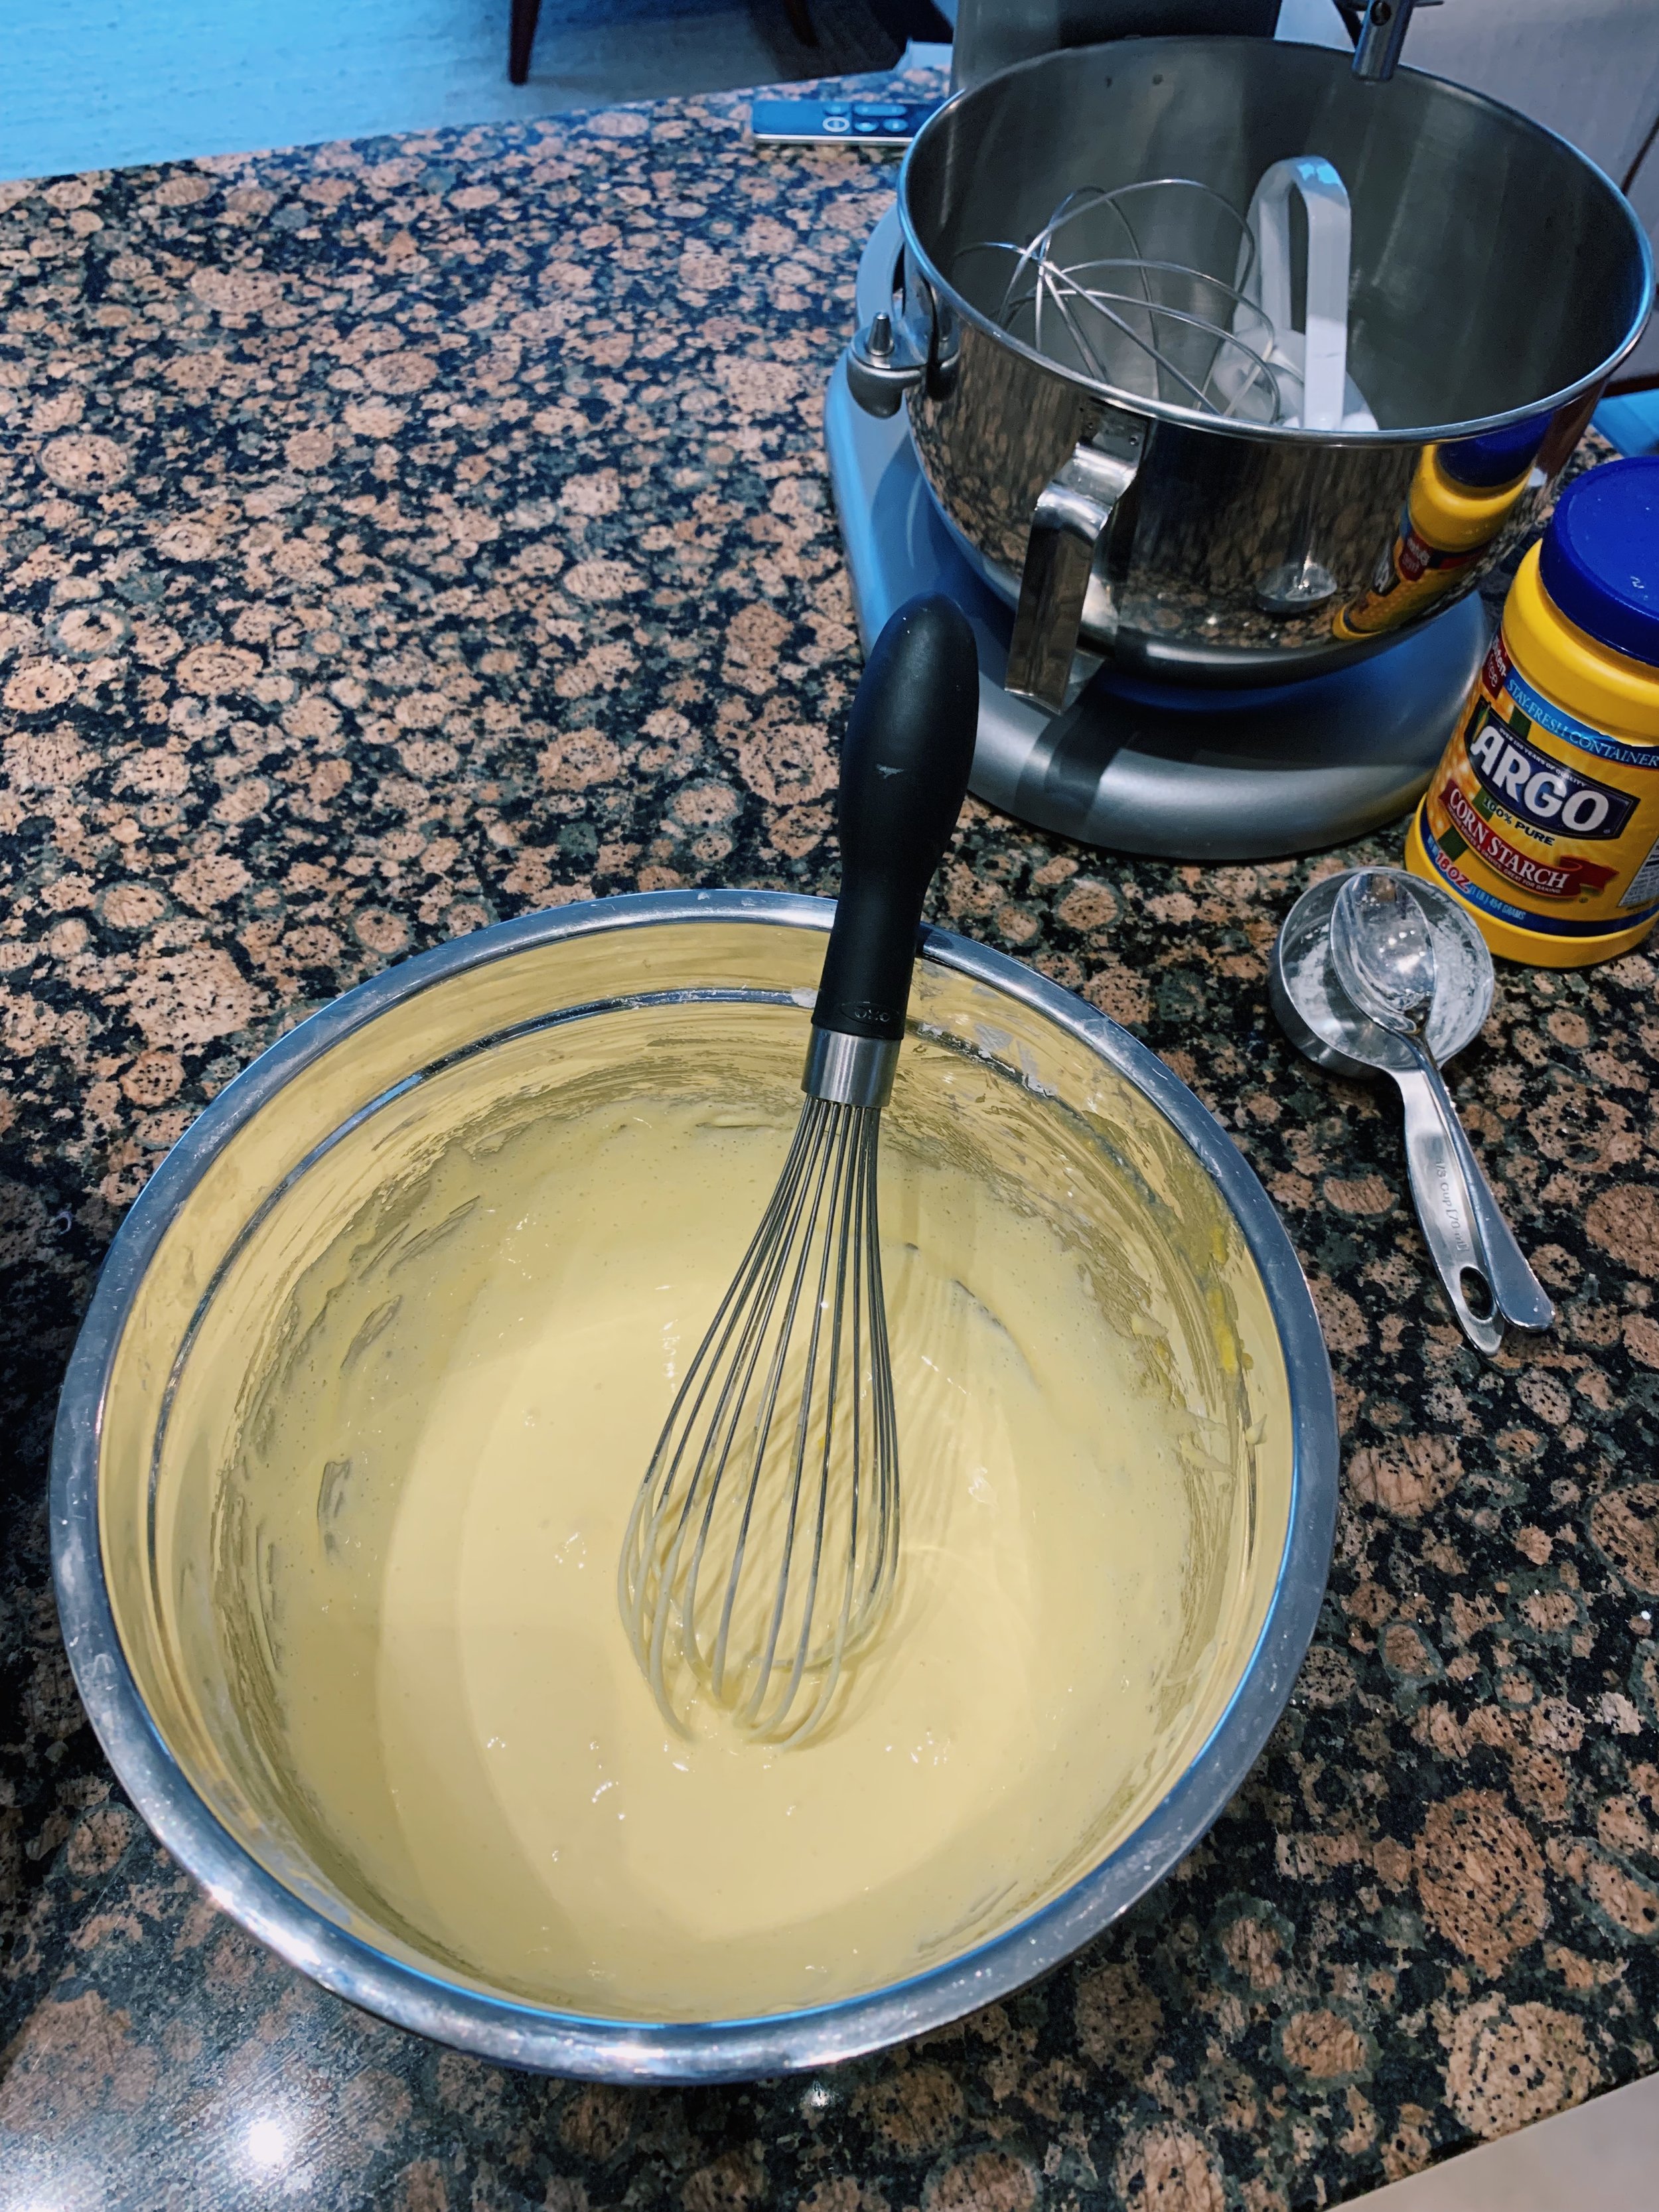
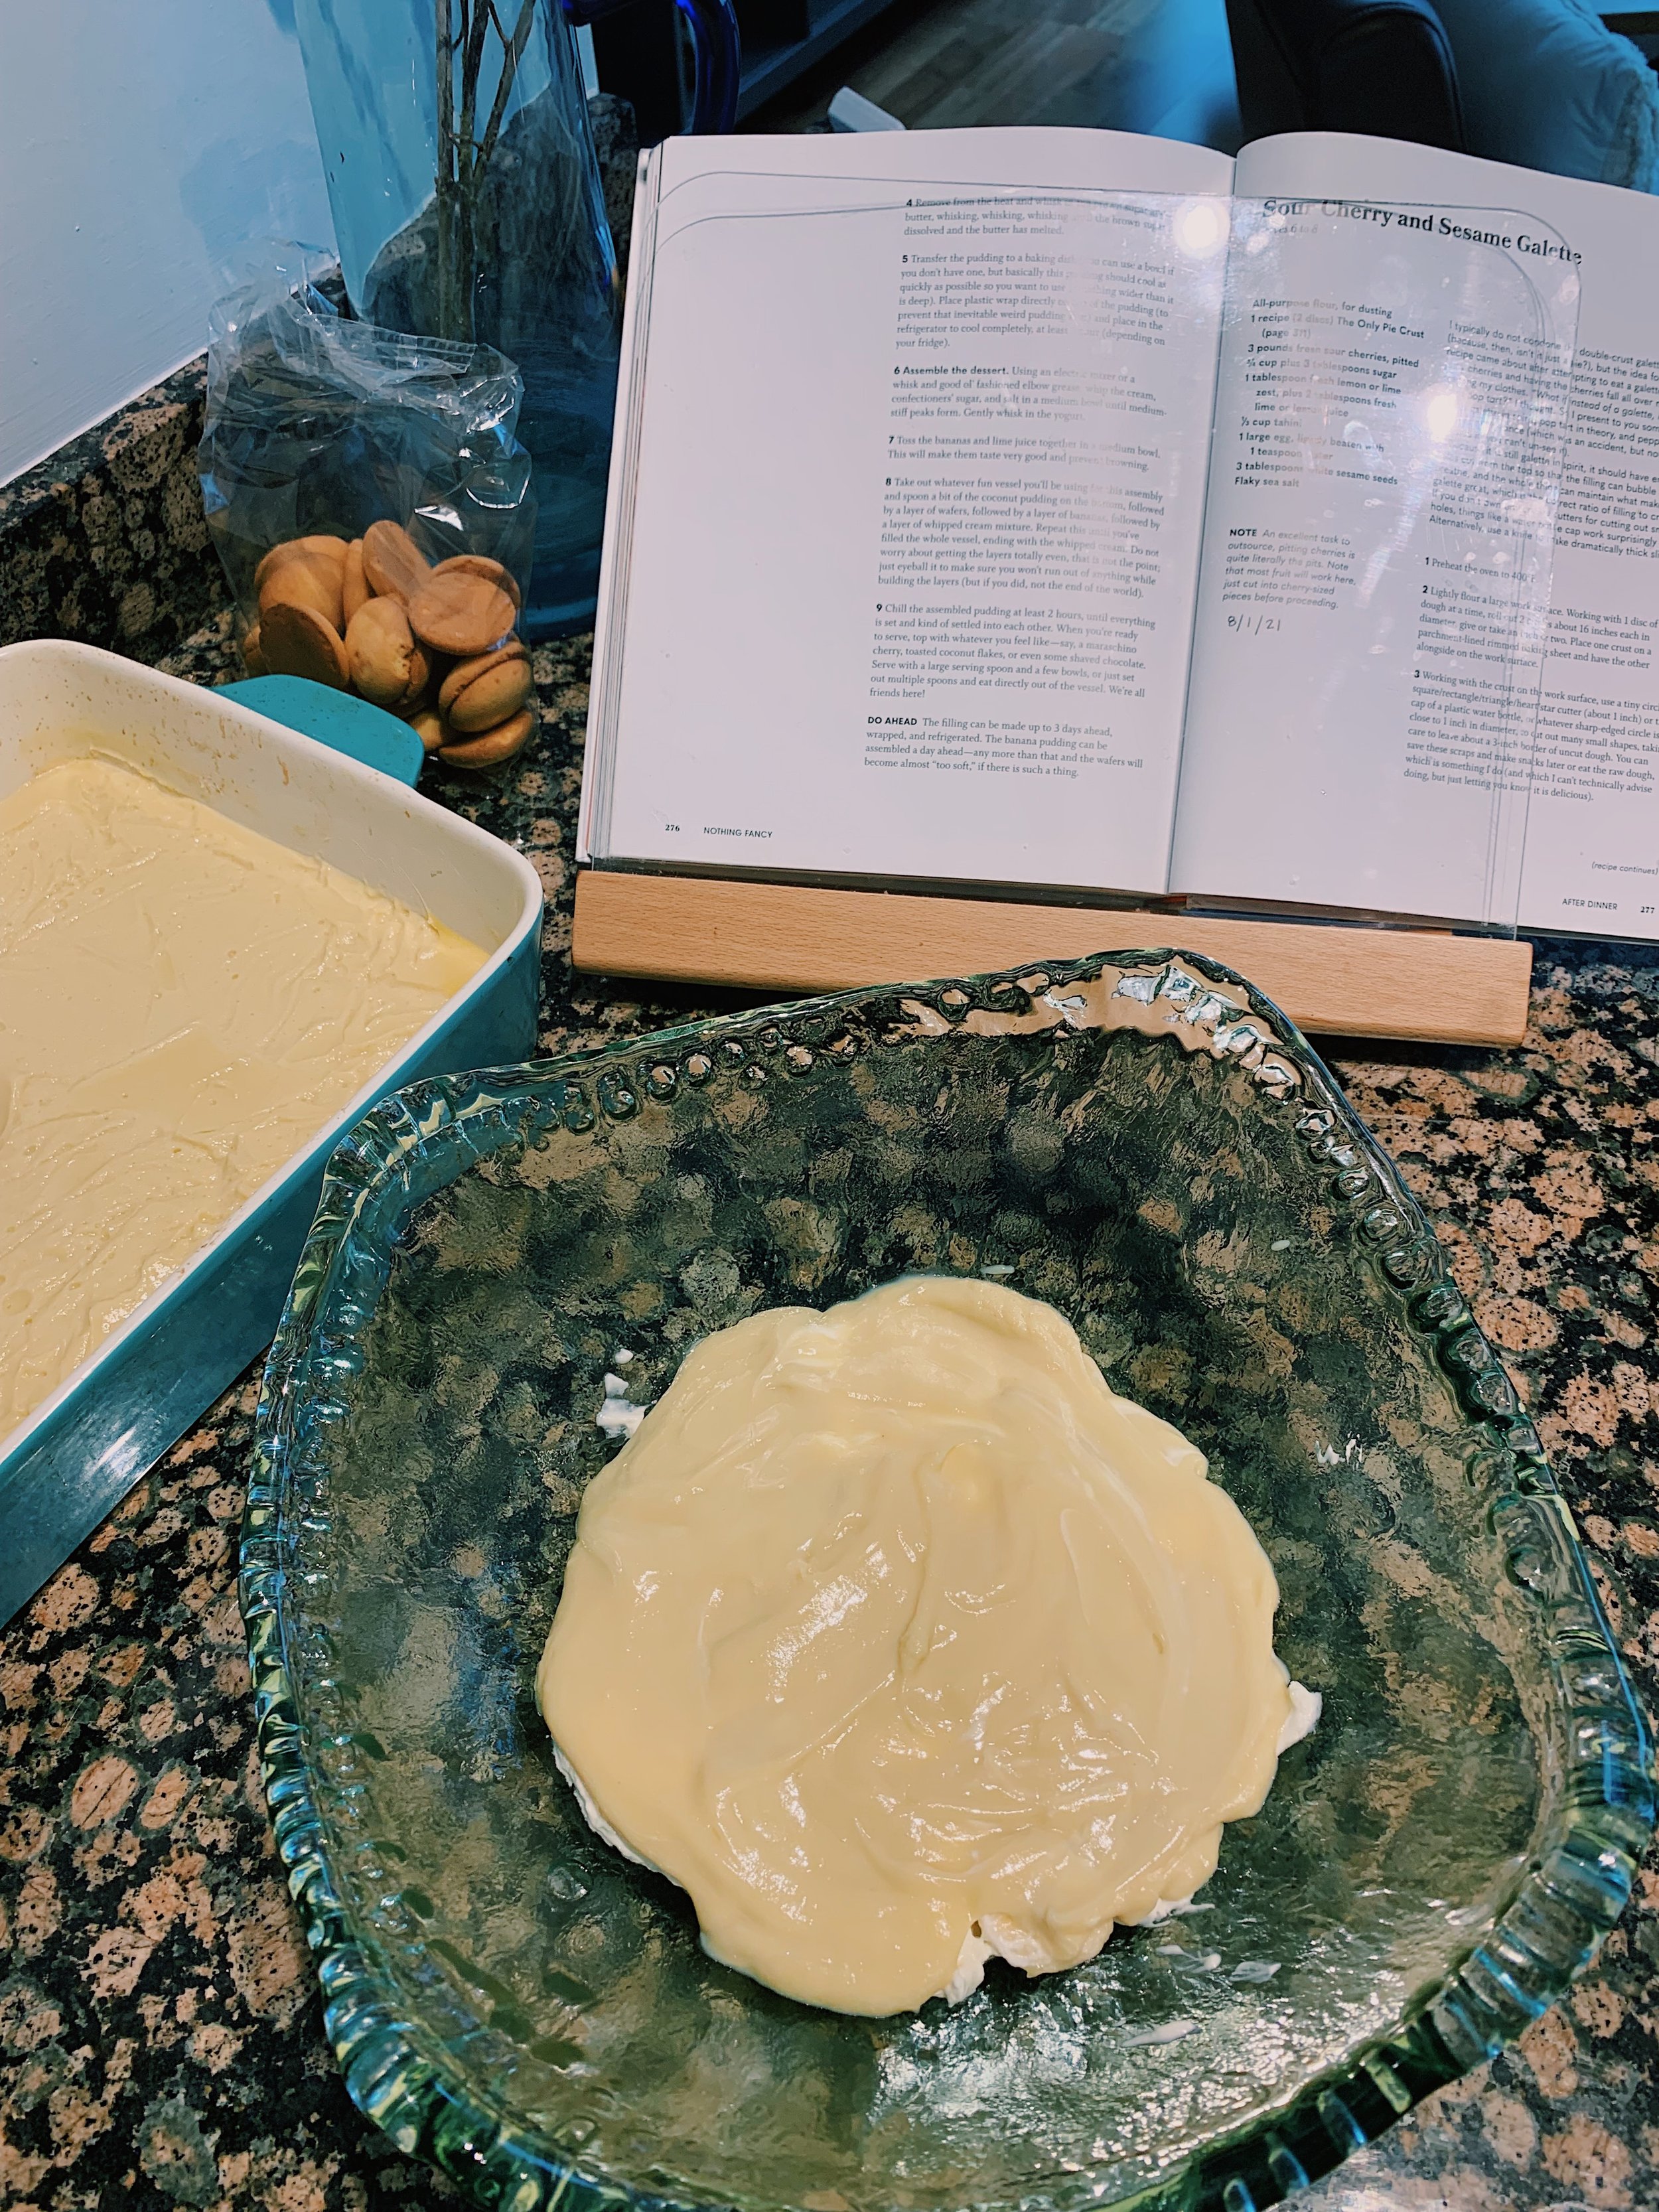
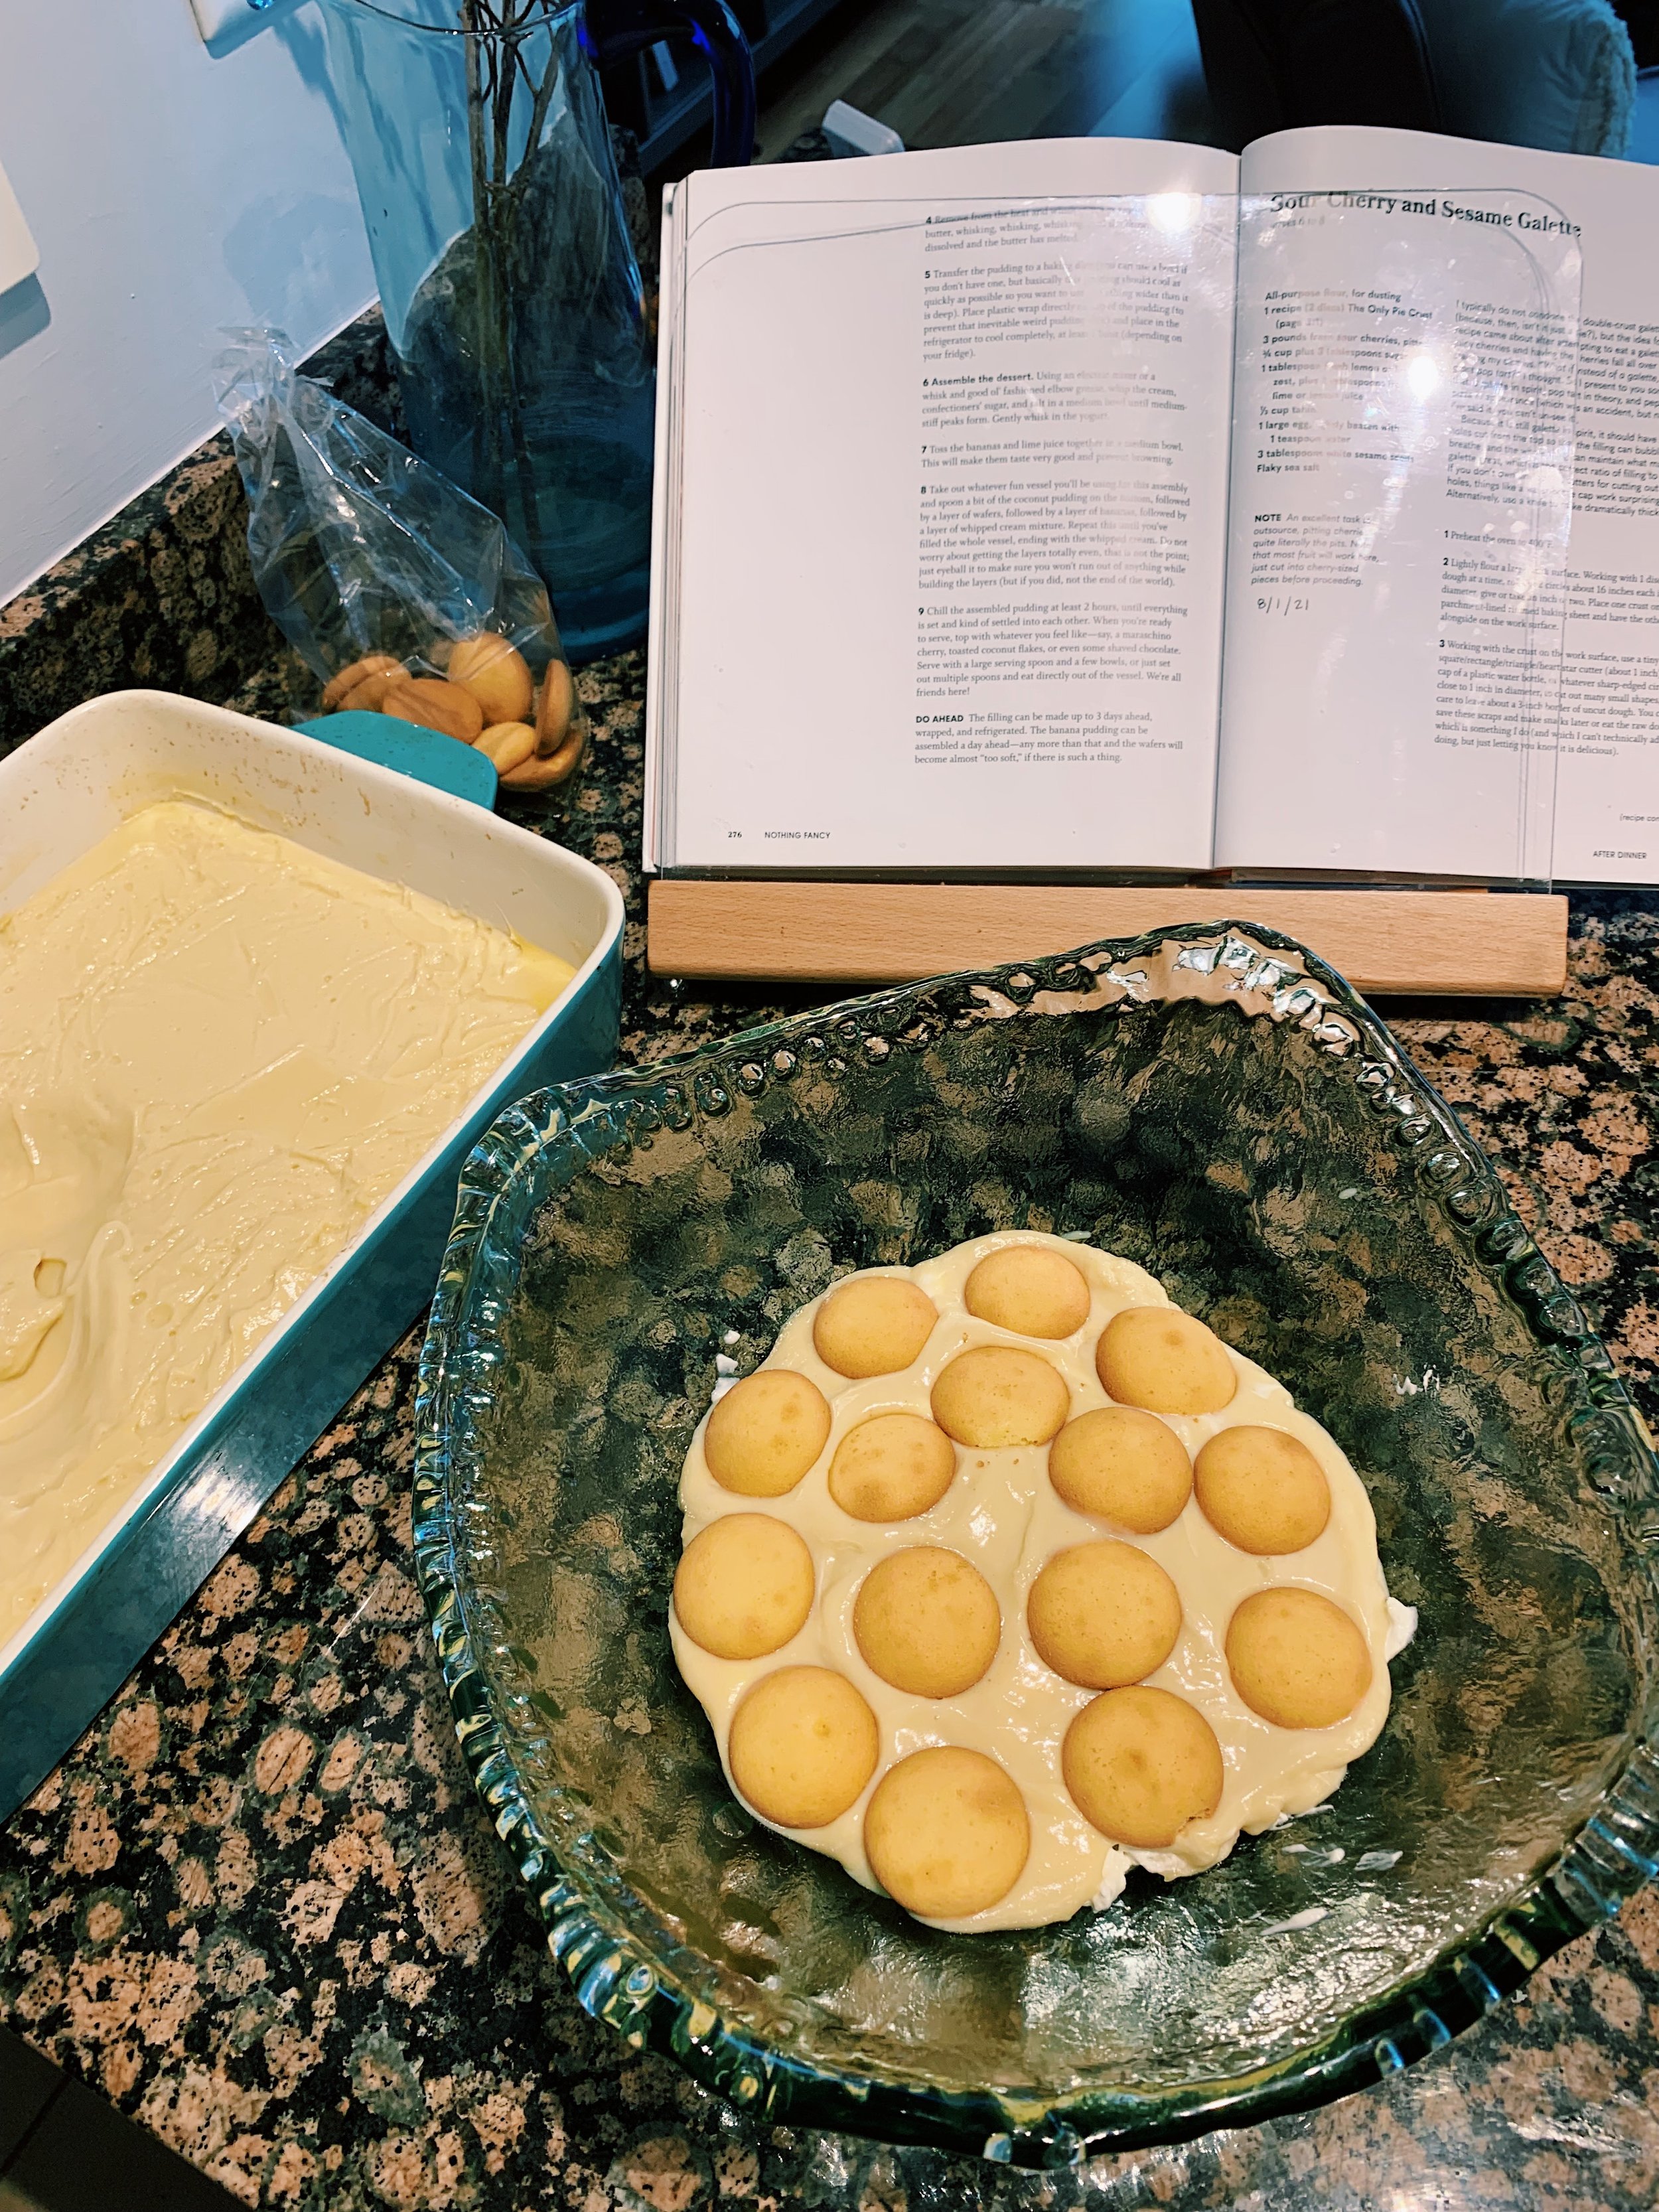
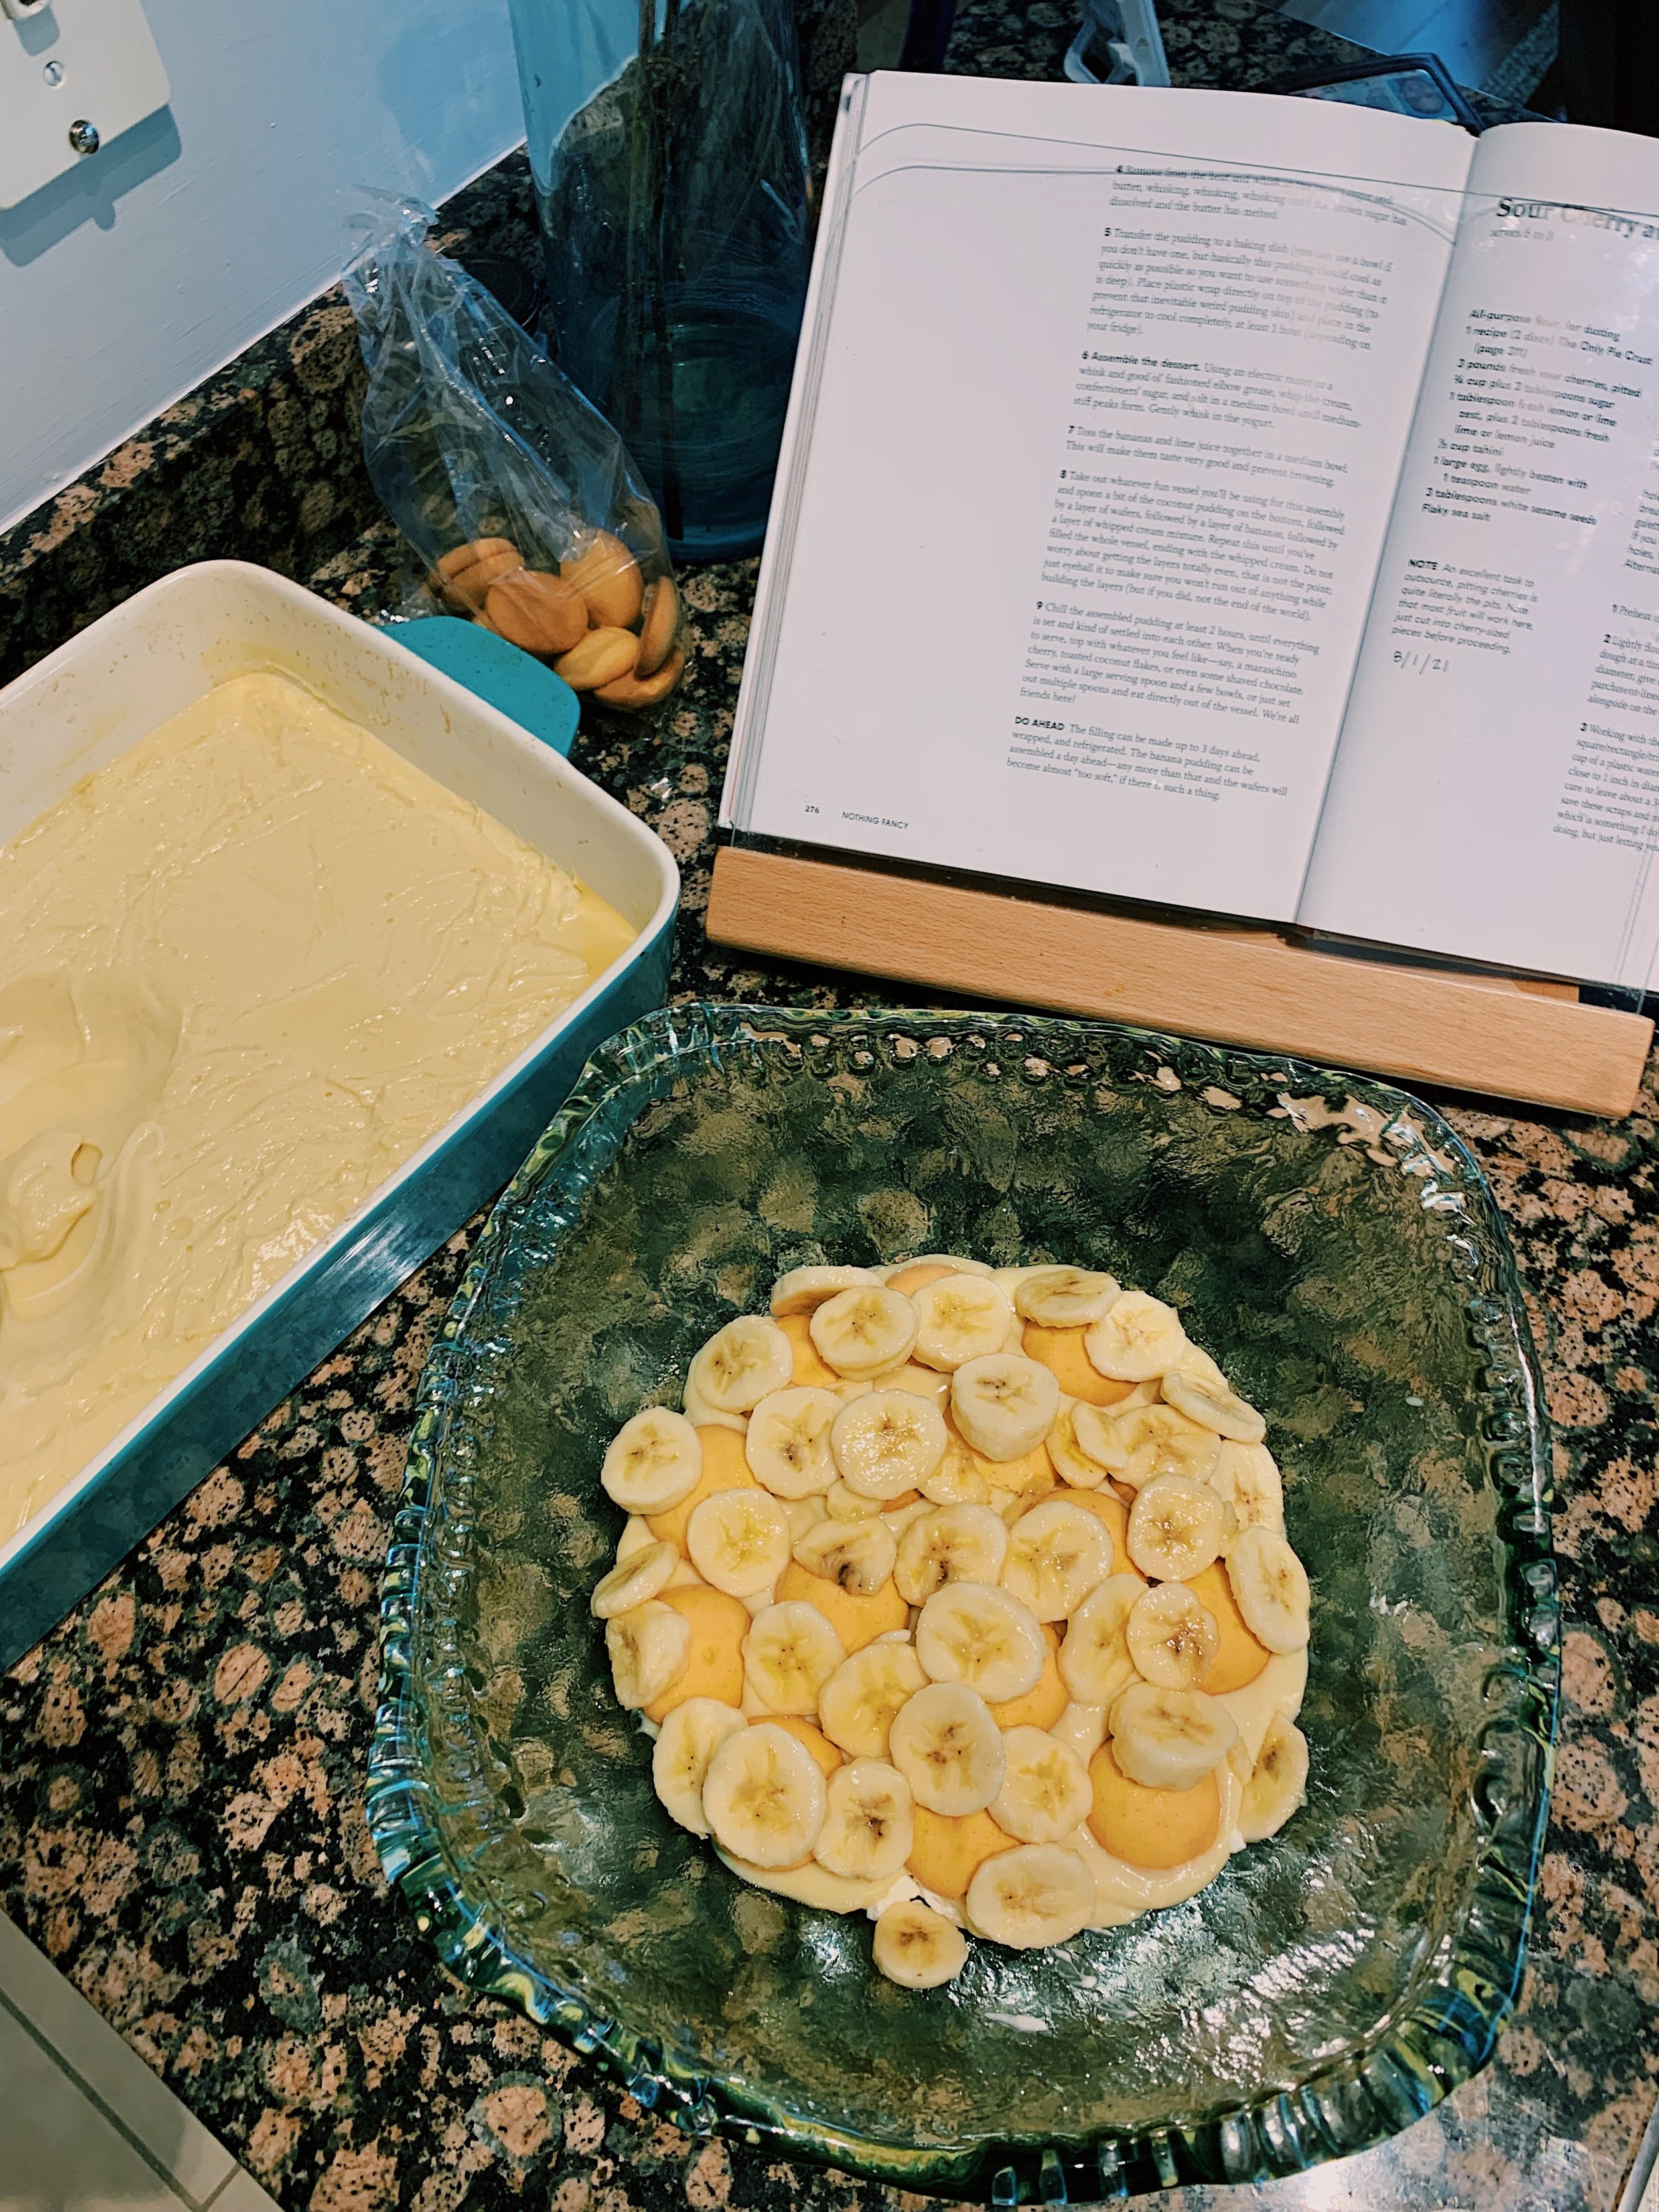
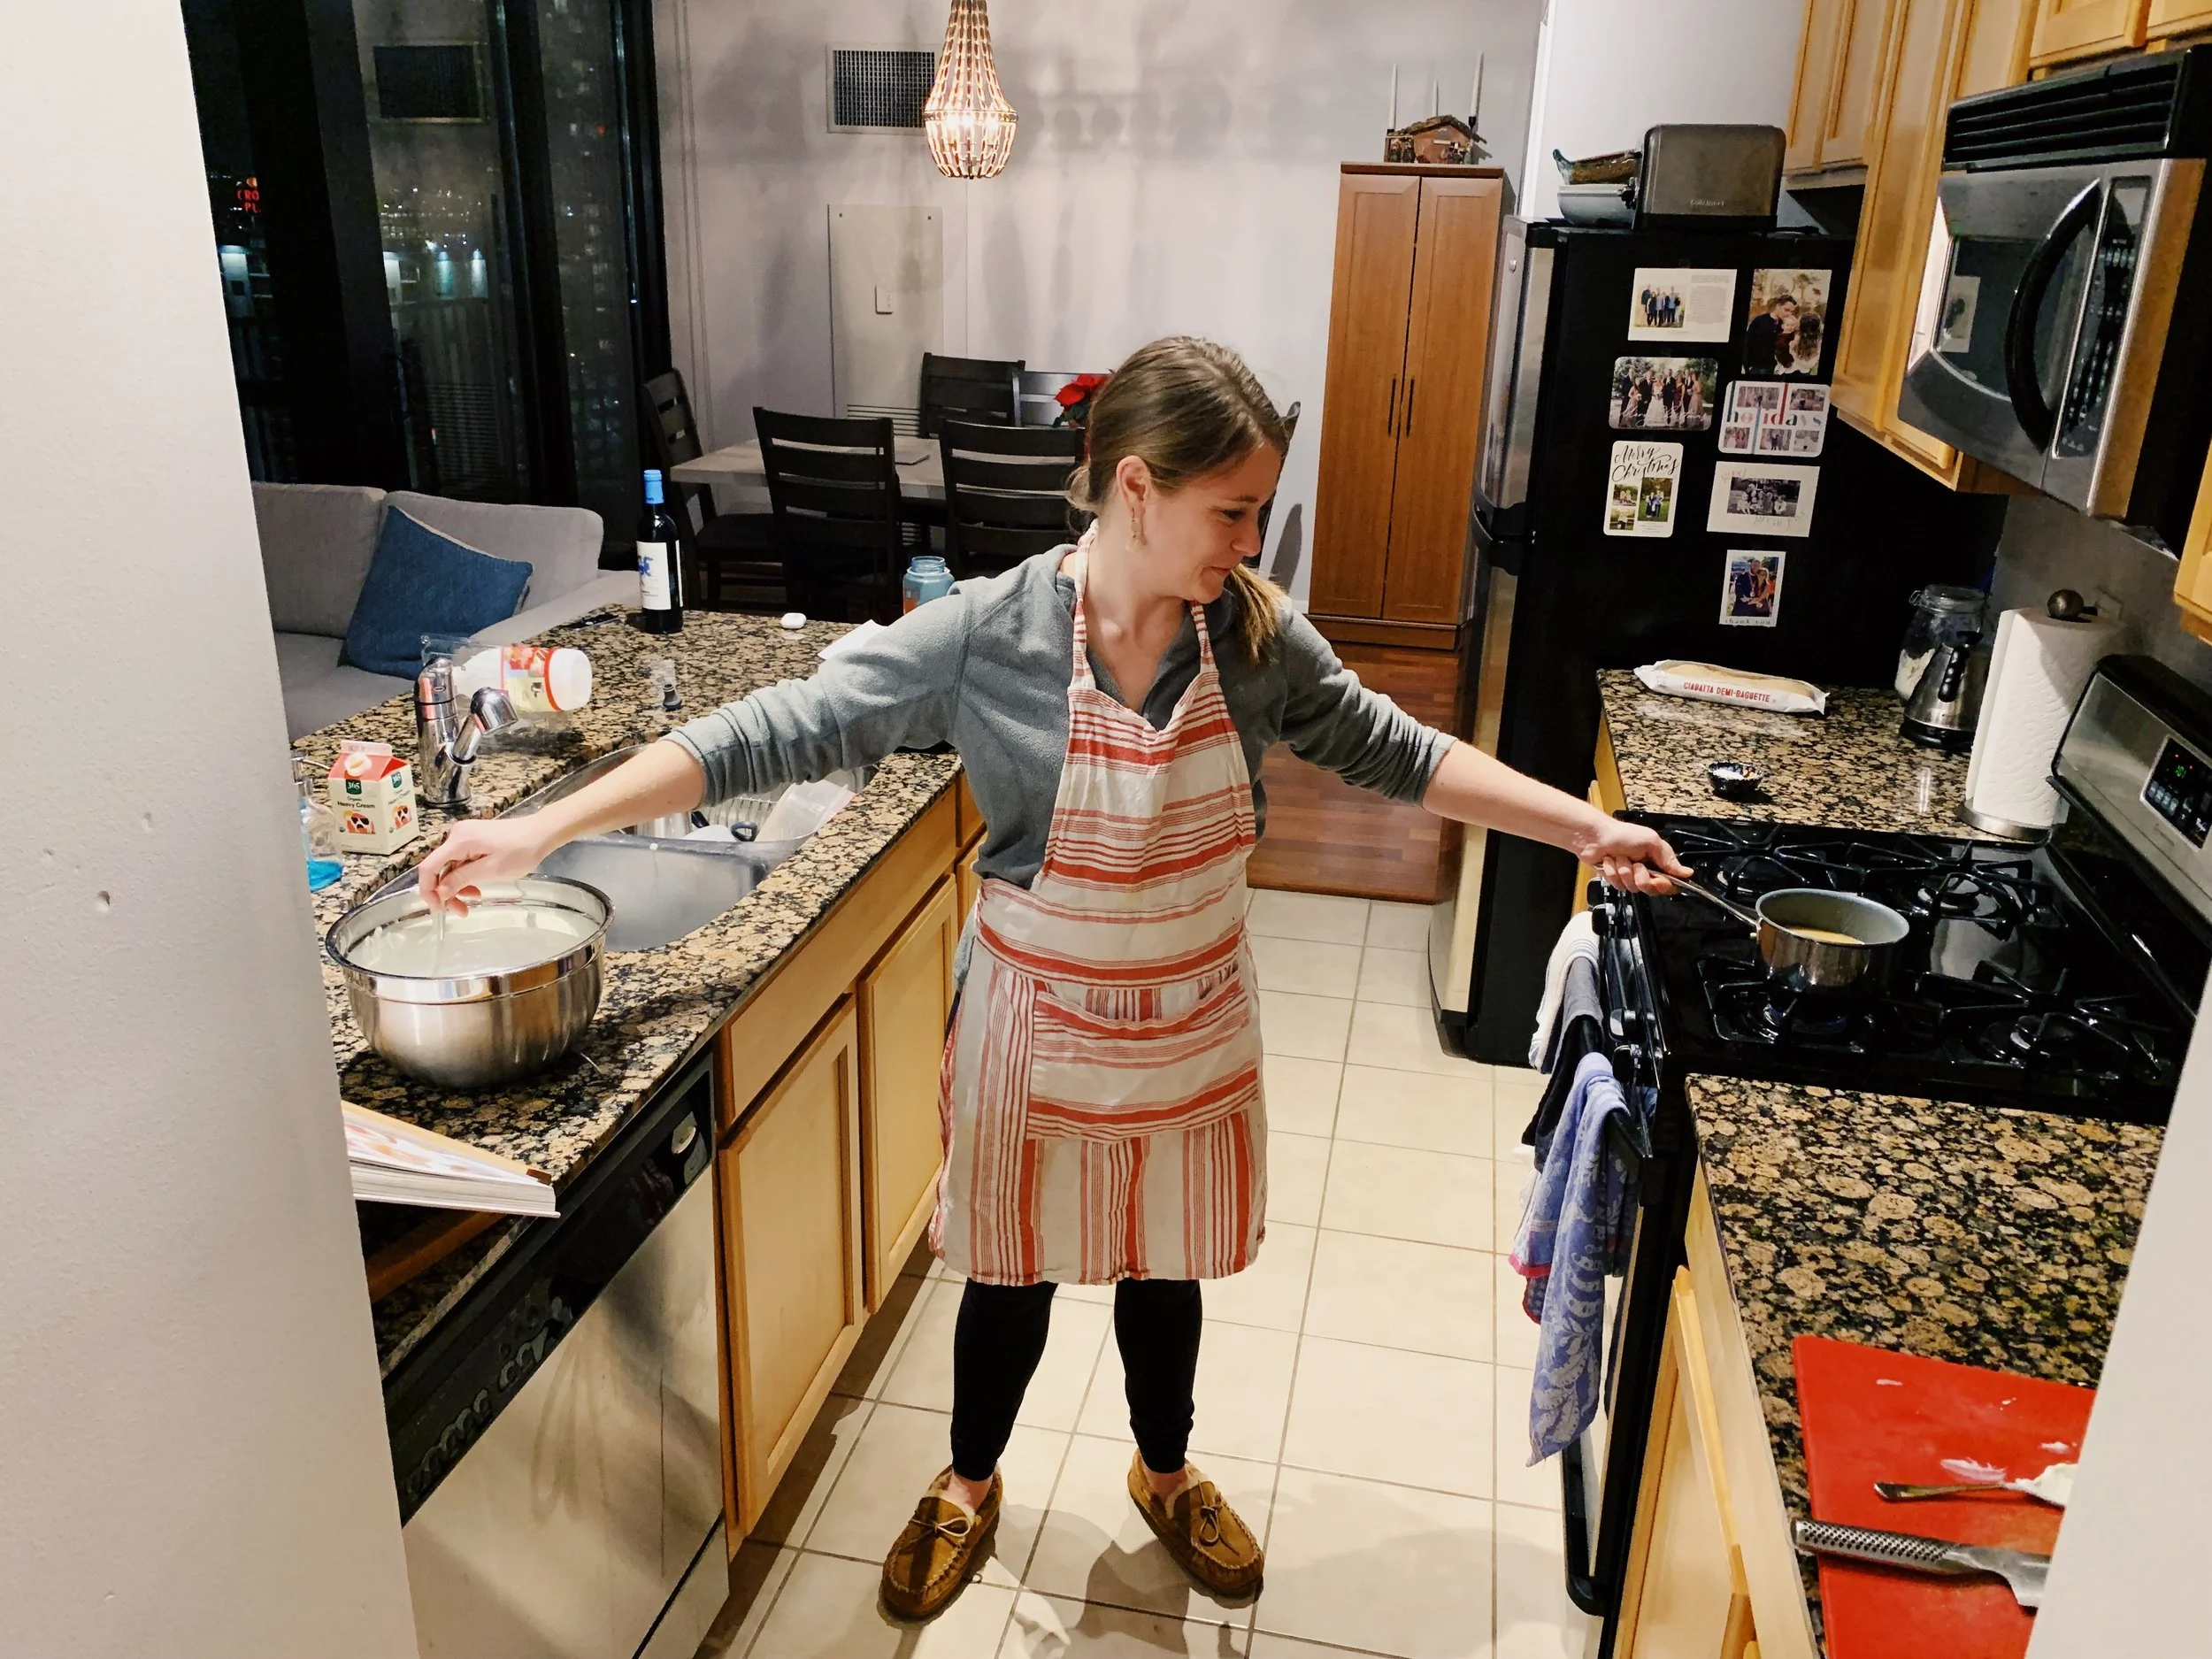
33 desserts later and I’ve felt great moments of pride — like when my upside-down apricot tart held perfectly together when I flipped it onto a plate, or when my salted-butter chocolate chip cookies looked just like the picture in the book. I’ve failed too — my coconut banana pudding took multiple tries to become pudding and I was certainly too hasty about the task of cutting out circles of dough for the top of my cherry and sesame galette. I am still nowhere near any sort of expert-level baker, but I’m more confident than before.
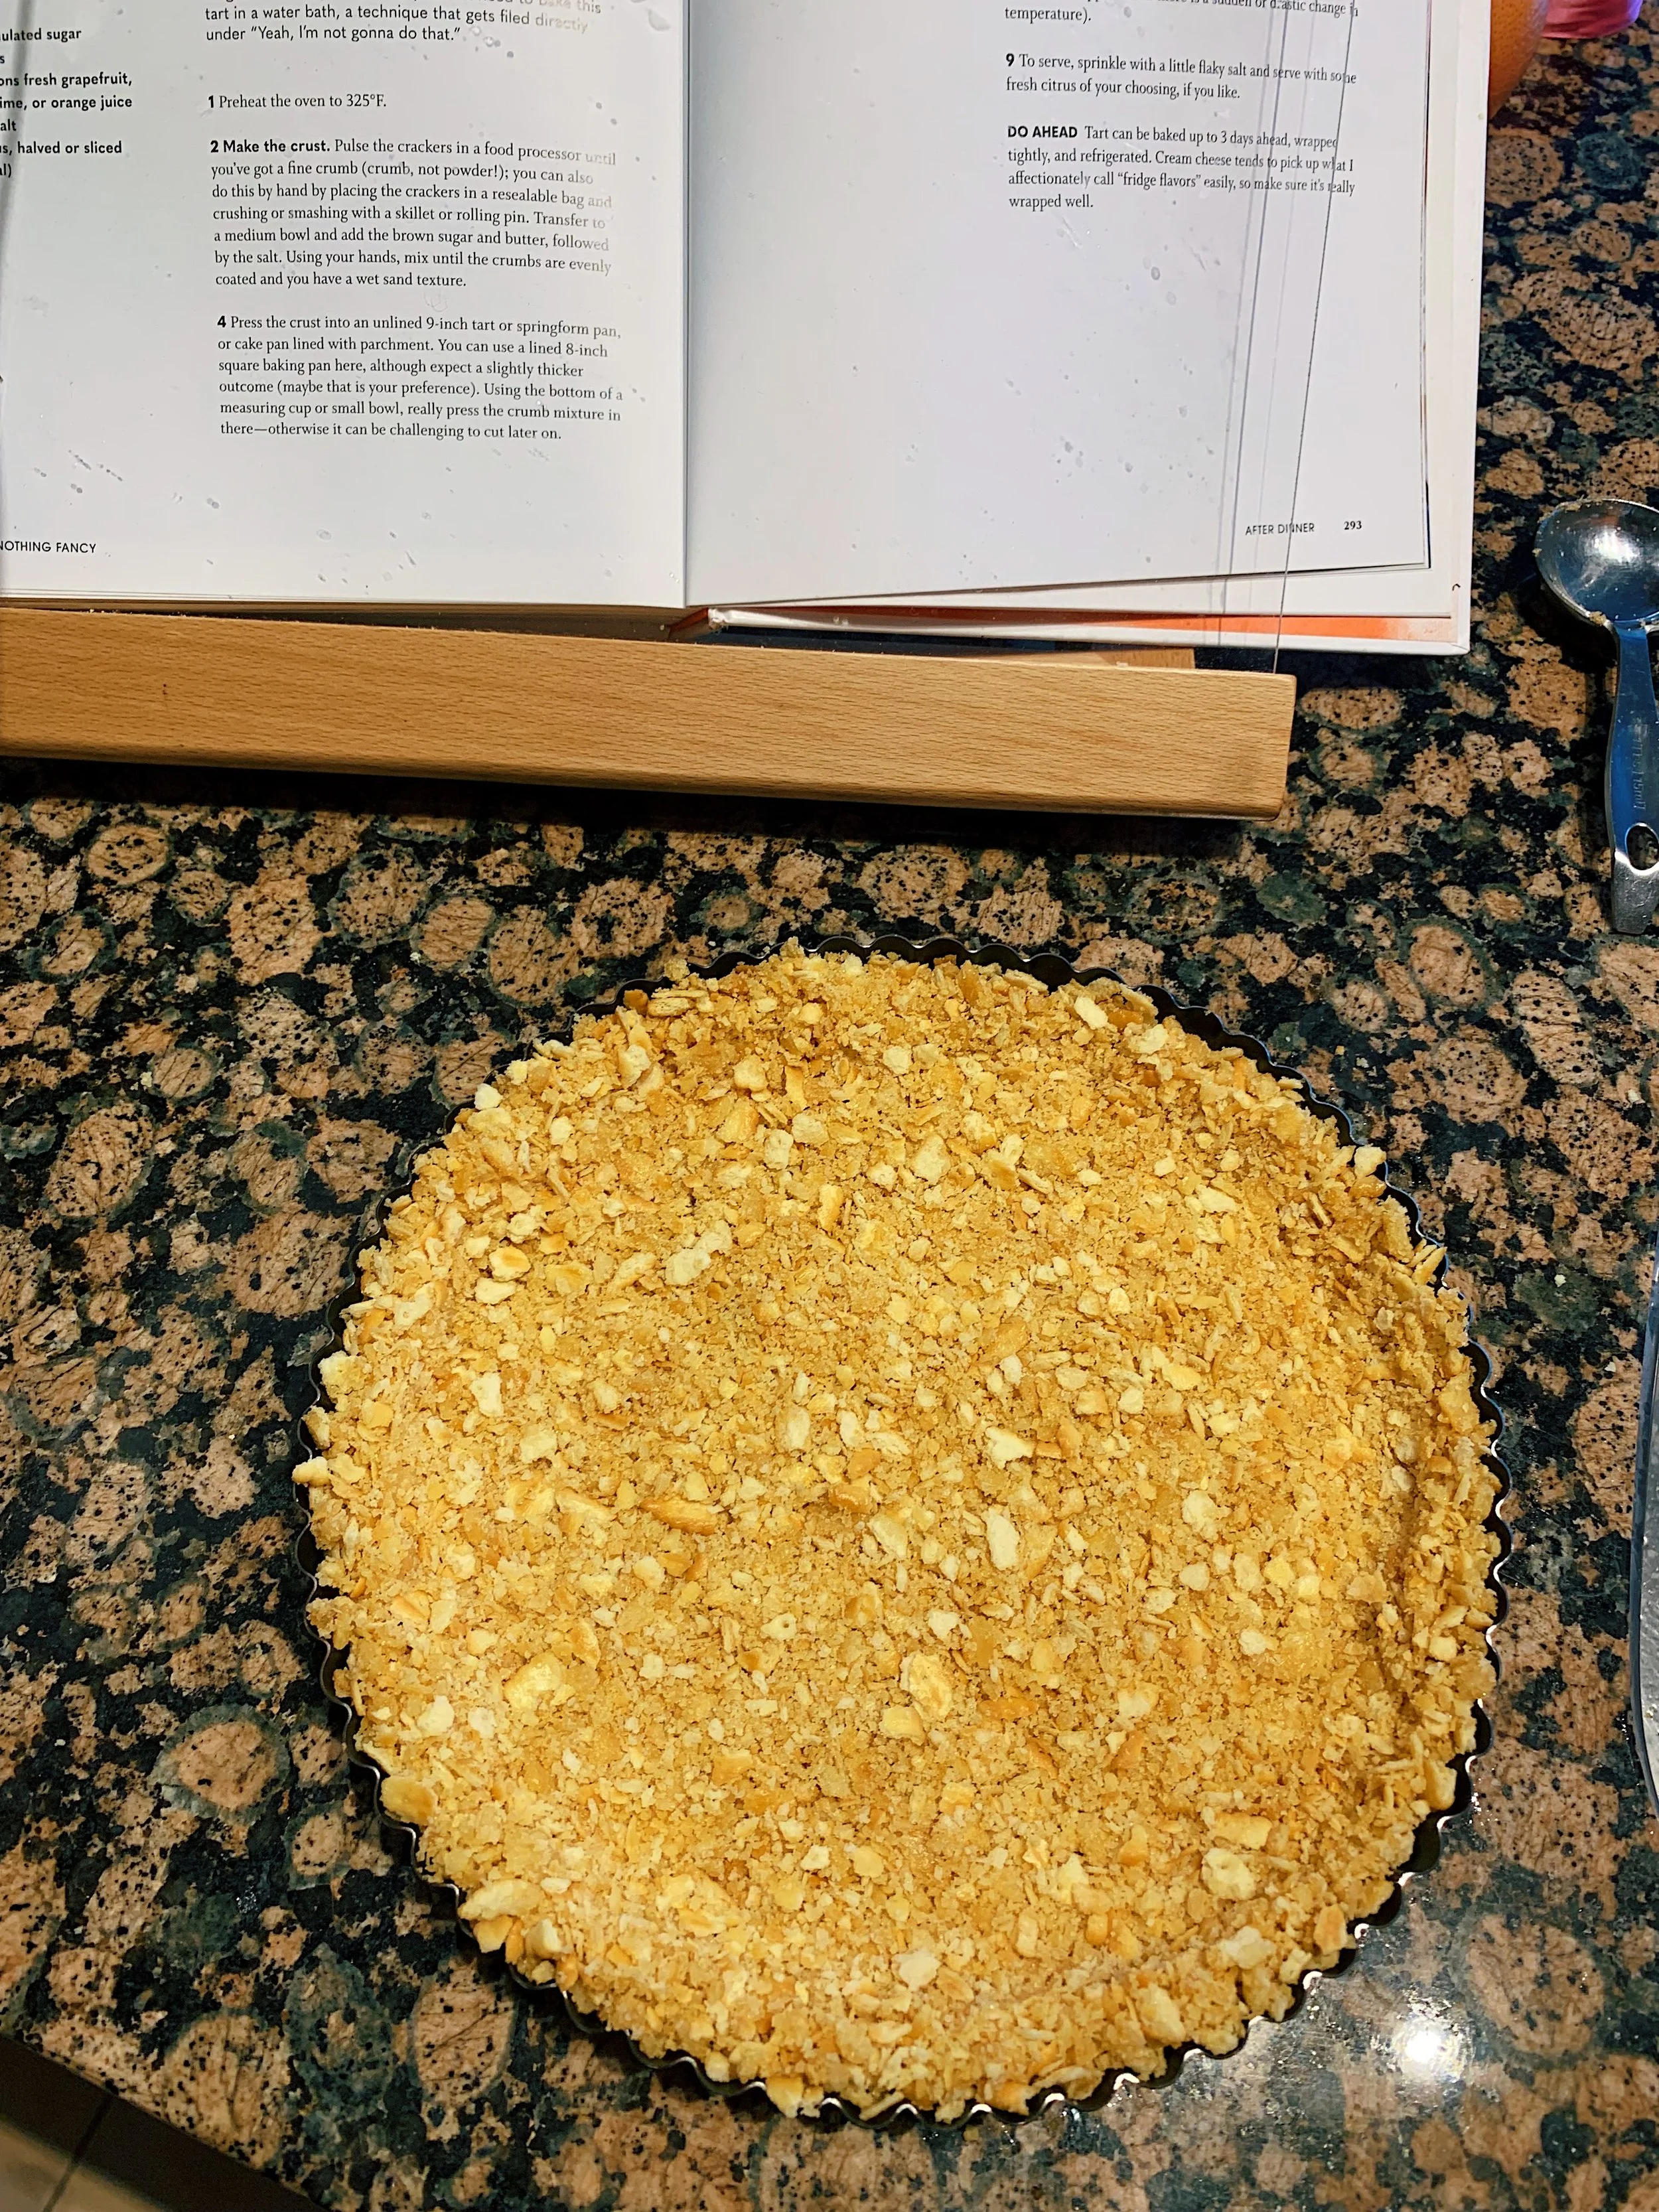
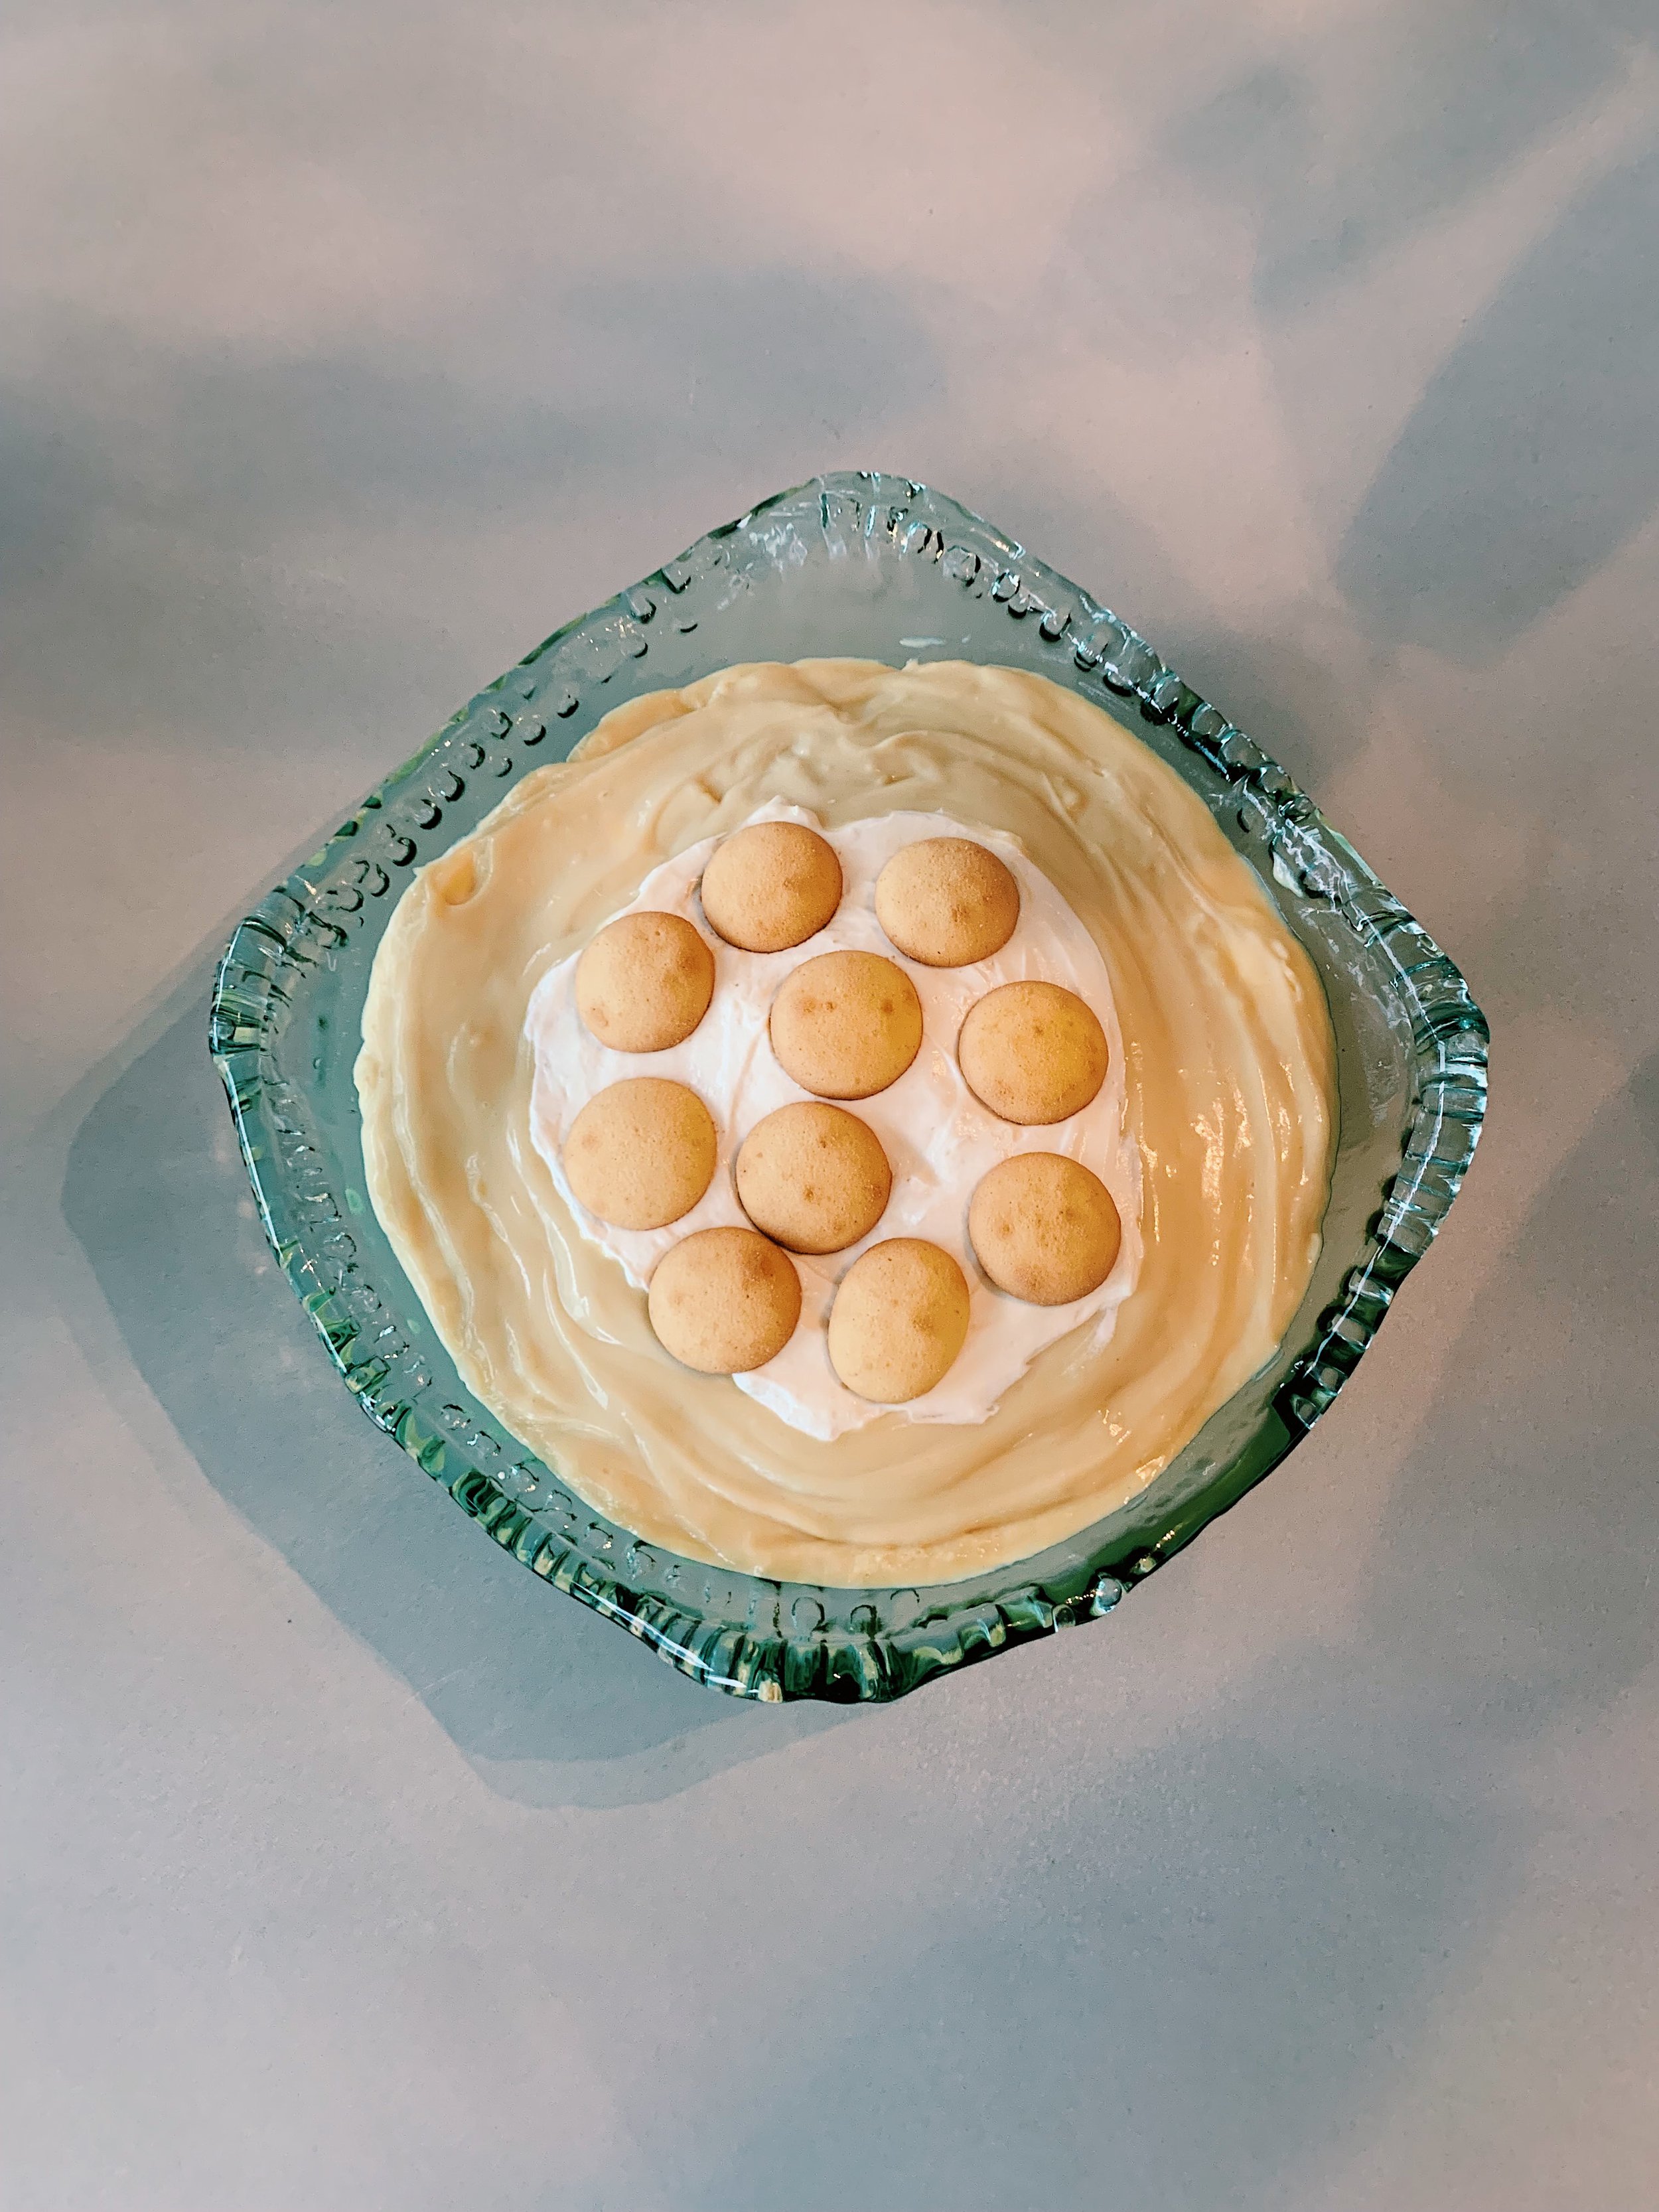
The cream cheese tart is as close as I’ve ever been to baking a cheesecake (which I know little to nothing about). It starts with assembling and baking the crust. Given the option of Nilla Wafers and Ritz Crackers, I went with the Ritz. My reason being that I assumed that the filling would lean more heavily on the “sweet” than the “salty,” and I was really craving a 50/50 split.
I chose to break up the crackers by hand instead of with a food processor, but it didn’t turn out as well as I’d hoped. I got the crumbs down to a small size just fine, but some of them were just a bit too big — like the size of a pea — and it was difficult to break them down further. These slightly larger crumbs didn’t absorb the melted butter as easily, which meant the crust resisted staying together in some places. If you can tolerate the task of washing your food processor bowl and blade, then take it from me — use it with gusto. (But not too much gusto; you don’t want the crackers to become a powder either.)

As the crust baked in the oven, I prepared the filling with my food processor by blending cream cheese, Greek yogurt, and sugar. Going against instructions, I chose almond milk cream cheese instead of full-fat, and frankly didn’t notice a possible difference in richness or quality. Then I added the eggs and grapefruit juice, forgoing the pinch of salt because I was starting to catch onto the fact that the filling might already taste saltier than I anticipated.
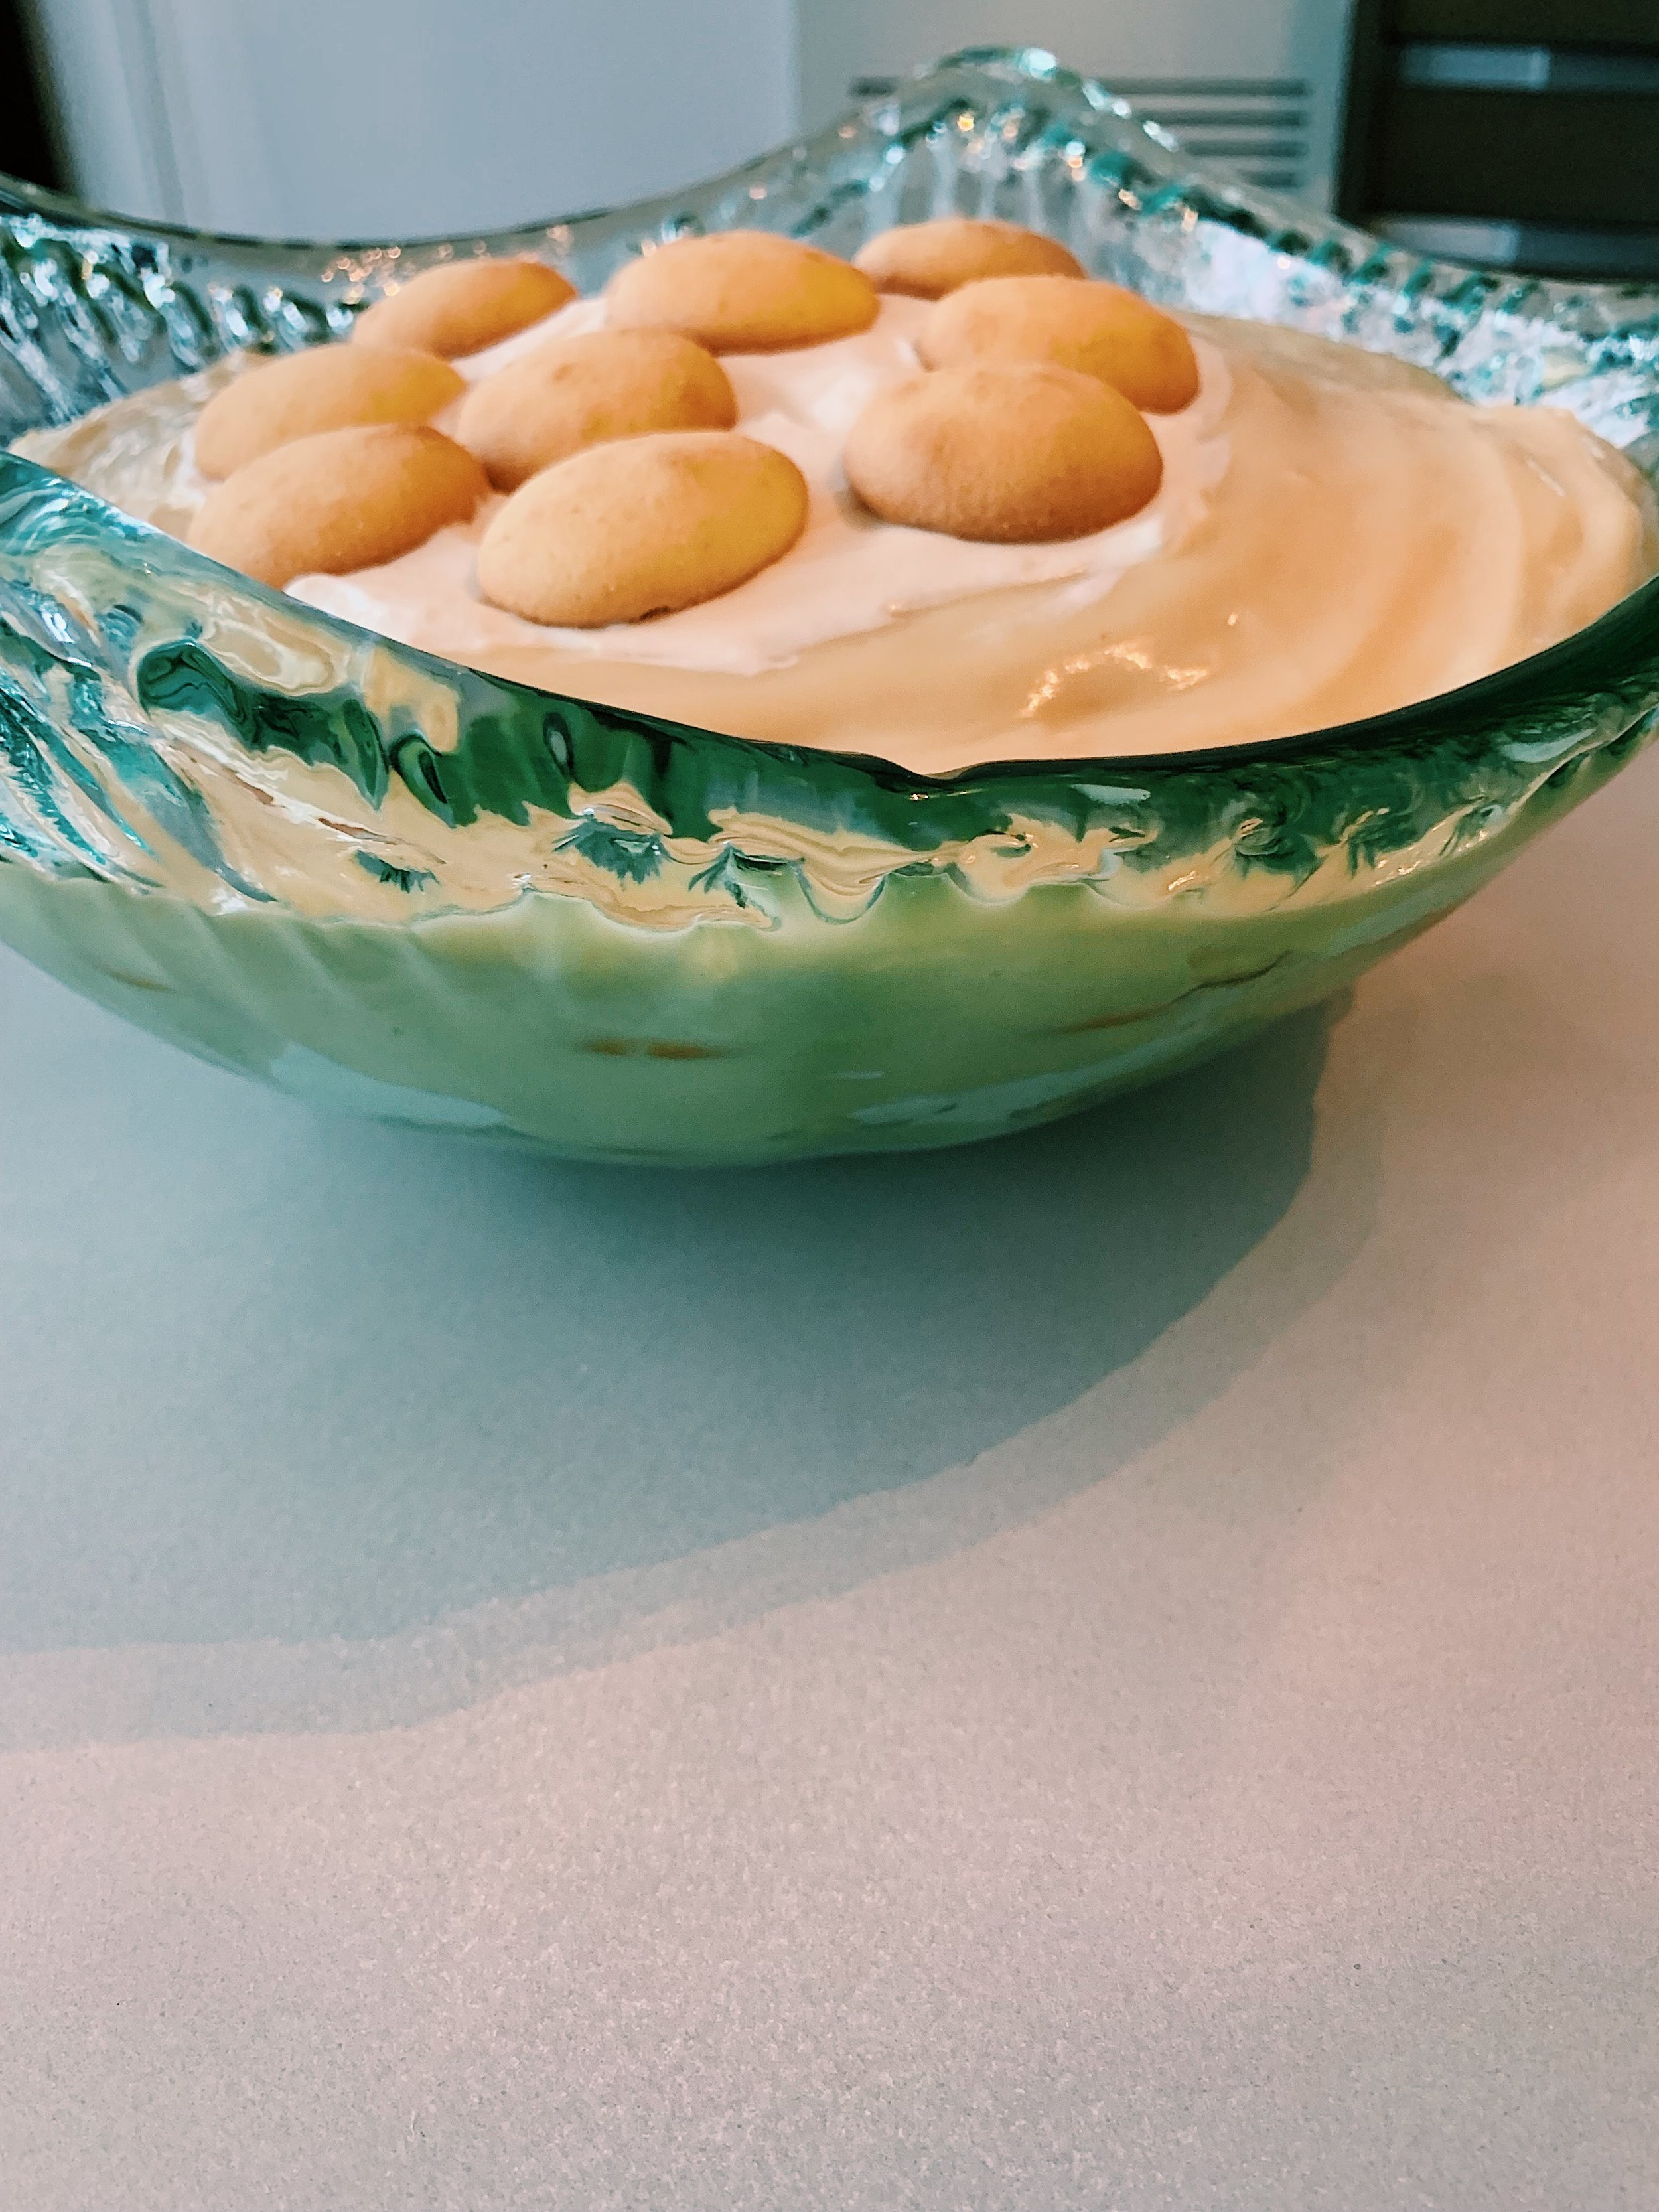
I poured the filling into the crust and very slowly transferred it to the oven. After my first key lime pie experience, I knew to let the “jiggle test” not completely determine when the tart is ready to leave the oven. There’s liquid in the middle. Of course it’s going to have the slightest jiggle when you rattle it. But if it just barely moves when you give the tart tin a solid tap, then it’s ready to go. I followed Alison’s advice, turned off the oven and opened the door a bit in order to cool the tart more slowly. The point is to avoid any cracks forming on the filling’s surface. I’d never heard of this technique before. I bet it works if you are in a more temperature controlled environment than a Chicago apartment kitchen in the dead of winter. Cracks showed up sure enough — especially after the first 5 minutes passed. I’m not sure how else to avoid this.
Once my tart was fully cooled and ready to eat, I sprinkled it with a bit of flaky salt and a slice of grapefruit (really just for the pictures, to be honest). The tart sure is tasty, but more of a 60/40 salt to sugar ratio. If I make this again, I’ll definitely go for Nilla wafers, or even a mix of Ritz and Nilla in the crust. The texture of the filling was so smooth and the structure held pretty well. Overall, I was pleased with the outcome.
Soon I’ll post a ranking of my favorite Alison desserts — the ones I’ve dreamt about since eating then.
224 recipes cooked, 1 to go.