As a child, I experienced many random urges to bake something. Usually in the midst of boredom, I would get sudden hankerings to be creative and make something with my hands for other people. Which always led me to beg my mom to let me use up a box of baking mix in the pantry, think brownies or chocolate chip cookie bars. Though the instructions were rather straightforward, and little effort required, I still tended to nail the desserts only 50% of the time. (I had a shorter attention span in those days.) Every once in a while, we only had a packet of Jello pudding mix on hand, which only required mixing powder with cold milk and chilling it in the fridge. But it was enough to scratch my baking itch.
And thus concludes my prior experience making pudding. As you can imagine, I had really no idea what I was getting into with Alison’s pudding. And yes, I made a big mistake. Hopefully my writing about it helps someone avoid the same.
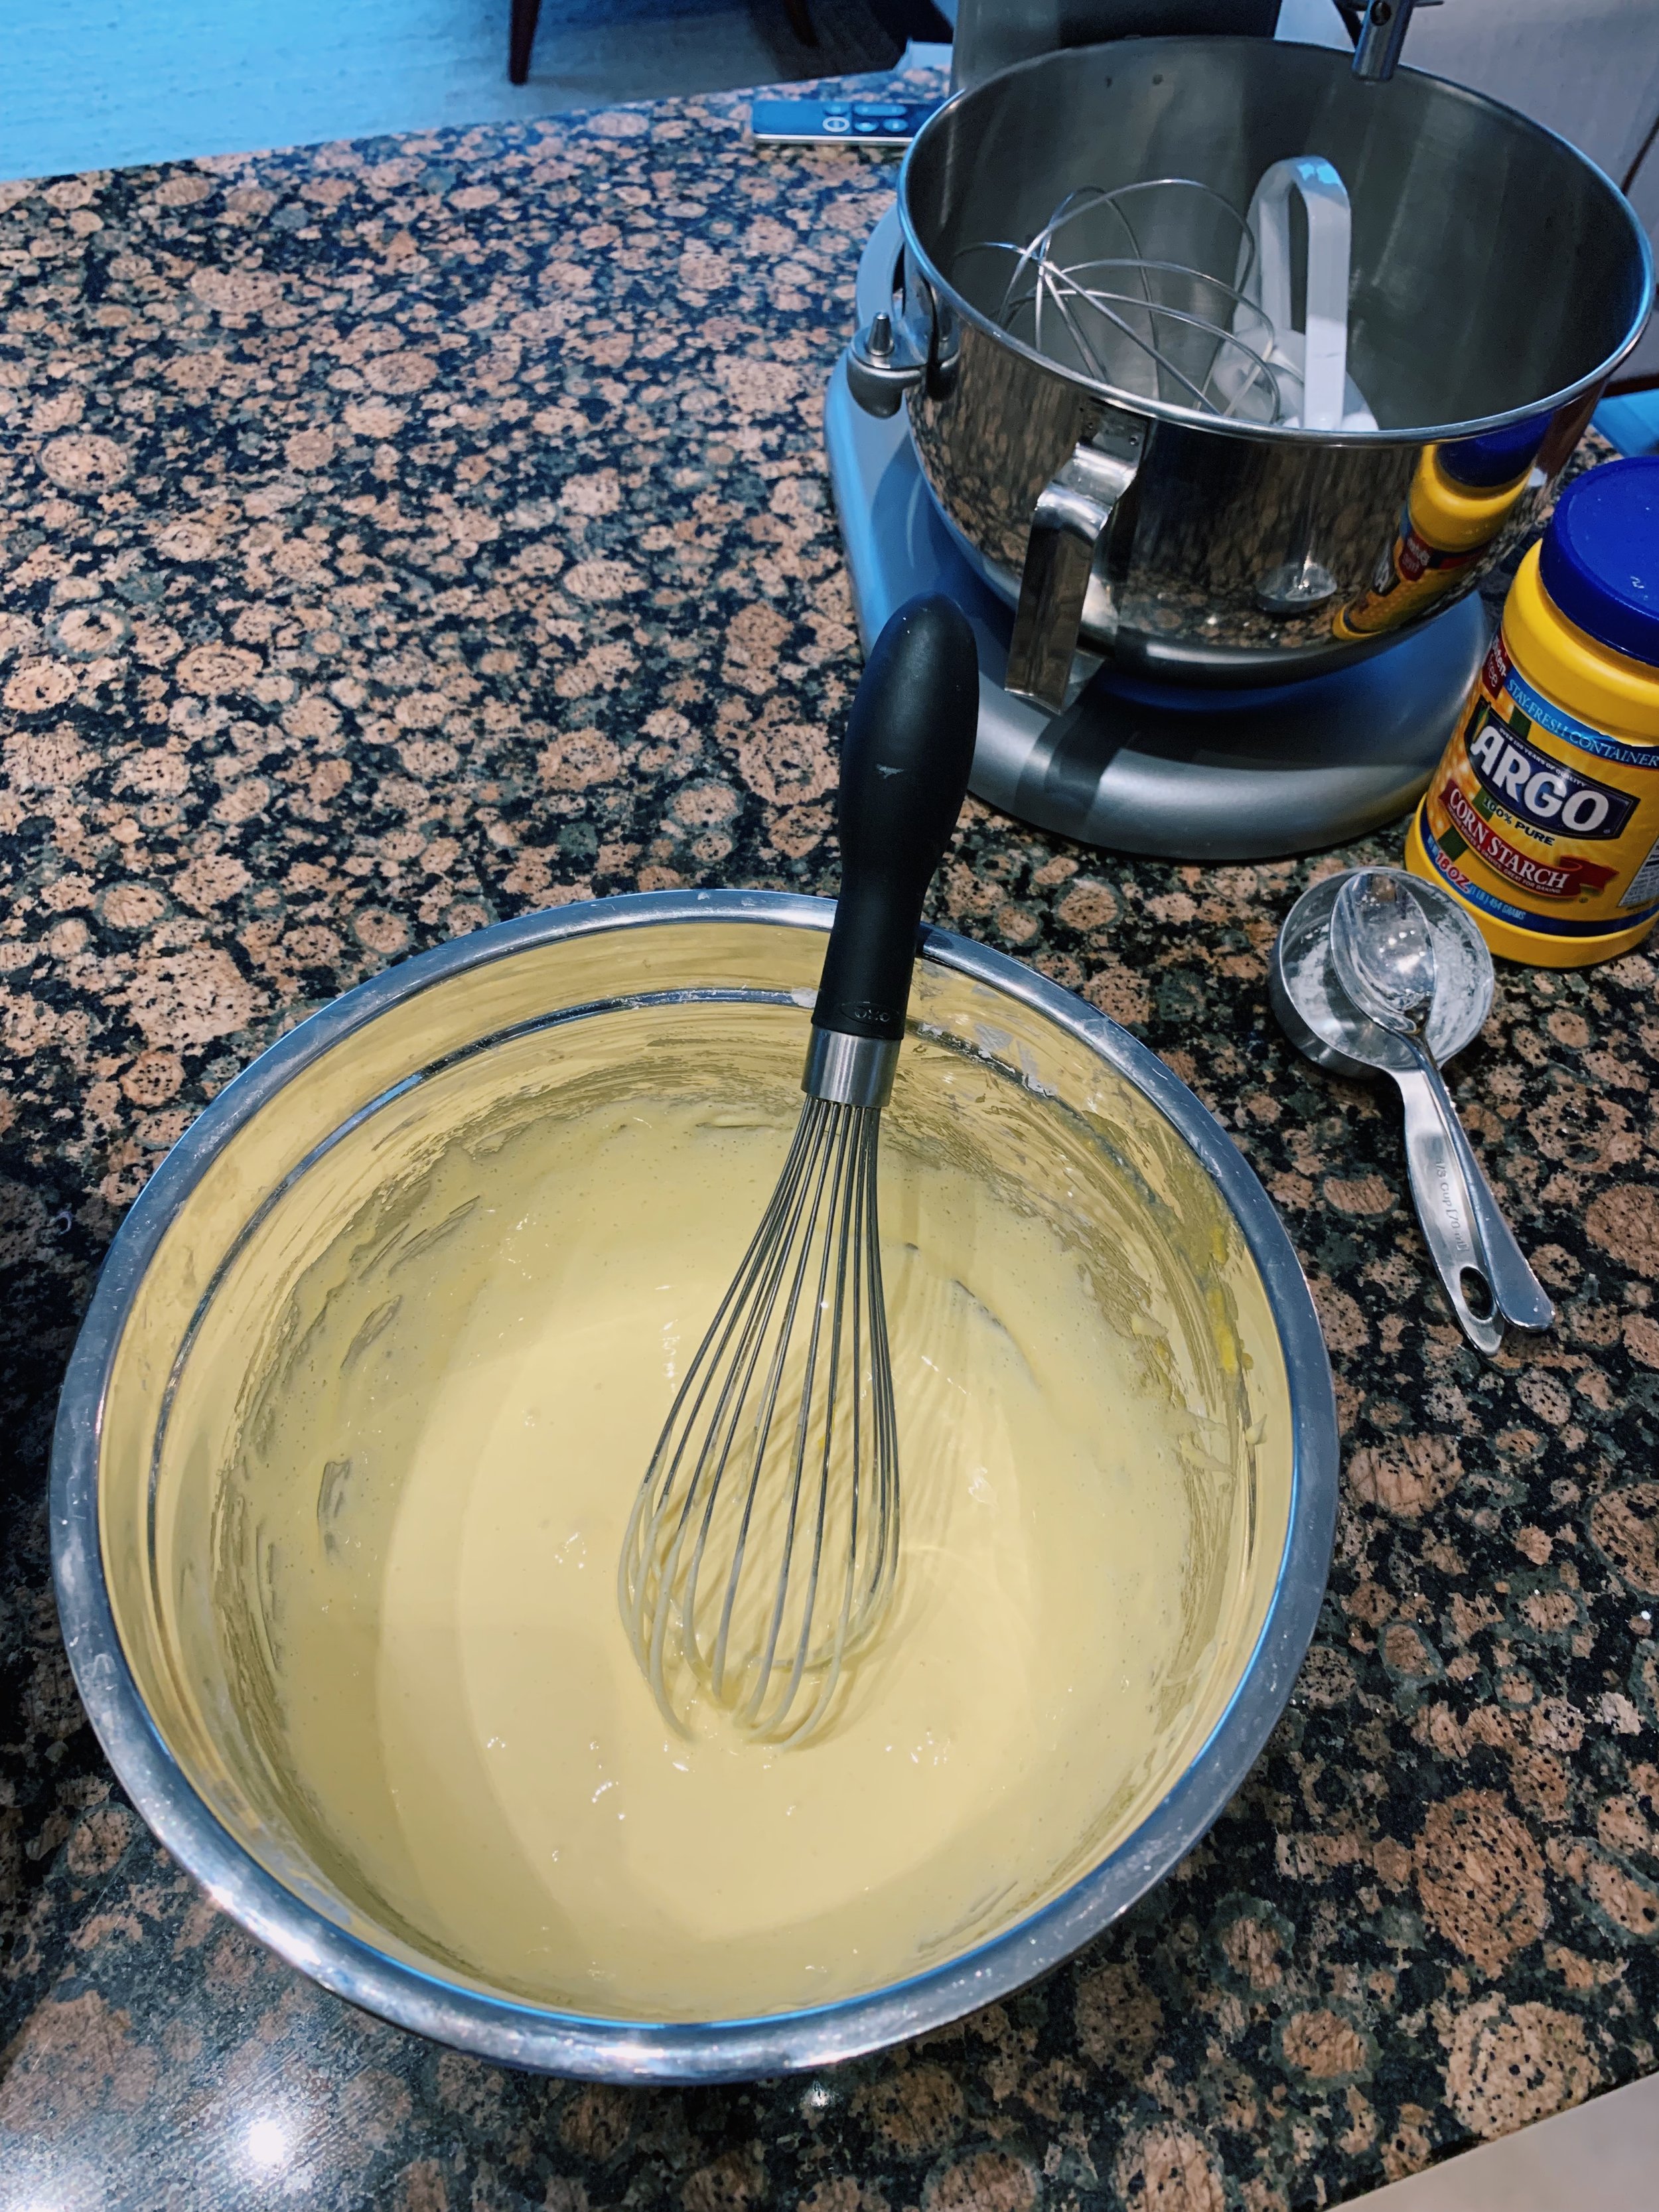
Making pudding from scratch is far different from making pudding from a box (duh). Pudding from scratch happens in multiple steps and with lots and lots of whisking by hand. The first step is to whisk egg yolks, cornstarch, and sugar together until pale and fluffy. After just three or so minutes of whisking, my arm already felt tired. Thankfully Jordan stepped in to get the egg yolks to that dull yellow color and speckled with tiny air bubbles.
Now it’s time to simultaneously heat and continuously whisk the dairy, which is where I spent most of my time, and made my grand mistake. I poured heavy cream, sugar, coconut milk, a tiny dash of ground turmeric (for color, I think), and vanilla extract into a pot, and stirred everything slowly until it came to a light simmer. Stirring helps prevent any cream from curdling. In order to warm the egg mixture before pouring it all into the hot cream, Alison instructs us to pour half of the cream into the eggs and mix them first. We want to avoid the eggs going into shock and scrambling when they hit the heat, so we need to gradually get them warmed up. Kind of like dipping your toe in the jacuzzi to adjust, before submerging yourself all the way. Once warm, then I poured all of that creamy, eggy stuff back into the pot on the stove over medium heat.
Now here’s where the confusion began. Here’s what the cookbook says:
“Stir the warmed egg yolk mixture into the pot with the cream and, whisking constantly, cook until it thickens and starts to bubble up and look like something that is so hot it could hurt you if it touched your skin (it can, so be careful!!!), 3 to 5 minutes.”
So I’m waiting for it to “thicken” and look “hot” and start to ”bubble up…” Not the most helpful visual cues to watch for, but fine, I’ll roll with it. The 3 minute mark hits. Then the 5. There’s steam coming off the top and some tiny bubbles rising to the surface. Is that what she means by hot and bubble up? I’ll let it go a minute longer…. 7 minute mark hits, and still more steam and tiny bubbles. The liquid is a bit thicker than when I started. Now, I’m well past the time limit, so I figured the pudding must be ready. I removed the pot from the heat, and per the instructions, poured the mixture into a 9x13 baking dish and stuck it into the fridge to chill “for at least one hour.”
An hour goes by, and the pudding, or should I say, slightly thickened liquid, is still warm. Another hour goes by, and the slightly thickened liquid is room temperature. A third hour goes by, and though the liquid is cold, there’s still one major problem…. It’s liquid. Wasn’t it supposed to thicken up and feel like pudding by now? I did what I always do in situations like this: I called Margaret.
Margaret, knower of most things cooking. Experienced cook, baker, and thankfully, pudding maker. I told Margaret all about my dilemma. How I followed the instructions, how I thought the pudding looked ready for chilling based on the book’s description, and how I still had a baking dish filled with cold liquid in my refrigerator. “Ah,” she said, “you just didn’t cook it long enough.” But I cooked it 2 minutes longer than what Alison said? “It always takes longer than they tell you it will.” Margaret, of all people, would know this. Then she told me what to look for beyond heat and bubbles.
I hung up the phone, poured all of the liquid back into the pot, and turned the burner dial to medium heat. It took about 10 minutes of heat and constant stirring to get the mixture back to the temperature it was before I chilled it. At this point, I applied Margaret’s tips. It took another 13 minutes before I had a viable “pudding.”
For those of you who plan to make this pudding recipe, here are some helpful (for me, at least) details to add to Alison’s instructions.
Once the egg/cream mixture is poured back in the pot, it could take anywhere from 8 to 15 minutes of constant stirring to achieve the right consistency.
Beyond heat and bubbles, you’ll know the pudding is ready when:
You drag your whisk across the liquid and it creates a ribbon pattern on the surface.
Your whisk meets resistance as it stirs.
The pudding can coat the back of a spoon.
The pudding feels mostly like pudding. It’ll thicken up a bit more as it chills, but you want to achieve most of the pudding consistency while over the stove.
My second attempt was successful. But by that point, I didn’t have enough time to let it chill and assemble the dessert layers before going to a NYE gathering. So I left the pudding to chill for the night and assembled everything the next afternoon.
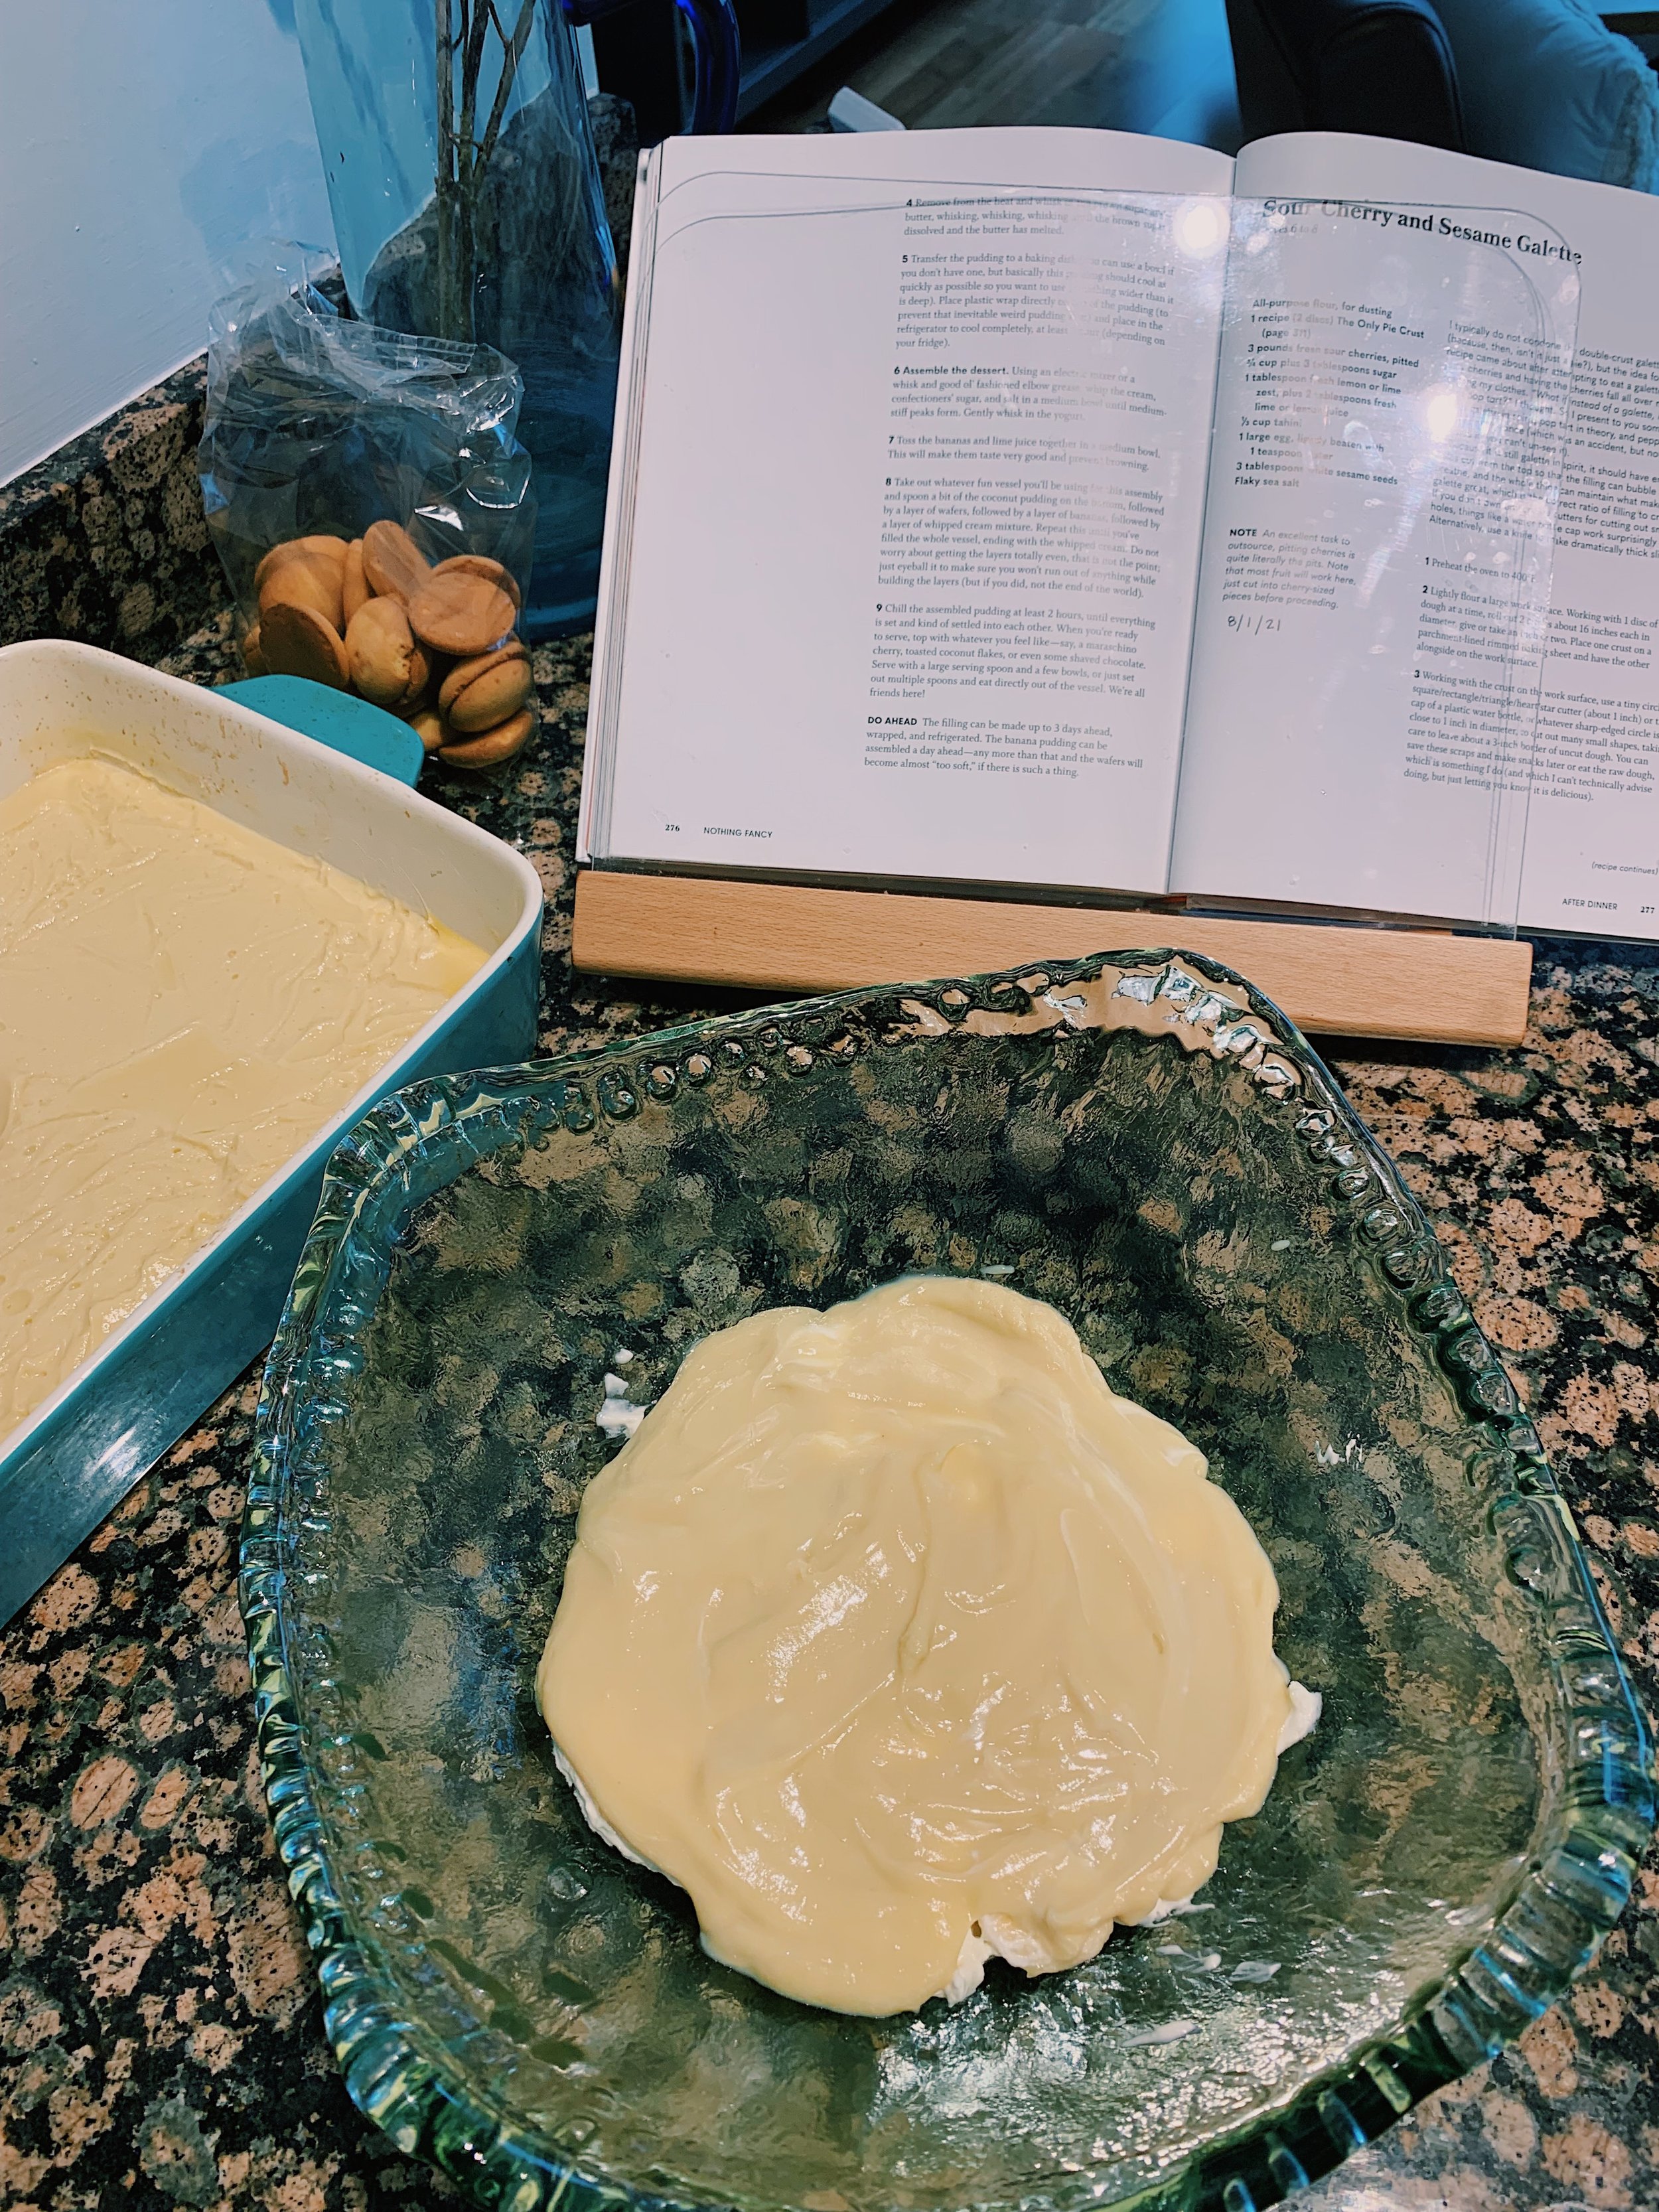
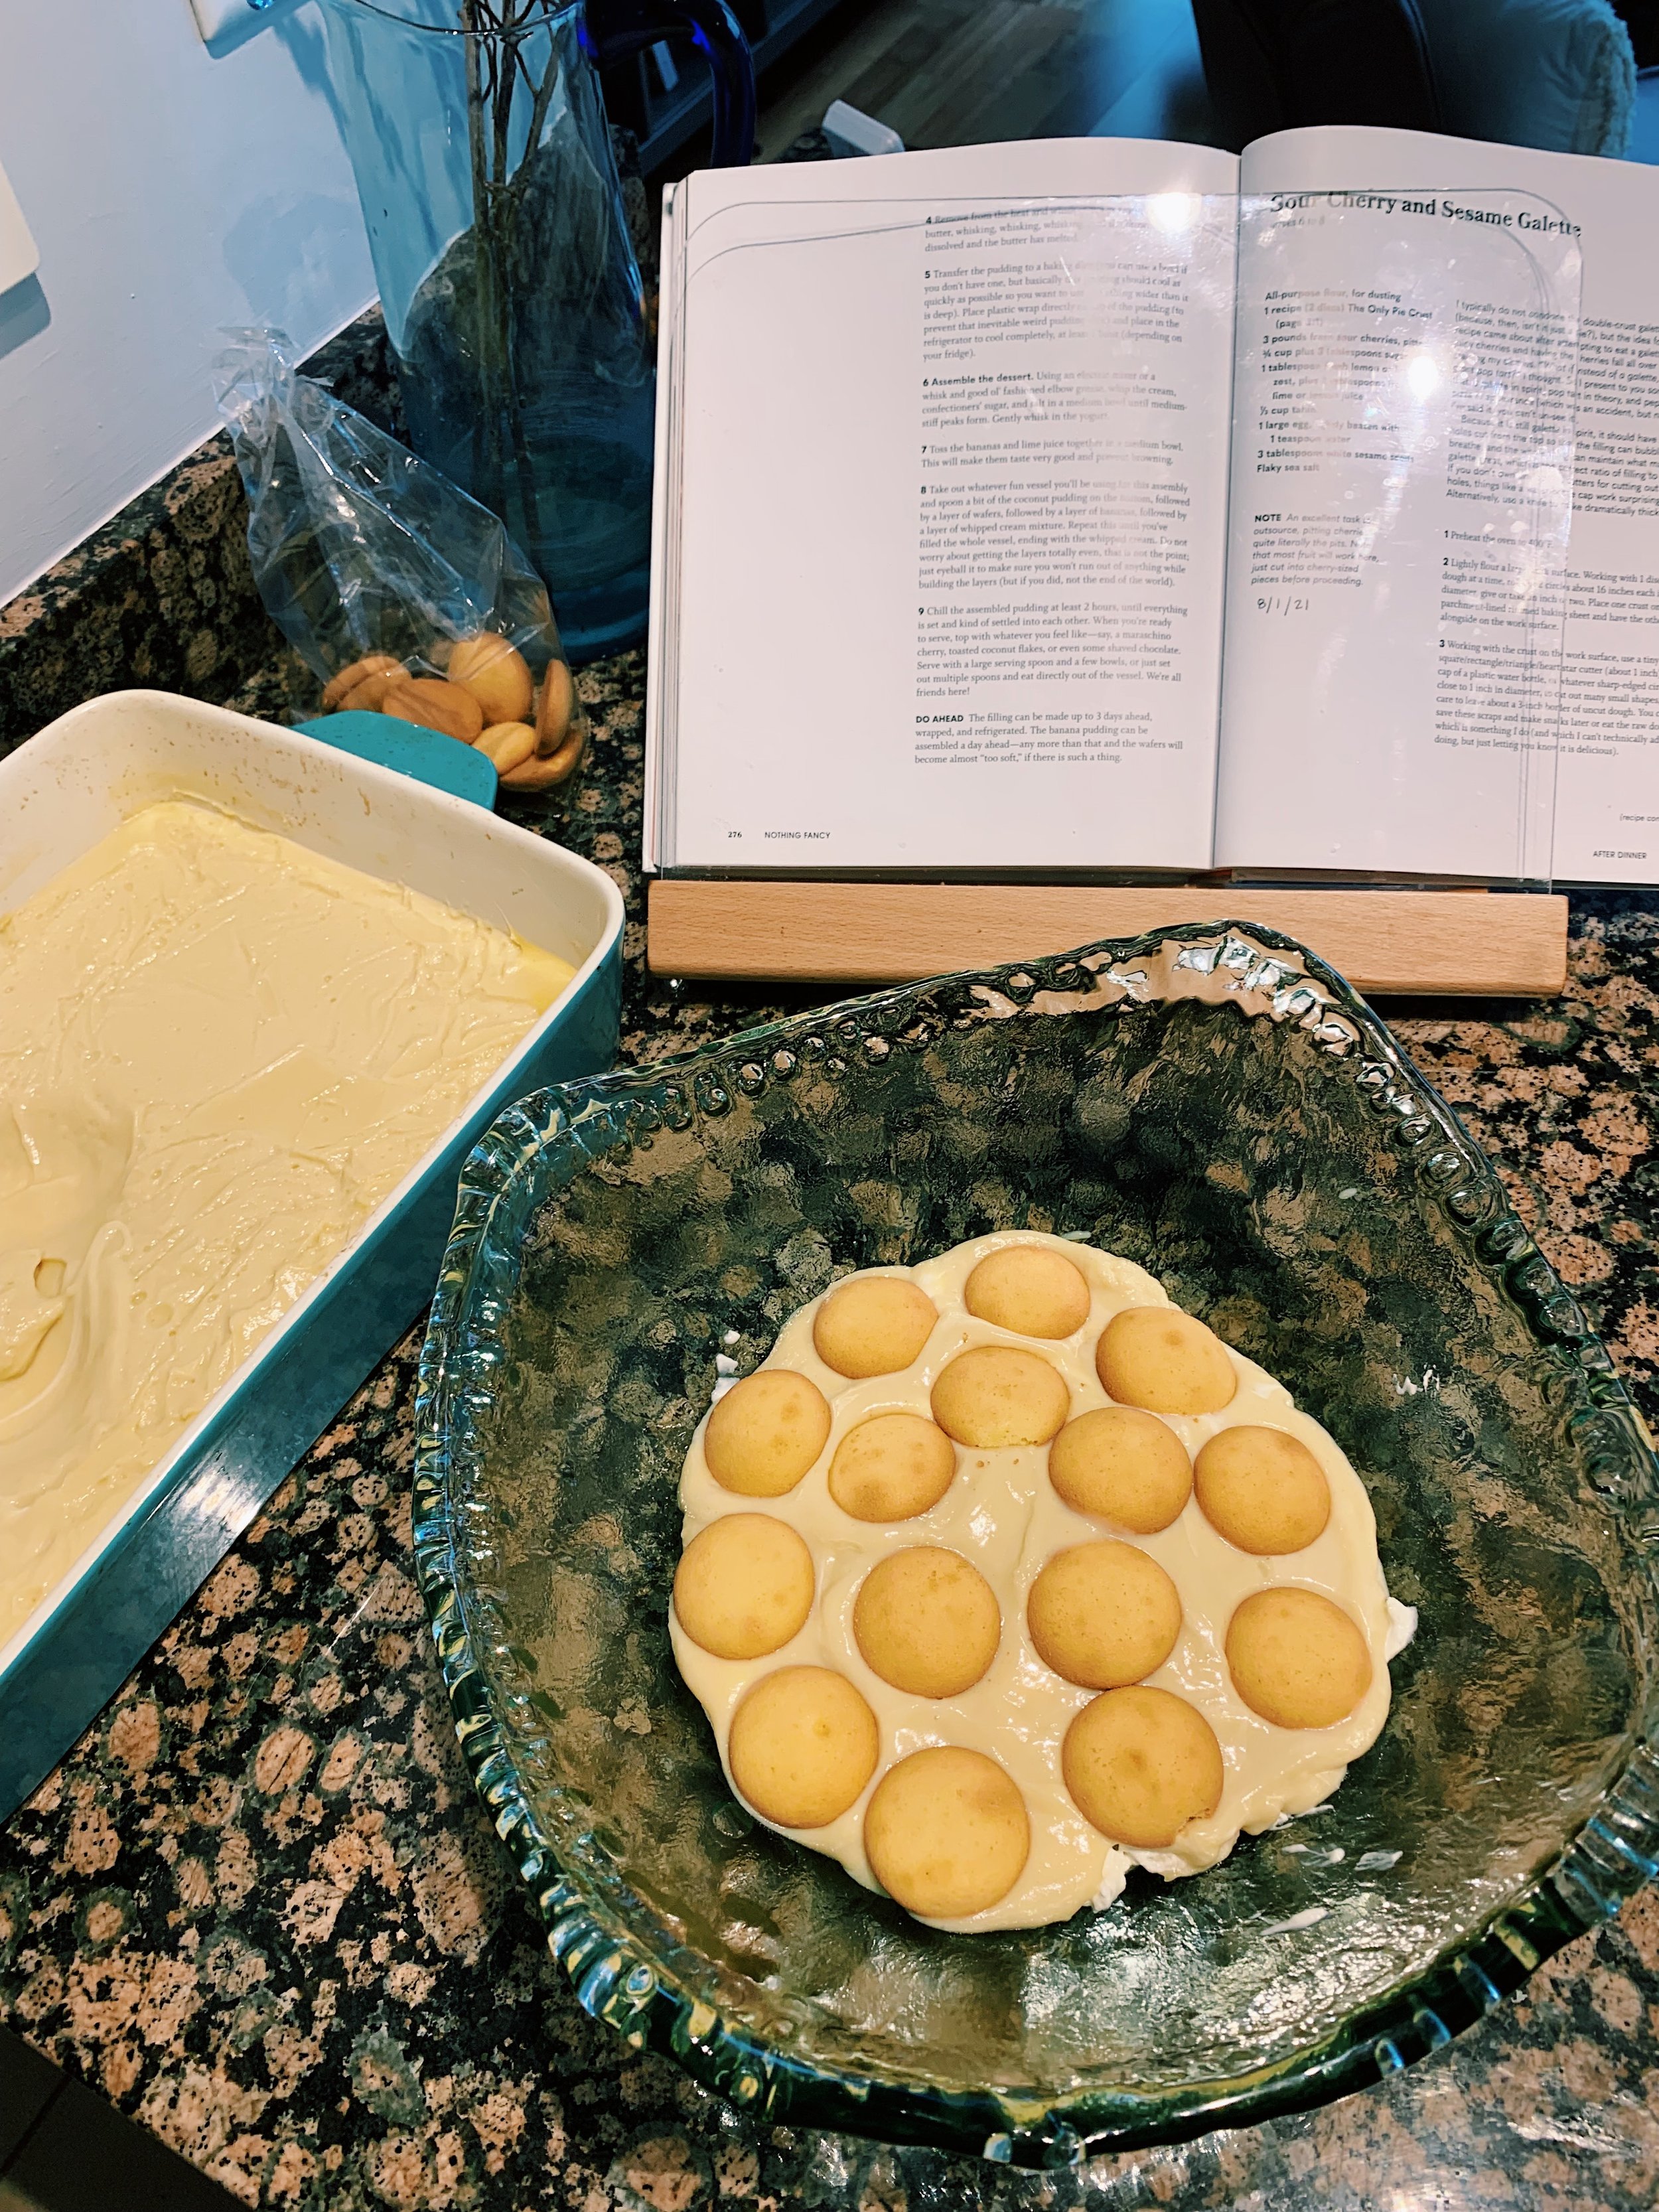
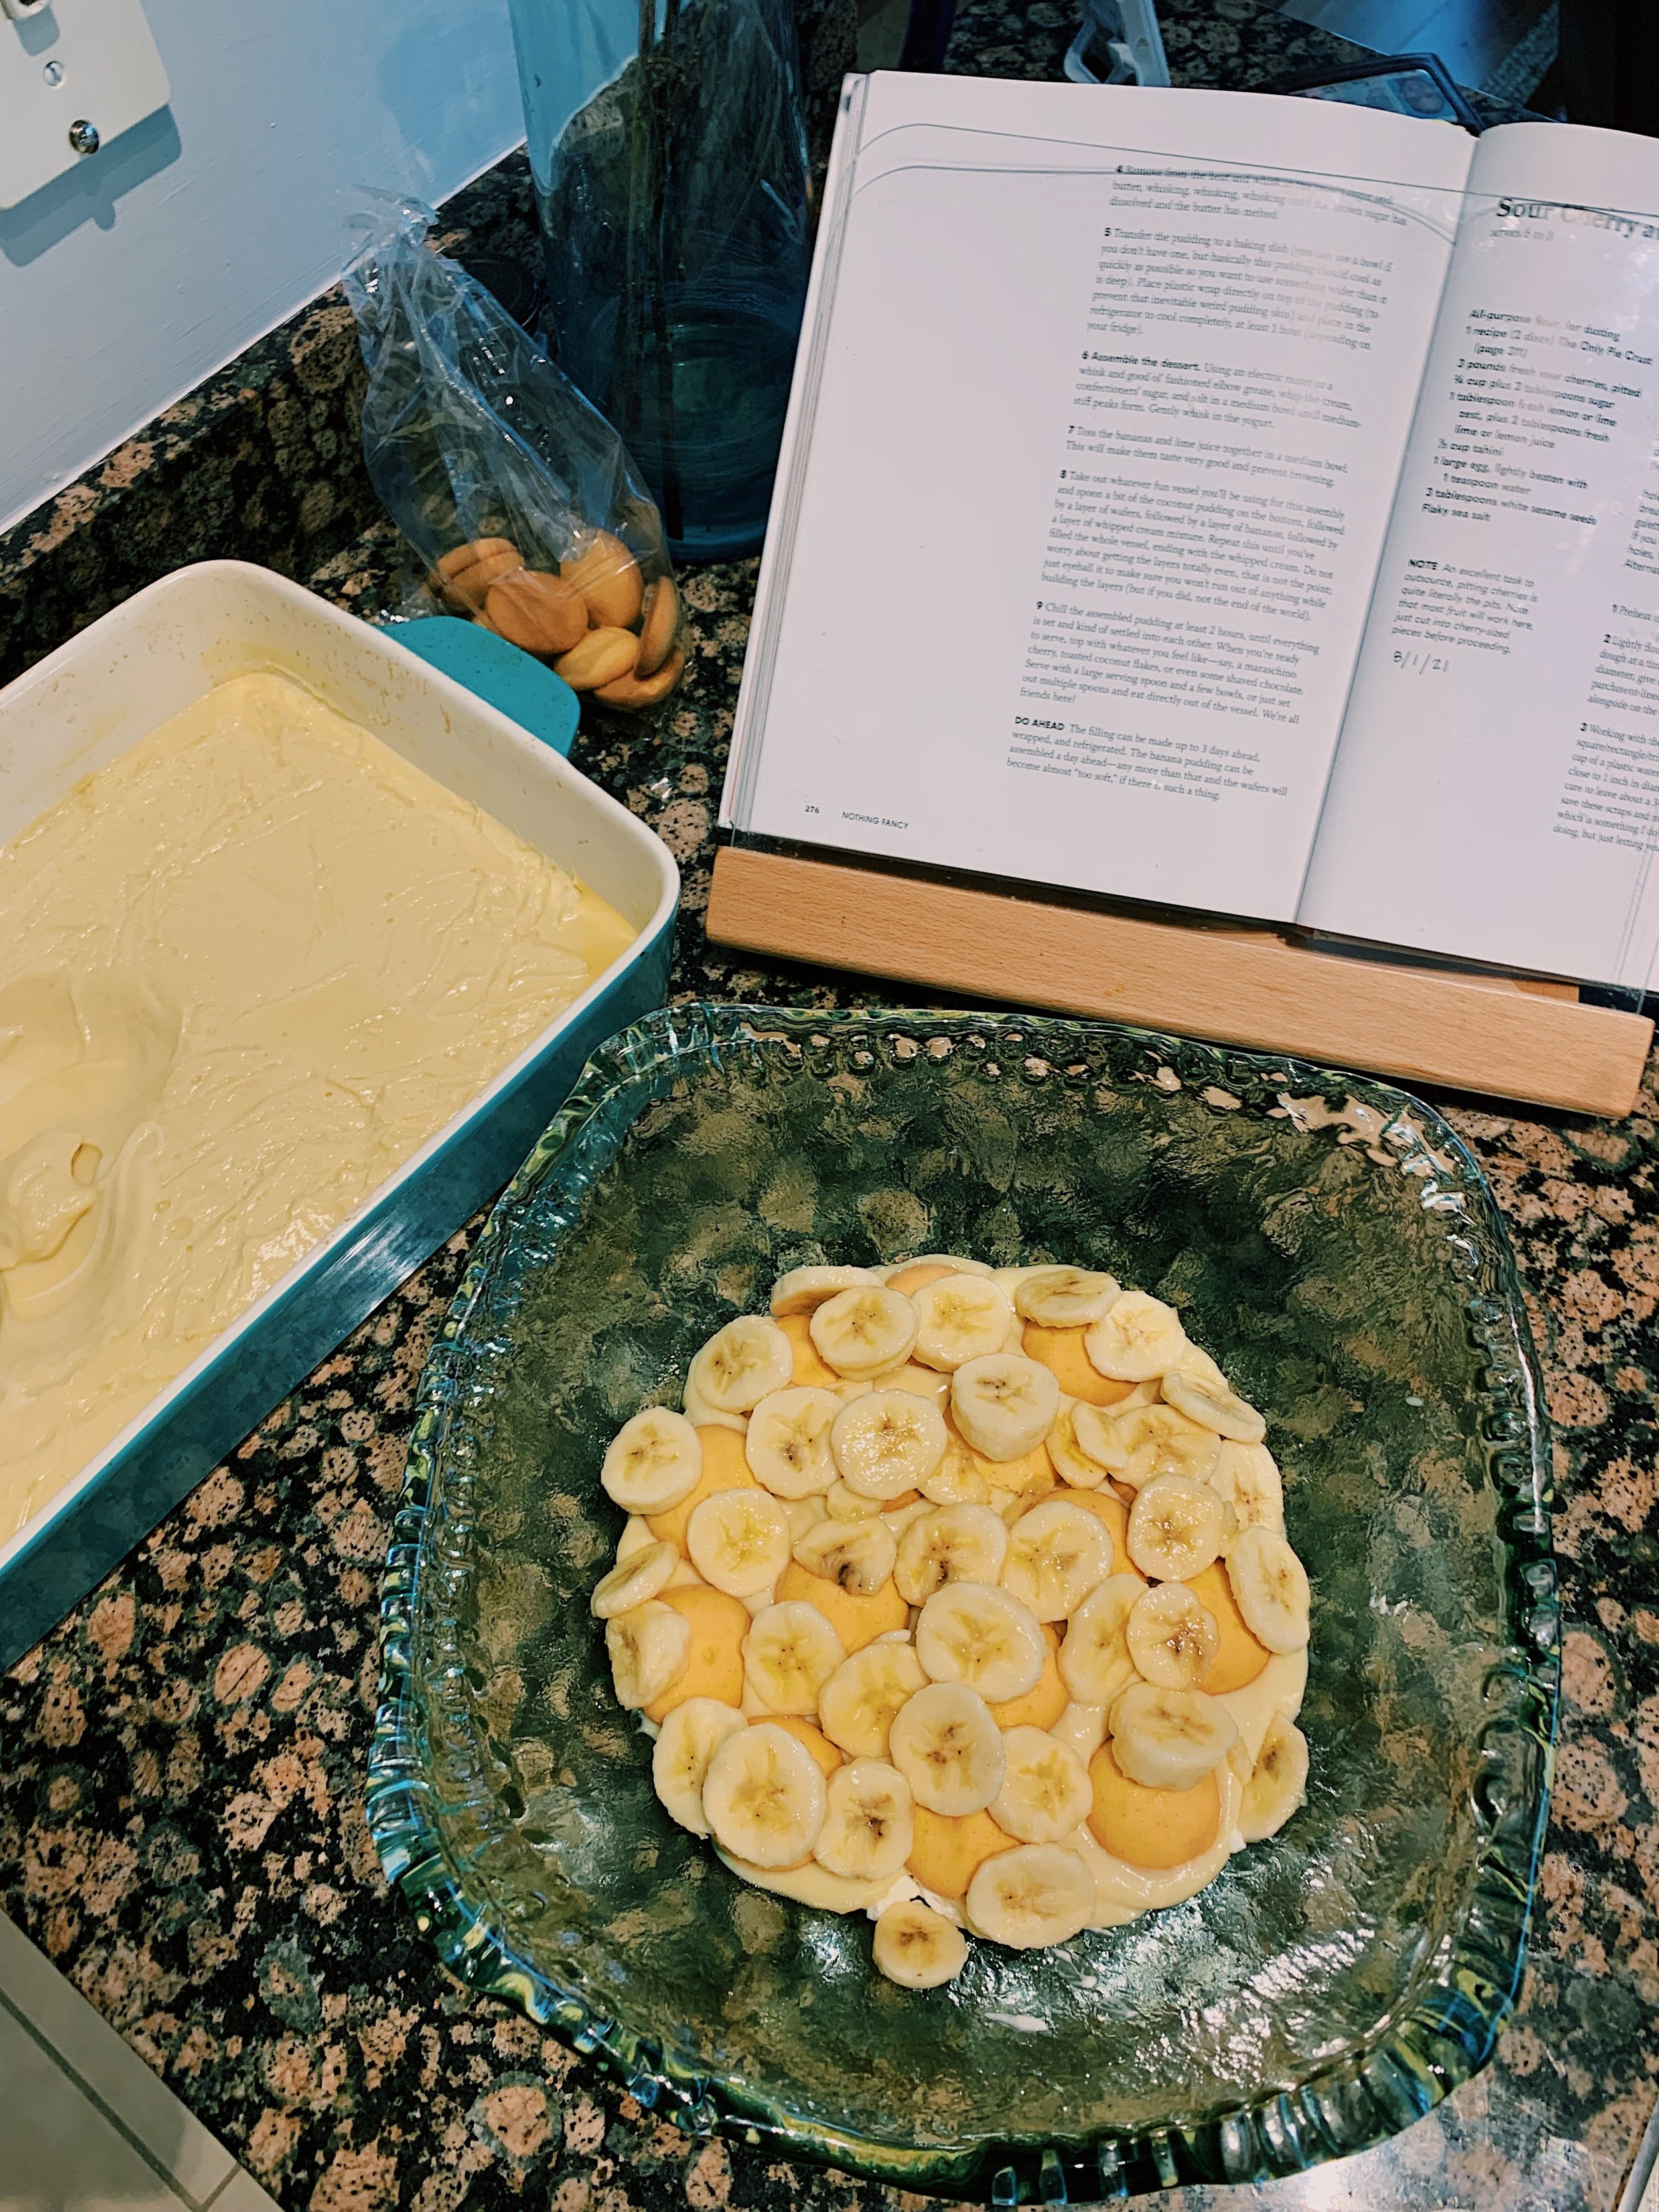
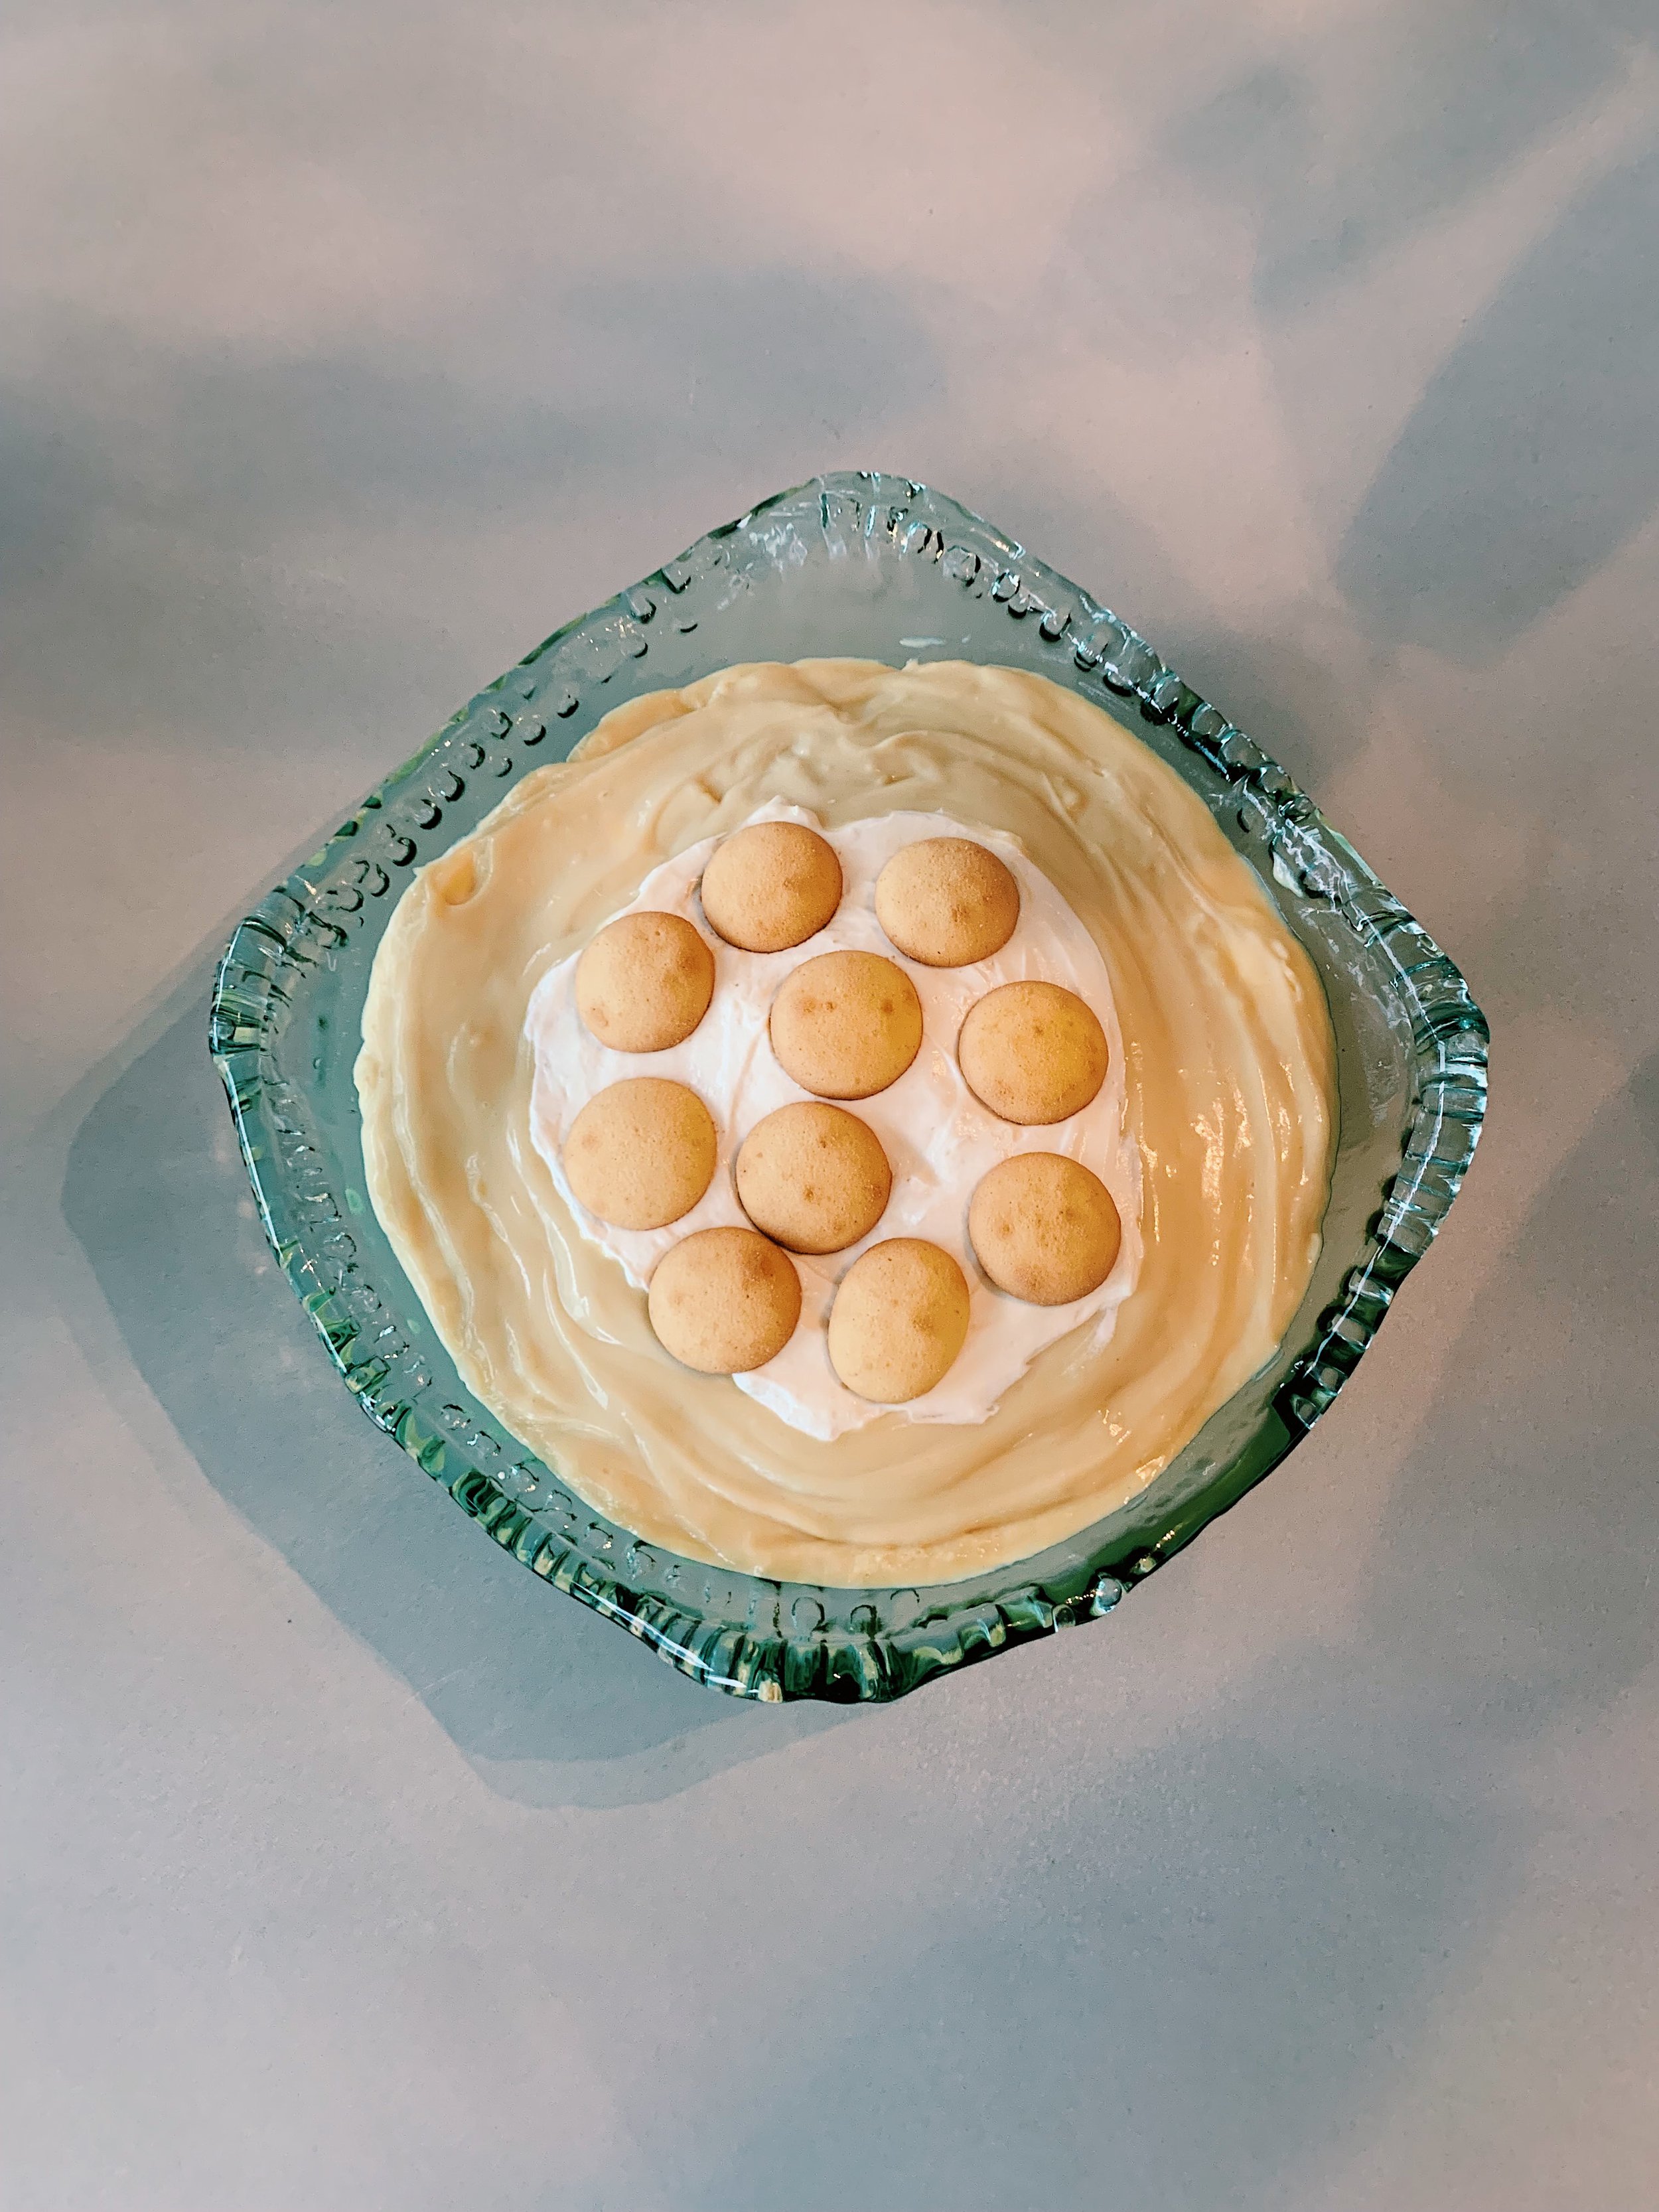
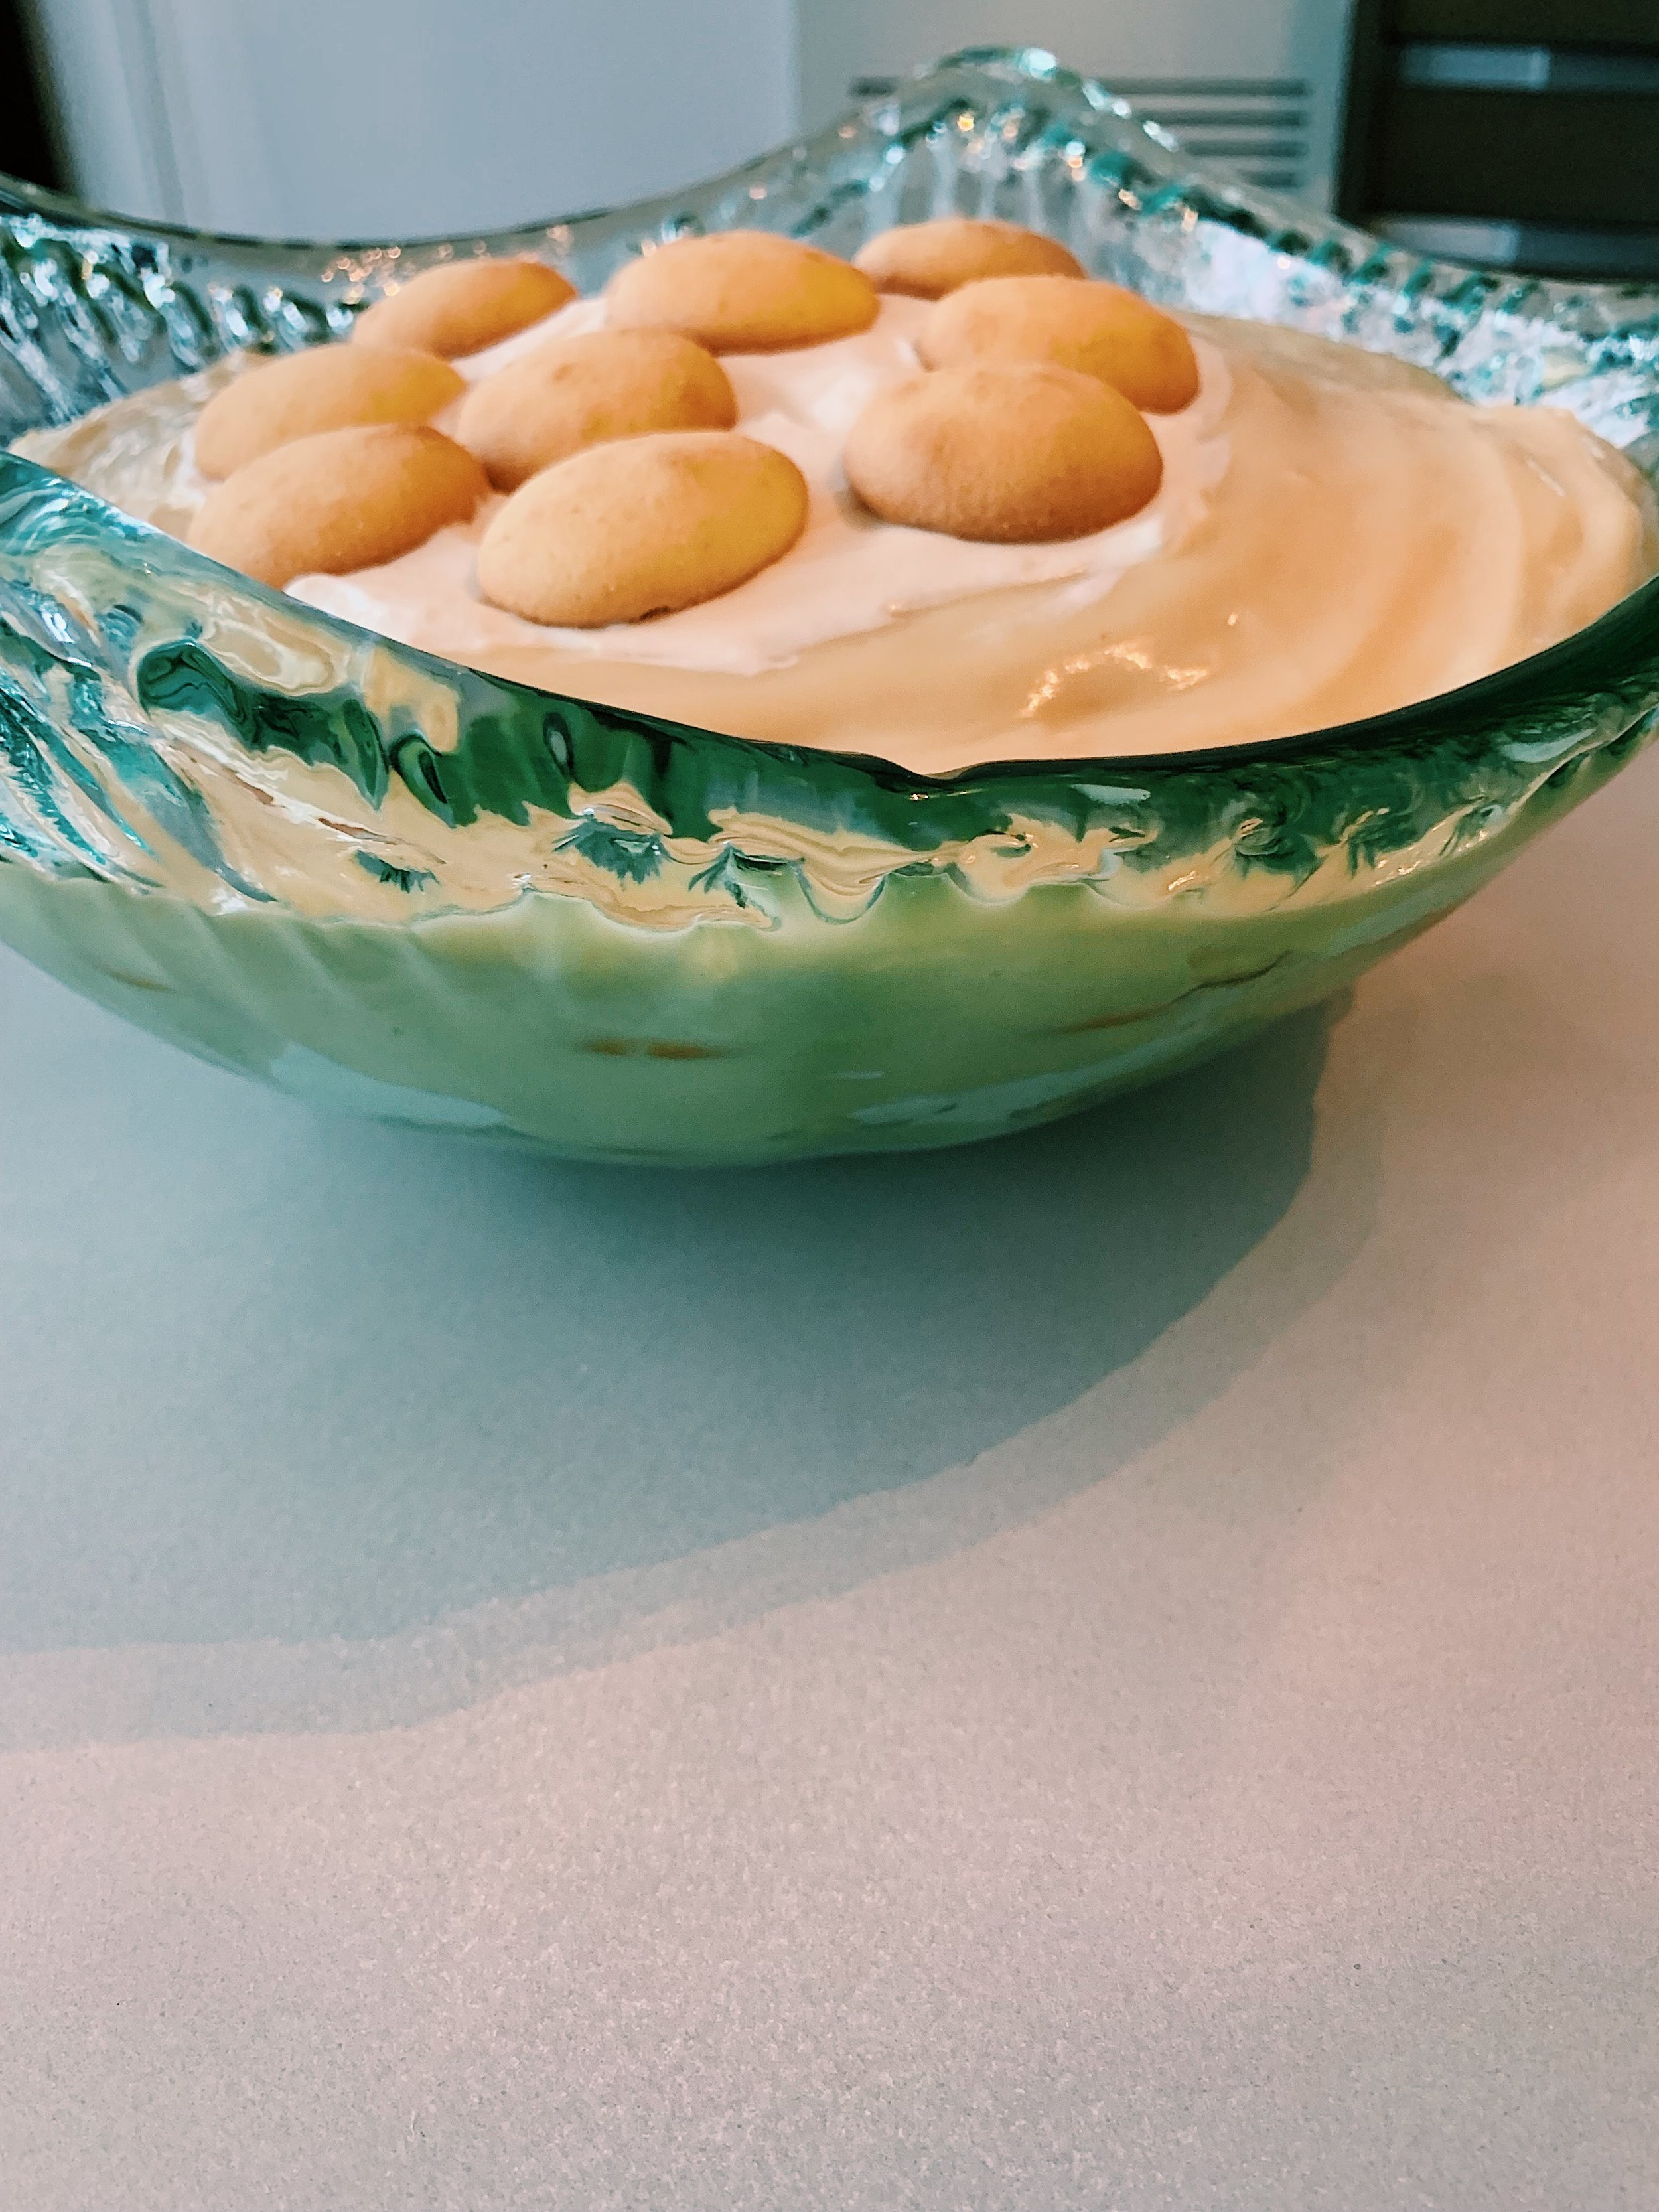
I managed to fit four layers of: pudding, vanilla wafers (I used GF wafers found at Whole Foods), banana slices tossed in lime juice (to prevent browning), and whipped cream, in my serving bowl. I sliced all 6 bananas per the instructions, but ended up using about four and a half. I served the pudding as dessert with Alison’s Pizza Night, and the leftovers the next evening with Alison’s Ricotta-Stuffed Shells (post to come).
Despite the hullabaloo, this dessert is delicious. And addicting.
Pro tip: If banana flavor isn’t your favorite, just know that the longer the pudding sits in the fridge, the stronger the banana flavor becomes. I don’t mind that, but some will. Also, lime juice truly does prevent bananas from browning. Who knew?
204 recipes cooked, 21 to go.