Frozen Blackberries with Labne and Honey by Alison Roman

Frozen yogurt had its moment in the sun in the late 2000’s-early 2010’s. Everywhere I looked, a new yogurt place opened up, promising to have the best toppings and the best yogurt flavors. As a broke high school student, I confess that I would sometimes ask for a sample cup, fill it up with every flavor one by one, and then *decide* I just wasn’t interested in buying yogurt that day. (Yes, I’m ashamed.) When I did decide to shell out a few dollar bills, I would almost always get the plain flavor topped with mochi squares because they were the lightest topping by weight, and therefore the most affordable. I’m a true Dutch woman at heart. 

Just as soon as frozen yogurt started to lose popularity again, and the overly saturated yogurt shop market began to dwindle, I swiftly forgot about my love for frozen yogurt. I hadn’t given it one thought until it was time to make this recipe (my second to last dessert for the project!). By using labne or full-fat Greek yogurt (the only ingredient I could find), Alison creates a frozen yogurt much more akin to Golden Spoon than Yogurtland. My fellow Southern Californians know what I’m talking about. Golden Spoon had a creaminess and thickness much closer to ice cream. It was a true stepping stone between ice cream and frozen yogurt, and I believe it was one of the first shops to start the froyo trend. 

Alison takes it a step further in the creaminess direction by adding freshly whipped heavy cream to the yogurt, so it’s almost a yogurt-ice cream hybrid. The cream made this dessert much richer and thicker, which tasted amazing, but I would love to know what it’d be like without so much cream. Next time, I might cut the amount of cream in half and see how it goes. I also think it would have frozen much quicker with less cream. She says it takes 2 to 3 hours to set properly. I think it could have used a fourth hour, but I was honestly too impatient and dug in sooner. The edges had frozen well, but the center was still on the colder, rather than truly frozen side. Perhaps that’s what she’s aiming for, but the instructions are rather vague. 

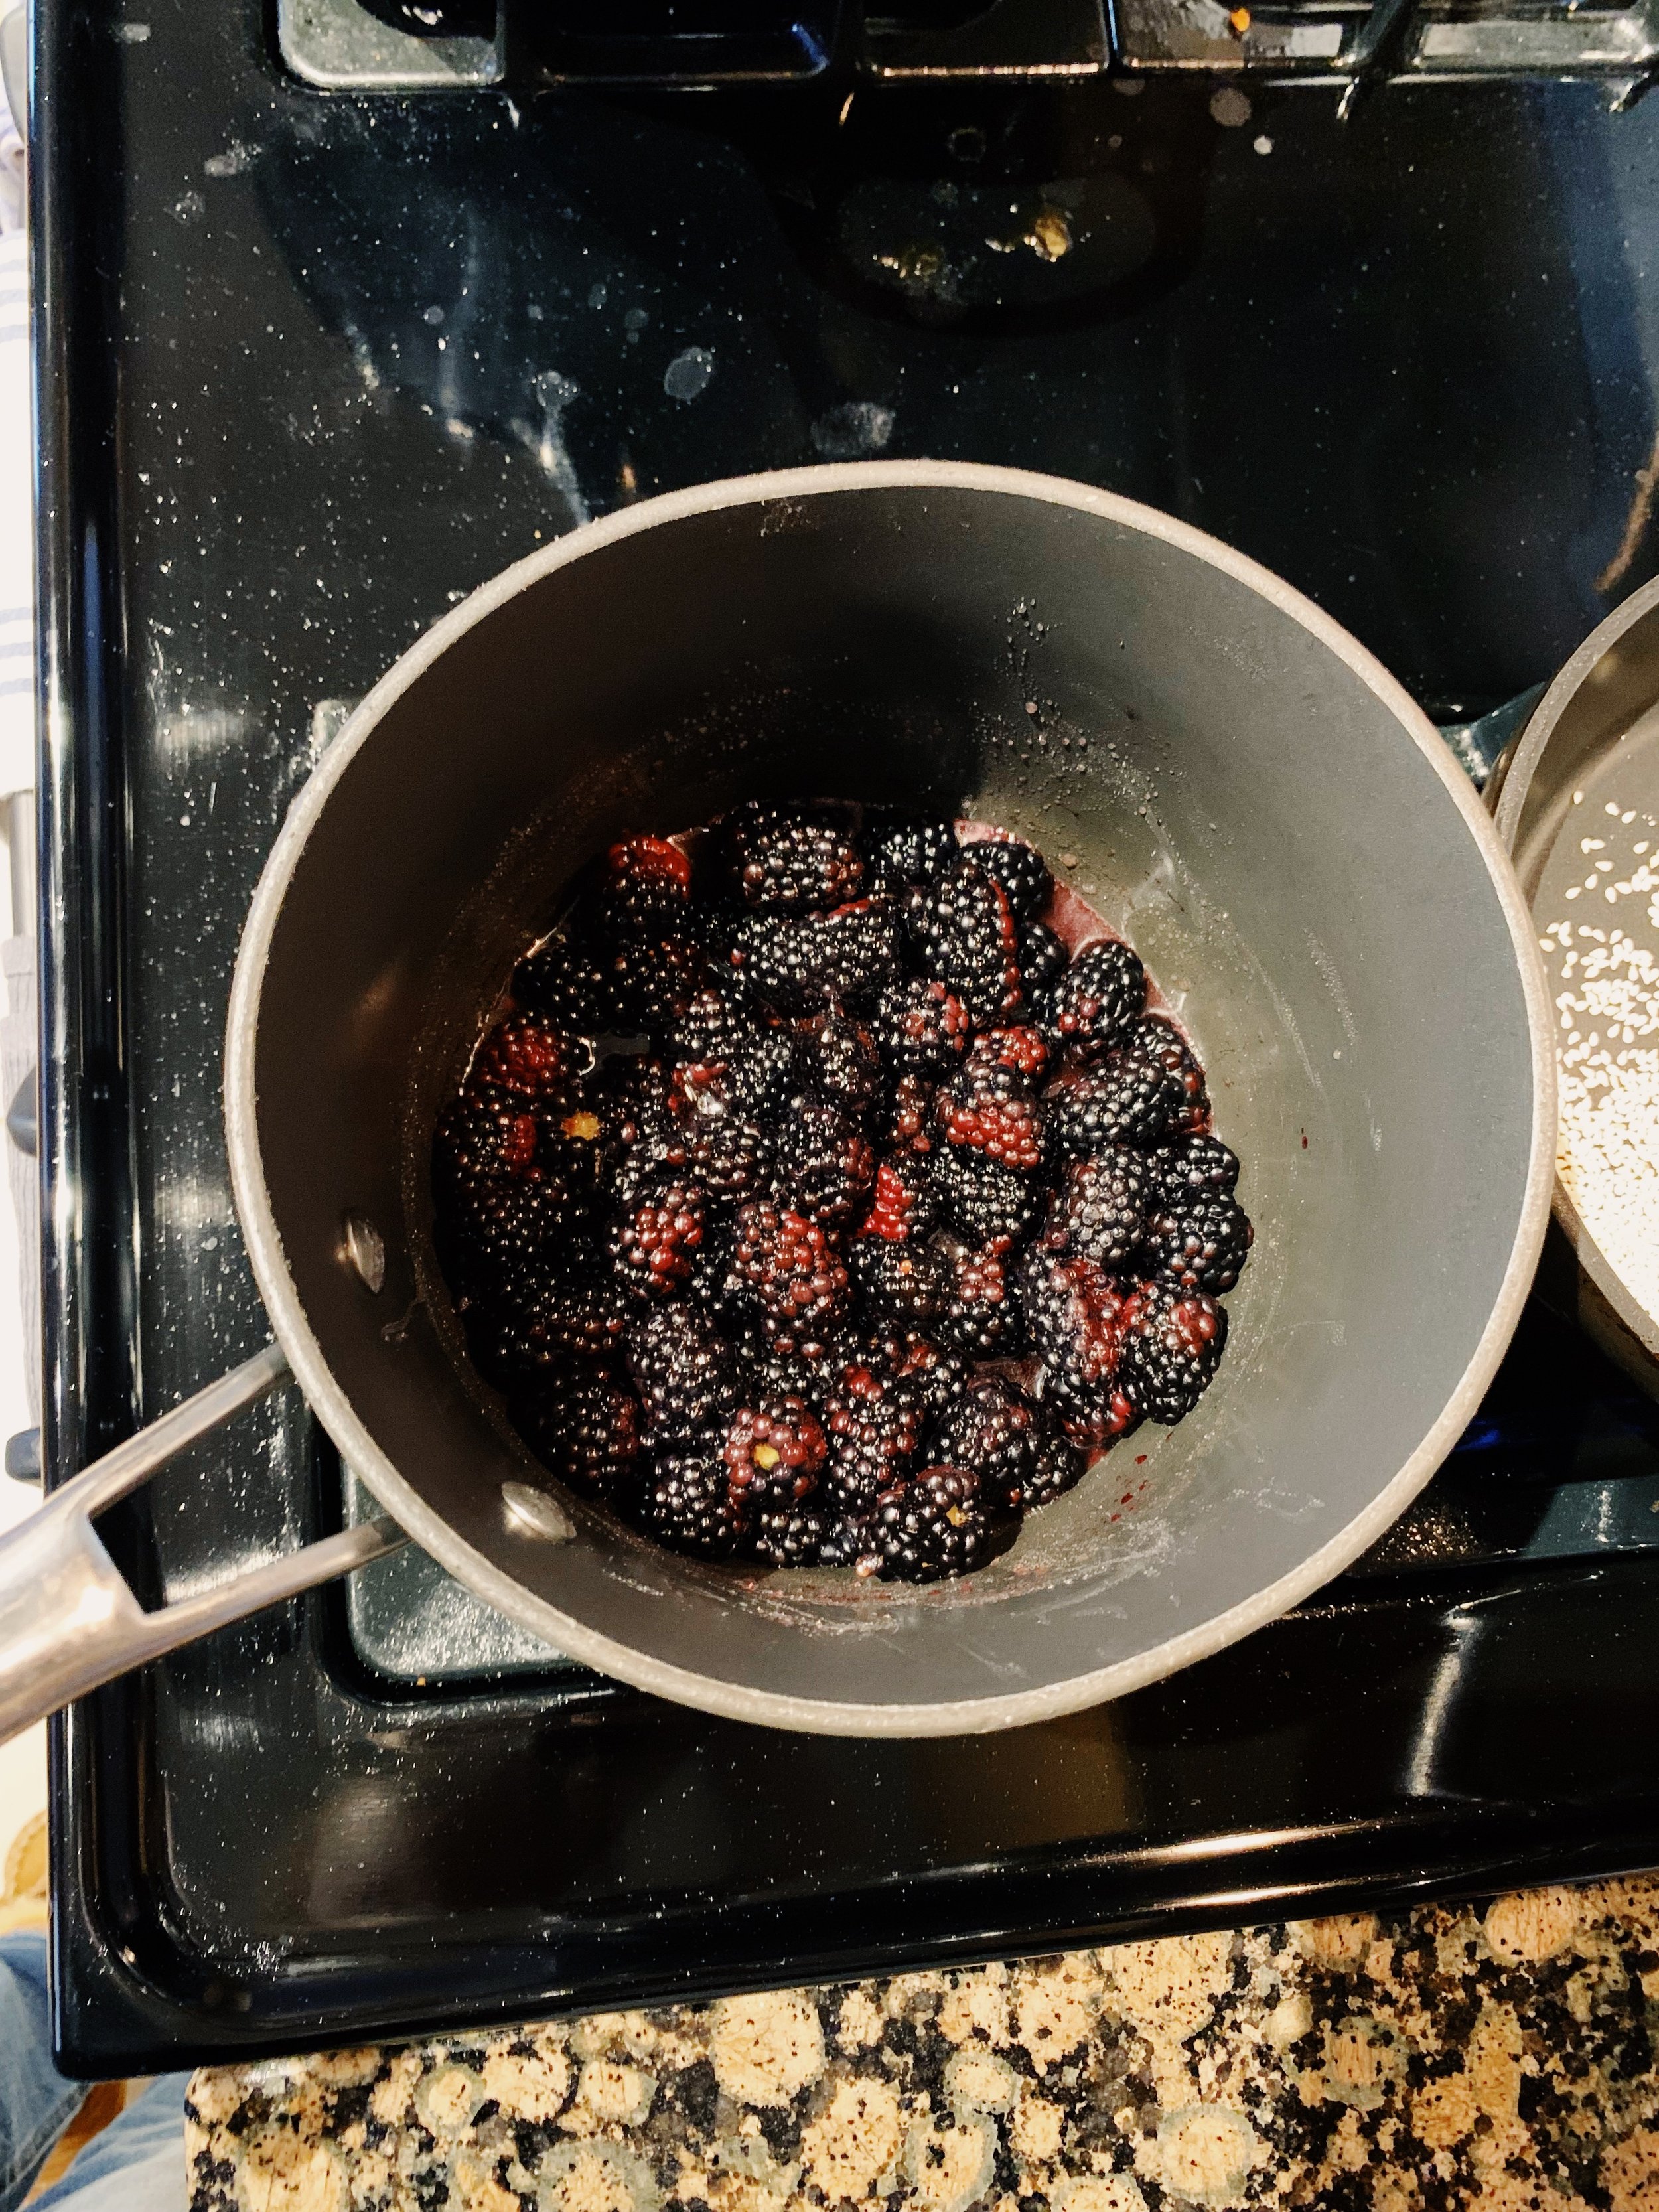
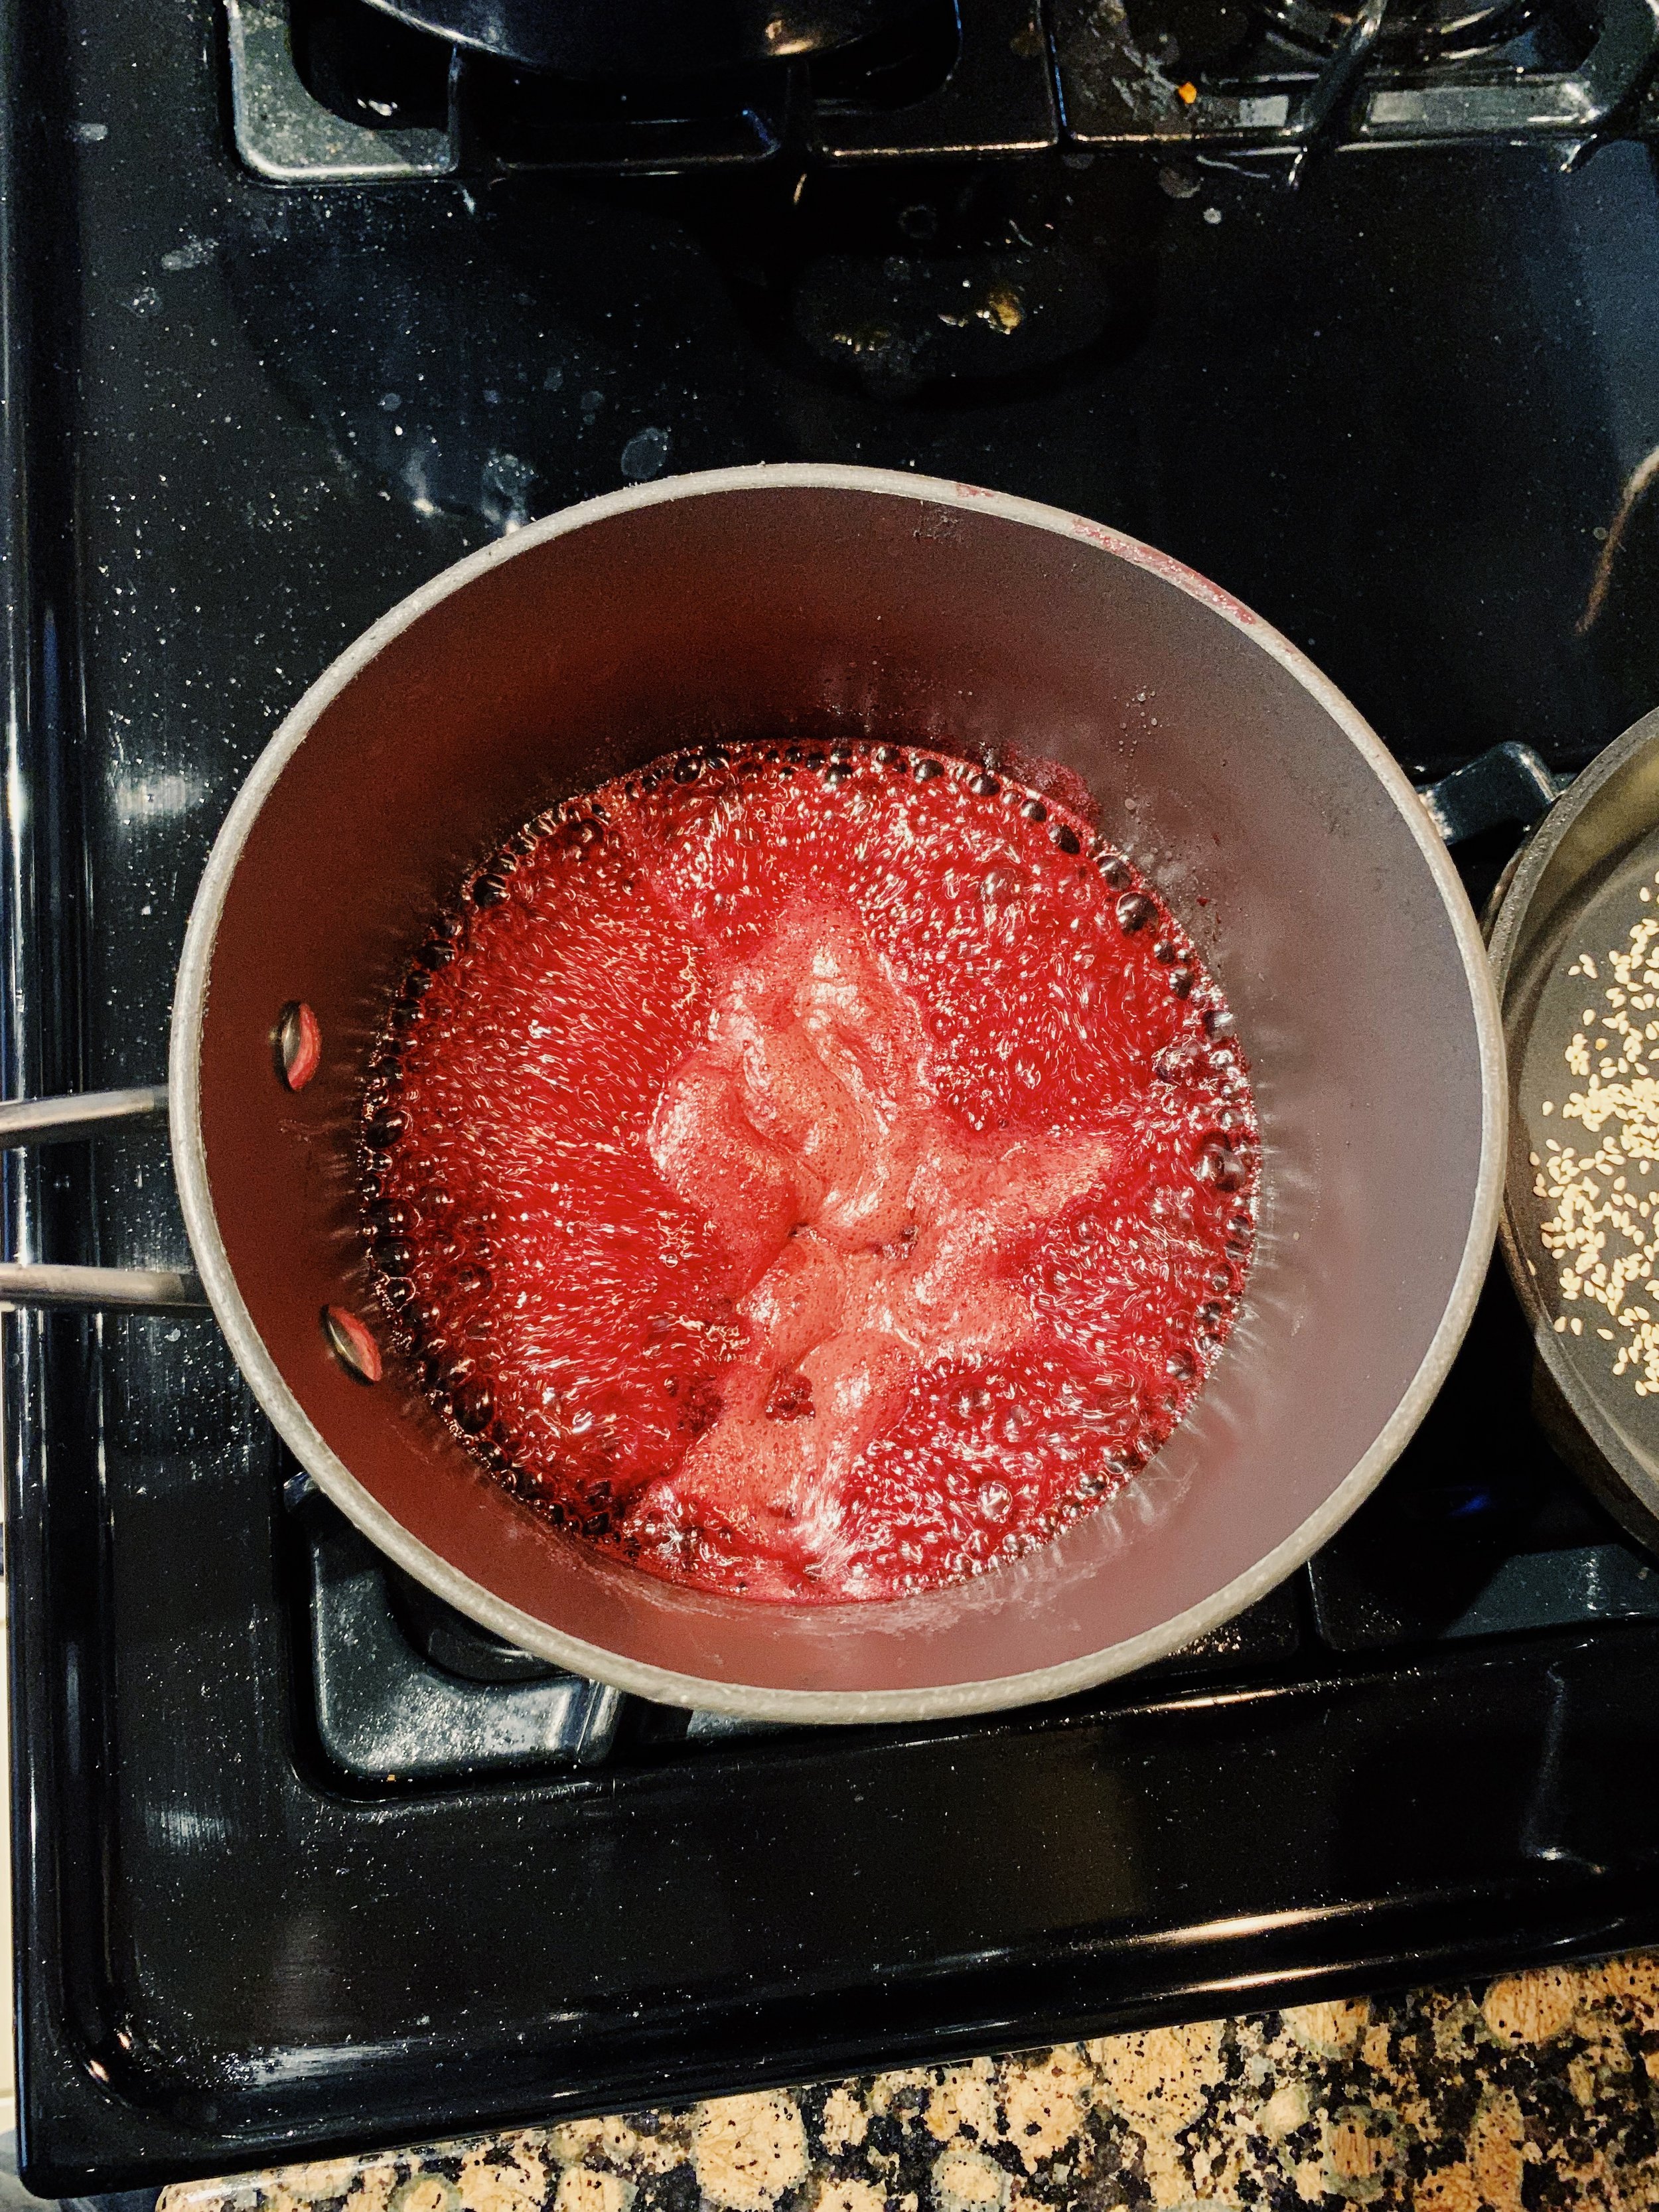
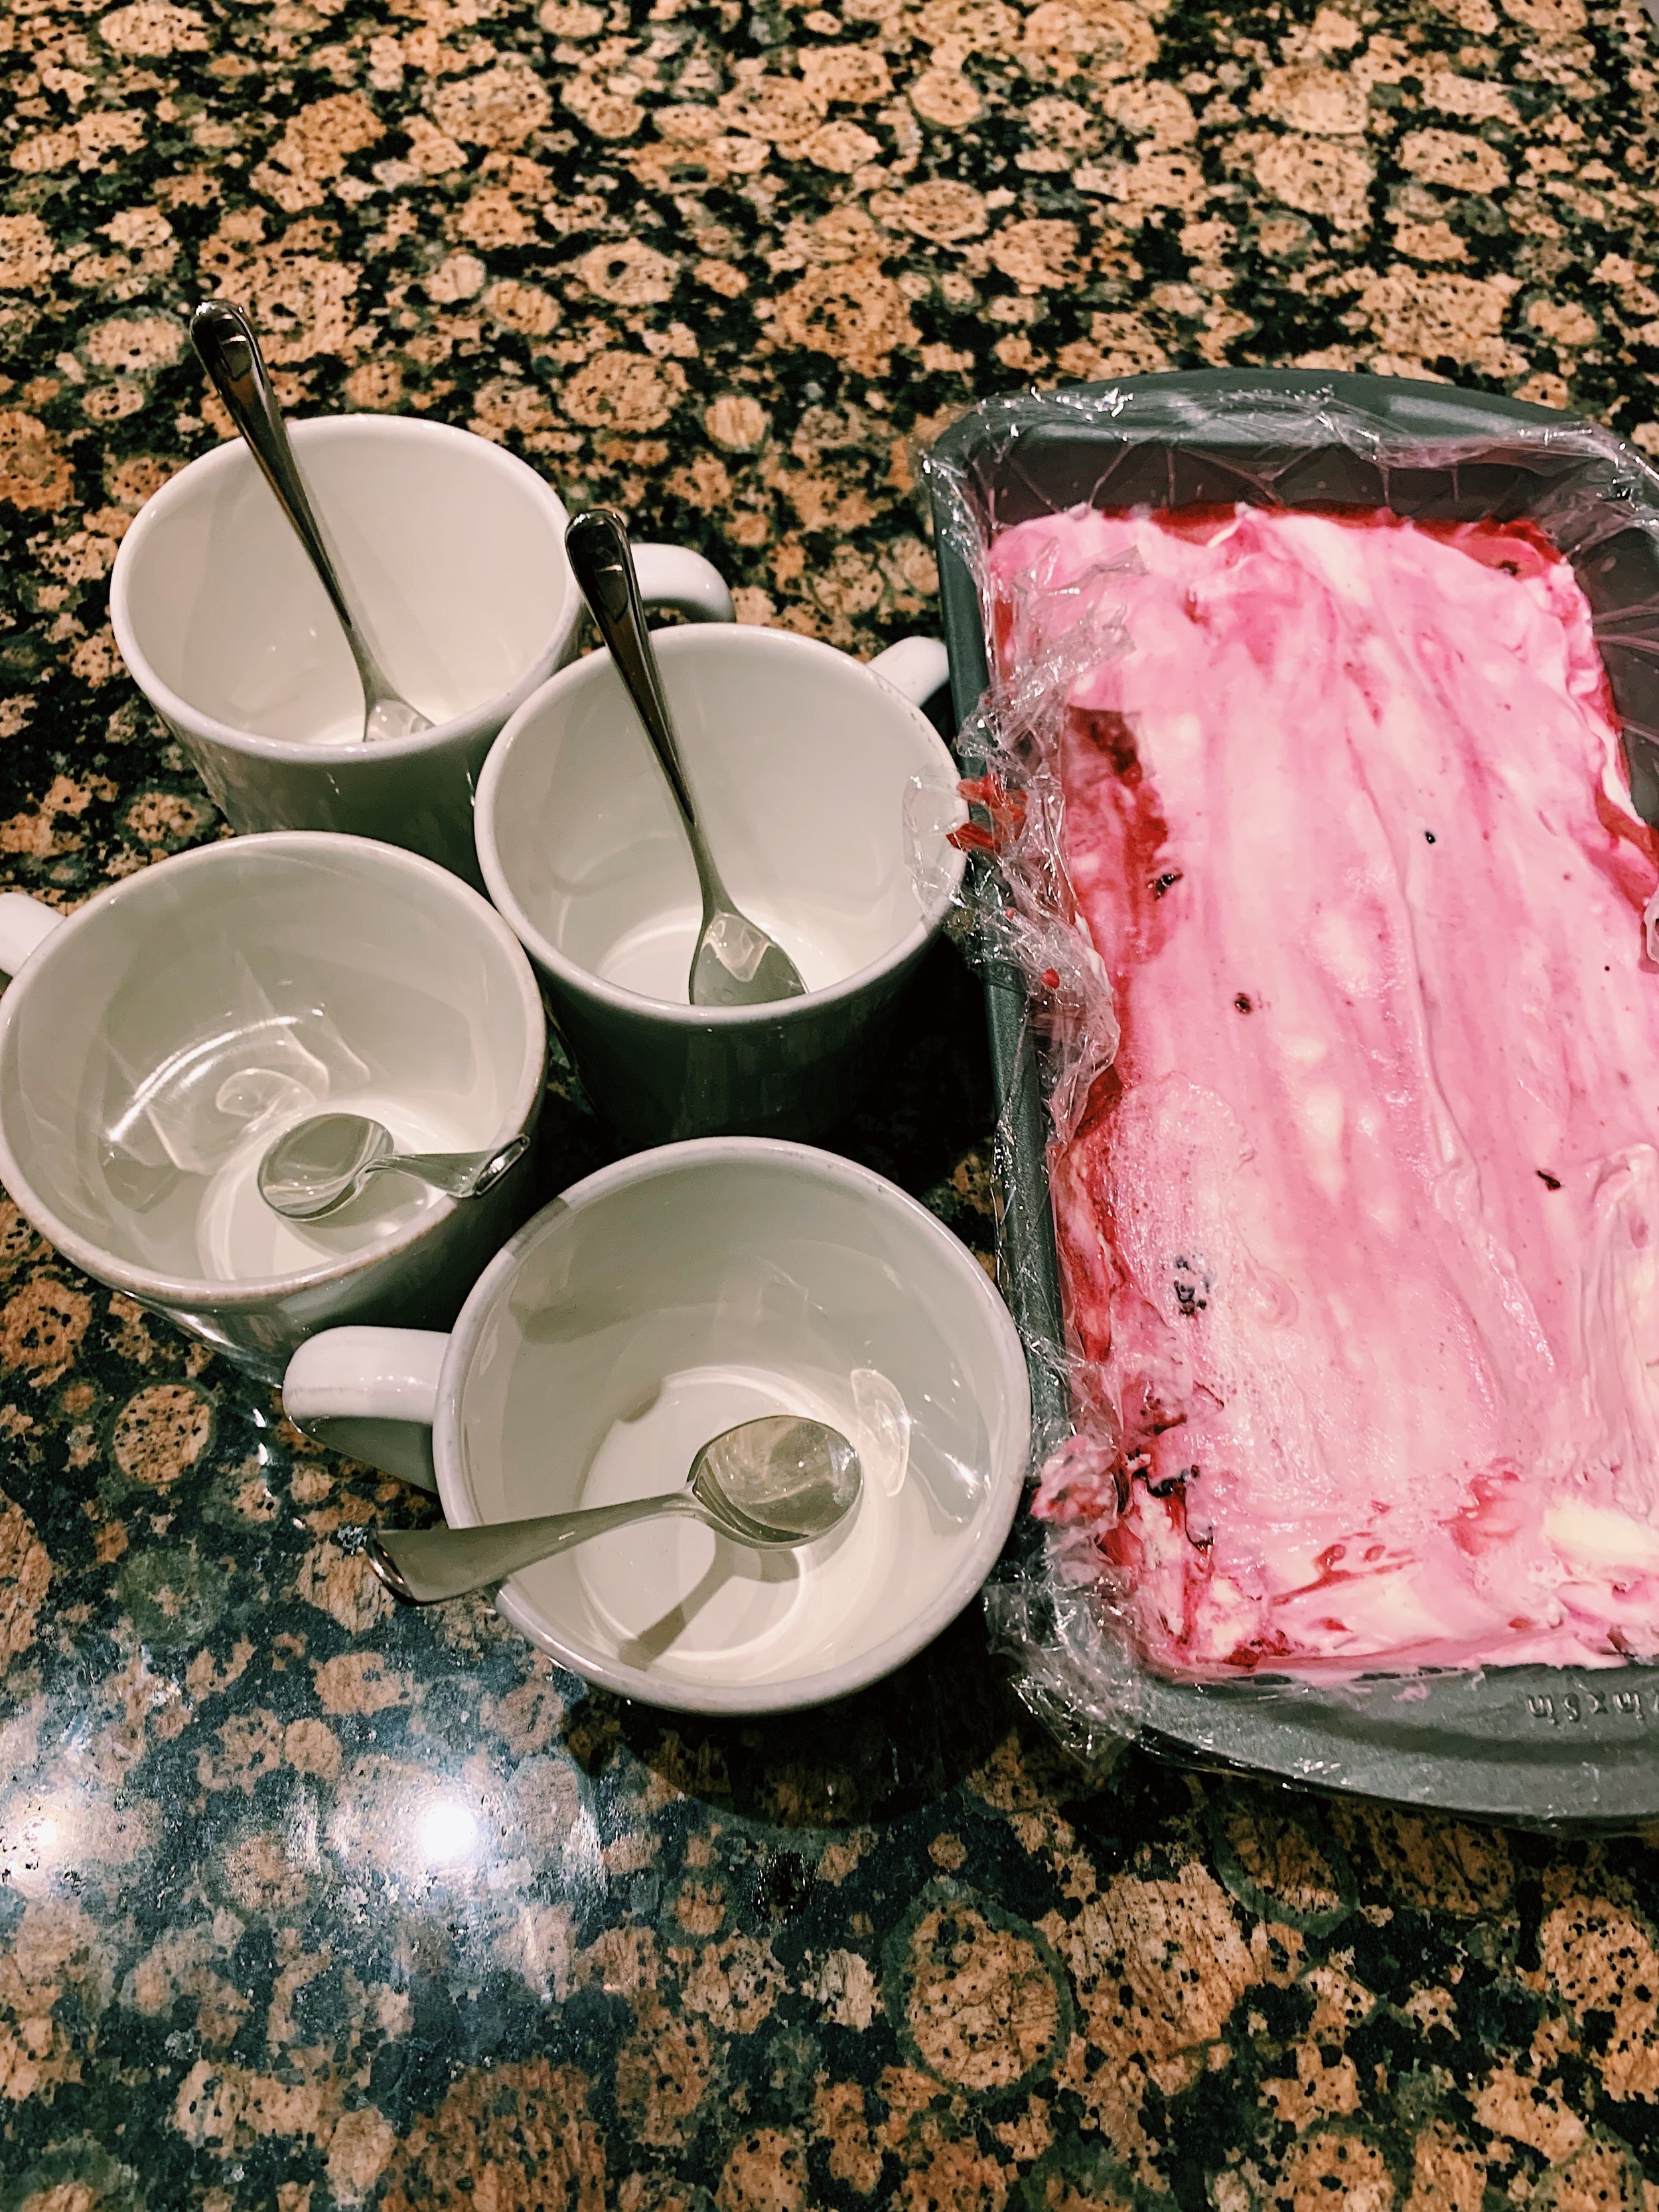
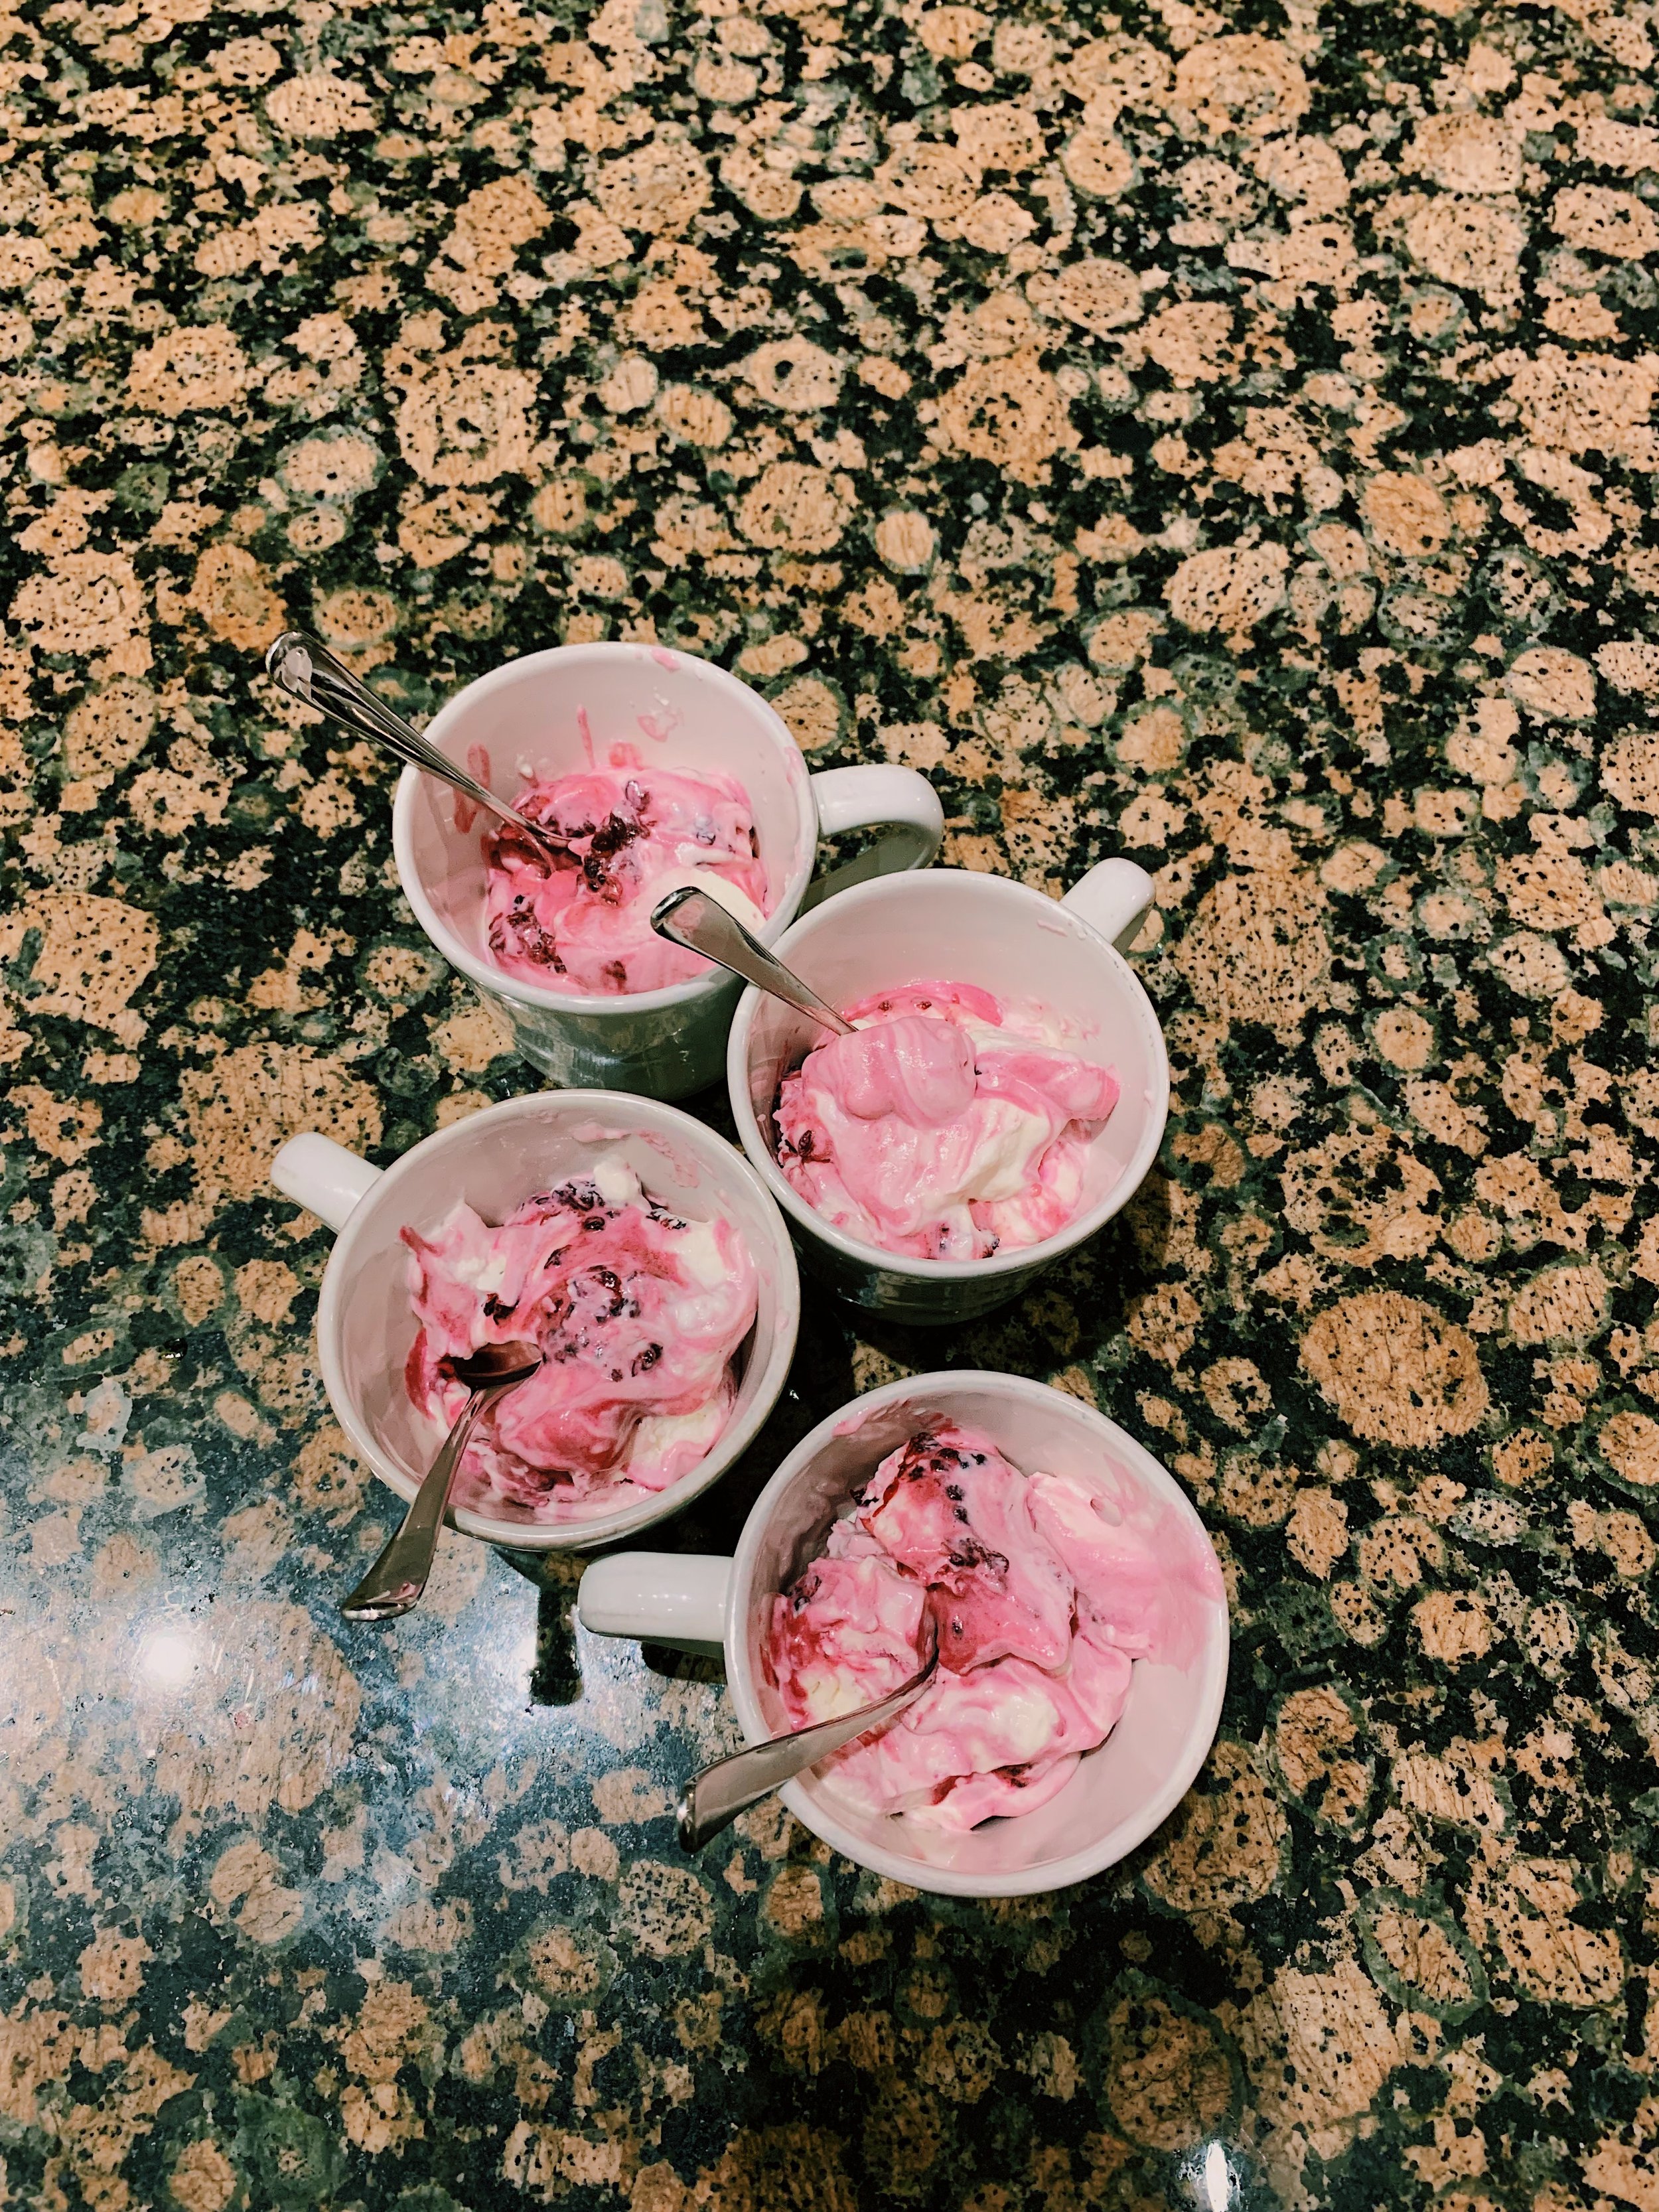
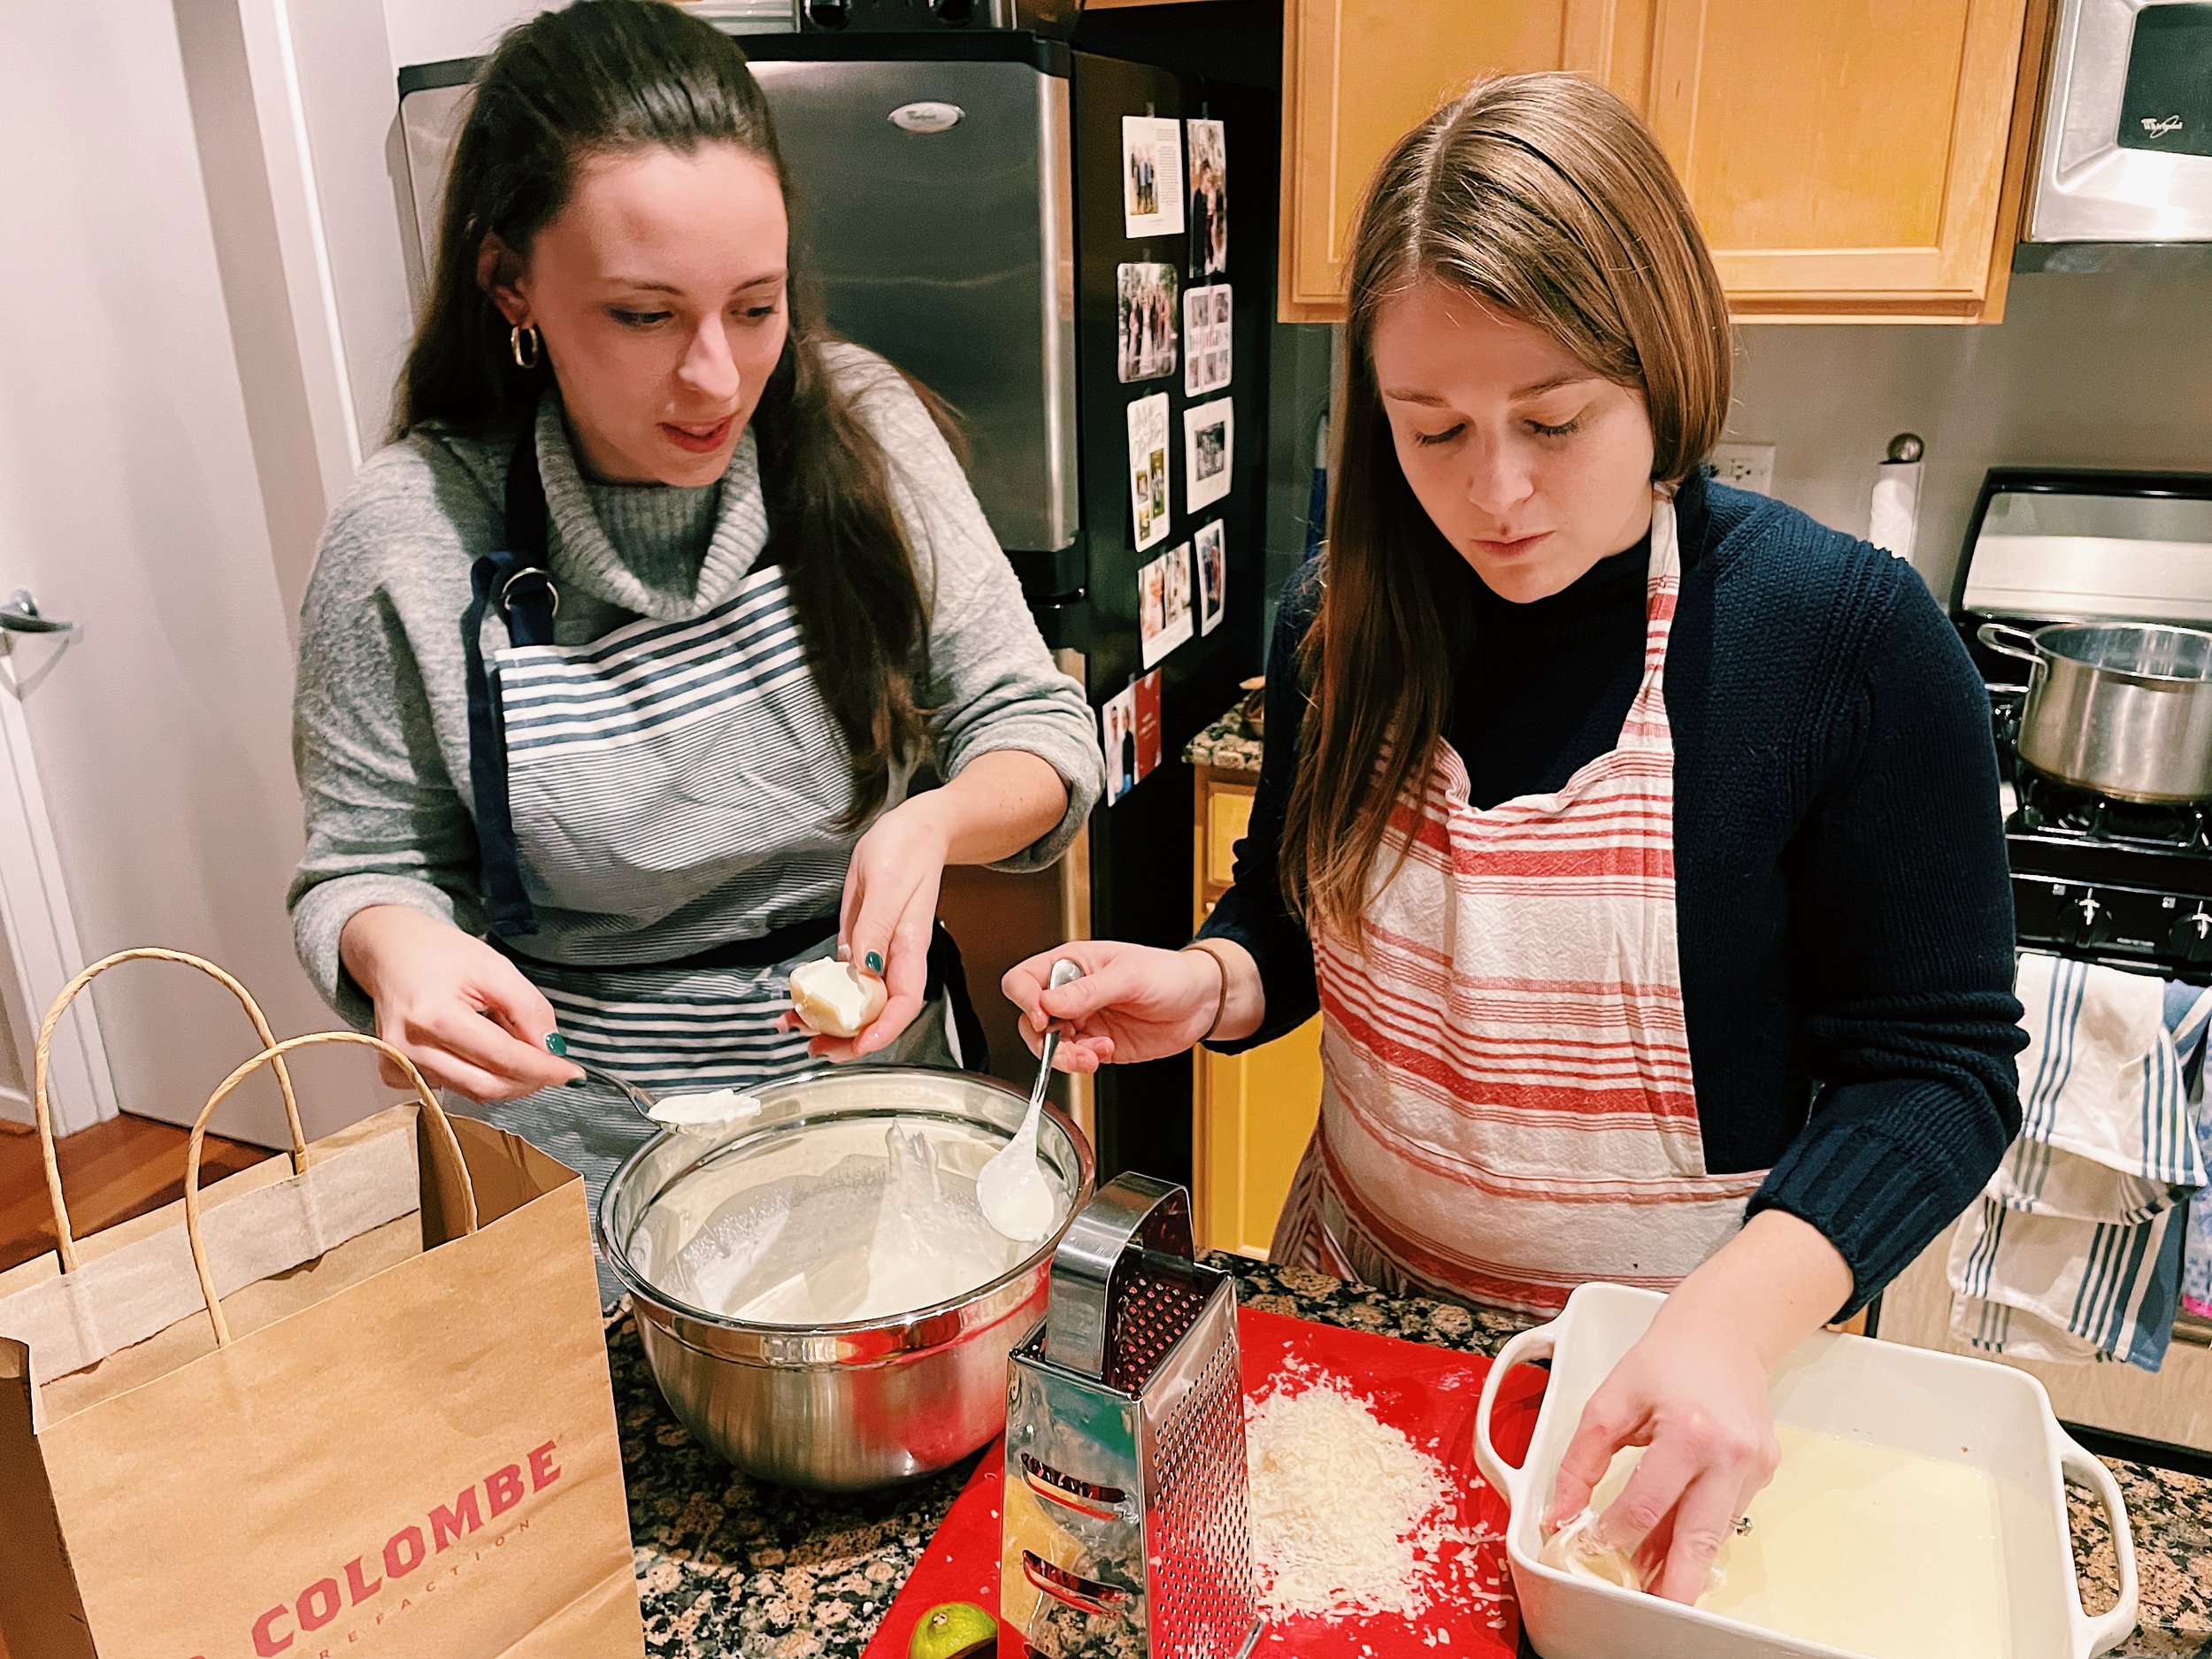
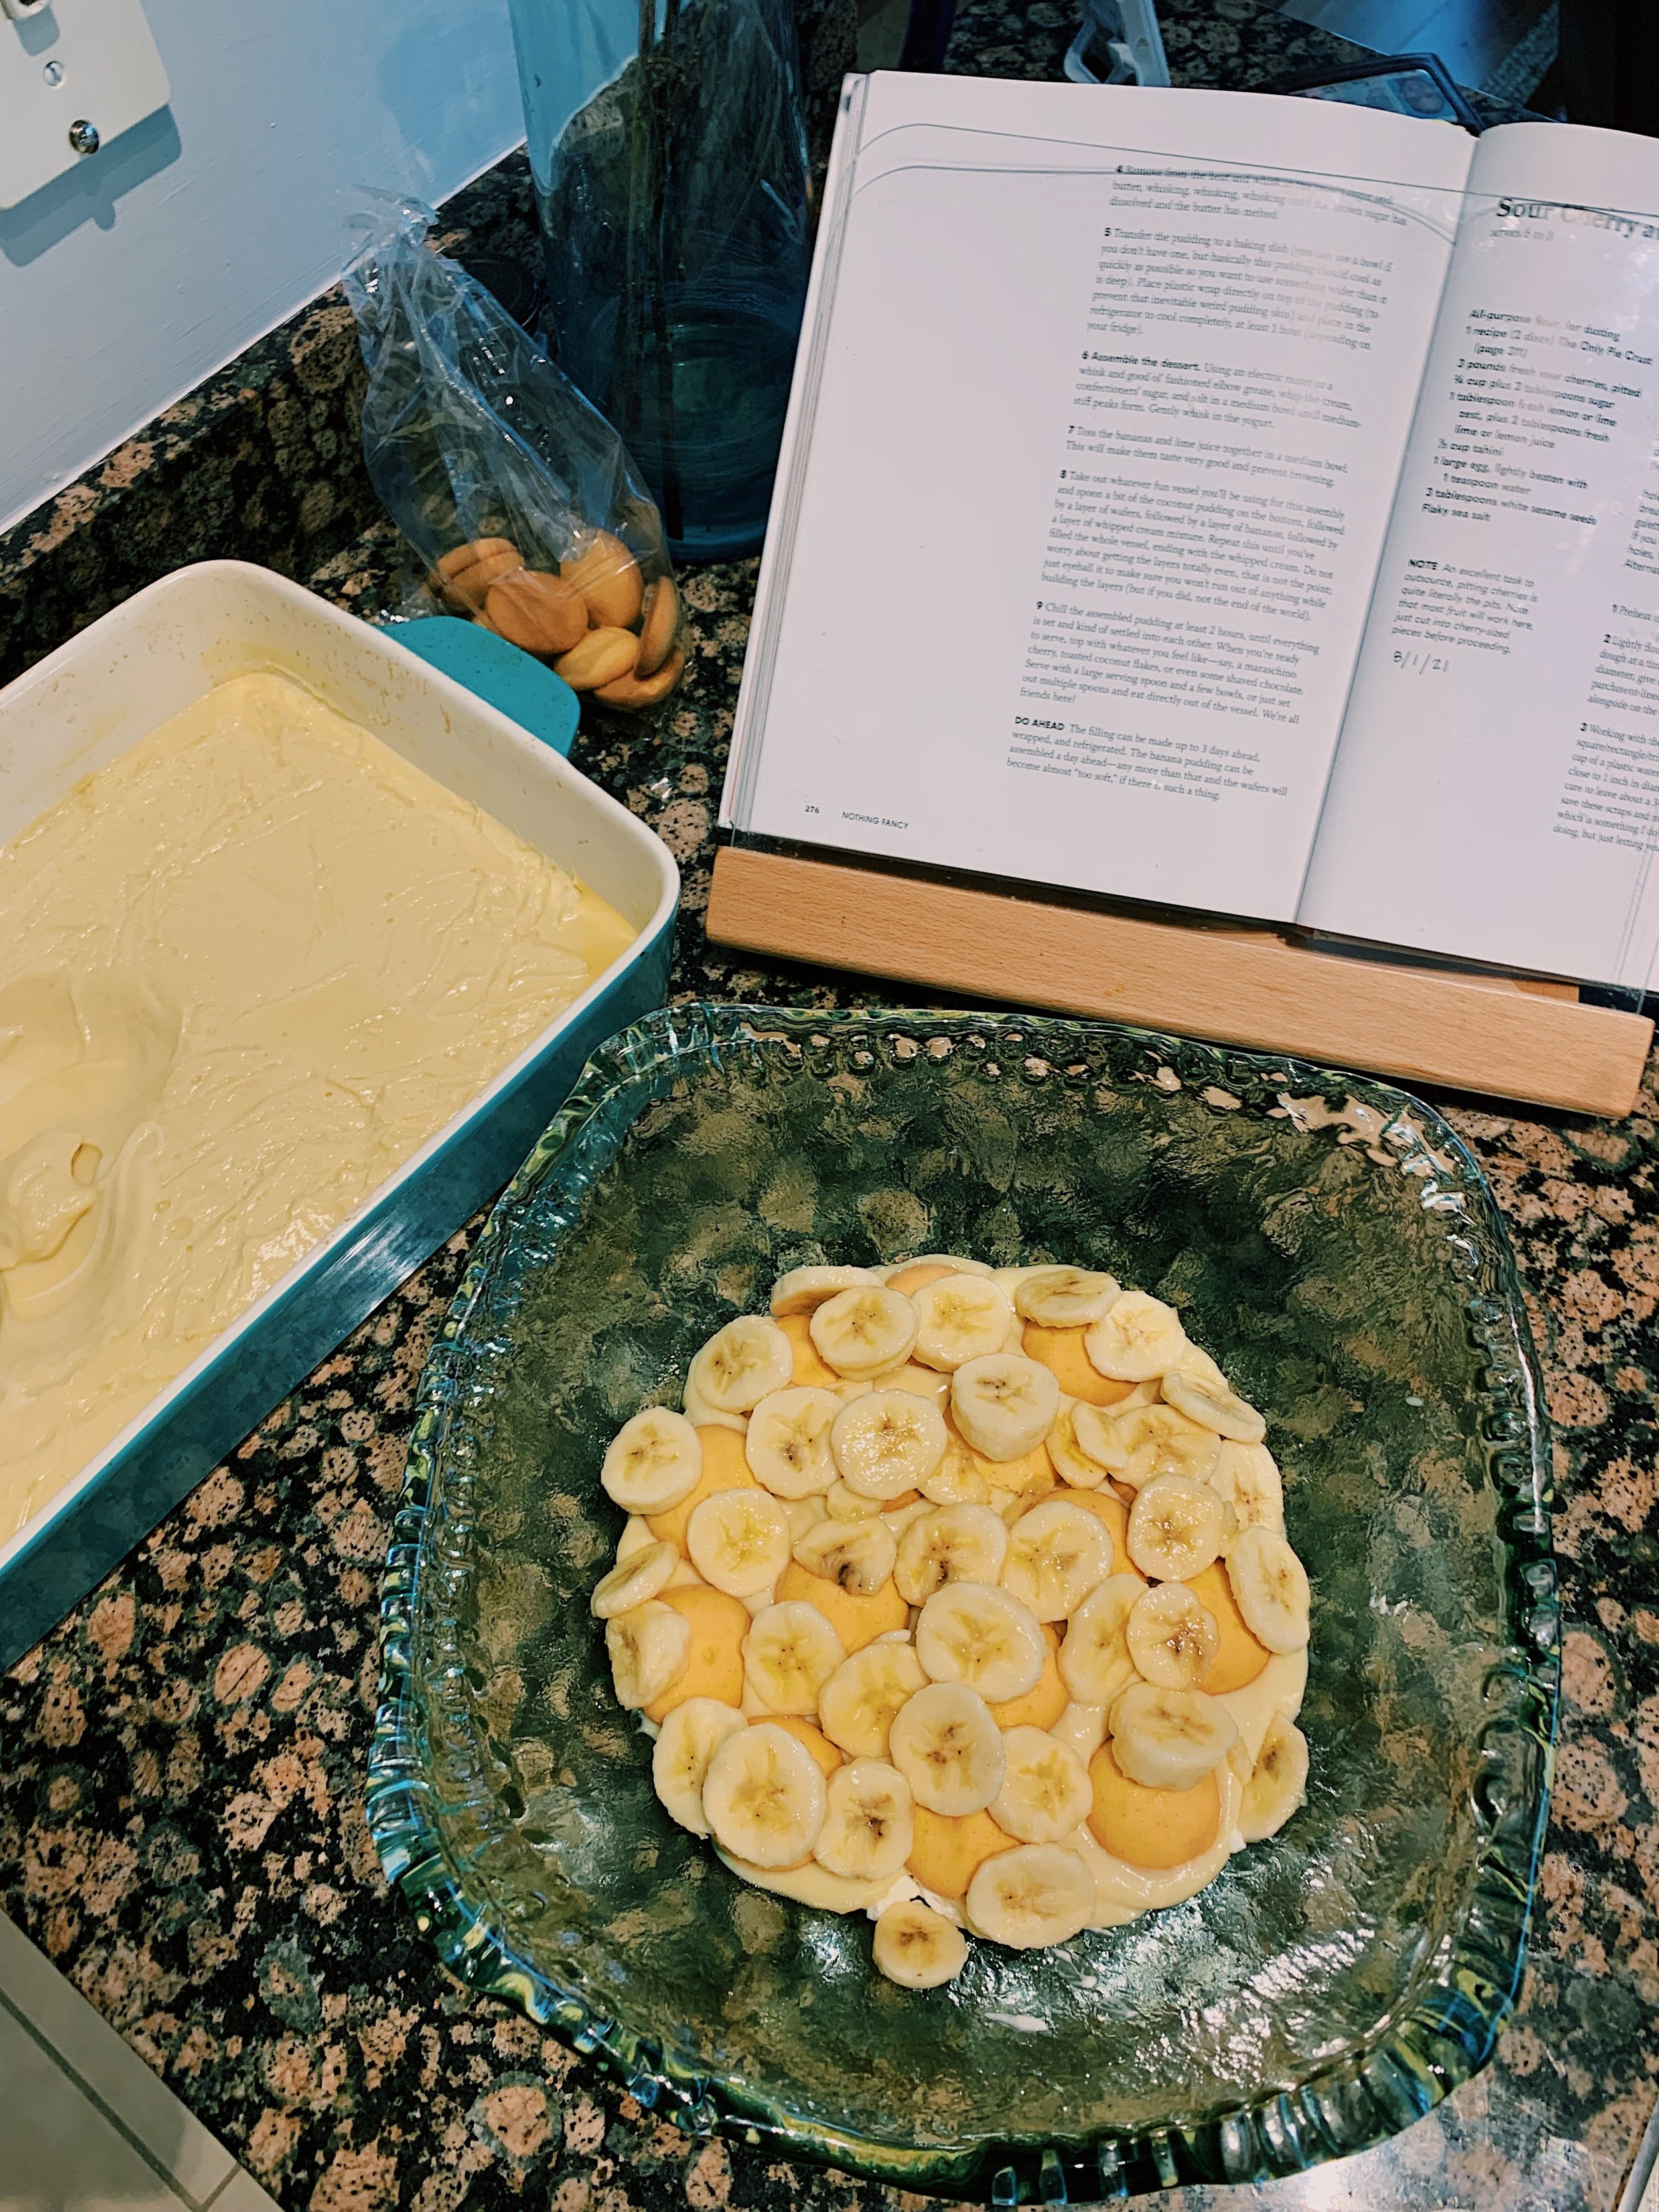
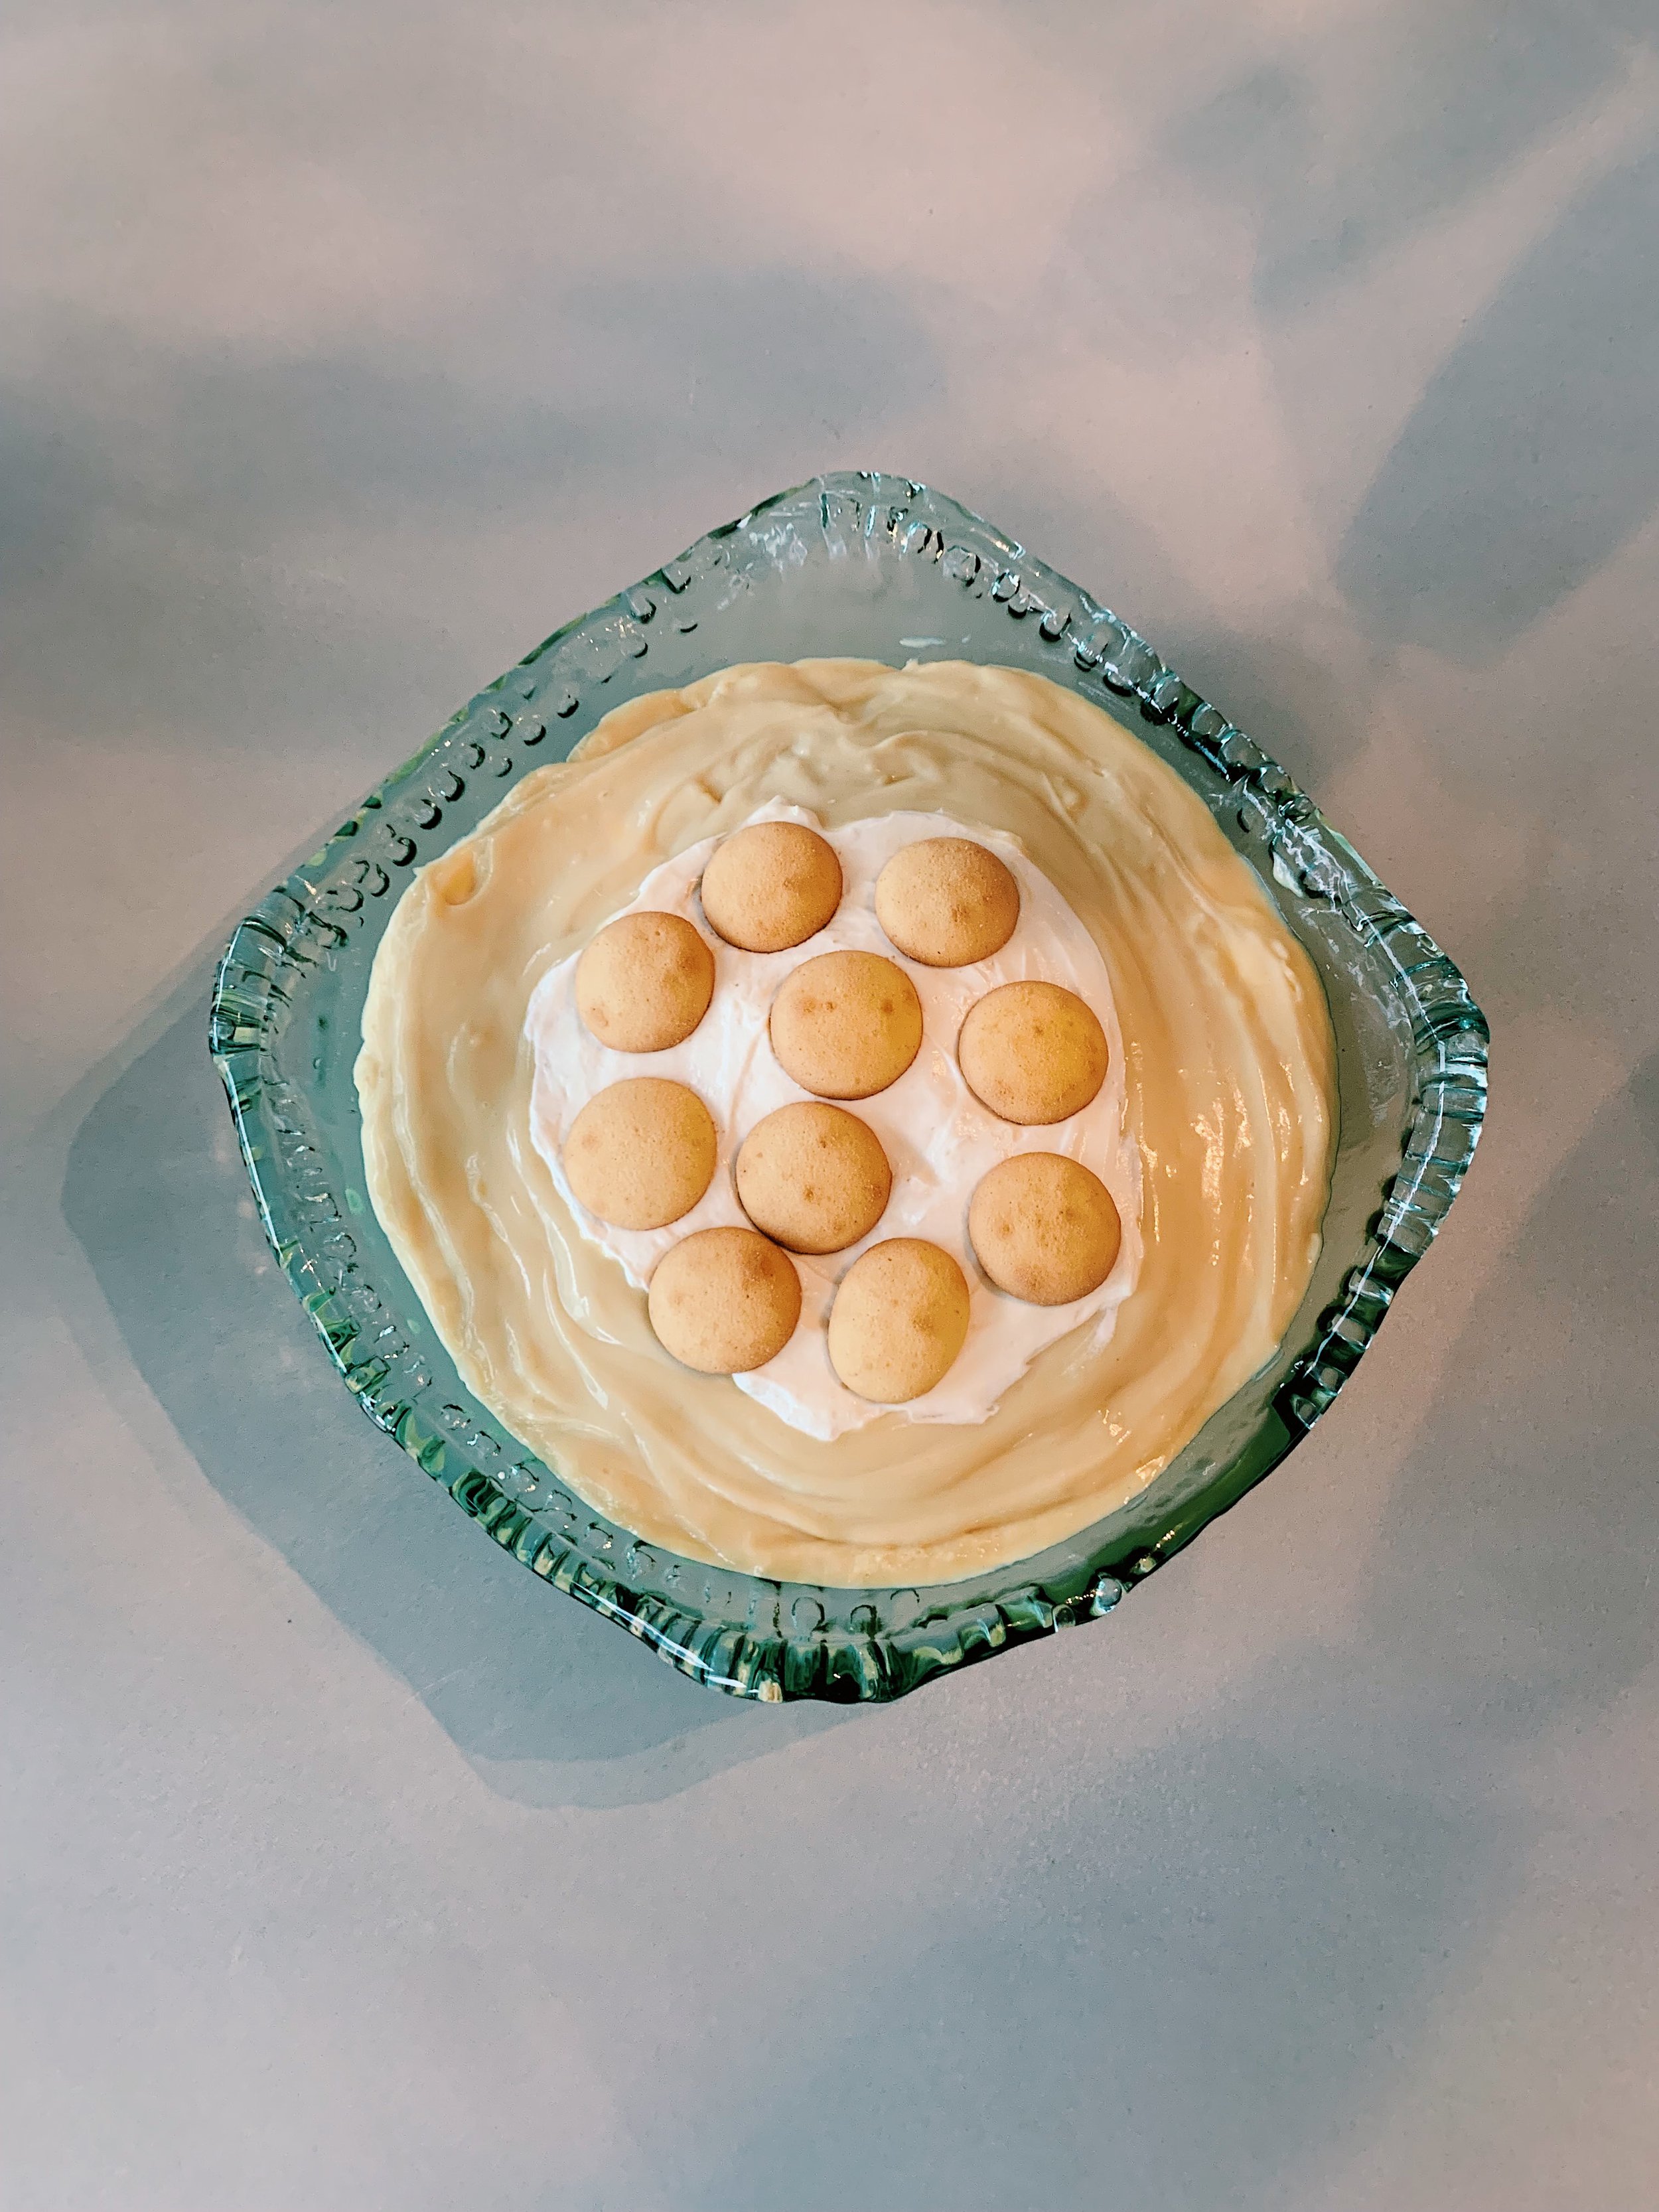
To prepare the dessert, I started by simmering a pint of blackberries with honey until bubbling and starting to break down. This took about 12 minutes before I transferred the juicy fruit to a bowl to cool in the refrigerator. This sped up the cooling process significantly, so it only took 20 minutes for the mixture to cool. Meanwhile, I whipped the cream in my stand mixer and combined it with the yogurt and a big pinch of salt. Then, just barely, I stirred the blackberries into the creamy yogurt before pouring it in a loaf pan covered in saran wrap. Like I said, it could have used another hour to freeze, but I took it out at the 2.5 hour mark and served it up to my parents and Jordan. 

Everyone loved it and had seconds. We essentially finished off the entire loaf pan that evening with no regrets. I can’t wait to make this dessert in the summertime. It’ll be just the right thing to serve to guests on our apartment balcony. 

209 recipes cooked, 16 to go.

Cold Garlicky Pasta with Capers and Salsa Verde by Alison Roman

I used to hate leftover pasta. I hated the way the noodles felt mildly rubbery after I reheated them. I didn’t like how they lost some of their flavor, especially when they had sauce on them and the noodles sort of absorbed the sauce. 

And then I became an adult, responsible for cooking my own meals. Which meant I started loving leftovers — even leftover pasta. Make pasta once, eat it two, maybe three times? Sounds good to me. I typically combine my noodles with sauce before storing them in the fridge, but this recipe might change that. 

I confess I didn’t have any plain leftover pasta on hand, so I cooked TJ’s brown rice spaghetti and rinsed it in cold water and a bit of olive oil to give it that *leftovers* effect. While the pasta boiled, I prepared Another Salsa Verde, which includes finely chopped shallot, finely chopped cilantro, lemon juice, olive oil, salt, and black pepper. I threw in some Aleppo pepper as well for good measure. If you have a sharp knife, there’s truly no need to use a food processor here. The time it takes to finely chop the herbs is the same amount of time it takes to clean and put away the food processor, so why not just use your knife. This “salsa verde,” as I mentioned before when I made Alison’s Turmeric Roasted Lamb, is shockingly delicious for how simple the ingredients are. And though there’s no tomatillo or jalapeño to be found, like a real salsa verde, my first instinct was to dip a tortilla chip in it. Somehow, it just works. 

After the pasta had cooled, I heated the sliced garlic in olive oil, and quickly added chopped capers as well. The goal is not to let the garlic get too toasty, but just a hint of brown. Finally, I placed chopped kale in the skillet to let it barely wilt before pouring the entire mixture over the cold pasta. I used up all the salsa verde I made, topping the pasta and tossing it all together with tongs. A squeeze of lemon juice and sprinkle of flaky salt, and we were set. A smattering of flavors perfectly suited for my palate. 

I will say that this pasta alone wasn’t quite enough to leave Jordan and I feeling full, so we cooked two Italian chicken sausages to go on the side. This dish is a little more involved than a typical leftover meal night, but boy is it worth it. 

208 recipes cooked, 17 to go.

Ricotta-Stuffed Shells with Burrata, Mushrooms, and Herbs & Perfect Herby Salad

I put this recipe off for as long as possible. Not because it didn’t sound good, but because it has more dairy than anyone should eat in a single meal. I’m talking heavy cream, ricotta, parmesan, and mozzarella all filling every imaginable nook and cranny of a 2 quart dish. A delicious stomach ache just begging to happen. 

Well I certainly wasn’t going to eat this one alone. We invited two dear friends over, Elli and Christian, to help us eat it and make it. Why not make the Great Dairy Assembly, as I’m now going to call it, a communal activity? 

Before our friends arrived, I went ahead and started the mushrooms roasting in the oven as well as bringing a pot of salted water to a boil for the pasta. Alison recommends a variety of mushrooms, but I just went for the straightforward pre-sliced baby Bella mushroom cartons at TJ’s. I’ve cooked a lot of her mushroom recipes lately, and I was honestly over spending $7 for 5oz. of little shiitakes. 

I scored some gluten free shells on Amazon, Tinkyada Brown Rice Grand Shells. The packaging says to boil the shells for 15-16 minutes for al dente, so that’s what I did. The edges of the shells were very cooked by that point, but the centers were a little tougher, harder. I definitely didn’t cook them perfectly, but once you’ve poured out the pasta water, it’s hard to go back. Oh well. I did as Alison instructed and poured the newly cooked shells onto an oiled baking sheet to help them cool and not stick together. This mostly worked. 

Now for the Great Dairy Assembly. Elli took each shell and filled it with the Great Dairy Mixture, consisting of ricotta, heavy cream, shaved parmesan, salt and pepper. One by one, she placed them in the baking dish while I desperately tried to arrange them without letting them tip over and spill their filling. Which turned out to be very difficult. Despite the rather al dente state of the pasta, the shells wanted desperately to let the cheese run out. We made a valiant effort to keep them all intact, but it sure was messy. With the shells filled and haphazardly arranged, we stuffed torn pieces of a mozzarella ball into whatever crevices we could find. Next, we poured heavy cream over the dish, followed by the roasted mushrooms. We baked the dish as instructed, about 35 minutes in total. 

Meanwhile, Elli and I prepared the herbs and lemon zest for topping the pasta, as well as Alison’s Perfect Herby Salad. We used lots of parsley, tarragon, and chives. For the salad, I threw in a bag of mixed greens. Alison’s perfect salad dressing is exactly how I dress my salads 90% of the time anyway: olive oil, lemon juice, salt, and pepper. It’s truly all I need to enjoy a salad. 

The shells came out bubbling hot and the mushrooms had turned an even richer brown. We topped them with the fresh herb mixture, and yes, more parmesan. The four of us finished off every shell but one, which wasn’t a Minnesota-nice move, I swear — we were just too full to fathom eating one more shell.

206 and 207 recipes cooked, 18 to go.

Shrimp in the Shells with Lots of Garlic and Probably Too Much Butter by Alison Roman

Of all of Alison’s shrimp recipes, this one was easily my favorite. I’ve never met a combination of sliced garlic, tomato paste, and butter that I didn’t like. Even one covering shrimp. 

And that’s just it, really. I sauteed several garlic cloves and two tablespoons of tomato paste in olive oil, and yes, probably too much butter. Red pepper flakes add a touch of heat as the shelled shrimp hit the skillet. Four minutes later, they were cooked through and ready to eat. I squeezed half a lemon over the steaming shrimp. I stood at the stove and peeled away one of the shells before obediently dragging the shrimp through the hot butter and garlic still sizzling in the pan. It was delightful. I ate several more, and left the rest for Jordan. 

This recipe confirmed two things for me. One, even if a recipe does not call for deveined shrimp, I will still devein them. I have to draw the line somewhere. And two, I sometimes like shrimp. But only when they’re piping hot and doused with other strong flavors. Cold shrimp? Forget it..

205 recipes cooked, 20 to go.

Coconut Banana Cream Pudding by Alison Roman

As a child, I experienced many random urges to bake something. Usually in the midst of boredom, I would get sudden hankerings to be creative and make something with my hands for other people. Which always led me to beg my mom to let me use up a box of baking mix in the pantry, think brownies or chocolate chip cookie bars. Though the instructions were rather straightforward, and little effort required, I still tended to nail the desserts only 50% of the time. (I had a shorter attention span in those days.) Every once in a while, we only had a packet of Jello pudding mix on hand, which only required mixing powder with cold milk and chilling it in the fridge. But it was enough to scratch my baking itch. 

And thus concludes my prior experience making pudding. As you can imagine, I had really no idea what I was getting into with Alison’s pudding. And yes, I made a big mistake. Hopefully my writing about it helps someone avoid the same. 

Making pudding from scratch is far different from making pudding from a box (duh). Pudding from scratch happens in multiple steps and with lots and lots of whisking by hand. The first step is to whisk egg yolks, cornstarch, and sugar together until pale and fluffy. After just three or so minutes of whisking, my arm already felt tired. Thankfully Jordan stepped in to get the egg yolks to that dull yellow color and speckled with tiny air bubbles. 

Now it’s time to simultaneously heat and continuously whisk the dairy, which is where I spent most of my time, and made my grand mistake. I poured heavy cream, sugar, coconut milk, a tiny dash of ground turmeric (for color, I think), and vanilla extract into a pot, and stirred everything slowly until it came to a light simmer. Stirring helps prevent any cream from curdling. In order to warm the egg mixture before pouring it all into the hot cream, Alison instructs us to pour half of the cream into the eggs and mix them first. We want to avoid the eggs going into shock and scrambling when they hit the heat, so we need to gradually get them warmed up. Kind of like dipping your toe in the jacuzzi to adjust, before submerging yourself all the way. Once warm, then I poured all of that creamy, eggy stuff back into the pot on the stove over medium heat. 

Now here’s where the confusion began. Here’s what the cookbook says: 

“Stir the warmed egg yolk mixture into the pot with the cream and, whisking constantly, cook until it thickens and starts to bubble up and look like something that is so hot it could hurt you if it touched your skin (it can, so be careful!!!), 3 to 5 minutes.” 

So I’m waiting for it to “thicken” and look “hot” and start to ”bubble up…” Not the most helpful visual cues to watch for, but fine, I’ll roll with it. The 3 minute mark hits. Then the 5. There’s steam coming off the top and some tiny bubbles rising to the surface. Is that what she means by hot and bubble up? I’ll let it go a minute longer…. 7 minute mark hits, and still more steam and tiny bubbles. The liquid is a bit thicker than when I started. Now, I’m well past the time limit, so I figured the pudding must be ready. I removed the pot from the heat, and per the instructions, poured the mixture into a 9x13 baking dish and stuck it into the fridge to chill “for at least one hour.”

An hour goes by, and the pudding, or should I say, slightly thickened liquid, is still warm. Another hour goes by, and the slightly thickened liquid is room temperature. A third hour goes by, and though the liquid is cold, there’s still one major problem…. It’s liquid. Wasn’t it supposed to thicken up and feel like pudding by now? I did what I always do in situations like this: I called Margaret.

Margaret, knower of most things cooking. Experienced cook, baker, and thankfully, pudding maker. I told Margaret all about my dilemma. How I followed the instructions, how I thought the pudding looked ready for chilling based on the book’s description, and how I still had a baking dish filled with cold liquid in my refrigerator. “Ah,” she said, “you just didn’t cook it long enough.” But I cooked it 2 minutes longer than what Alison said? “It always takes longer than they tell you it will.” Margaret, of all people, would know this. Then she told me what to look for beyond heat and bubbles. 

I hung up the phone, poured all of the liquid back into the pot, and turned the burner dial to medium heat. It took about 10 minutes of heat and constant stirring to get the mixture back to the temperature it was before I chilled it. At this point, I applied Margaret’s tips. It took another 13 minutes before I had a viable “pudding.”

For those of you who plan to make this pudding recipe, here are some helpful (for me, at least) details to add to Alison’s instructions. 

  • Once the egg/cream mixture is poured back in the pot, it could take anywhere from 8 to 15 minutes of constant stirring to achieve the right consistency. 

  • Beyond heat and bubbles, you’ll know the pudding is ready when:

    • You drag your whisk across the liquid and it creates a ribbon pattern on the surface. 

    • Your whisk meets resistance as it stirs. 

    • The pudding can coat the back of a spoon

    • The pudding feels mostly like pudding. It’ll thicken up a bit more as it chills, but you want to achieve most of the pudding consistency while over the stove. 

My second attempt was successful. But by that point, I didn’t have enough time to let it chill and assemble the dessert layers before going to a NYE gathering. So I left the pudding to chill for the night and assembled everything the next afternoon. 

I managed to fit four layers of: pudding, vanilla wafers (I used GF wafers found at Whole Foods), banana slices tossed in lime juice (to prevent browning), and whipped cream, in my serving bowl. I sliced all 6 bananas per the instructions, but ended up using about four and a half. I served the pudding as dessert with Alison’s Pizza Night, and the leftovers the next evening with Alison’s Ricotta-Stuffed Shells (post to come). 

Despite the hullabaloo, this dessert is delicious. And addicting. 

Pro tip: If banana flavor isn’t your favorite, just know that the longer the pudding sits in the fridge, the stronger the banana flavor becomes. I don’t mind that, but some will. Also, lime juice truly does prevent bananas from browning. Who knew?

204 recipes cooked, 21 to go.