Salted Honey Panna Cotta with Raspberries

I feel like I’m writing a minor, yet continuous confessional. As I blog about these final 40 recipes, I feel led to confess why I waited to cook them until the end. For some, it was unintentional. Others don’t spike my appetite. And others, like this panna cotta, are just plain intimidating. Or so I thought. 

I was on my drive home from work and talking to my friend Margaret on the phone about all I planned for dinner. Slow-roasted chicken, garlic bread, arugula salad, and panna cotta for dessert. Off-handedly Margaret commented, “well at least panna cotta’s really easy.” “Right, yeah, definitely,” I replied. I still spent the rest of the drive home trying to mentally gear up for the tasks ahead. 

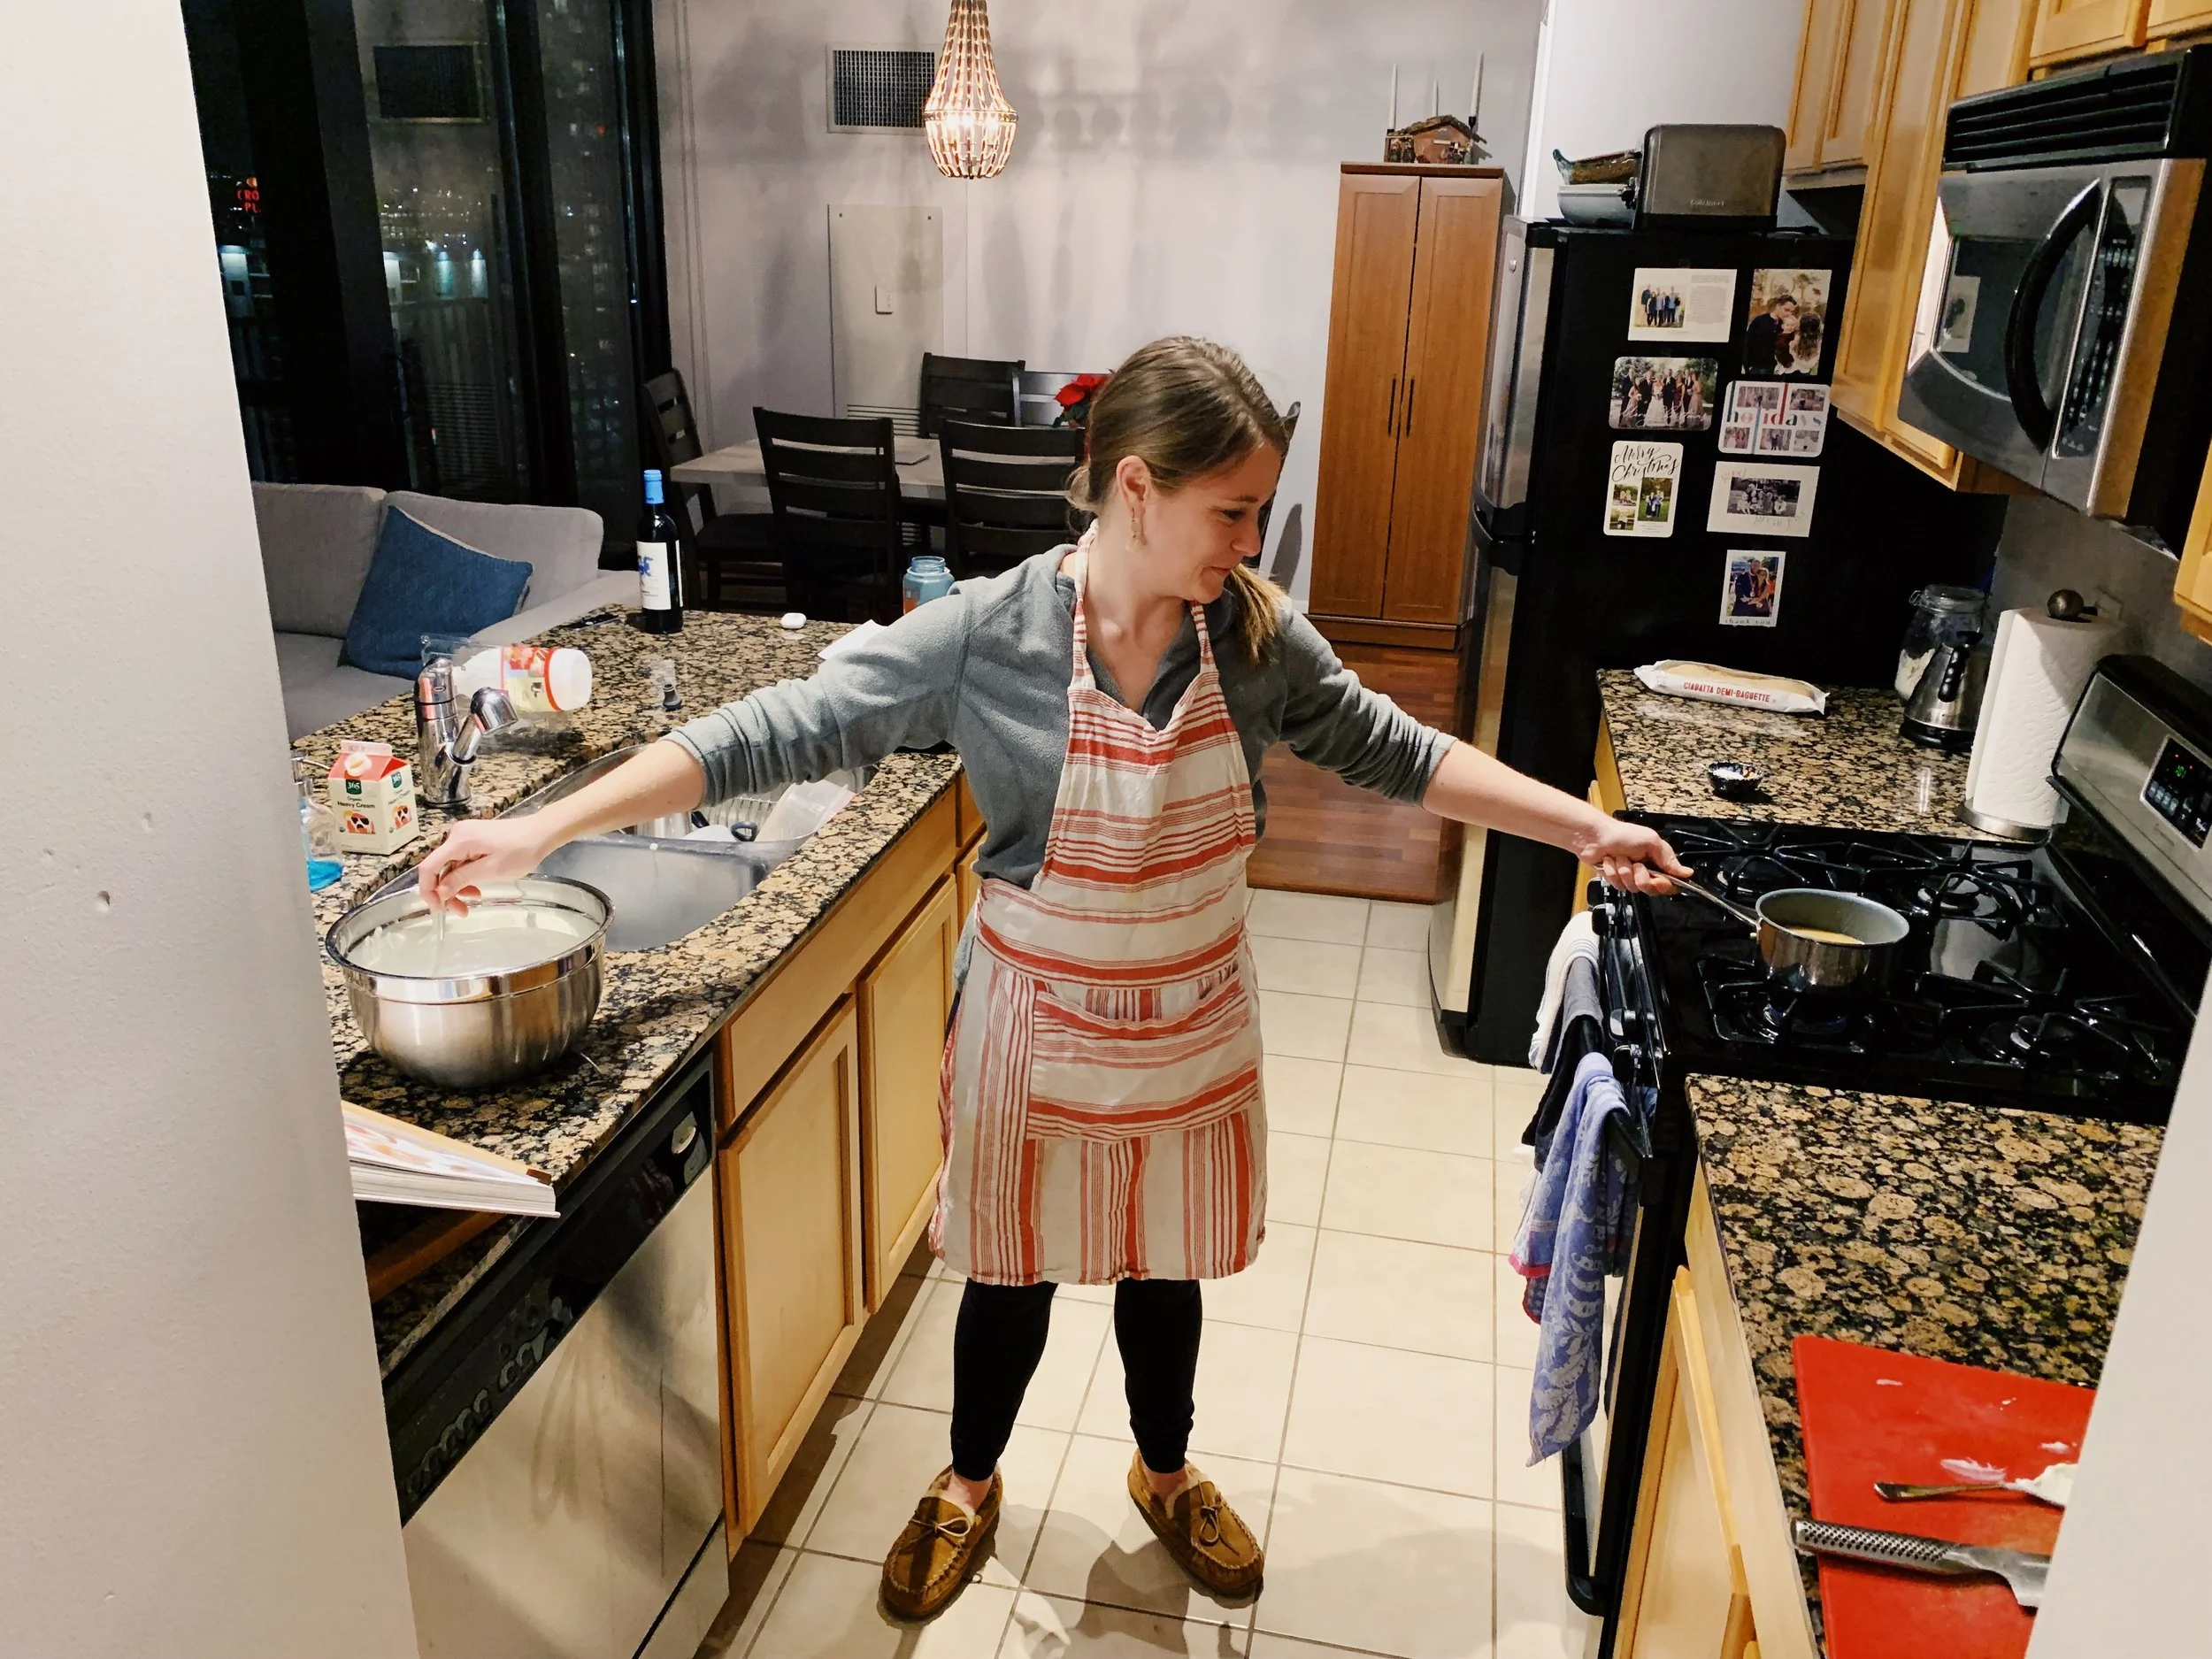
Thankfully, Margaret was right. Panna cotta is on the easy side, it just requires patience. Step one, hydrate the gelatin packet in water. Alison tells us to sprinkle the gelatin over the water and let it soak. No mention of stirring. Given the gloopy look of things, I had the impulse to stir, but held back. Next, I combined buttermilk, honey, and heavy cream in a small pot and dumped in the clumpy gelatin mixture. Over low heat, I tried to dissolve the gelatin completely without letting the mixture rise to a simmer. This requires very frequent stirring and time. Alison doesn’t specify how long this takes, so if it helps, it took me about 20 minutes. Maybe it could have gone a tiny bit faster, but I was very conscious about not letting things simmer to avoid curdling. I didn’t feel like starting all over again. 

In the meantime, I combined the rest of the ingredients - a dash of salt, more buttermilk, more heavy cream, and sour cream. Alison instructs us to lightly whisk them together so there are no clumps, but also no air bubbles. That’s a tall order, in my opinion. Especially as the sour cream wanted nothing more than to sink to the bottom and remain its clumpy self. I found myself with a fork, digging for bits of sour cream and trying to separate them against the side of the bowl. I think I got most of the clumps out? 

Once the gelatin totally dissolved, I poured that mixture slowly into the bowl of many dairies and stirred to combine. I portioned them out in seven glasses and stuck them in the fridge. Alison says they need at least 1 hour in the cold. But I can say from experience that the longer they sat in the fridge, the firmer, and more panna-cotta like, they became. If you’re looking for an authentically firm panna cotta, without a more liquidy bottom, let them spend at least 4 hours in the fridge. I covered the ones we didn’t eat that night with saran wrap and enjoyed one even more the next day. 

Finally, the raspberries. A truly great add. I would not skip them. Crushed raspberries mixed with a bit of honey and apple cider vinegar. That tiny bit of acid and sweetness were just what the gelatin needed to really pop. I love that the panna cotta has a subtle sweetness - recipes calls for only a half cup of honey. So the raspberries really bring the sweetness home. 
189 recipes cooked, 36 to go.

Buttered Raspberry Hand Pies by Alison Roman

I love pie, but I rarely make it. Pie crust is intimidating, primarily because it deals with very cold butter that must remain very cold whilst being cut, massaged, rolled, re-rolled, and rolled one more time. Pie crust requires knowing when to stick it in the fridge to keep the temperature right, and how to roll it out without creating any cracks. It’s a delicate balance of precision and intuition. 

Pie crust is kind of like golf. It can take years to become a consistently average golfer. A strong golf swing requires the right form, nuance, and attention to detail. So does making a pie crust. 

I cannot claim proficiency at golf or pie. Which is why I asked my friend Margaret to make this recipe with me while she was in town. Margaret knows pie crust like an old childhood friend, and her guidance was crucial to this process. She also helped me find a Gluten-Free pie crust recipe from King Arthur, which we used instead of Alison’s pie crust recipe. (Note: we skipped the ClearJel step in the recipe.)

Hand pies look like more buttery, sophisticated versions of Uncrustables. You know, the pb&j sandwich with sealed edges? A childhood dream! The process boils down to creating the crust, then the filling, then assembly, and finally, baking. 

I won’t go into the step by step of making the dough – that’s what the link above is for – or the filling. Instead, I’ll share some process photos below. Then keep reading for final thoughts! 

The filling of the pies consists of raspberries, lime zest, and sugar. Margaret and I agreed that the center tasted a bit too tart for our liking. If we make hand pies in the future, we may try using cherries, or adding some apple to the raspberry to balance out the sourness. Apricots would be nice, too. 

The hand pies were delicious, but I haven’t decided whether they were worth the hours of work. I loved the activity because I made them with a friend, but I doubt I’d have the desire or patience to bake hand pies alone. 

All of Alison’s recipes involving pie crust use her “The Only Pie Crust” recipe, which is listed in both cookbooks. But due to my gluten aversion, I asked Margaret to make the pie crust for me and write a guest post about it! More to come from Margaret. 

93 recipes cooked, 132 to go.

Honey-Yogurt Pound Cake with Raspberries by Alison Roman

honey-yogurt-pound-cake-raspberries-alison-roman-raspberry.jpg

I find Alison’s recipe introductions delightful. When I read them, I feel as though she’s having a friendly conversation with me. Sometimes she lets me in on a secret; sometimes she divulges her opinions on food prep or ingredient preferences. I appreciate hearing about her failures and victories in the kitchen. 

The intro to this particular recipe is about desserts that travel well, and one’s that don’t. Clearly she’s tried bringing many carefully crafted desserts to a variety of shindigs, and those desserts haven’t always made it to their final destination. At least not in their desired form. But this pound cake? It travels well! 

My own experience can back this up. Apart from the two slices I took down to the lovely receptionist in our apartment lobby, I took the whole cake to a friend’s house wrapped in cling wrap. The cake jostled around in a big bag full of other stuff over a bumpy car ride, and yet it arrived looking just as shapely as it did coming out of the pan. I left most of the cake at said friend’s house, but returned home with a small chunk leftover. This bit also didn’t crumble. Thus I can vouch for Alison’s travel-well assertion. I bet I could take this cake in my backpack on a plane and have relative success! 

Though the title sounds fancy, this cake recipe is extremely simple. It’s a mix dry ingredients, then mix wet ingredients, then combine them and stir in the fruit sort of recipe. The key is to not overmix the dry and wet ingredients. Apparently that’s how a dome forms at the top, and that’s not what you want. 

Once again, I converted this to be gluten free. I was told by several taste testers that this was my most successful GF dessert conversion yet. The cake maintained the appropriate moisture and crumb levels for a pound cake. This brought me great joy. 

The cake is also not super sweet. The raspberries and yogurt add a nice tangy, sour balance to the honey and sugar. I can see this going well with whipped creme fraiche or regular whipped cream. Perhaps next time I’ll really go wild and top it with turbinado sugar before baking. I’ve got a few trips on the books (thank you, vaccine!) that may well include this cake in my backpack.

58 recipes cooked, 167 to go.

honey-yogurt-pound-cake-raspberries-alison-roman-piece-3.jpg