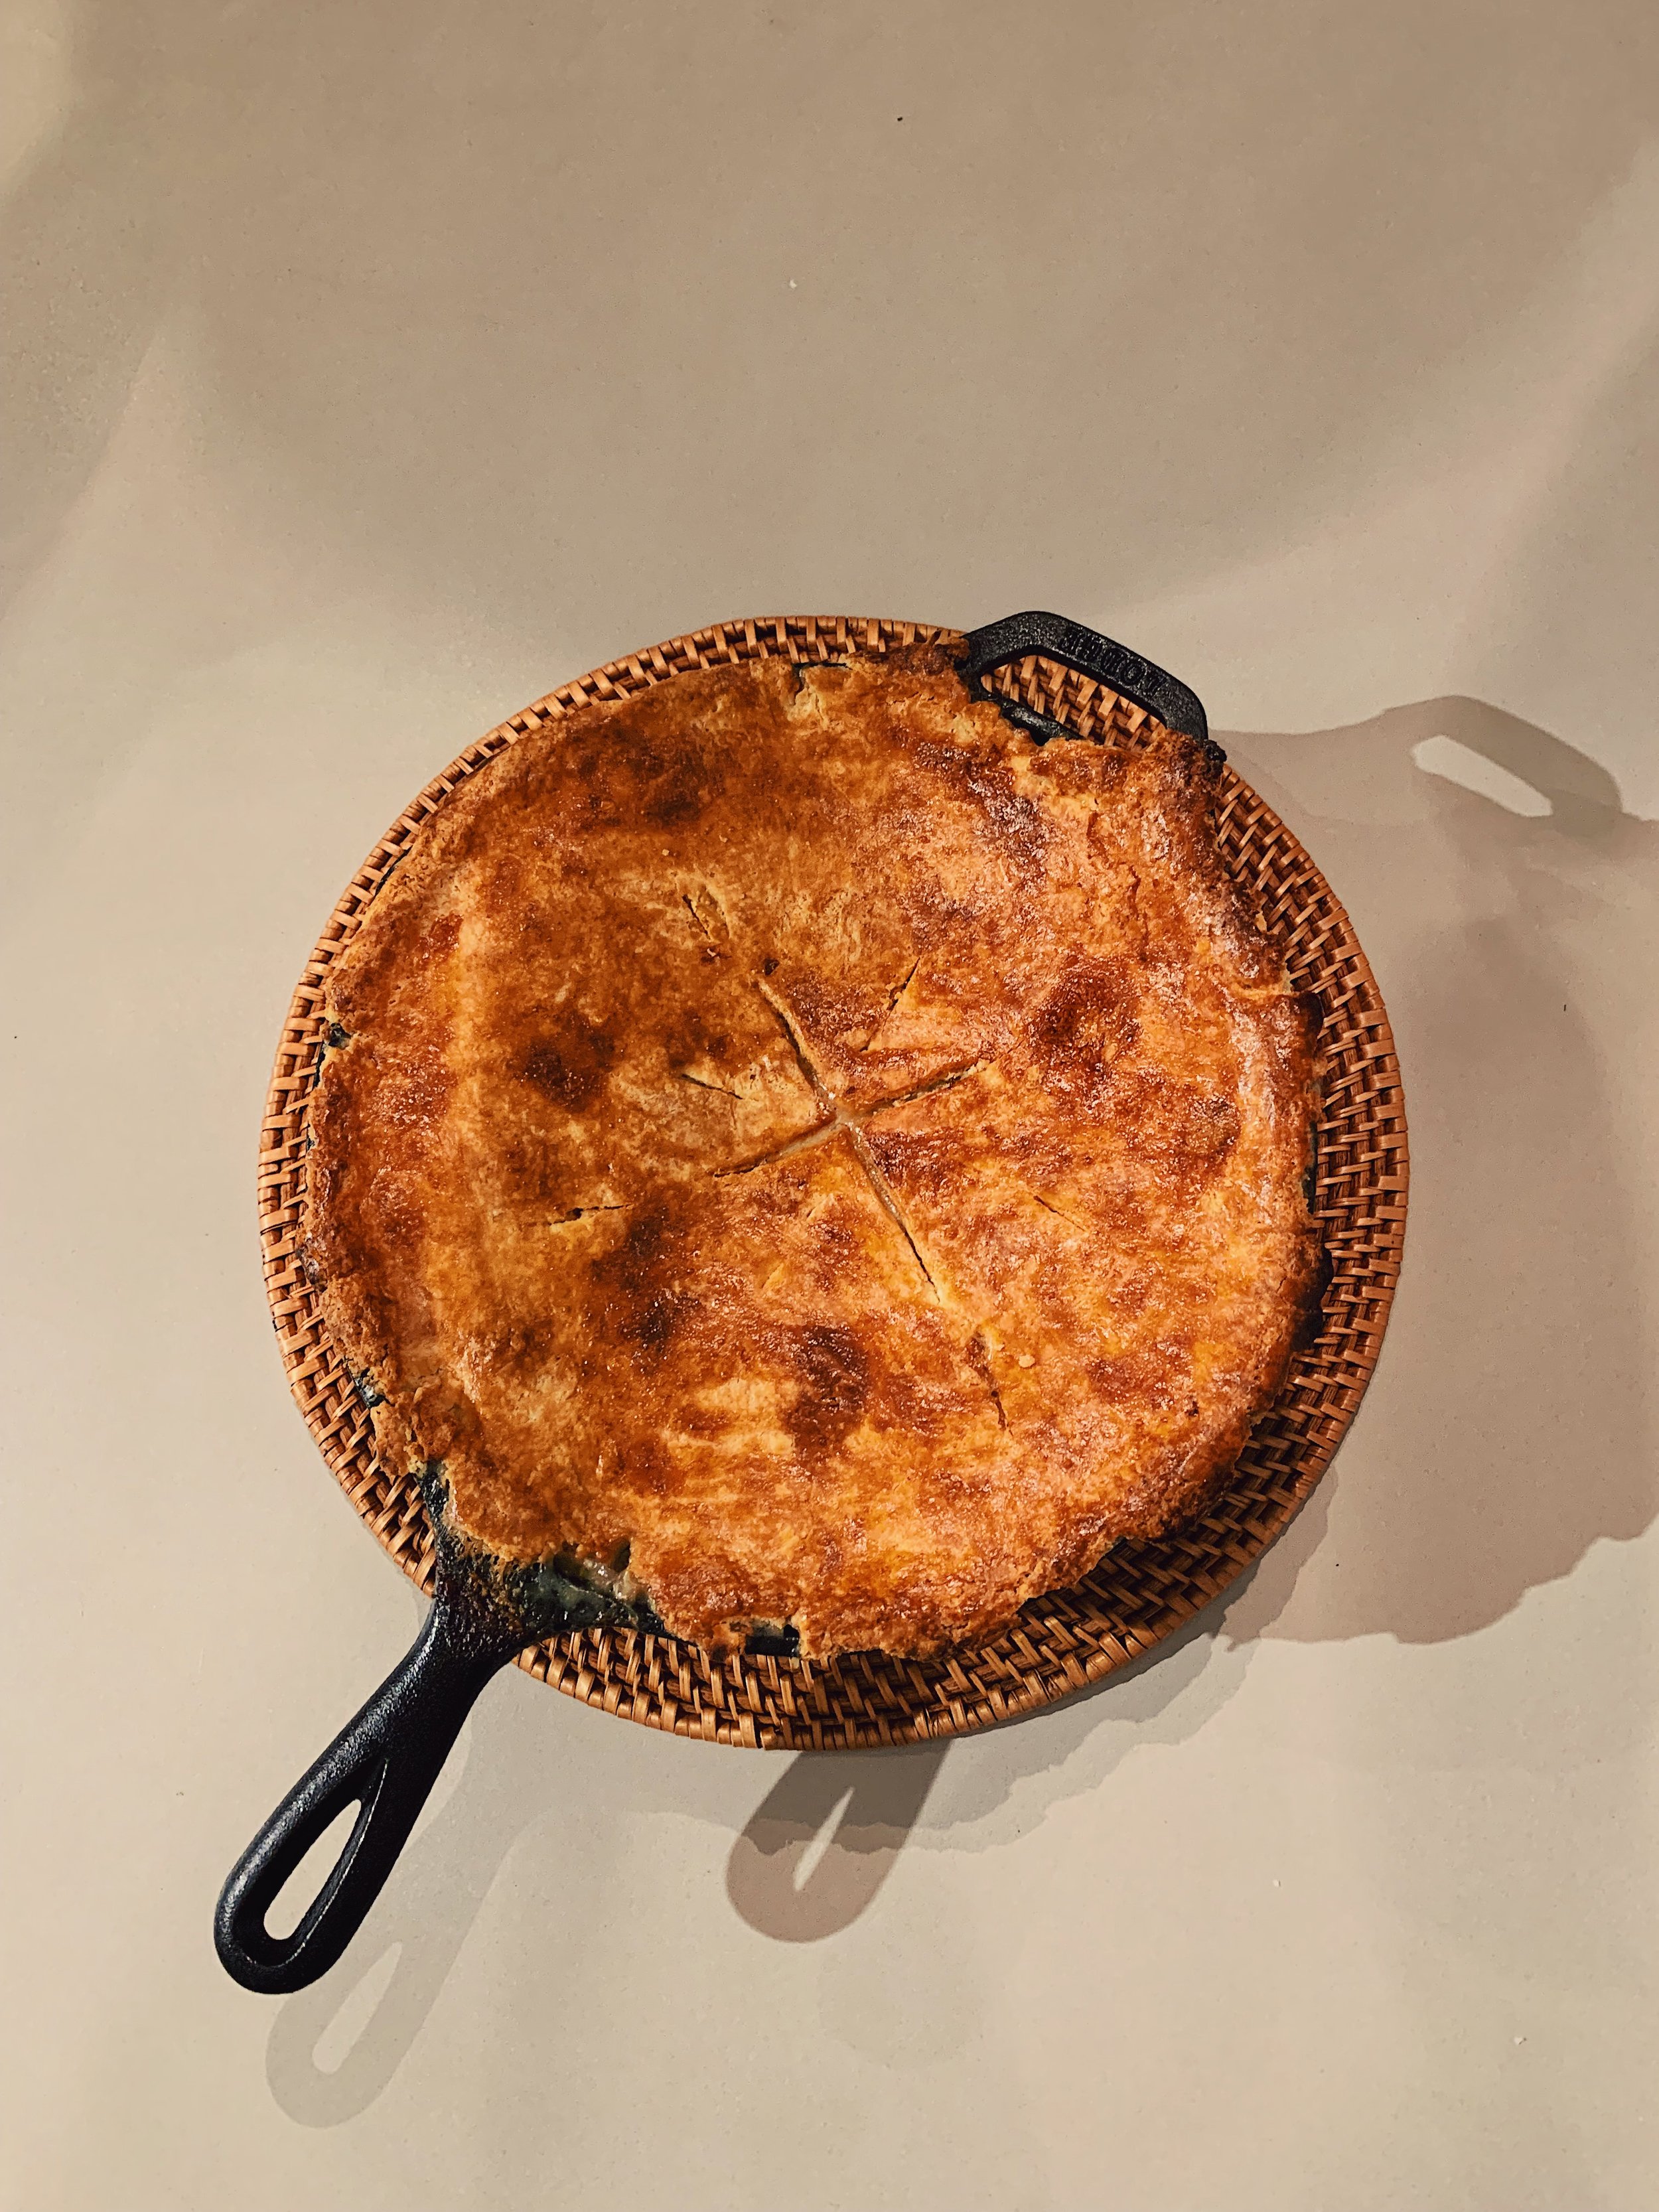
What a ride this pie was. How buttery, how delicious, how messy.
It all started with a single disc of gluten-free pie crust (yes, the King Arthur one). I prepared the dough to chill at about noon, and once again felt like this disc is the best one I’ve made yet. My pie crust skills improve every time I attempt the task. It’s been personally satisfying to watch myself improve in this way over the course of the project. Of course, there’s always a mess with pie crust. Powdery flour that escapes from the saran wrap. Bits of butter that stick to the counter when rolling it out. But this doesn’t at all compare to the mess of the pie filling.
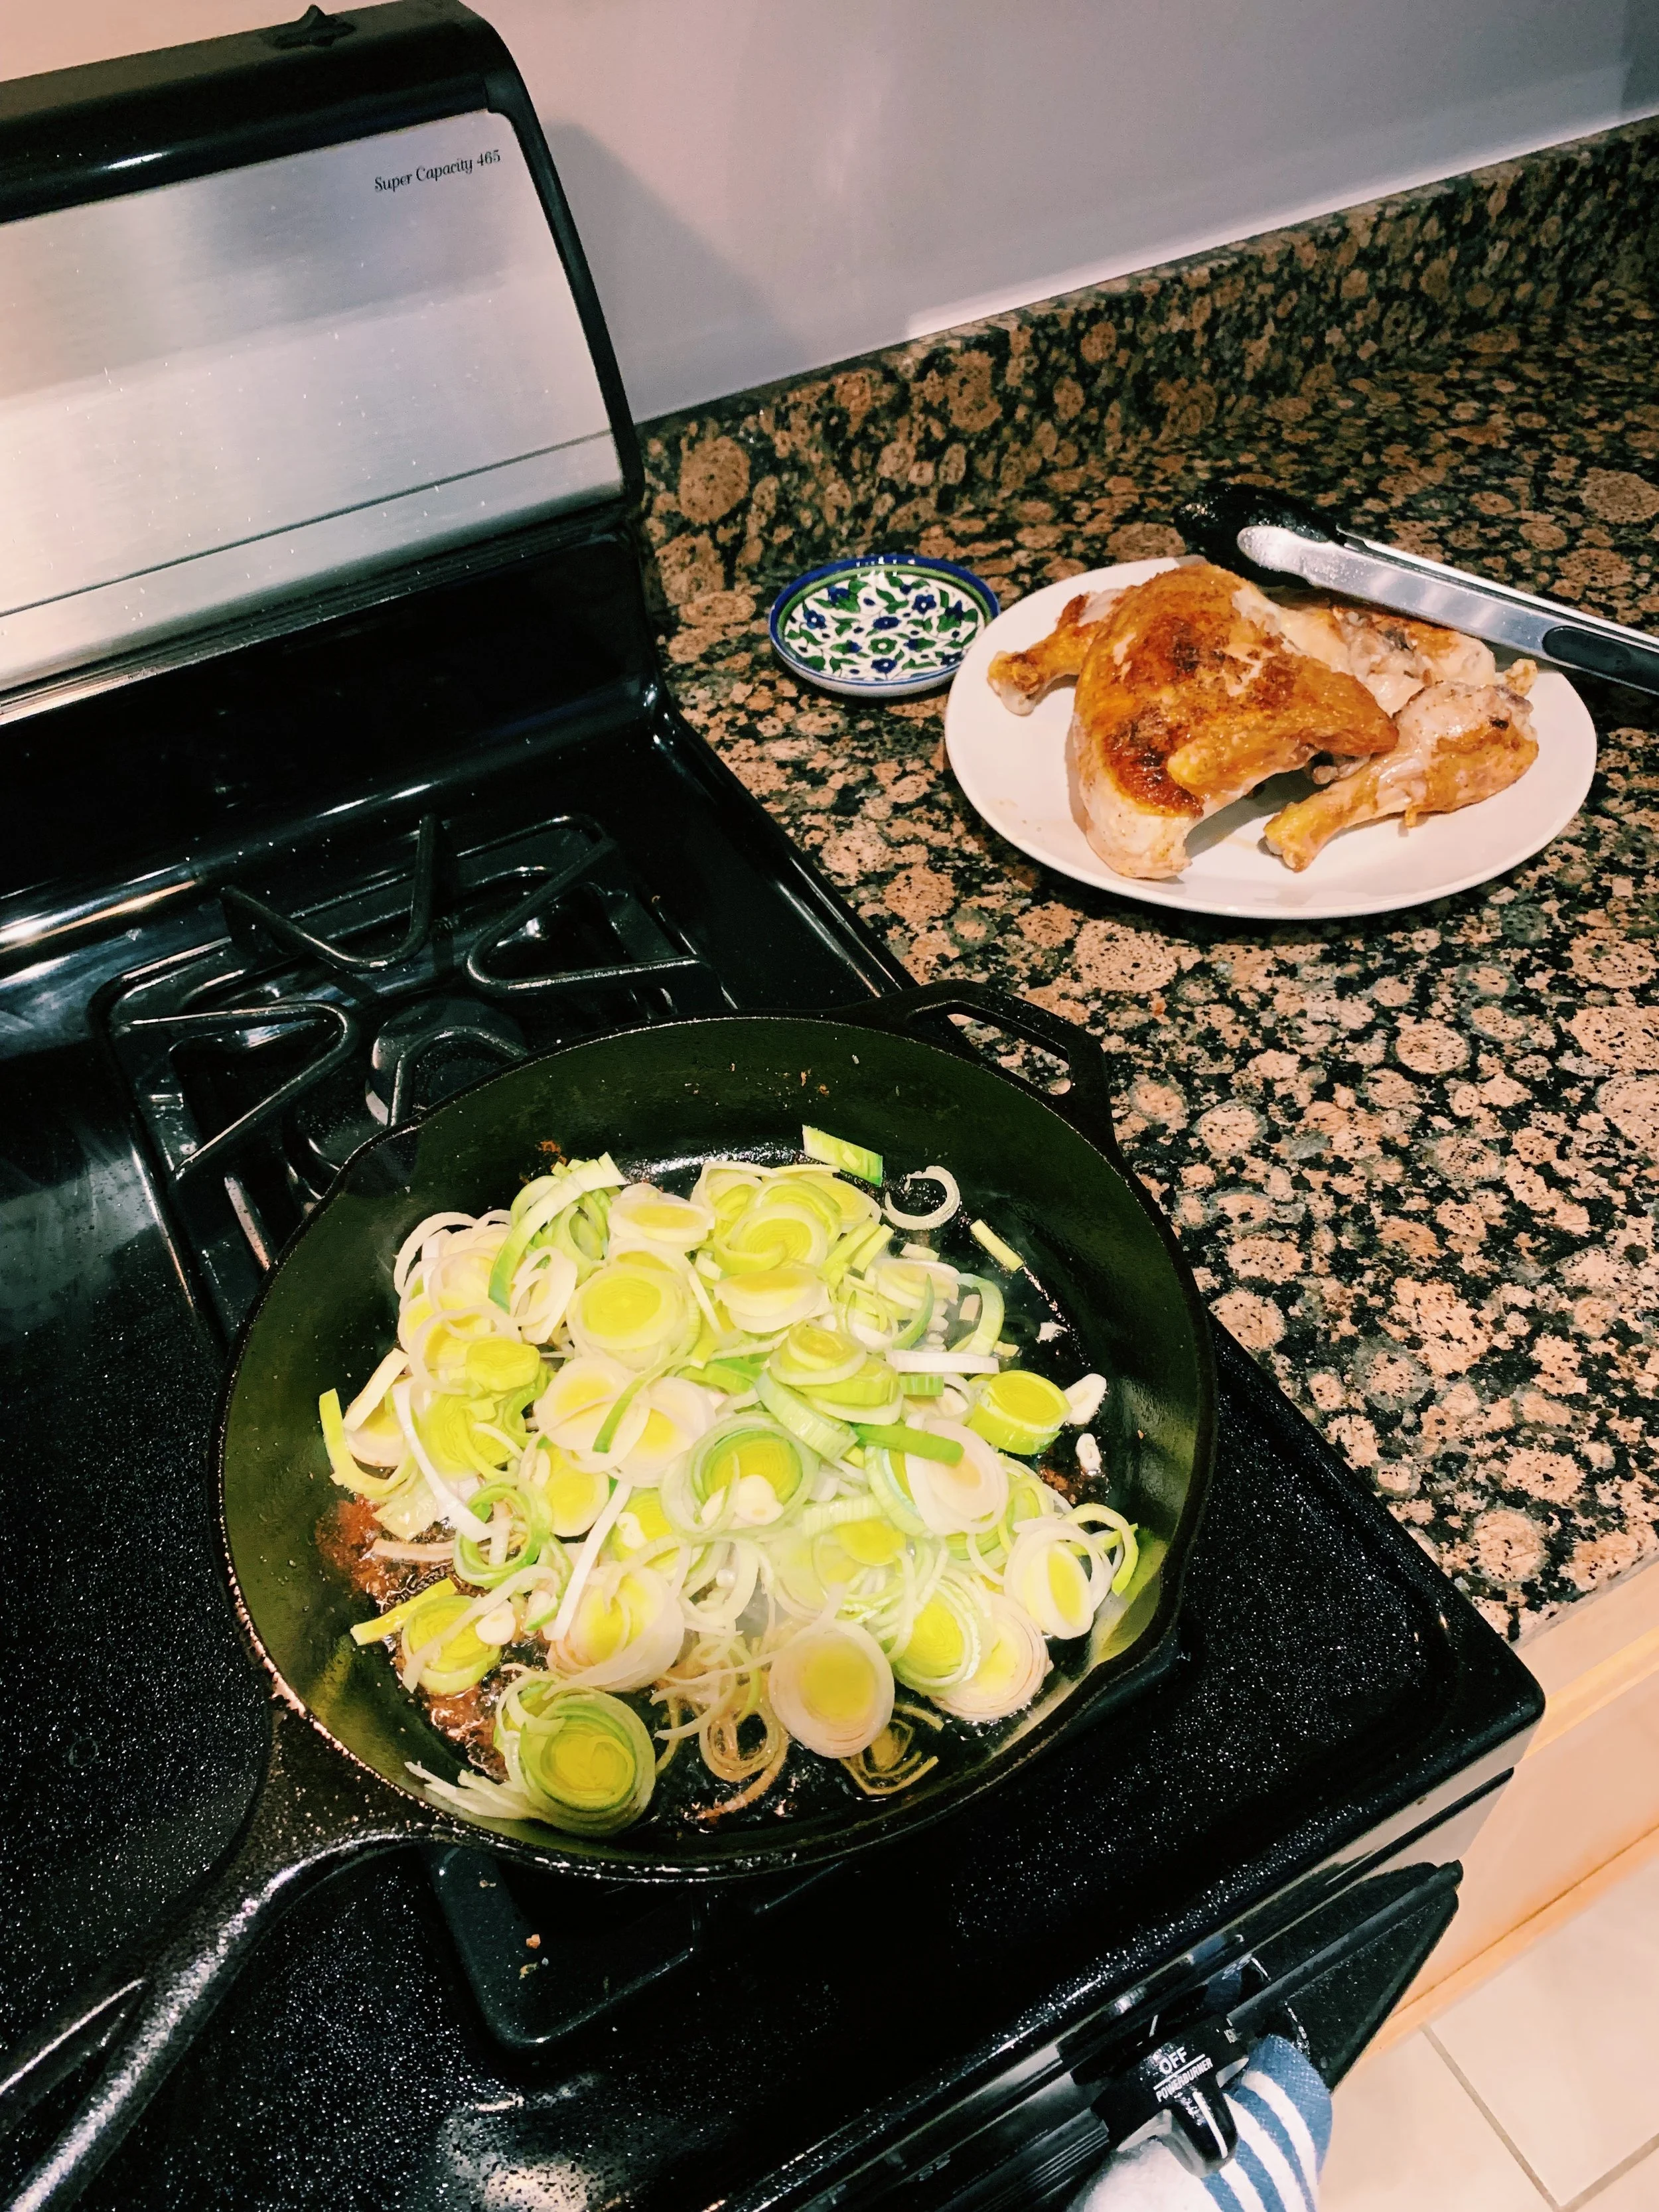
Alison instructs us to brown and cook bone-in, skin-on chicken breasts and thighs in a large skillet. Cue the splatters of hot oil dotting the floor, counters, stove, and occasionally, my arms. The oil flies as the skin crisps and browns. It’s really a shame though, because after it cooks, Alison has you remove the meat and discard all bones, sinews, and skin. All that crispy goodness gone. The meat, though, is tender and juicy.
Next, in the same skillet with all the chicken fat, garlic and leeks join to become soft and vibrantly green. I then added a pound of fresh mushrooms with salt and pepper, never minding the few little mushroom bits that always flop out of the skillet when I cook mushrooms. A few of them escaped and fell next to the flames underneath the skillet – don’t ask me how.
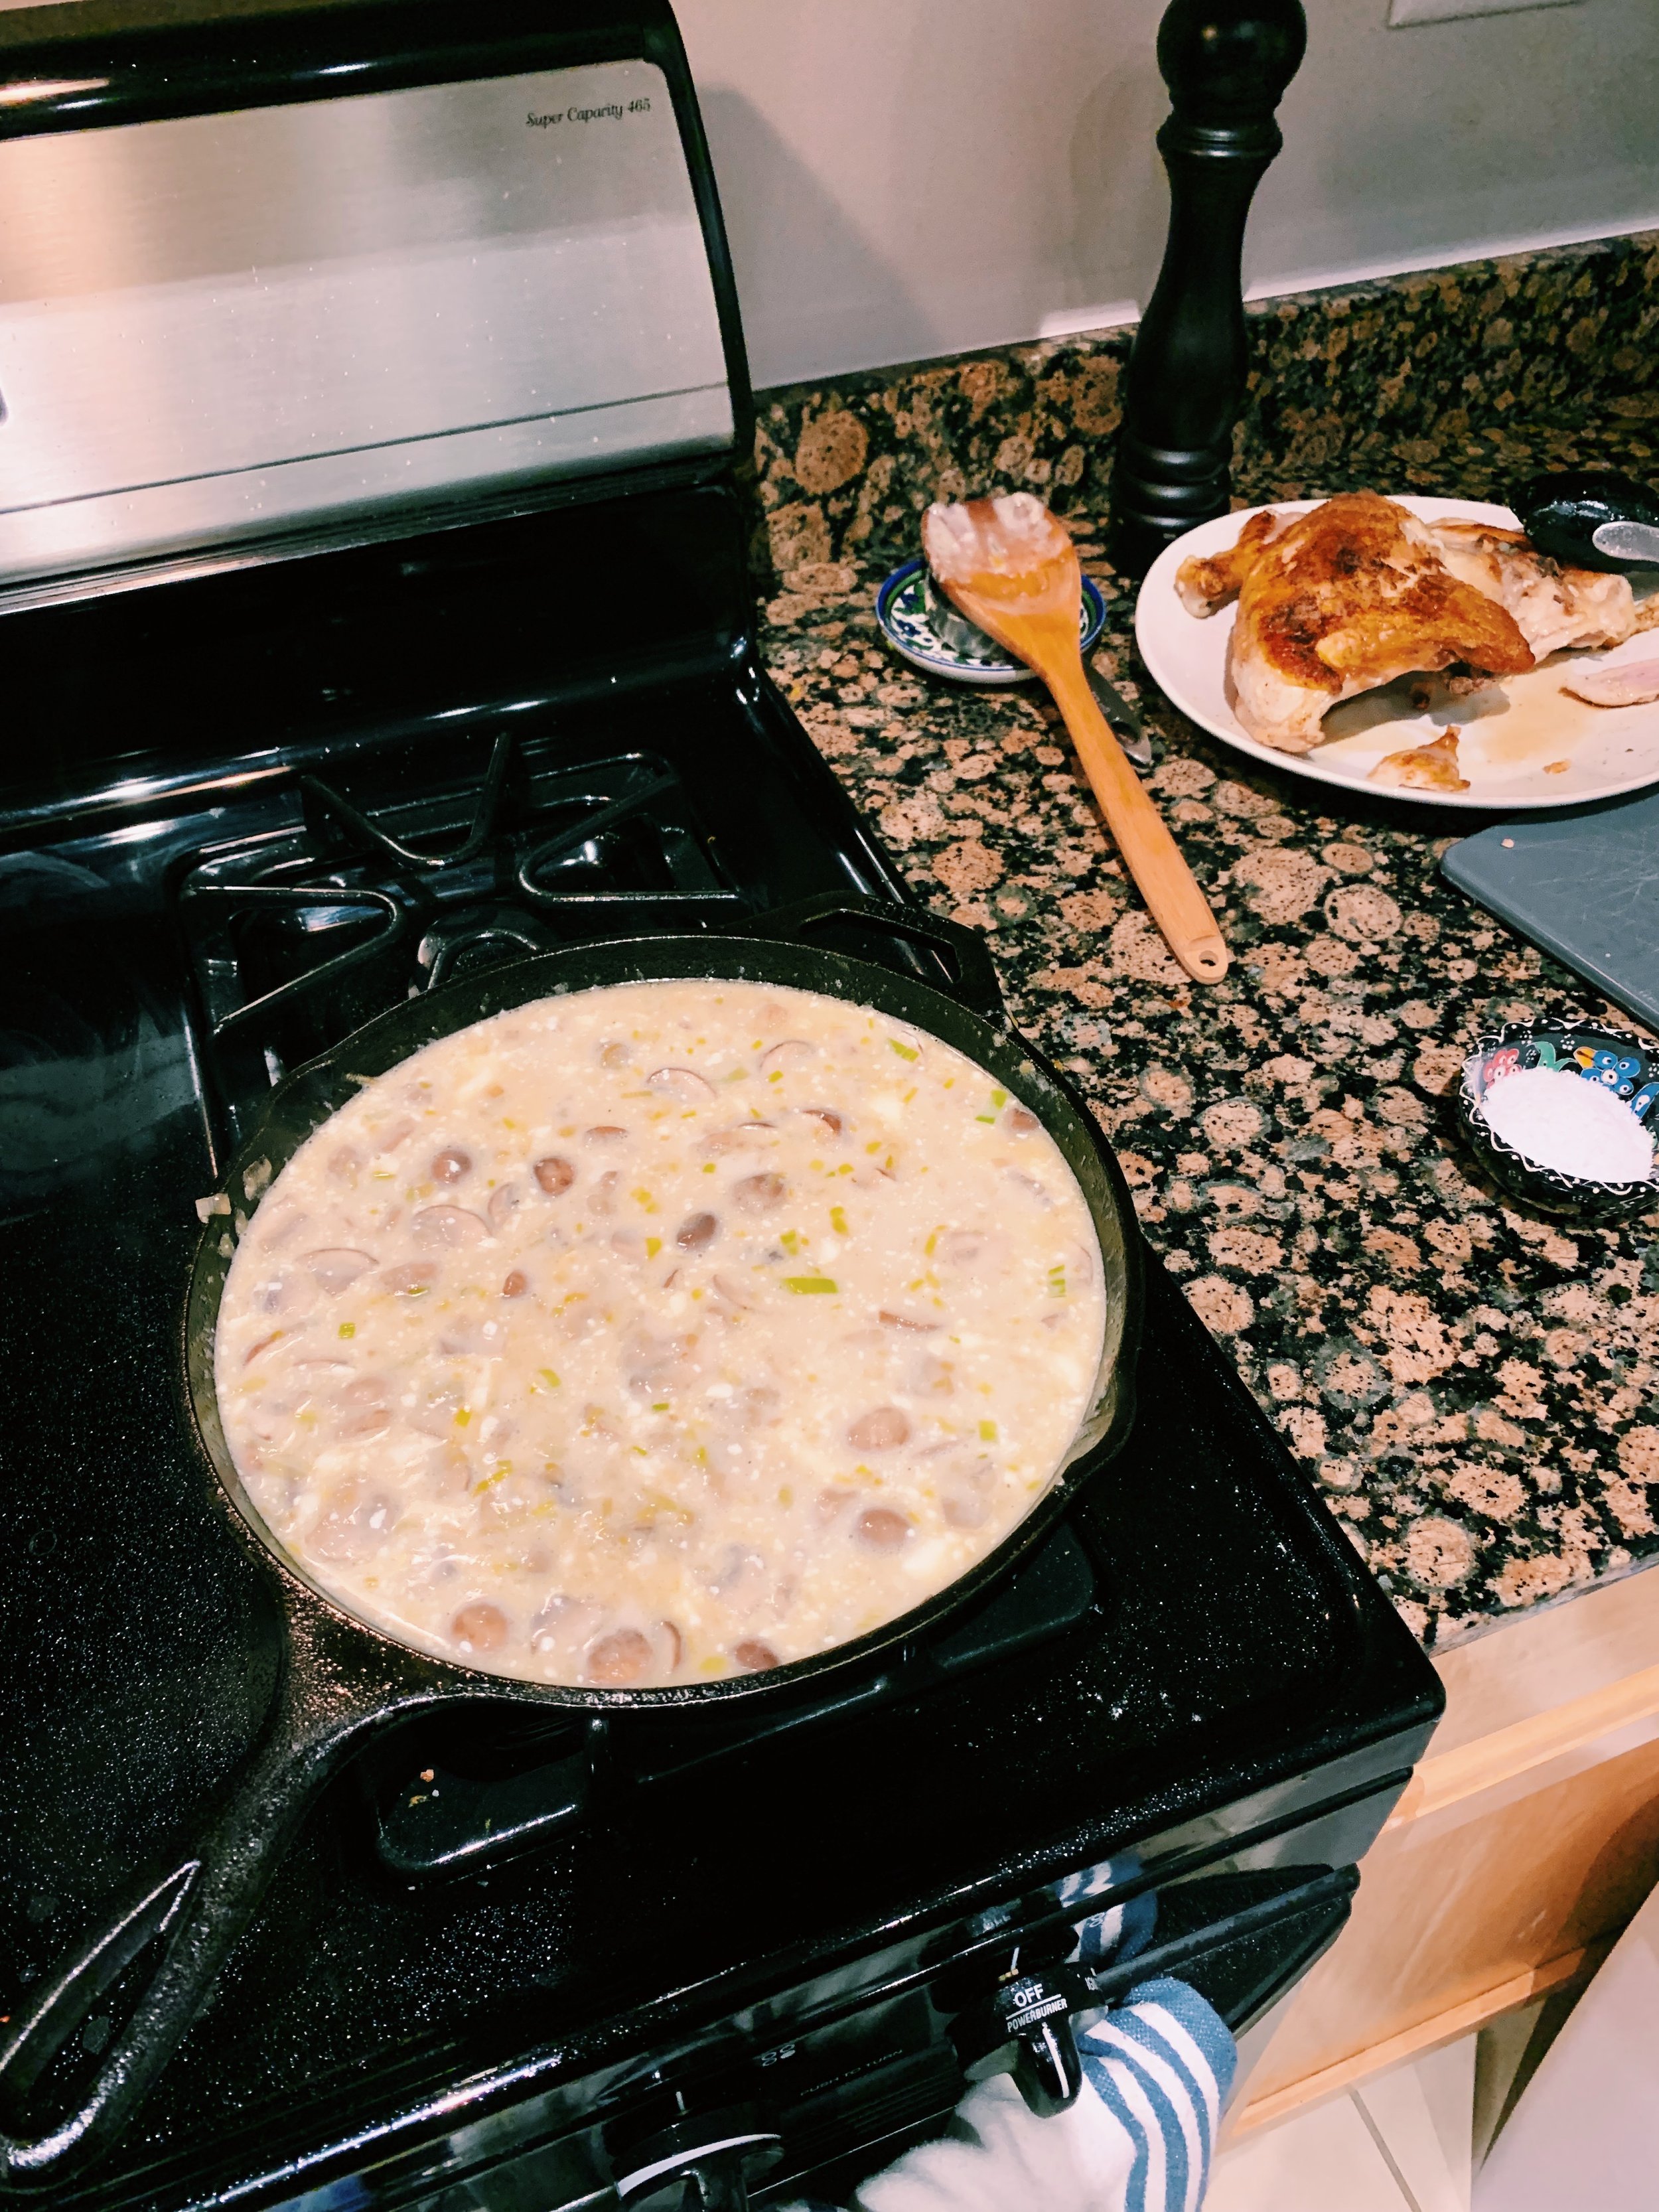
Once the mushrooms softened, I mixed in a pat of butter and a quarter cup of gluten-free flour, which quickly thickens up the filling mixture. The next step calls for chicken broth, and I want to mention here, in case I haven’t already said this on the blog, my newfound love for Better than Bouillon. Margaret exposed me to this brand of chicken broth flavoring in goop form, and it’s changed my pantry for the better. Instead of buying (and wasting) so many cardboard boxes of chicken broth, and also needing to find places to store said broth boxes, I now have a jar of flavoring sitting in my refrigerator door, waiting to make batches upon batches of chicken broth, right when I need them. All it takes is one teaspoon of flavoring for each boiling cup of water, stirred in to make it a nicely flavored, not too salty bit of broth. I just bought my second jar at Costco today, which will last me for many months. Everyone should buy this product!
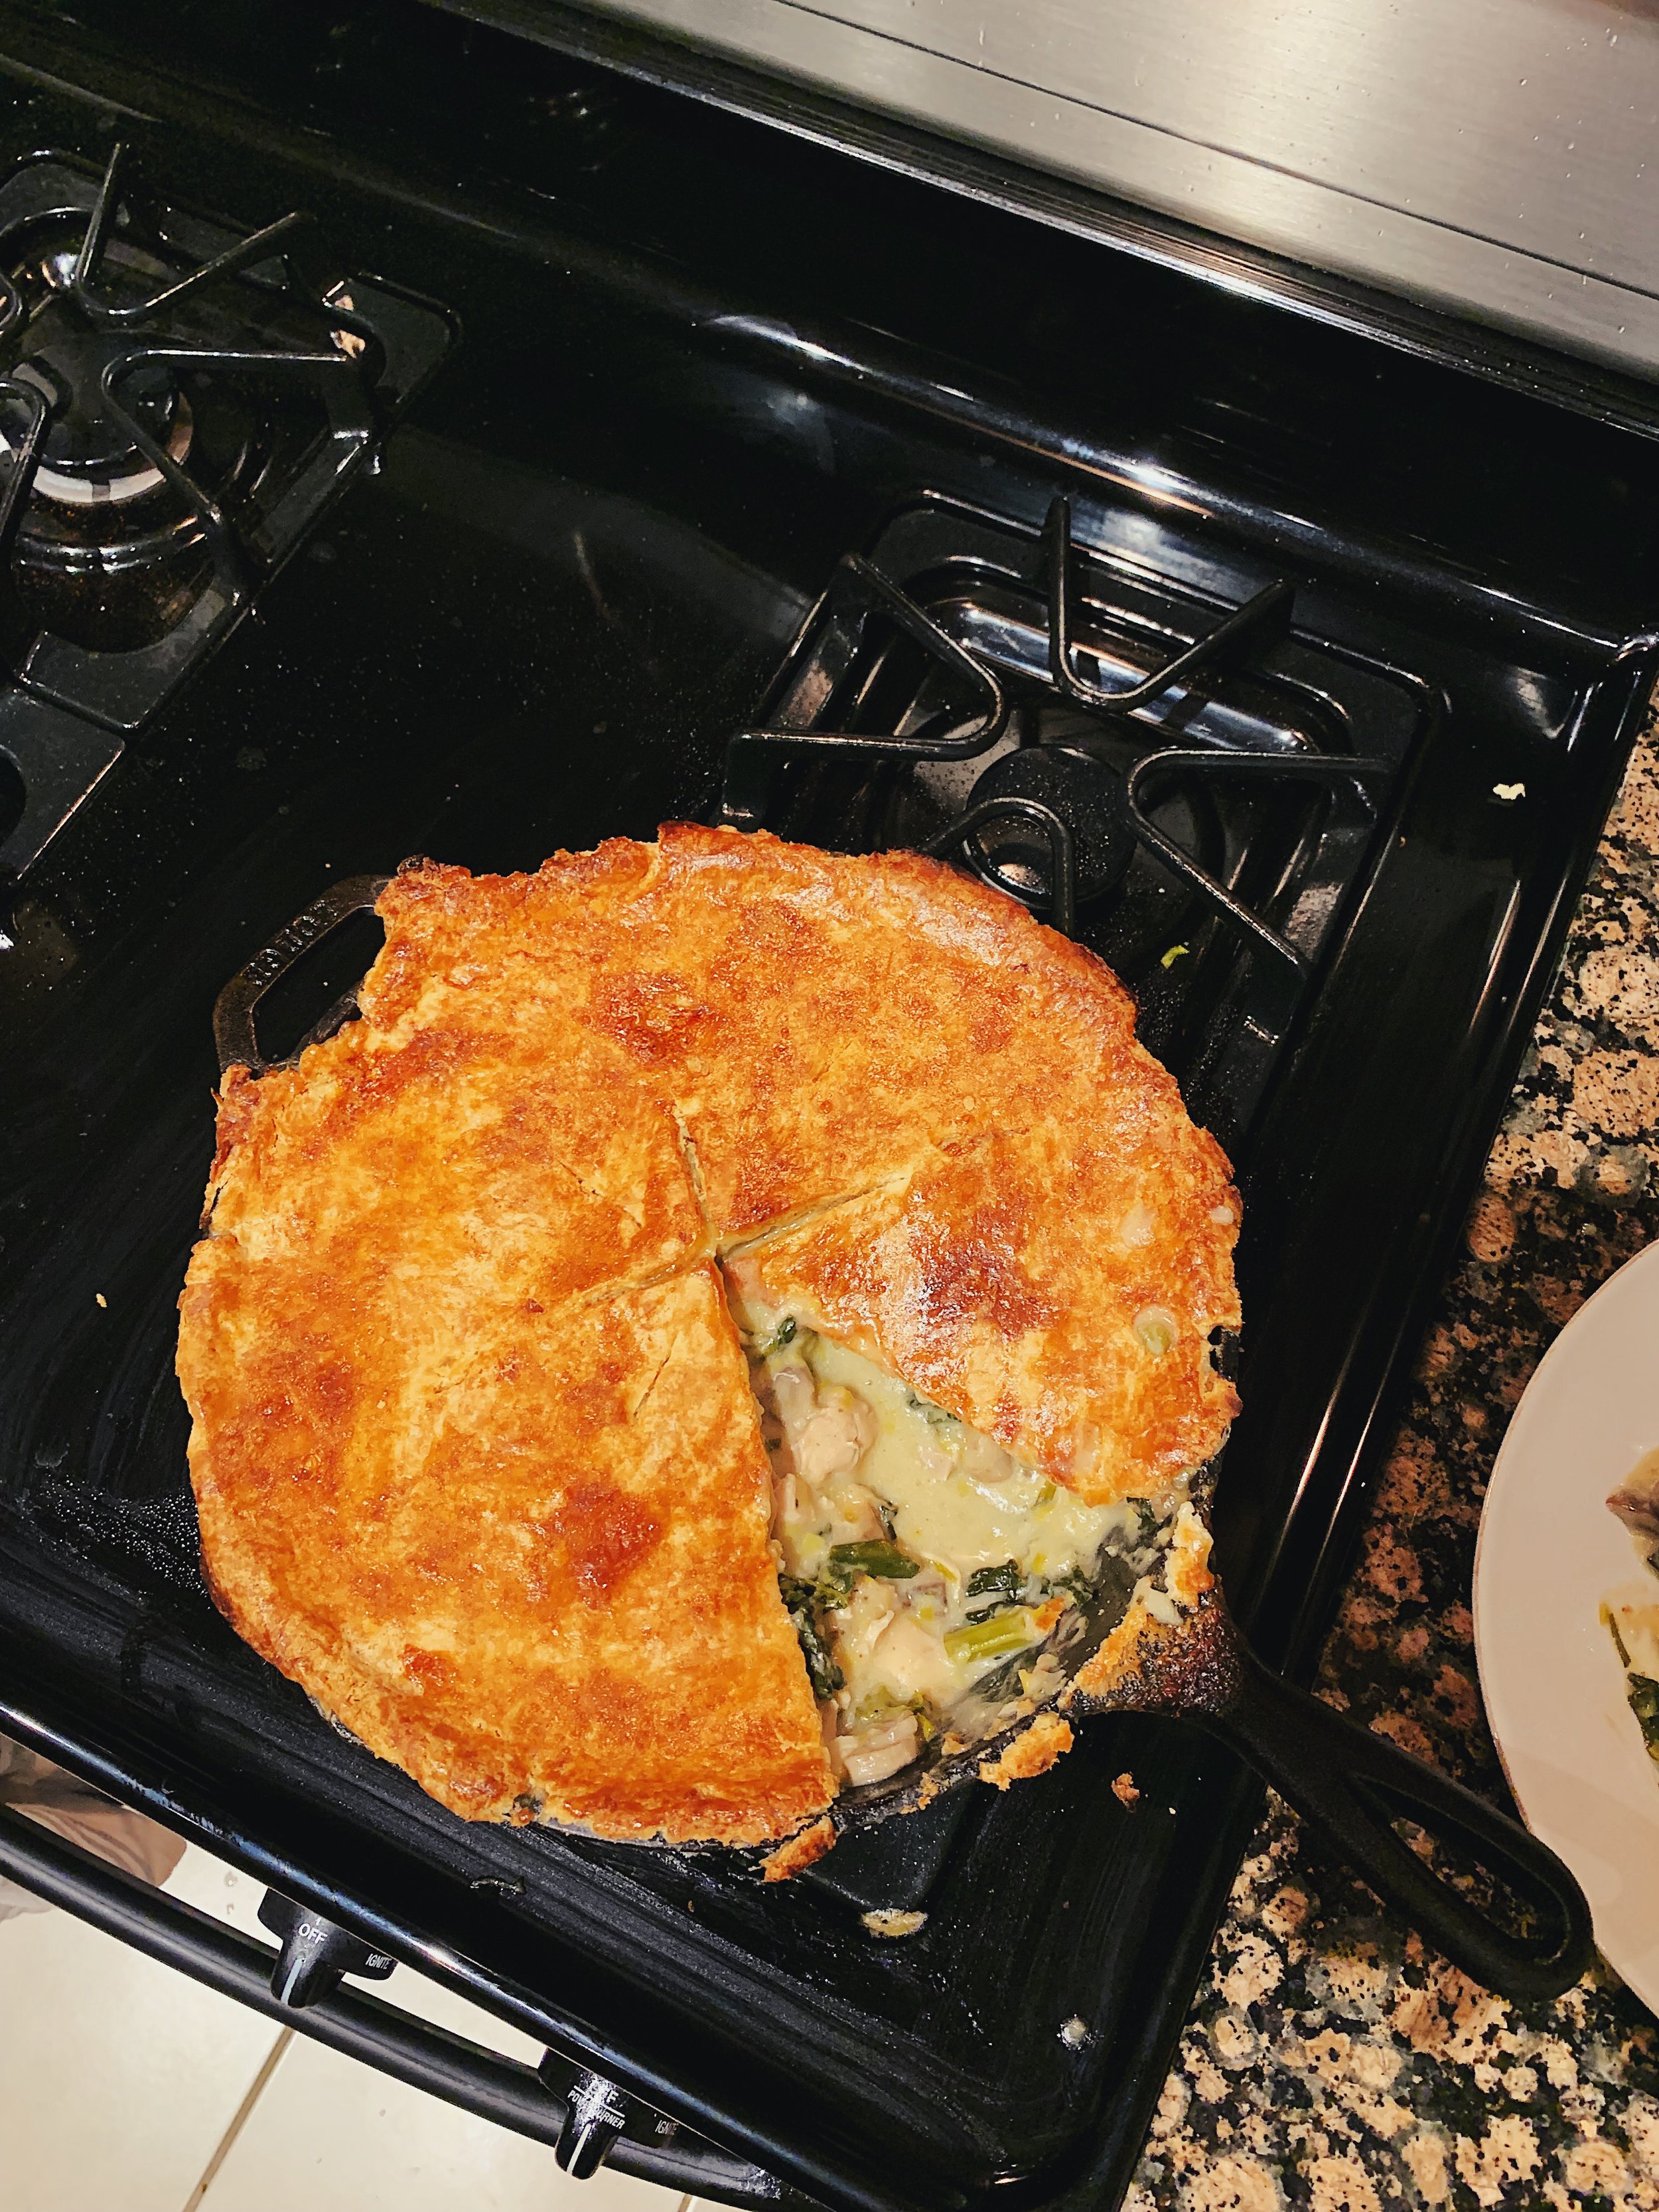
Before turning down the heat, I streamed in heavy cream and a tablespoon or two of creme fraiche that I had leftover from The Greatest Creamed Greens. I then tossed in the separated chicken, chopped tarragon, and kale pieces. And here’s where I mention that Alison does NOT give instructions on the size of skillet to use. Which is problematic. By the time I added all of my ingredients, my 10-inch cast iron skillet was filled to its very brim. Any sudden movements, and the mixture would spill right over the edge. If you have a 12-inch ovenproof skillet, definitely use it here.
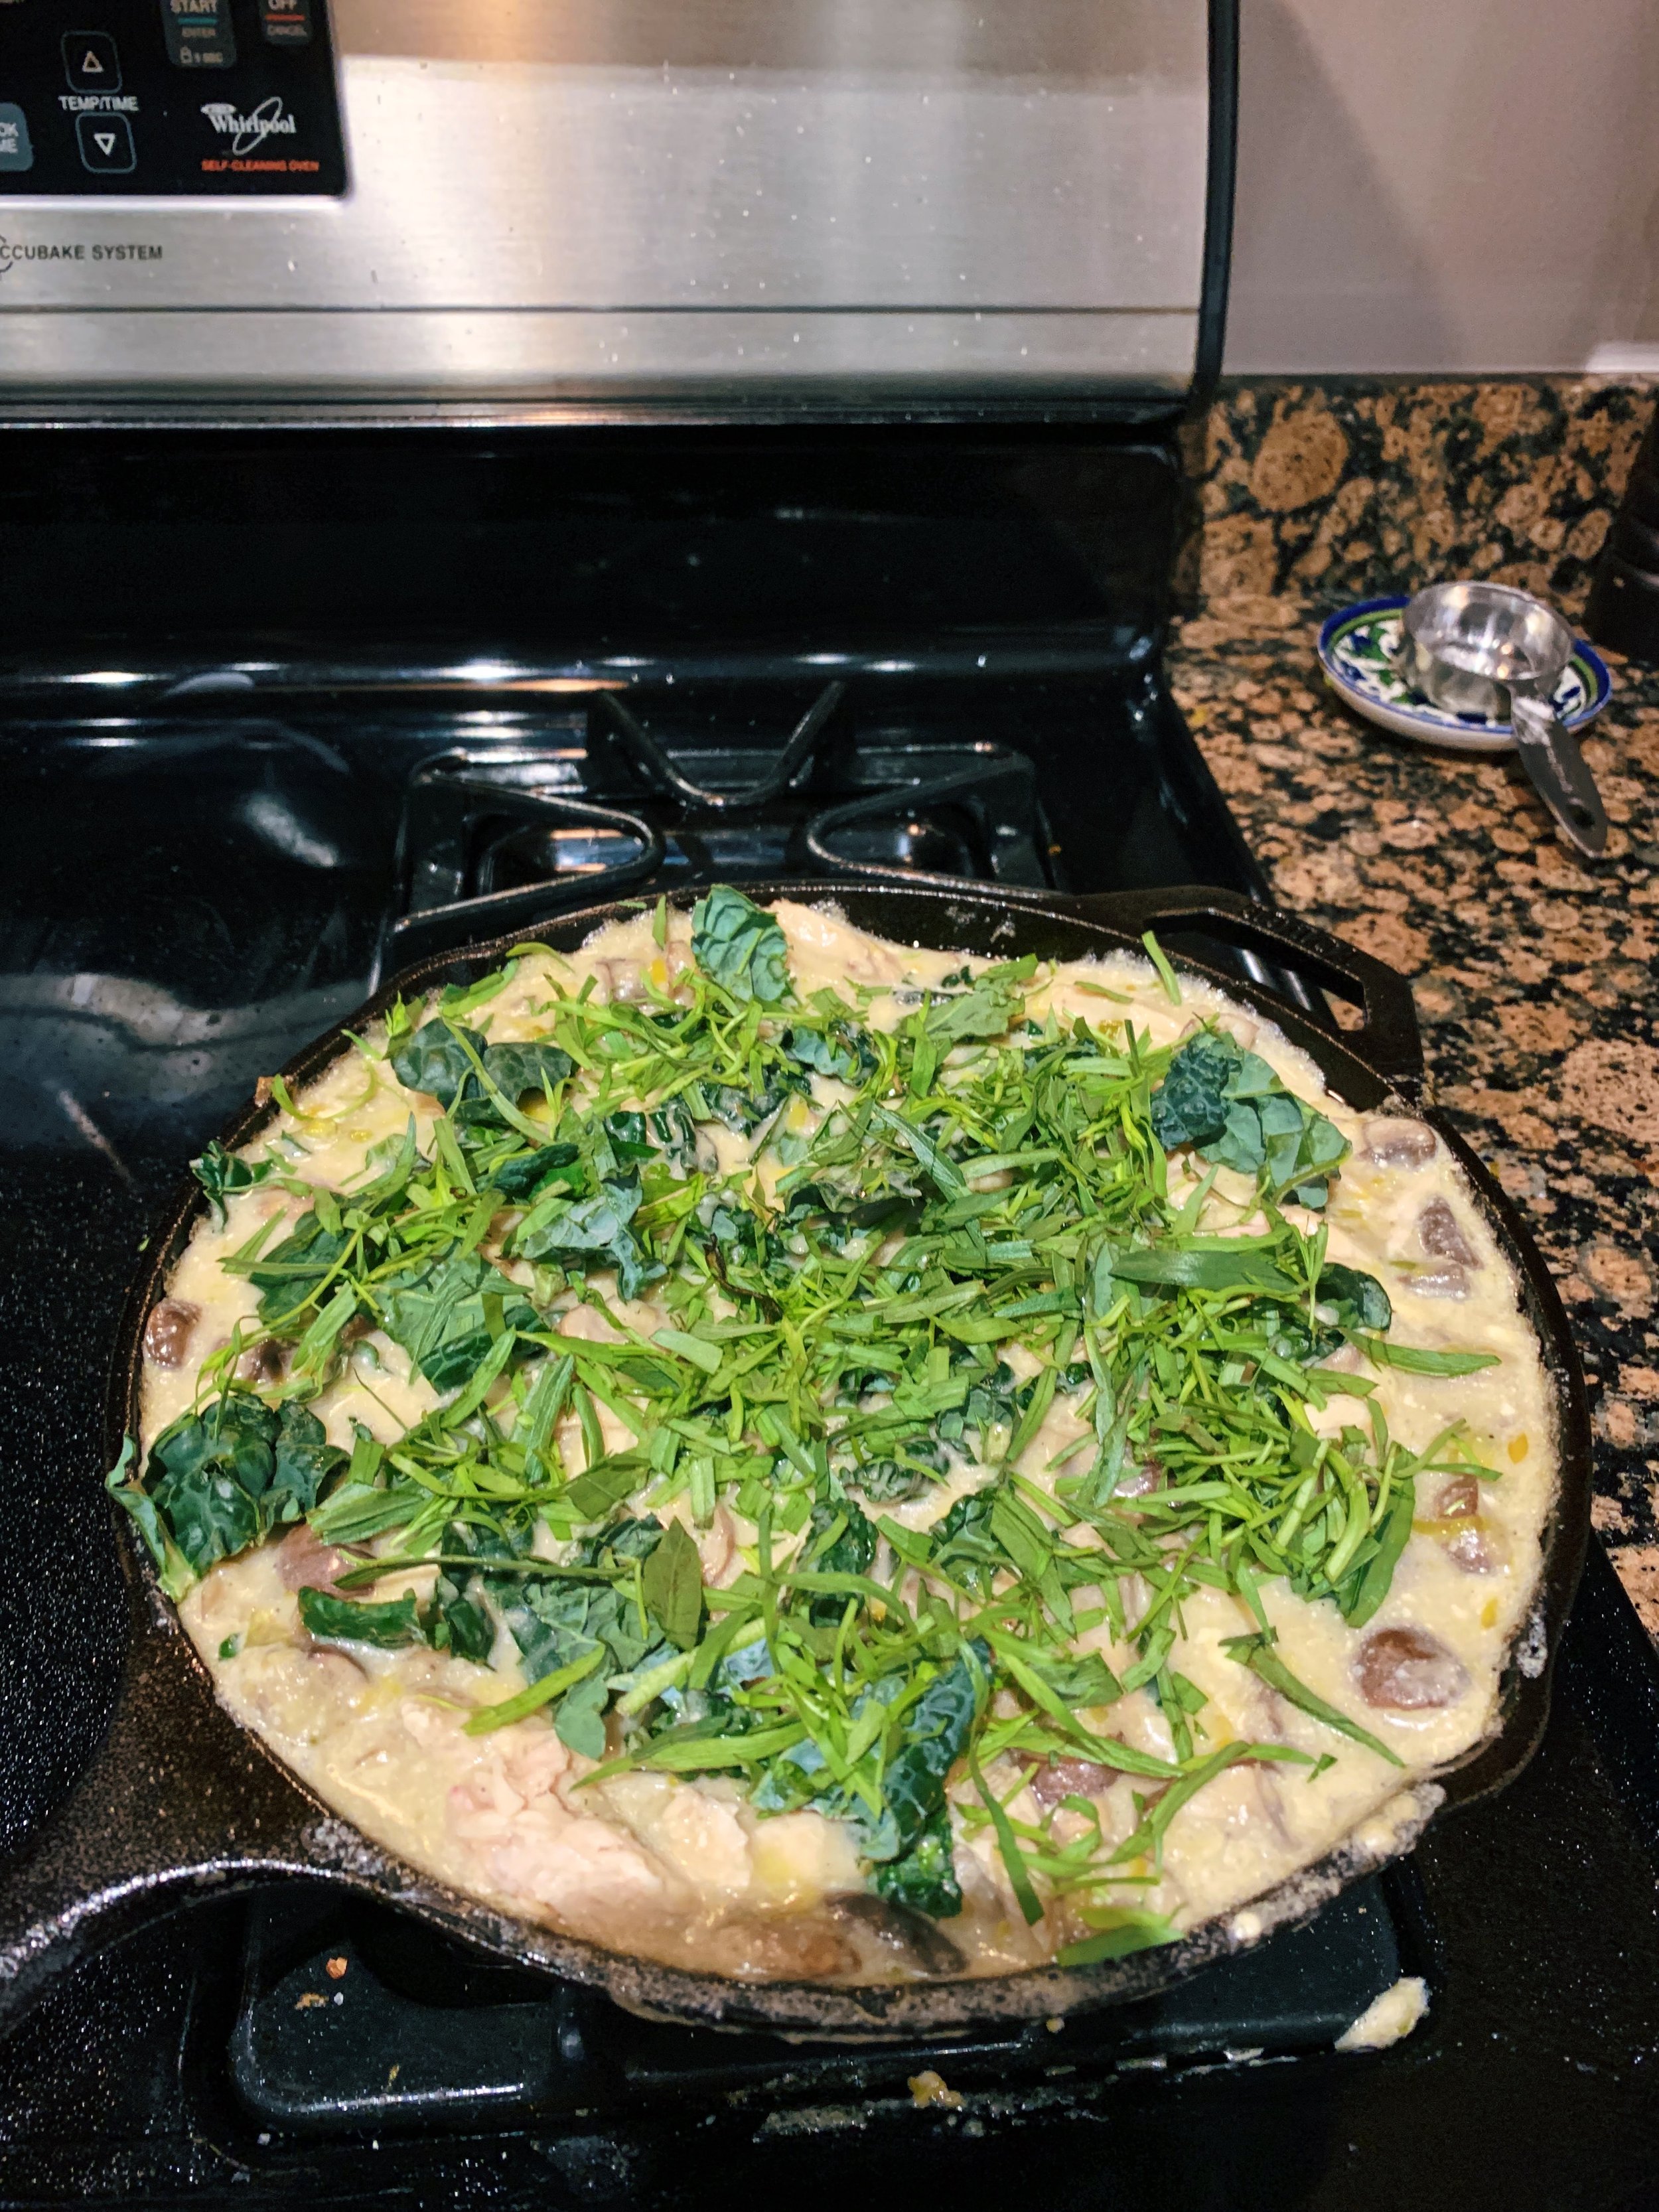
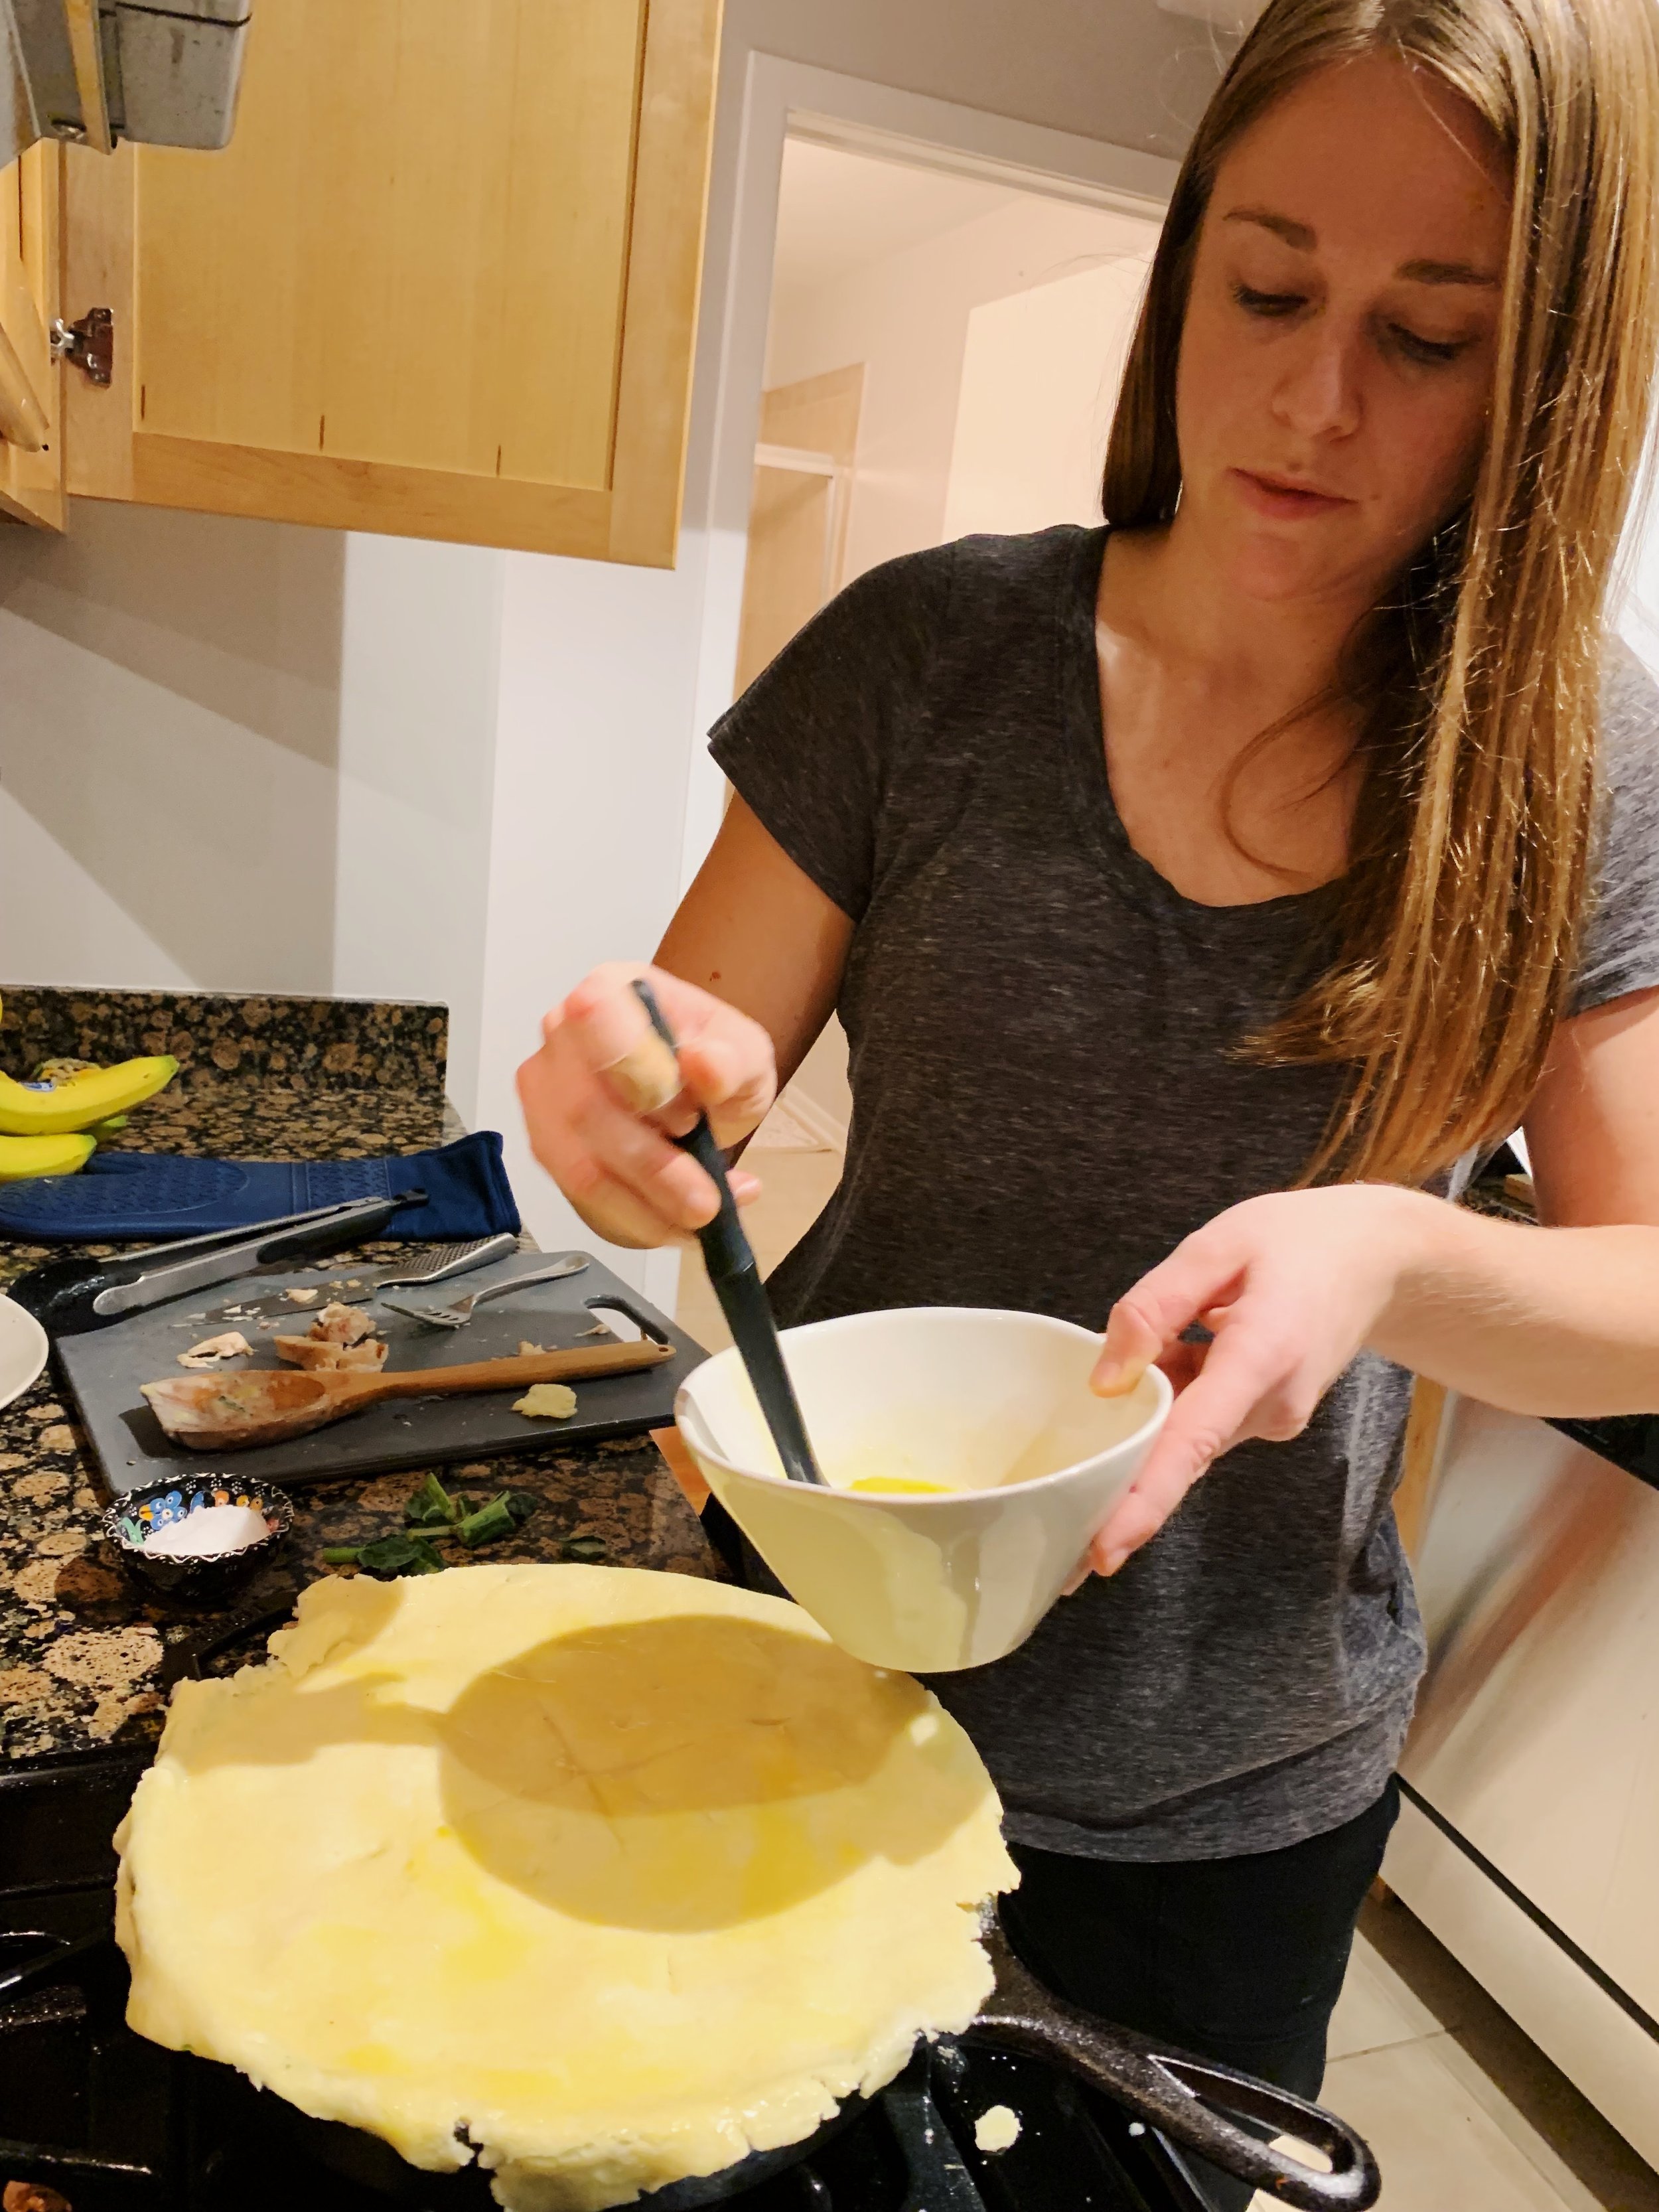
Feeling precarious and cautious, I still chose to top the skillet in its very full state with the rolled out pie dough and stick it in the oven to bake. Which I realize now, was a mistake, but couldn’t know it then. Alison says nothing about how full the skillet should be or how to crimp the edges of the dough around the skillet rim to secure the filling. There’s a real lack of information in the book so allow me to fill in the gaps:
It would be best to let the filling come up about a fourth of an inch from the top of the skillet. That way, when you lay the dough, it sort of falls into the pie and acts as a pseudo lid. Also, when the filling starts to bubble up, you will hopefully avoid it seeping over and making a huge, smoky mess in the oven as it burns on the bottom. (Yes, this happened to me.)
Trim off any straggling pieces of dough that drape far down the sides of the skillet. I tried to do this, but didn’t do it enough. Within a few minutes, several pieces of dough fell from the sides and burned at the bottom of the oven.
Beware that the pie crust may turn golden faster than you think, so be ready to cover it with foil if it browns too quickly. I, thankfully, thought to check this and caught mine in time.
Finally, though you make sizeable slits in the dough’s surface to allow steam to escape, beware that they could close up as the butter melts and tries to seal the surface again. Be ready to reinforce the slits with a sharp knife, as necessary.
If you’re reading between the obvious lines, you’ll see that this was clearly a chaotic cooking/baking process. I learned a lot. I also honestly enjoyed eating the fruits of my very thorough labor. This pie is delightfully tangy, salty, and filling. Perfect for a cold night with a glass of red wine. It also made fantastic leftovers. I don’t know how soon I’ll make this again – I’m exhausted just thinking about it. But I know I’ll crave it again this winter. Perhaps I’ll make a “Skillet Pie Revisited” post to report back on how my suggested adjustments work. To be determined!
170 recipes cooked, 55 to go.