Harissa-Braised Green Beans with Herbs by Alison Roman

Harissa? I hardly know her! 

But really, this was our first time meeting. For all the praise I’d heard about this tomato-chile paste over the years, it took me until now to summon the courage to look her in the eye. To be honest, I was afraid of her being too spicy. Packing heat is harissa’s reputation after all. But when I saw this recipe, I thought that maybe using harissa to add the heat to an otherwise middle-of-the-road vegetable seemed like the right kind of first date. 

(I realize that I frequently talk about food/ingredients as if they’re people. Should I be concerned? Is this a normal progression?)  

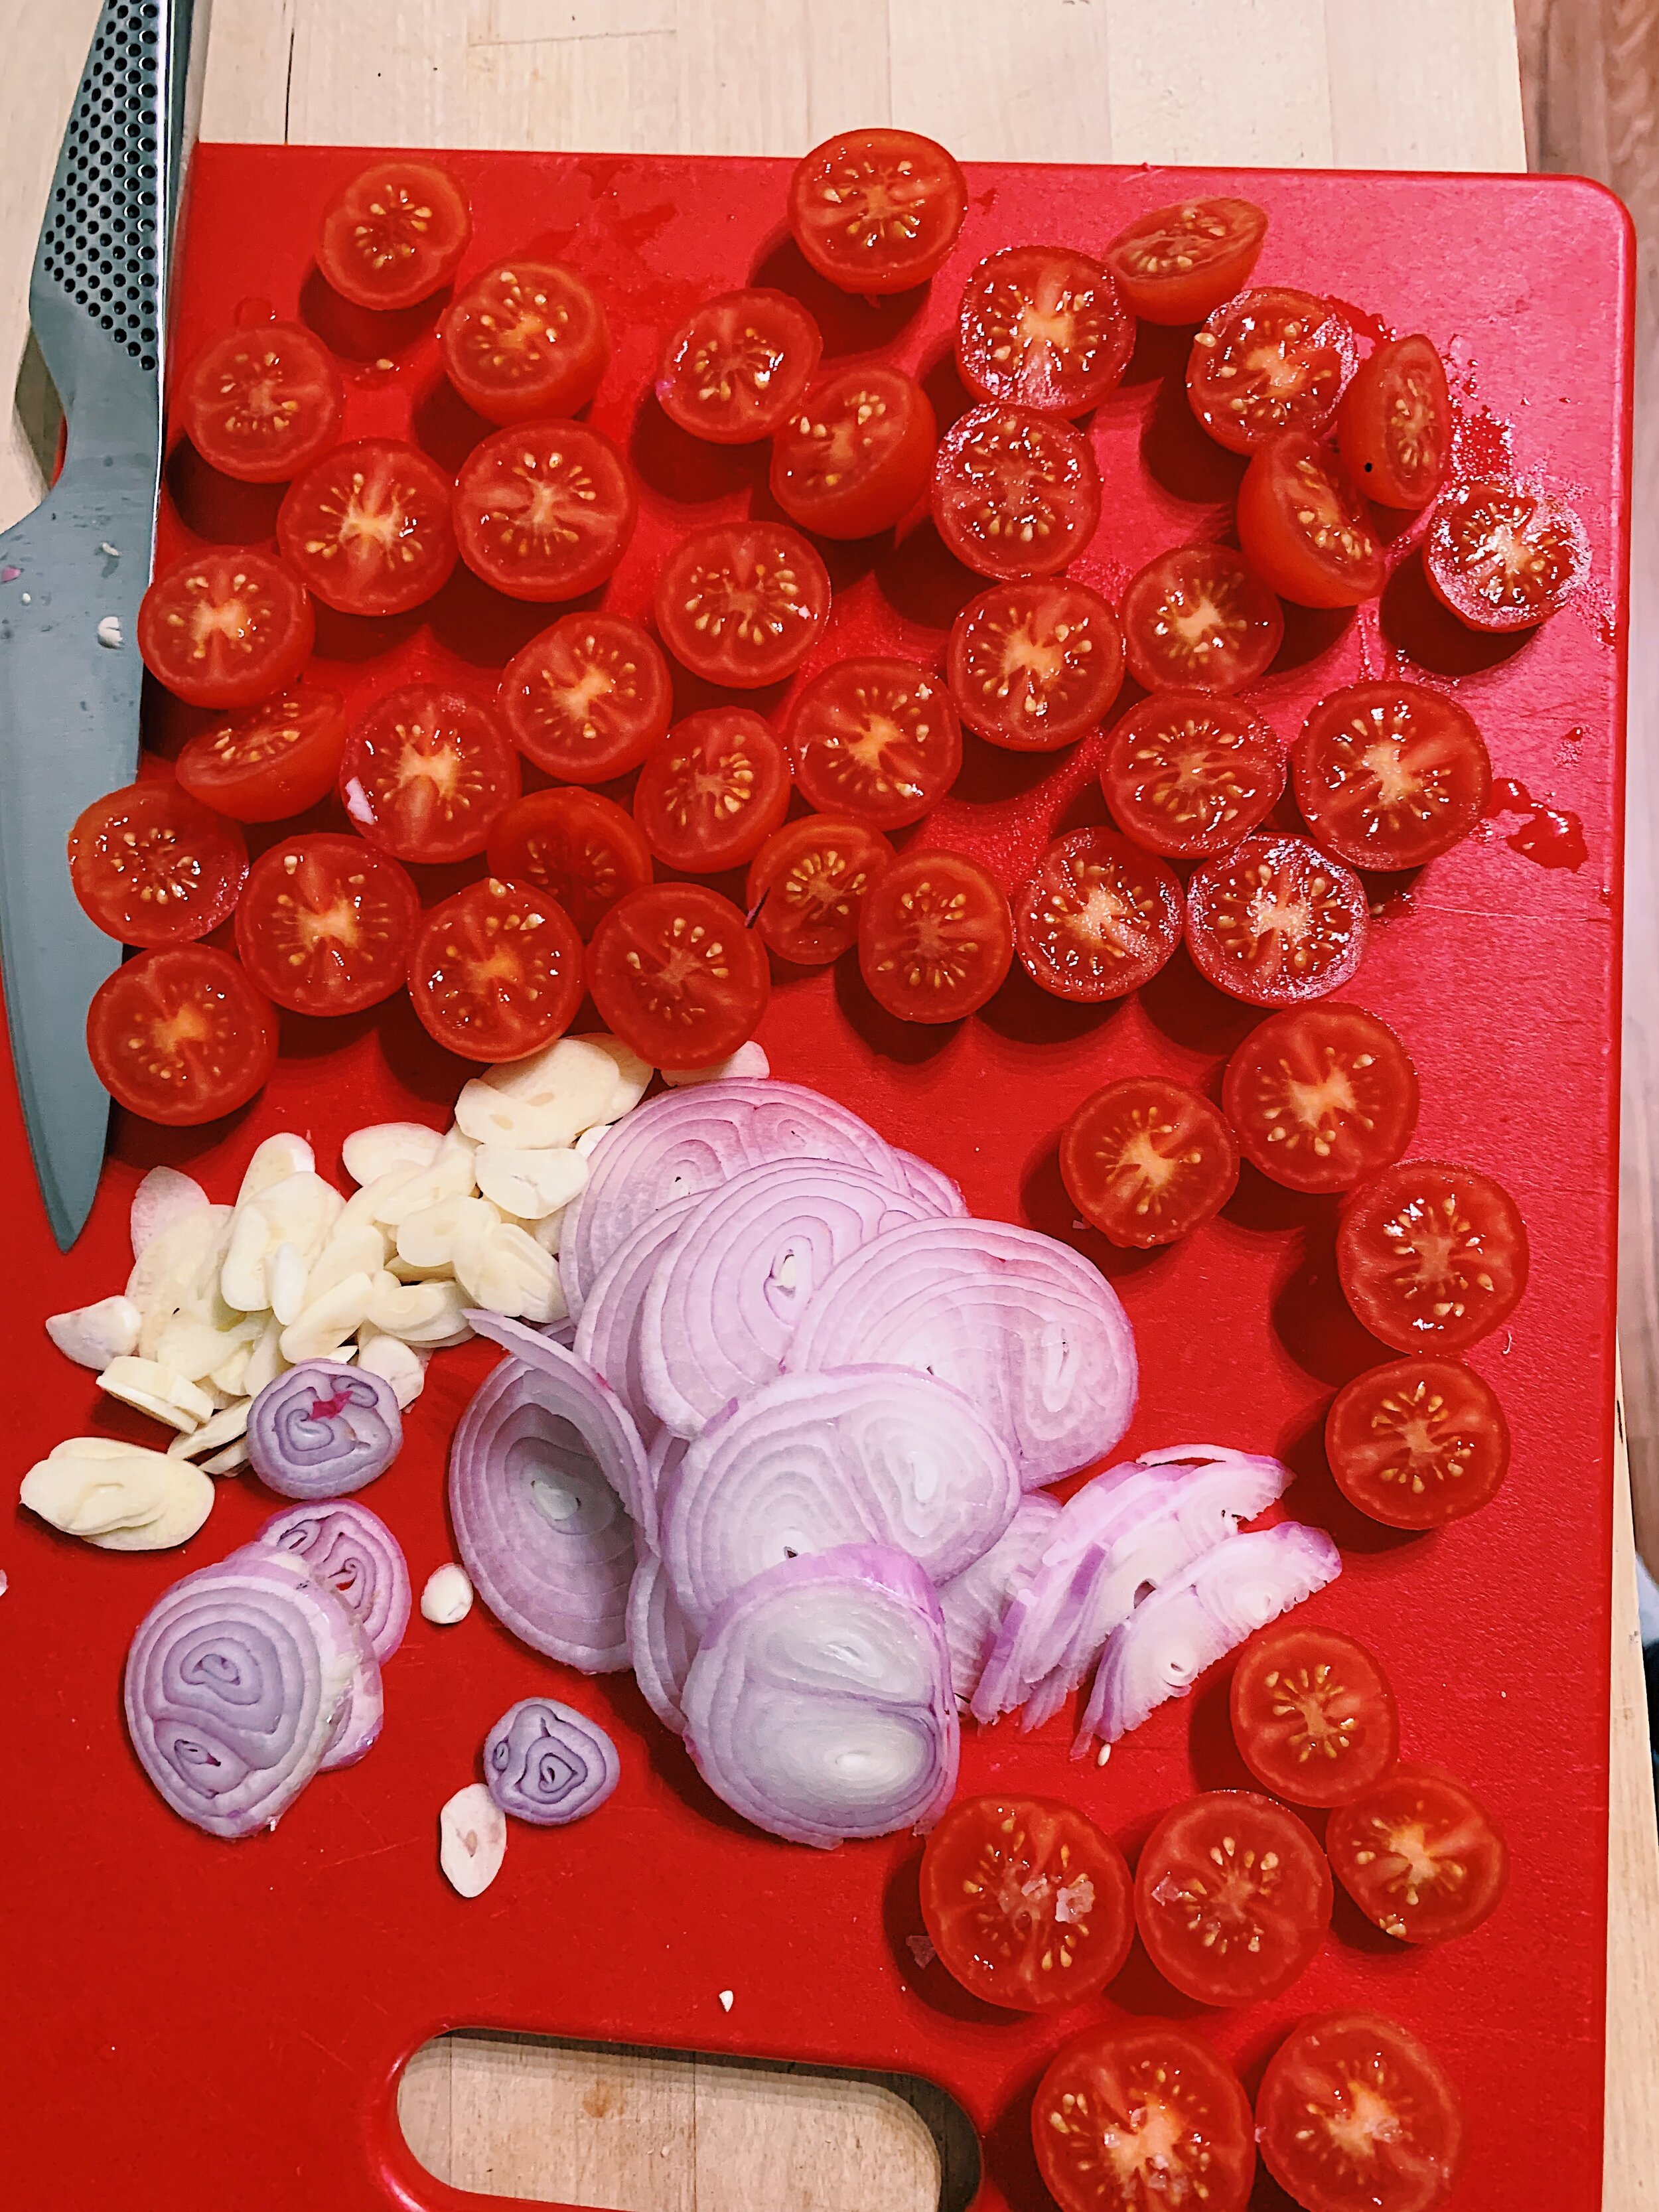
To begin, harissa paste and several garlic cloves are sauteed at the bottom of a large pot, until the harissa begins to caramelize. Then a large tomato, quartered, is added and cooked until it begins to break down. I found that this step took longer than outlined in the instructions, which I’m guessing is due to the size of the tomato chunks. Next time I’ll cut the tomato into eighths to speed up this process. 

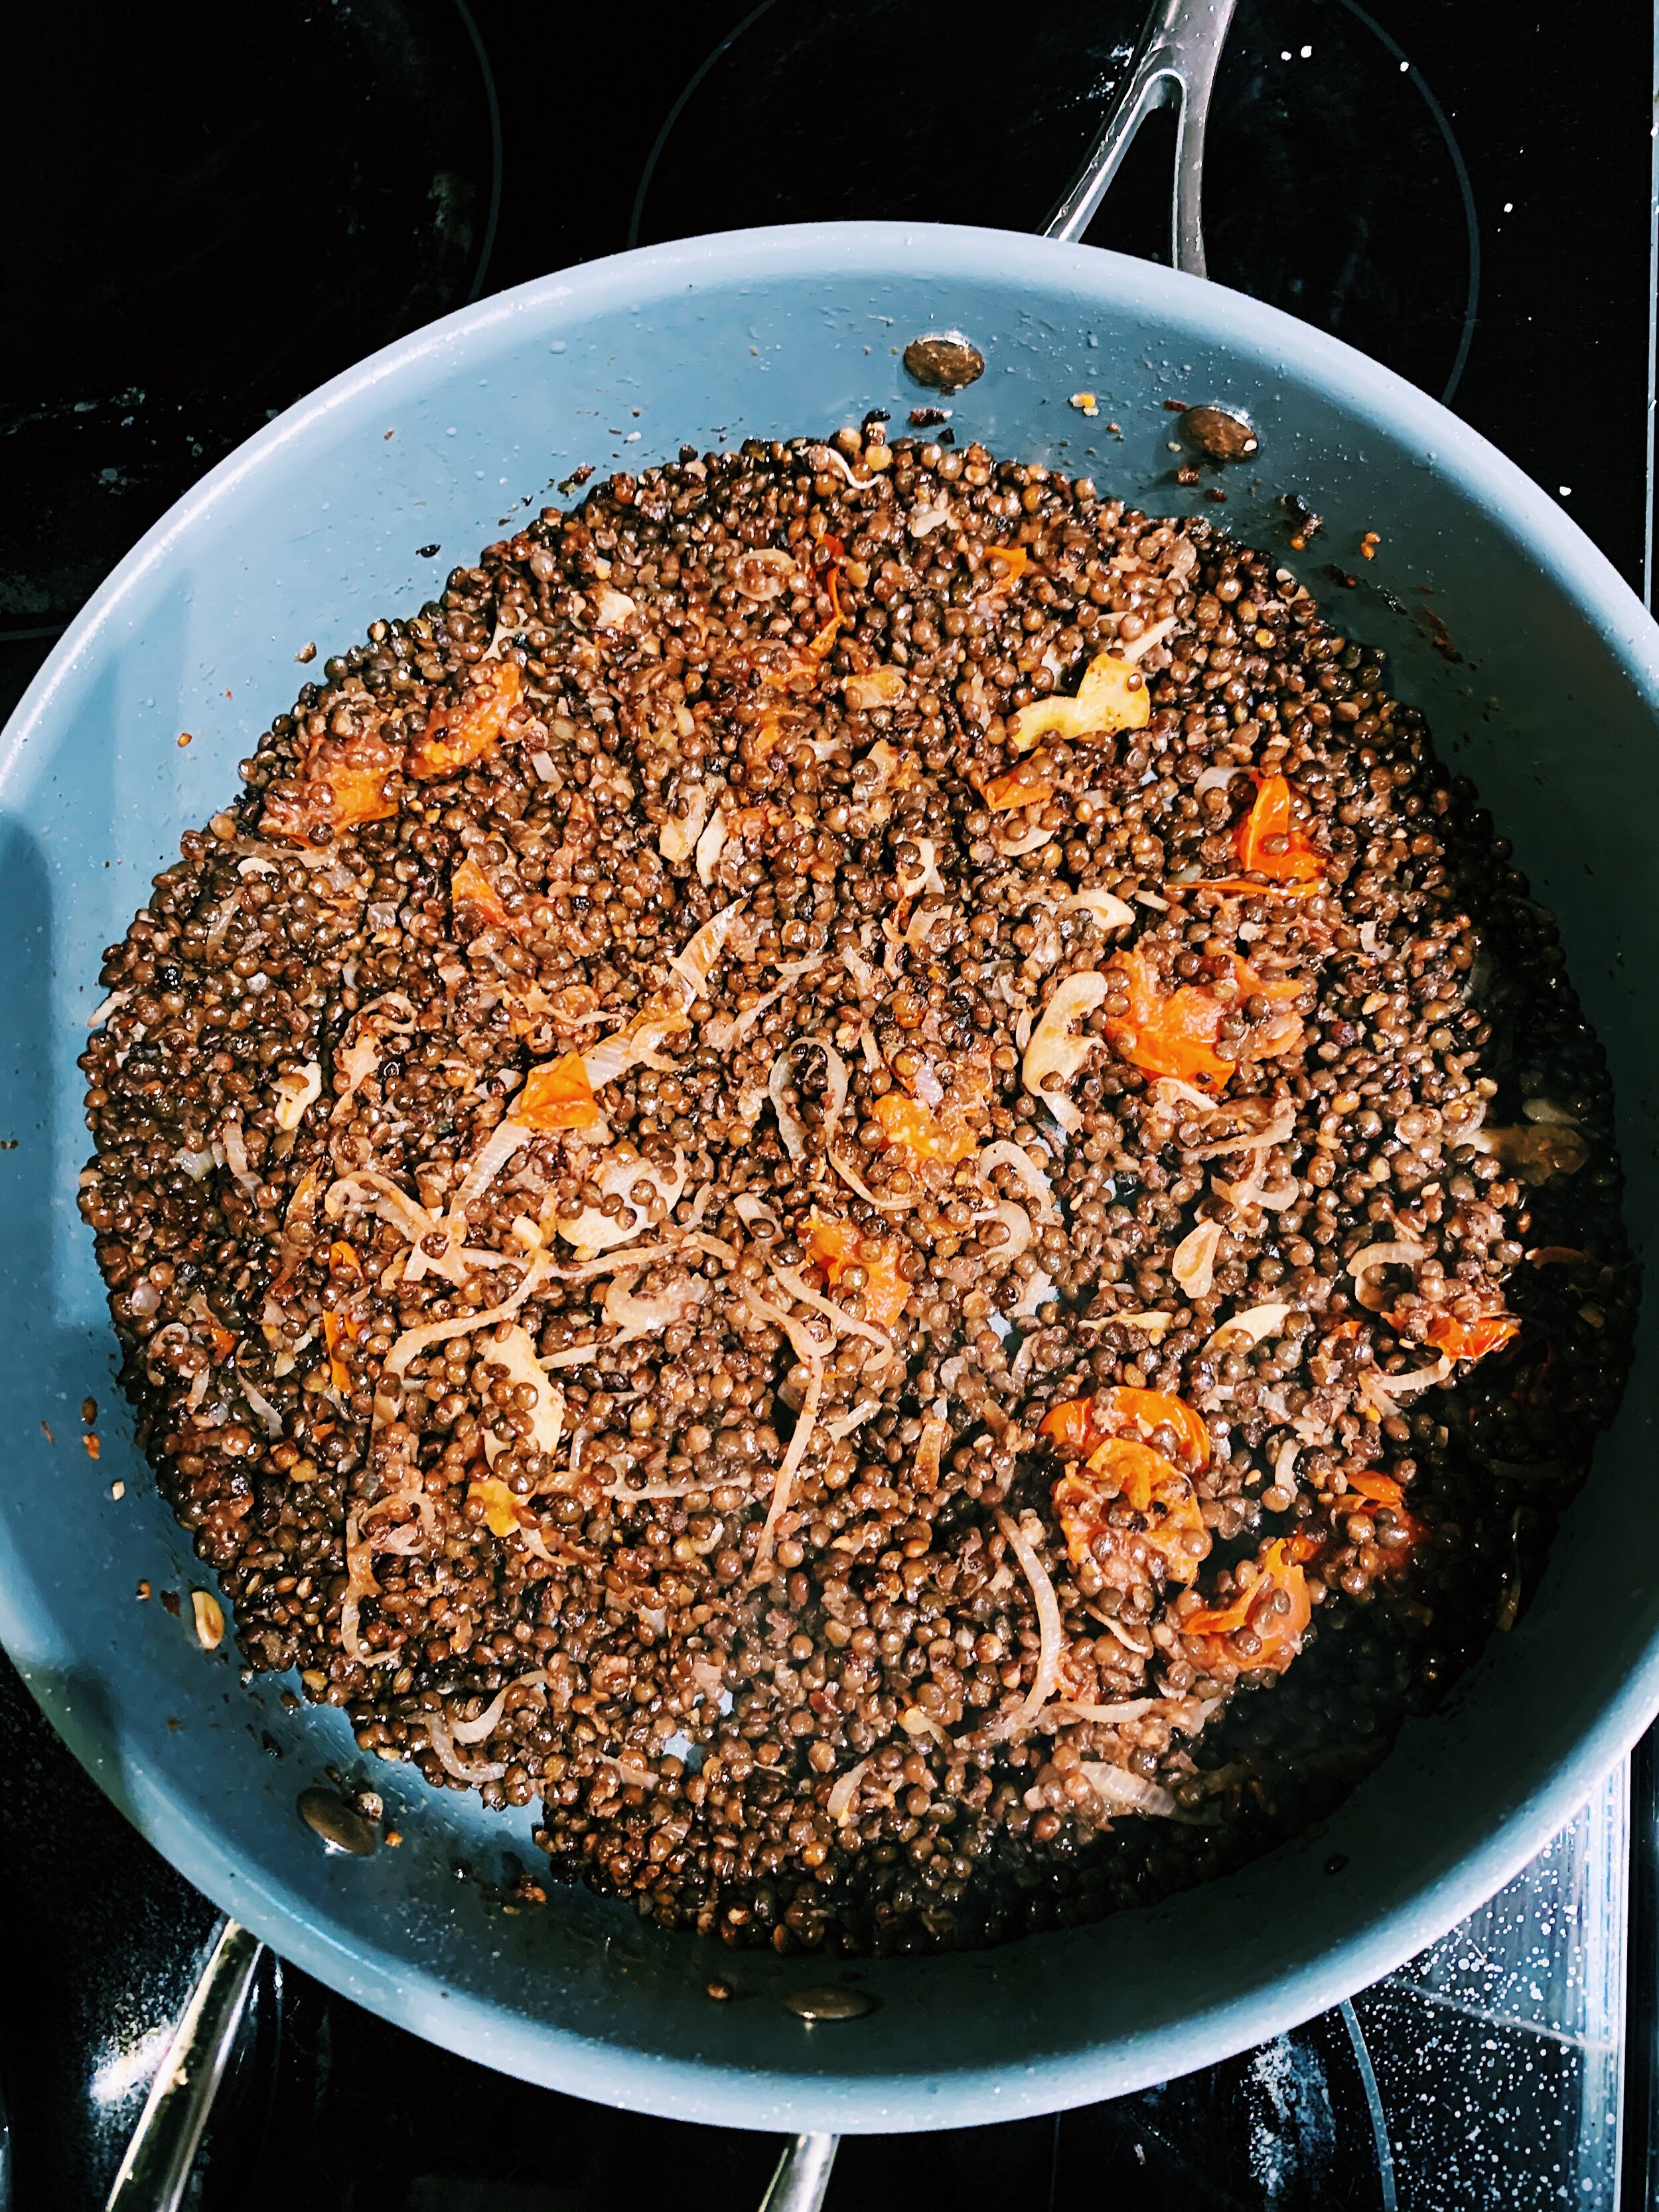
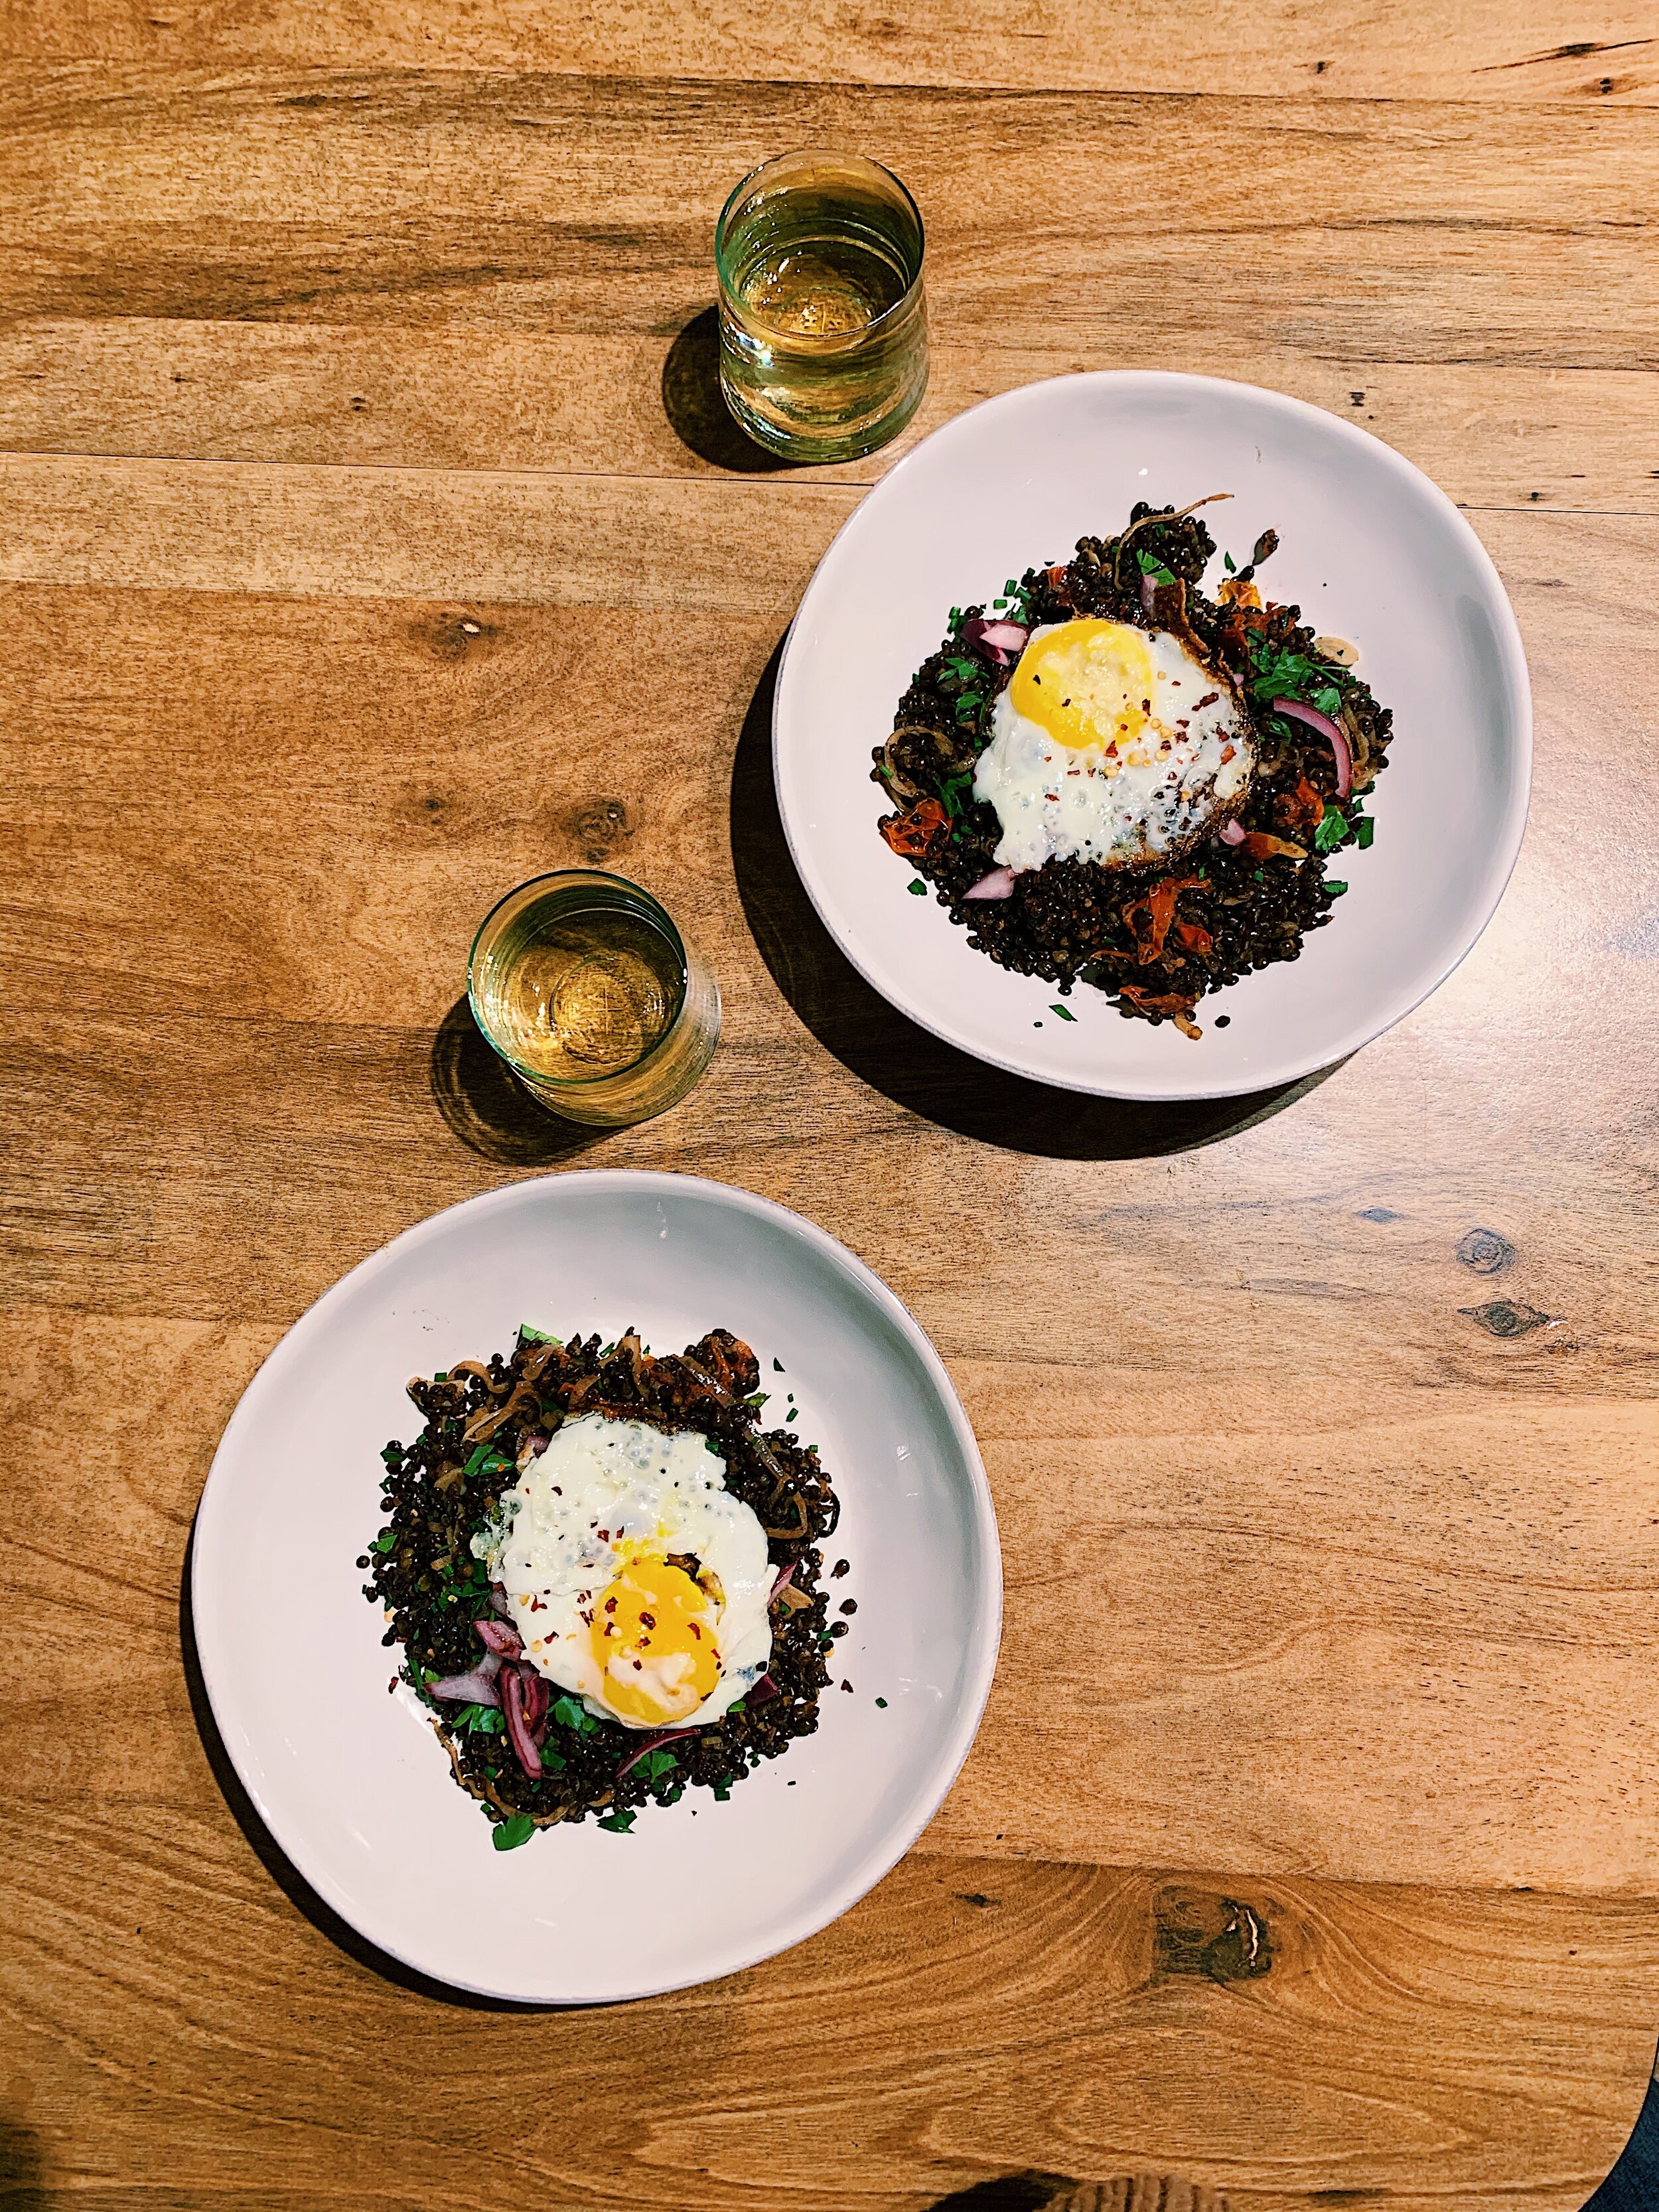
A bit of white wine comes in next to deglaze the bottom of the pot. I chose a cheap Sauvignon Blanc (Trader Joe’s Coastal brand), and served it with dinner as well. As far as cheap whites go, this one is quite nice! Finally, the green beans are tossed and coated with the spicy tomato mixture and cooked over medium-low with the lid on to steam them. The goal here is to cook the beans until they are “delightfully softened but not yet mushy.” 

harissa-braised-green-beans-alison-roman-pot.jpg

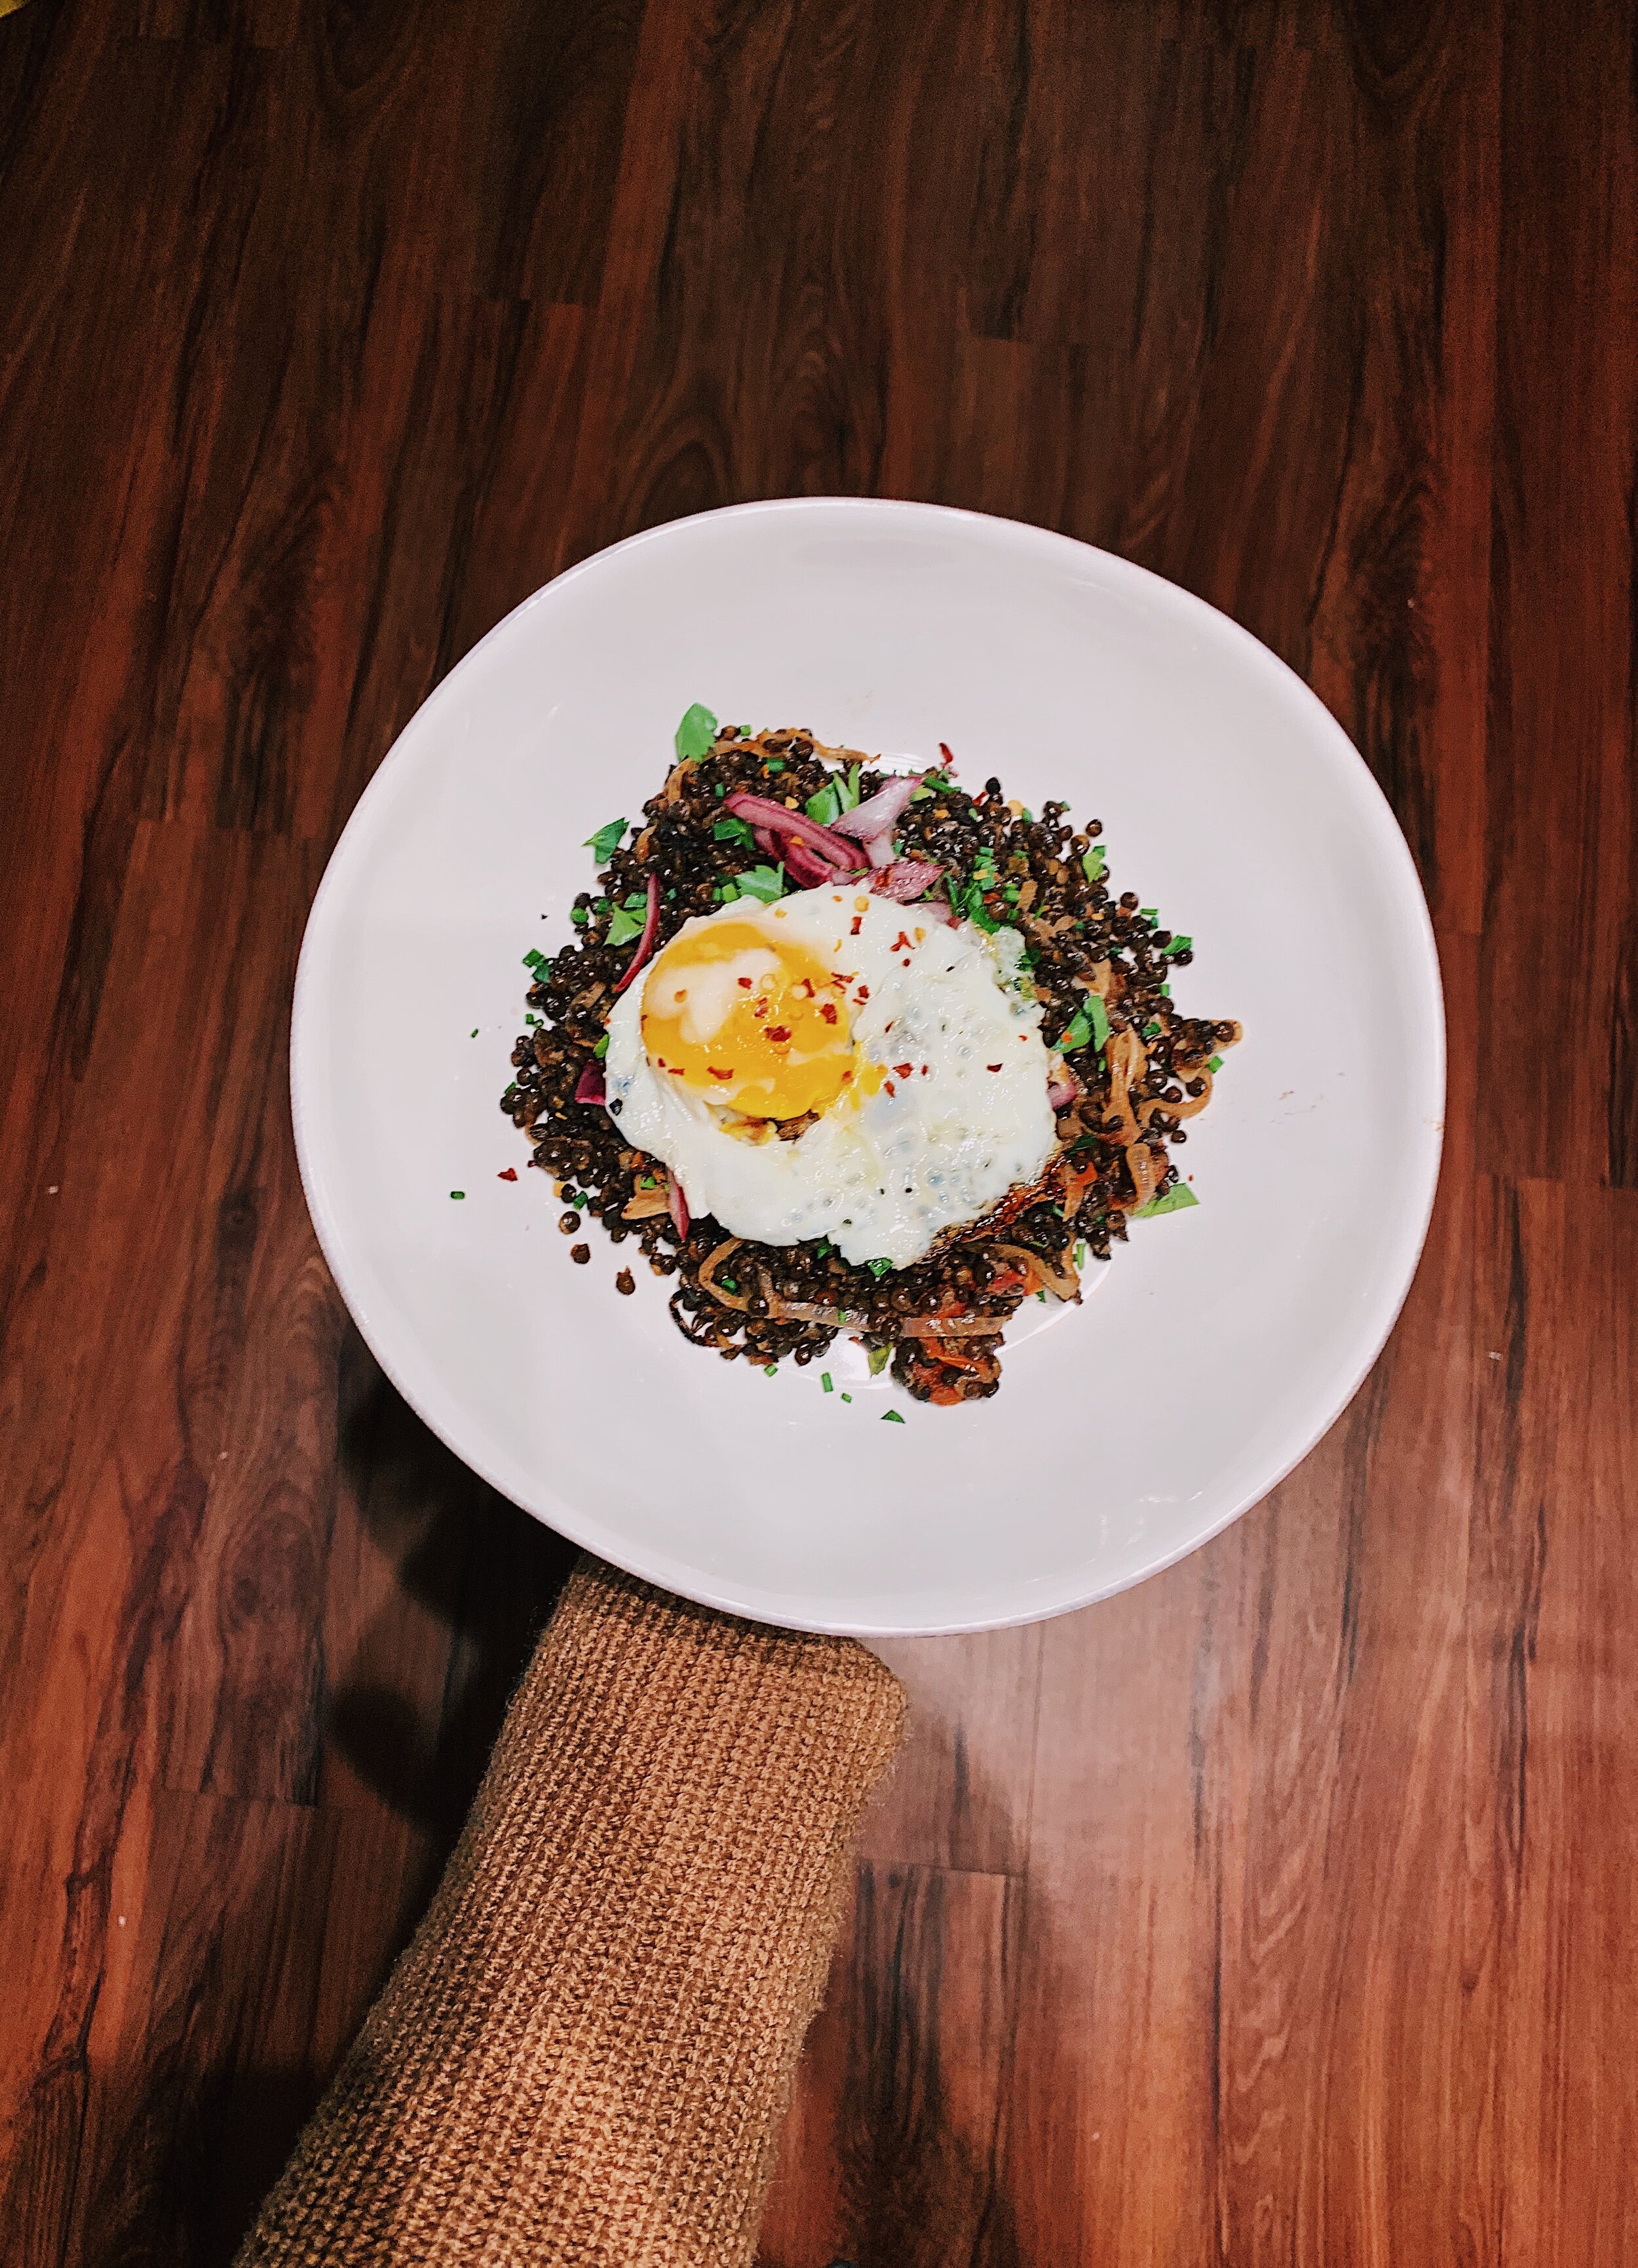
In true Alison fashion, the beans are tossed with a cup of fresh herbs, a half cup of chopped chives, and lemon zest. 

After cooking it down, the harissa paste added a nice amount of heat without overpowering the dish. It made me wish that we’d met sooner. I think this dish is a really nice way to eat green beans. I’m used to roasting them with olive oil and lemon juice, so this was a welcomed change. 

32 recipes cooked, 193 to go.

harissa-braised-green-beans-alison-roman-chicken-2.jpg

These green beans go really well with Alison’s Slow Roasted Oregano Chicken with Buttered Tomatoes. In fact, almost anything goes well with that chicken.

Jen's Key Lime Pie by Alison Roman

Before you ask, I’ll answer. No, I don’t know this Jen - she’s apparently Alison’s cousin. I do, however, know a few of my own Jen’s, including one who is a dear friend. She lives in Spain and teaches theater and is a great dancer and has an infectious, fun-loving spirit. I miss her. But my Spain Jen didn’t inspire this recipe. Alison’s Jen did, which means that Jen must be pretty great, too. 

This pie was just delicious. The balance of sweet, sour, and slightly salty was absolutely lovely, and I can’t wait to make this again. The results were great, but about the process—I have questions! 

key-lime-pie-alison-roman-crust.jpg

Step one, making the graham cracker crust, is rather straightforward. I found GF graham crackers that honestly taste just like the Nabisco brand that I grew up with. Alison says she likes to break up the crackers into tiny crumbs with her hands. So I started doing that too. After having only gotten through half of the crackers in about 10 minutes, I decided to abandon the mission and settle for a food processor. Excellent choice, in my opinion. This went so much faster. The crumbs are then combined with melted butter, coconut oil, and a bit of sugar and salt. Press ‘em into the pie dish and bake for about 15 minutes. 

key-lime-pie-alison-roman-limes.jpg

The filling is where my questions lie. The ingredients and assembly seem to mirror other key lime pie recipes I’ve seen on the Internet. Just a lot of lime juice, zest, egg yolks and a can of sweetened condensed milk. And lots of whisking as each ingredient is added. Once it’s all light and fluffy, the mixture is poured into the crust and baked… 

Alison’s recipe instructs the pie to be baked at 350° for 20 to 25 minutes. She says, “the center should barely jiggle.” So at about 22 minutes, I administered my first Jiggle Test. And boy, did it jiggle. The liquid had become more solidified, but I witnessed a lot of movement. So I put it back in for another 4 minutes. Jiggle Test #2: still rather jiggly. I checked 3 MORE TIMES! The top of the filling began to form cracks, but the jiggle was still present. Finally, after about 35 minutes, I decided to remove the pie because the cracks were becoming too worrisome, and I didn’t want the egg yolk to curdle. 

key-lime-pie-alison-roman-filling.jpg

My questions are: How do I properly measure a pie jiggle? Are my jiggle standards too high? Is there a jiggle scale? Is Alison’s oven at 350° way hotter than my oven at 350°? 

In my search for answers, I compared this recipe with another NYT key lime pie recipe. This only left me more confused. The NYT recipe uses the same filling ingredients, and tells you to bake the filling at 325° for 10 to 15 minutes, “until the center is firm and dry to the touch.” If I had baked my pie at that temperature, it might have been 40 minutes by the time I reached that result! 

Alas, my Nancy Drew skills can only take me so far. If you or your loved one are experienced key lime pie bakers and have any leads on answers to my questions, please contact me by commenting on this post. Thank you in advance. 

Despite the filling confusion, the pie tasted excellent. The X factor for the whipped topping was adding in some yogurt after the heavy cream and sugar were fully whipped. This gave it a fresh, light, slightly sour taste that wonderfully complemented the other elements. 

We shared this pie with our dear friends, Madeline and Sam after an Alison-inspired dinner of Paprika-rubbed Chicken and Crispy Smashed Potatoes. Madeline brought excellent glazed carrots from The Food Lab, which I can’t wait to make myself.

31 recipes cooked, 194 to go.

key-lime-pie-alison-roman-plated.jpg

Olive Oil-Fried Lentils with Cherry Tomatoes and a Chile-Fried Egg by Alison Roman

Alison Roman is the slightly older, cool girlfriend I wish I had in college. 

Allow me to elaborate with a story about lentils. It was a cold, January night, and I was invited to eat dinner at a friend’s college apartment. She was a Senior, I was a Sophomore. I felt very cool as I left my dorm room to skip out on cafeteria food. Shortly after arriving, I learned that we’d be eating lentils. I nodded excitedly, while inwardly racking my brain… I had no idea what lentils were. She would now begin to prepare our meal, she announced with an air of nonchalant authority. Her first step was to chop an onion. How grown-up it all sounded. I wanted to watch her up close. She took a dull bladed knife and began sawing her way through the onion’s middle. Quickly, I began to feel an odd stinging sensation in my eyes. The more I watched her, the more intense the pain became as it spread to my nose and throat. It was a foreign feeling, and it scared me out of my wits. What was happening to me? I began shedding tears. She looked at me and said “The onion’s making you cry. You should go in the other room.” The instruction sounded strange but I didn’t question her. I spent a few minutes in her bedroom as the burning sensation slowly left, all the while asking myself what just happened. That was the first time I ever cried over an onion. 

But back to lentils. By the time I emerged from the bedroom, my friend had moved on to sautéing the onion and boiling a pot of lentils on the stove. We chatted a bit as I watched her intensely, trying to appear chill. She drained the lentils over the sink and poured them into the pan full of onions. After just a few minutes of pushing them around, with a few added dashes of salt, our dinner was ready. I didn’t know what to expect. I especially didn’t expect I’d be eating a bowl of practically flavorless, mushy green pebbles. For a brief moment, I wished to be eating rubbery pork tenderloin and green beans in the cafeteria. But then I figured that this was a good growth opportunity for me. I had to learn what real adults cooked eventually. I’d be there soon myself... For the next few years, this was my impression of lentils - soft, flavorless pellets, destined for a melancholy meal. 

That friend didn’t know what the heck she was doing with lentils. Maybe I should chalk it up to a lack of experience, and she’s learned better by now. Alison Roman, on the other hand. Now there’s a friend I wish I had in college. She knows quite well what to do with lentils…  

To hell with only a white onion and salt alone. Give me shallots, garlic, and burst cherry tomatoes! Give me a pool of olive oil and black pepper. Give me black lentils instead of green. Give me a hot skillet and time to get the grains all crispy. Give me red onion slices marinated in lime juice and fish sauce. Give me tender parsley. Give me a fried egg and chile oil! THIS, friends, is how to eat lentils. 

There’s so much more I could say about lentils. So many more anecdotes, stories, existential questions. Alison has a lot of lentil recipes, so I’ll reserve these for later. Spread the love, so to speak. 

Served with Ali Slagle’s Ginger-Lime Chicken.

30 recipes cooked, 195 to go.

Kimchi-Braised Pork with Sesame and Egg Yolk by Alison Roman

I’ll cut right to the chase. I couldn’t find the courage to eat a raw egg yolk. If egg yolk is the reason you’re reading about this dish, then I understand we must go our separate ways. If you’re here for the pork ribs, then read on my friend! 

This recipe contains two ingredients that I had never cooked with before: kimchi and gochujang. Kimchi is made of fermented and spiced vegetables, popular in Korean cuisine. Gochujang is a spicy paste, similar in texture to tomato paste, but much hotter, also a Korean ingredient. It took a little time to find both of them, but I eventually did at Whole Foods. (An Asian-food market would have worked too, but the nearest one is a little too far of a drive.) 

Like most other braised meat recipes, the pork ribs are first spiced and seared to get some good color on the meat and render fat at the bottom of the pot. That fat is then used to cook chopped garlic, fresh ginger, scallions and the gochujang paste. Then the meat is added back to the pot, along with kimchi and water, the braising liquid. Everything is simmered for roughly 3 hours on the stove until the meat is nearly falling off the rib bones. 

kimchi-braised-pork-alison-roman-pot.jpg

For all of the intensity of kimchi and gochujang, I was somewhat disappointed in the lack of flavor in this dish. It felt like the spices were too mild to really make an impression. Which surprised me! I tasted a bit of both ingredients before adding them to the pot, just to see what they were like, and my first reaction was to worry that they were too spicy. I was genuinely concerned that I wouldn’t be able to tolerate the heat. But instead the opposite was true. My best guess is that there wasn’t enough gochujang, and possibly, some of the water could be subbed for broth. I’m still not certain that would do the trick, though. 

The real winner, in my opinion, was Alison’s topping suggestion for an apple-radish mixture. Rice vinegar, apples, radishes, and red pepper flakes -- four ingredients I would not have thought to put together -- created a tangy, crunchy companion for the tender pork. I found myself just eating the topping alone, it was that good. I made Melissa Clark’s coconut rice and toasted sesame seeds to complete the meal.  

kimchi-braised-pork-alison-roman-topping.jpg

Similar to the Pork and Red Chile Stew, Jordan was a huge fan. He ate all of the leftovers for four straight lunches without a single complaint. I would prefer to put this one in the “Good To Try, But Won’t Make Again” pile, but the jury's still out on whether or not Jordan will be okay with that decision. 

29 recipes cooked, 196 to go.

kimchi-braised-pork-alison-roman-plate-2.jpg

Long-Roasted Eggplant with Garlic, Labne, and Tiny Chile Croutons by Alison Roman

If you follow Alison Roman, you know that her latest recipe, Eggplant Parmesan, is making some serious waves on the Internet. Ironically, I had already planned to make another one of her eggplant recipes on the day that her Parm became the latest “It” dish. I could chalk this up to coincidence, but I want to believe that I’m slowly being elevated to her culinary zeitgeist. 

Either way, eggplants are clearly the vegetable of this cultural moment, and I’m not one bit mad about it. 

My only prior experience cooking with eggplant is a poor man’s ratatouille. This long-roasted eggplant is most definitely a step up. More importantly, this recipe let eggplant be the star of the show. 

There are three elements that make this a dynamic dish: 

  1. Eggplants cut in half and roasted cut-side down in a pool of olive oil. Alison instructs you to cut a few ½-inch slits into the meat of the eggplant before turning it over, presumably to help steam escape and ensure a more crystallized surface. Well, it worked. The eggplant was perfectly roasted, with a subtly crunchy exterior and endlessly creamy interior. If anything, this recipe made me believe that eggplant doesn’t need to just be a soggy, anonymous contributor to pad thai. (You know what I’m talking about, right? How many times have you had a veggie Pad Thai and someone asked - “what do we think this is?” referring to an unknown limpy brownish- yellow blob in the noodles, and you say, “maybe it’s eggplant?”) (Just me? Cool.) … 

  2. Chile & garlic croutons, oh baby these were fantastic. Similar to Alison’s breadcrumb approach, torn pieces of fresh bread are toasted in olive oil in a skillet, but this time, she adds finely chopped garlic and a thinly sliced red chile to the mix. This added the right amount of heat to balance out the milky meat of the eggplants. Plus, I will always love the texture of a fresh crouton, no matter what it’s paired with. 

  3. Labne with preserved lemon. I’ve still yet to purchase labne, and, I likely never will. Cow’s dairy does a number on my body, and I’m very satisfied with the Greek yogurt/sour cream/labne alternative of Goat’s milk yogurt. I mixed the yogurt with salt, pepper, lemon juice and quick-preserved lemon, and then spooned it over the bottom of the serving bowls. This tangy sauce is the base for the eggplant. 

Never before would I have said that I’d serve eggplant at a dinner party. This recipe changed my mind. I would absolutely serve this as a main course with a side of grains or roasted broccolini. 

Cheers to more eggplants in my future! A future, until now, I would never have imagined. 

28 recipes cooked, 197 to go.

long-roasted-eggplant-labne-alison-roman-plate.jpg