A Better Garlic Bread by Alison Roman

I’ve eaten a lot of garlic bread in my life. I enjoy it, but it doesn’t make or break a meal for me. I can’t remember a great garlic bread or a bad garlic bread I’ve had. Garlic bread is ancillary to me. 

Which is probably why I waited so long to make this recipe. Any time I meal-planned, I honestly forgot it was there. (I know this might sound odd given how much some people love garlic bread. I truly don’t know why I’m so ambivalent.) 

Garlic bread is an old staple. And I mean old. According to good ole Wikipedia, its origins can be traced back to Ancient Rome! It’s traditionally a combination of garlic, butter and/or olive oil, and toasted bread. Simple. So what makes Alison’s garlic bread better? Caramelized, confit garlic and anchovies. 

I peeled an entire head of garlic, and sizzled the cloves in a small bath of olive oil. The key is not to let the oil get so hot that the garlic burns, but hot enough to soften the garlic and turn it slightly brown. Once the garlic is ready, about 20 minutes, you’re ready to smash it with anchovies, softened butter and the garlicky olive oil. Spread the umami-filled mixture all over the sliced ciabatta and stick ‘em in the oven for 15 minutes at 425. I could have left mine in longer to get an even toastier bread, but our roast chicken was threatening to go cold, and I couldn’t stand simply smelling the bread any longer. I had to see if it was truly better than other garlic bread. 

It was pretty good. I mean, given my ambivalence about garlic bread, I can’t claim it changed my life. But the flavor was definitively garlicky without overpowering. The anchovies got rid of any bitterness from the garlic. The bread was still soft enough to sop up juices but toasted enough to hold structure. We topped the bread with the buttered tomatoes from Alison’s Slow-Roasted Oregano Chicken. I love that chicken recipe, so it’s a high compliment when I say that I’ll likely start serving this bread with it every time I make it in the future. The best way I can say it is, it really is a *better* garlic bread.

188 recipes cooked, 37 to go.

Overnight Focaccia, Tonight

(This is the third installment of the “Life is often a lot like” series. The other two installments are here and here.)

Life is often a lot like making focaccia bread. From the very beginning, you’re full of doubt. For one thing, the ingredients seem insufficient for the task. You struggle to imagine how tiny grains of yeast, water, oil, and flour can possibly form a pillowy dough large enough to fill a baking sheet. The tools before you feel lacking, which sometimes translates to the lie that you yourself are lacking. The lie is so potent, you consider forgoing bread for dinner altogether. I mean, think of the carbs. But also, think of all those delicious carbs…

Remember what Jill said, failure is where character is formed. Make the bread, learn the lesson, let the yeast do what it was created to do. With a heart divided between doubt and hope, you begin to whisk. Whisking water, yeast, and oil until well combined, nothing you haven’t done before.

Now to add the flour. Five cups of bread flour. You scoop one half cup at a time, feigning carefulness. When really one large dumping of flour would yield the same result. Doubt creeps in again. That’s a lot of dry flour for that amount of liquid. You struggle to incorporate it all with your wooden spoon. You put your whole body to work, leaning into the stirring, the scraping up of dry bits of flour, the combining of a craggy mess. Everything’s a mess. Where’s my apron? Now for a big decision: follow your instinct to add a teaspoon of water for those last grains of flour or forgo your idea for the sake of following instructions. What happens when the rules go against your sense of right and wrong? Which do you discard? Worry about the moral implications of that question later. You’re making focaccia, remember? You add the teaspoon of water before you can face more doubt, and move onto what you, and the bread, require: rest.

Rest for a whole hour. Cover it with plastic and let time carry the weight of the process. Sometimes doing nothing is the most productive decision of all. Funny how often you forget that truth. An hour later, and the dough has indeed doubled in size. You sprinkle your counter with flour and knead the dough, pushing it with your palm and letting it fold onto itself. Over and over, and quickly, until the surface appears smooth and elastic. You coat the bowl with olive oil and put the dough back down for another nap. You’re still surprised that the dough doubles in size, though it’s only because yeast keeps doing it’s job. Me of little faith.

Light, airy, and sticky, you turn the dough out on a well-oiled baking sheet, pushing it out to the edges, so it can rest for one final hour. If there’s one lesson to learn from bread, it’s that good things happen to those who nap.

Turn on the oven, slice an onion, have flaky salt and more oil at the ready. You play the risen dough like a piano, plucking keys, pressing your fingertips to dimple the surface. Scatter the remaining ingredients and watch as the bread turns a golden brown. You spy on the baking bread and wonder why you ever doubted those tiny grains of yeast. After all, you’ve been told your whole life that, “though she be little, she is fierce.” 

146 recipes cooked, 79 to go.

Lamb Stew with Fennel, Preserved Lemon, and Crispy Fried Bread by Alison Roman

I was not in the mood for lamb stew. I was not in the mood for any kind of food. It was one of those days when hunger is present, but appetite is not. And perhaps the last thing that sounded good was lamb stew. But I spent $20 on a cut of boneless lamb shoulder and the expiration date was nearing (which causes me a particular kind of stress). I needed to make lamb stew. 

lamb-stew-fennel-preserved-lemon-alison-roman-ingredients.jpg

The first steps of the recipe requires some elbow grease. It begins by cutting the meat into two inch pieces, seasoning them with salt and pepper, and searing them until quite browned at the bottom of a dutch oven. While the meat is searing, a good bit of chopping and measuring take place. Chopping includes a fennel bulb, multiple garlic cloves and two shallots. Measuring includes cumin seeds, fennel seeds, and tomato paste. After the meat is the proper color and any excess fat is drained off, the chopped ingredients and seasoning spend time in the pot to warm and turn fragrant. Then a half cup of dry white wine deglazes the pot as you scrape up all the burned bits from the bottom. At this stage, the smells wafting up from the pot brought back about 10% of my appetite. 

Next, a can of crushed tomatoes and six cups of water join the stew. Seasoned with salt and pepper, the liquid is set to medium-low heat, and the meat becomes tender as it braises for two and a half hours. As time goes on, the stew thickens and the meat loses its toughness. Another 10% of my appetite returned as I pulled a chunk of lamb apart with my fork, requiring minimal effort to do so. 

As the stew nears completion, it’s back on your feet to make a batch of fried bread. Alison suggests a “country loaf,” but I chose some leftover homemade sourdough. I tore several slices into large-ish chunks and placed them in a skillet with sizzling olive oil. Without pressing the bread down too much so as not to lose any volume, the bread fries and turns a light golden brown. Seasoned with salt and Aleppo pepper, these giant stewtons (get it? Stew-croutons? ok) provide the perfect salty, chewy contrast to the tomatoey, tangy stew and gamey lamb. The final element is preserved lemon – which brightens everything nicely.  

lamb-stew-fennel-preserved-lemon-alison-roman-bread.jpg

My appetite never fully showed up that day, but I still greatly enjoyed this stew – far more than I expected. Jordan especially loved it. 

I’ll make this again next winter - it would be a lovely snow day meal. 

60 recipes cooked, 165 to go.

lamb-stew-fennel-preserved-lemon-alison-roman-bowl.jpg

Cocoa Banana Bread by Alison Roman

I came back from my trip to Cincinnati to find 5 overripe bananas sitting on our kitchen counter. So ripe that they were hours away from needing to die in the trash can. I can’t stand food waste. I’ll force myself to eat leftovers for several days past when I should because I hate throwing food away. So I grabbed my cookbooks, searching for an emergency banana bread recipe, and what do you know, Alison’s Cocoa Banana Bread calls for exactly 5 overripe bananas. 

This chocolate banana bread turned out more like a dense chocolate banana cake, which I was thrilled about. From my first childhood memories, I requested chocolate cake with banana slices and Cool Whip frosting for my birthday every year. The bread tasted like a more sophisticated version of my childhood birthday cakes. However, I’m not sure Alison intended that. 

Past experience tells me that banana bread is dense and moist (I tried to resist that word). This recipe called for ½ cup of cocoa powder, which simultaneously gave this bread a strong, but not overpowering, chocolate flavor AND made the batter more tightly packed and somewhat dry. Perhaps the greater reason it turned out drier than expected is because I used All-Purpose Gluten Free flour instead of regular All-Purpose. My friend Margaret tells me that different flours have various hydration levels, so this could easily have altered the end results. 

All this to say, that while the bread was more like a dense cake, it still tasted delicious. My favorite parts were the raw-sugar crust and the sliced banana on top. I’d never tried baking with a raw sugar crust and was delighted by how easy it is to do. Simply grease the inside of a baking pan, sprinkle raw sugar (Demerara or Turbinado) over every side of the pan, and tap out any excess that doesn’t stick. What results is a crunchy sweet exterior in place of what is normally a boring part of banana bread - the sides. This crust meant every bite had something special to offer. And the banana on top, not only did it look fancy, but the sugars in the banana crystallized while baking and the whole thing became slightly gooey, which gave the bread another textural layer. 

The prep time was rather minimal, though I did need a stand mixer. You can make this without one, but your poor hands will be exhausted by the end. The suggested oven time is 90-100 minutes. I took mine out at 80 minutes, and next time, I’ll try 70 because perhaps that will make it less dry. 

11 recipes cooked, 214 recipes to go.

cocoa-banana-bread-film.JPG

Tomato-y White Beans with Breadcrumbs and Preserved Lemon by Alison Roman

I didn’t grow up eating beans. My mother doesn’t care for them. She says their texture and appearance reminds her of dog food. She never once cooked them for us as far as I can remember. My first memory of eating beans took place in high school. My school campus was a short walk from a Del Taco (think Taco Bell but more questionable) and it was a popular activity among my friends to go there for an after-school, pre-theater rehearsal snack. One day I found myself strapped for cash (this happened a lot, and I didn’t have a debit card yet), so I had to order the cheapest thing on the menu -- the $0.99 bean and cheese burrito. I literally never ordered anything else again. I craved those gooey, slightly spicy, almost creamy beans starting at 3rd period until I could get off campus at 3:15pm to eat my cheap bean fuel. In college, I ate beans any time they were offered at the cafeteria. Canned beans sustained me in my early postgrad years. An affordable, healthy, protein-rich meal that I never tire of. 

So yeah, Tomato-y White Beans was one of the first recipes I made from nothing fancy. It wooed me from the Table of Contents. 

While this recipe can be found in the “Sides” section, please don’t think this isn’t a meal unto itself. As Alison says in her introduction, “‘Side dish’ is a very misleading term.” 

Let’s talk about the 3 core elements named in the recipe title; their combination is what makes this recipe so unlike any other bean dish I’ve made. Together they make a richly satisfying, well-textured, and bright meal. 

Tomato-y white beans. Alison makes multiple statements about how fresh shelled beans will change our lives, and I bet she’s right. But alas, in the winter with no farmer’s market available, canned beans are all I can find. And they’re still delicious. 

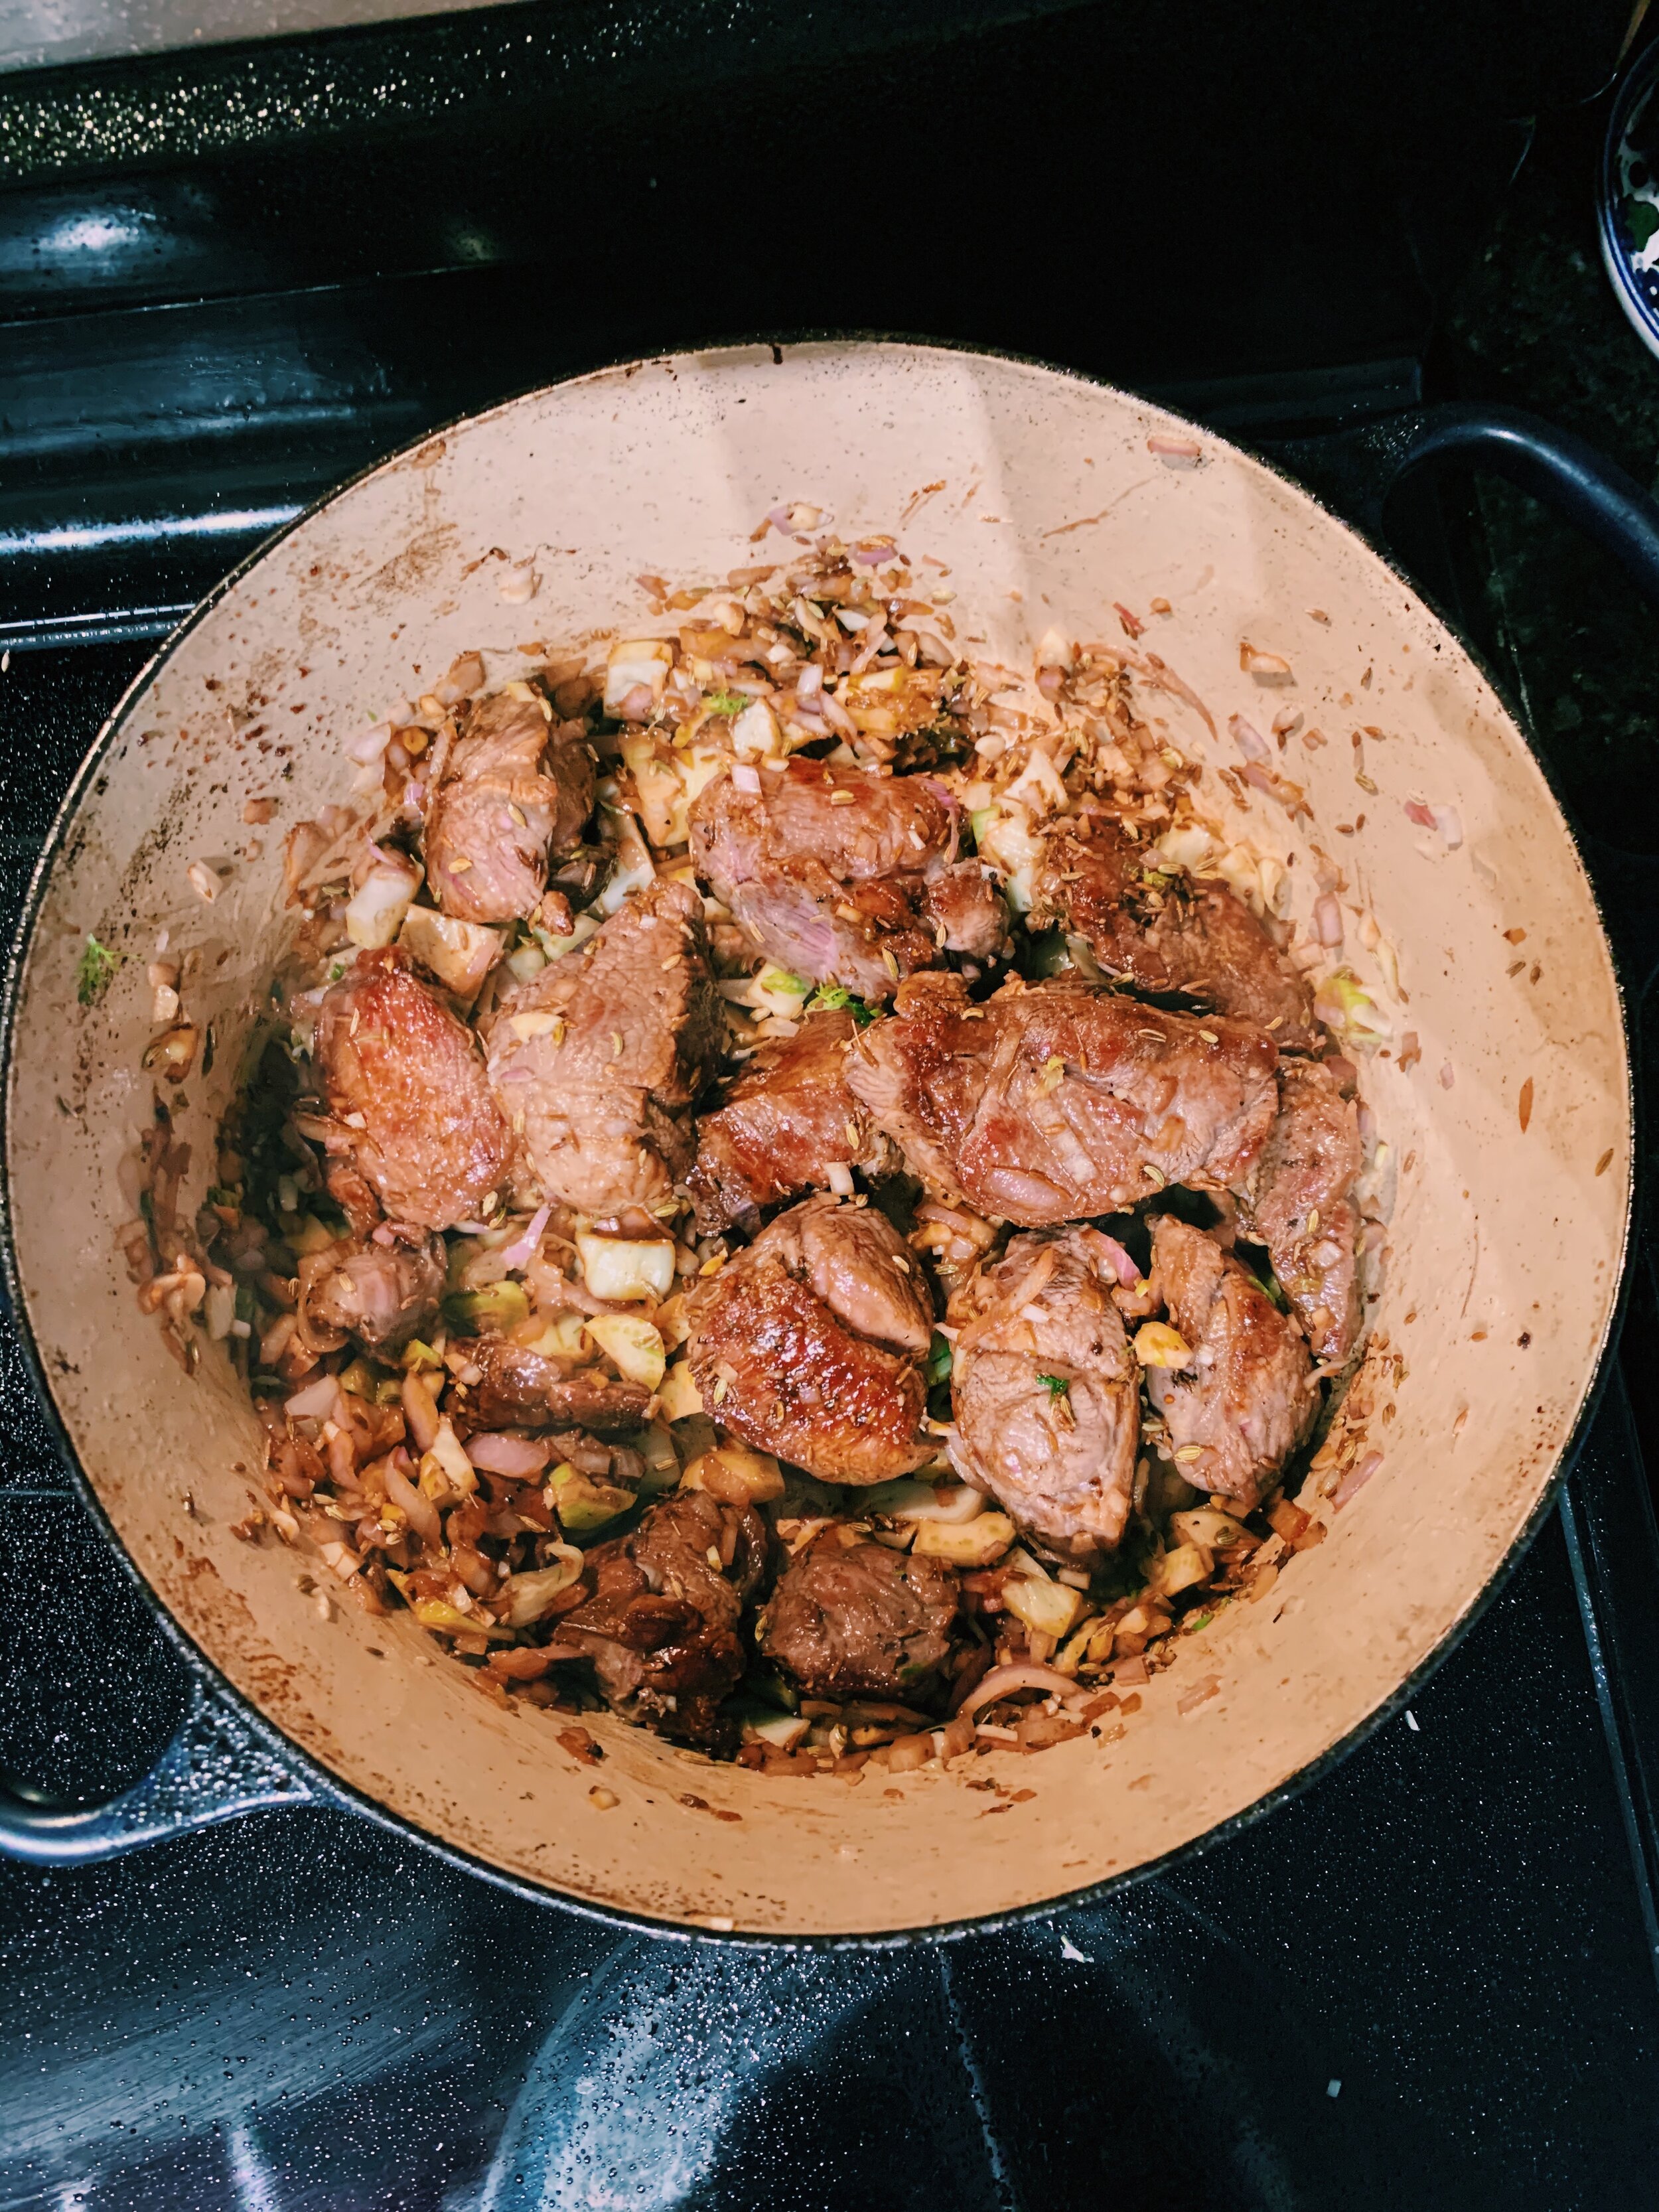
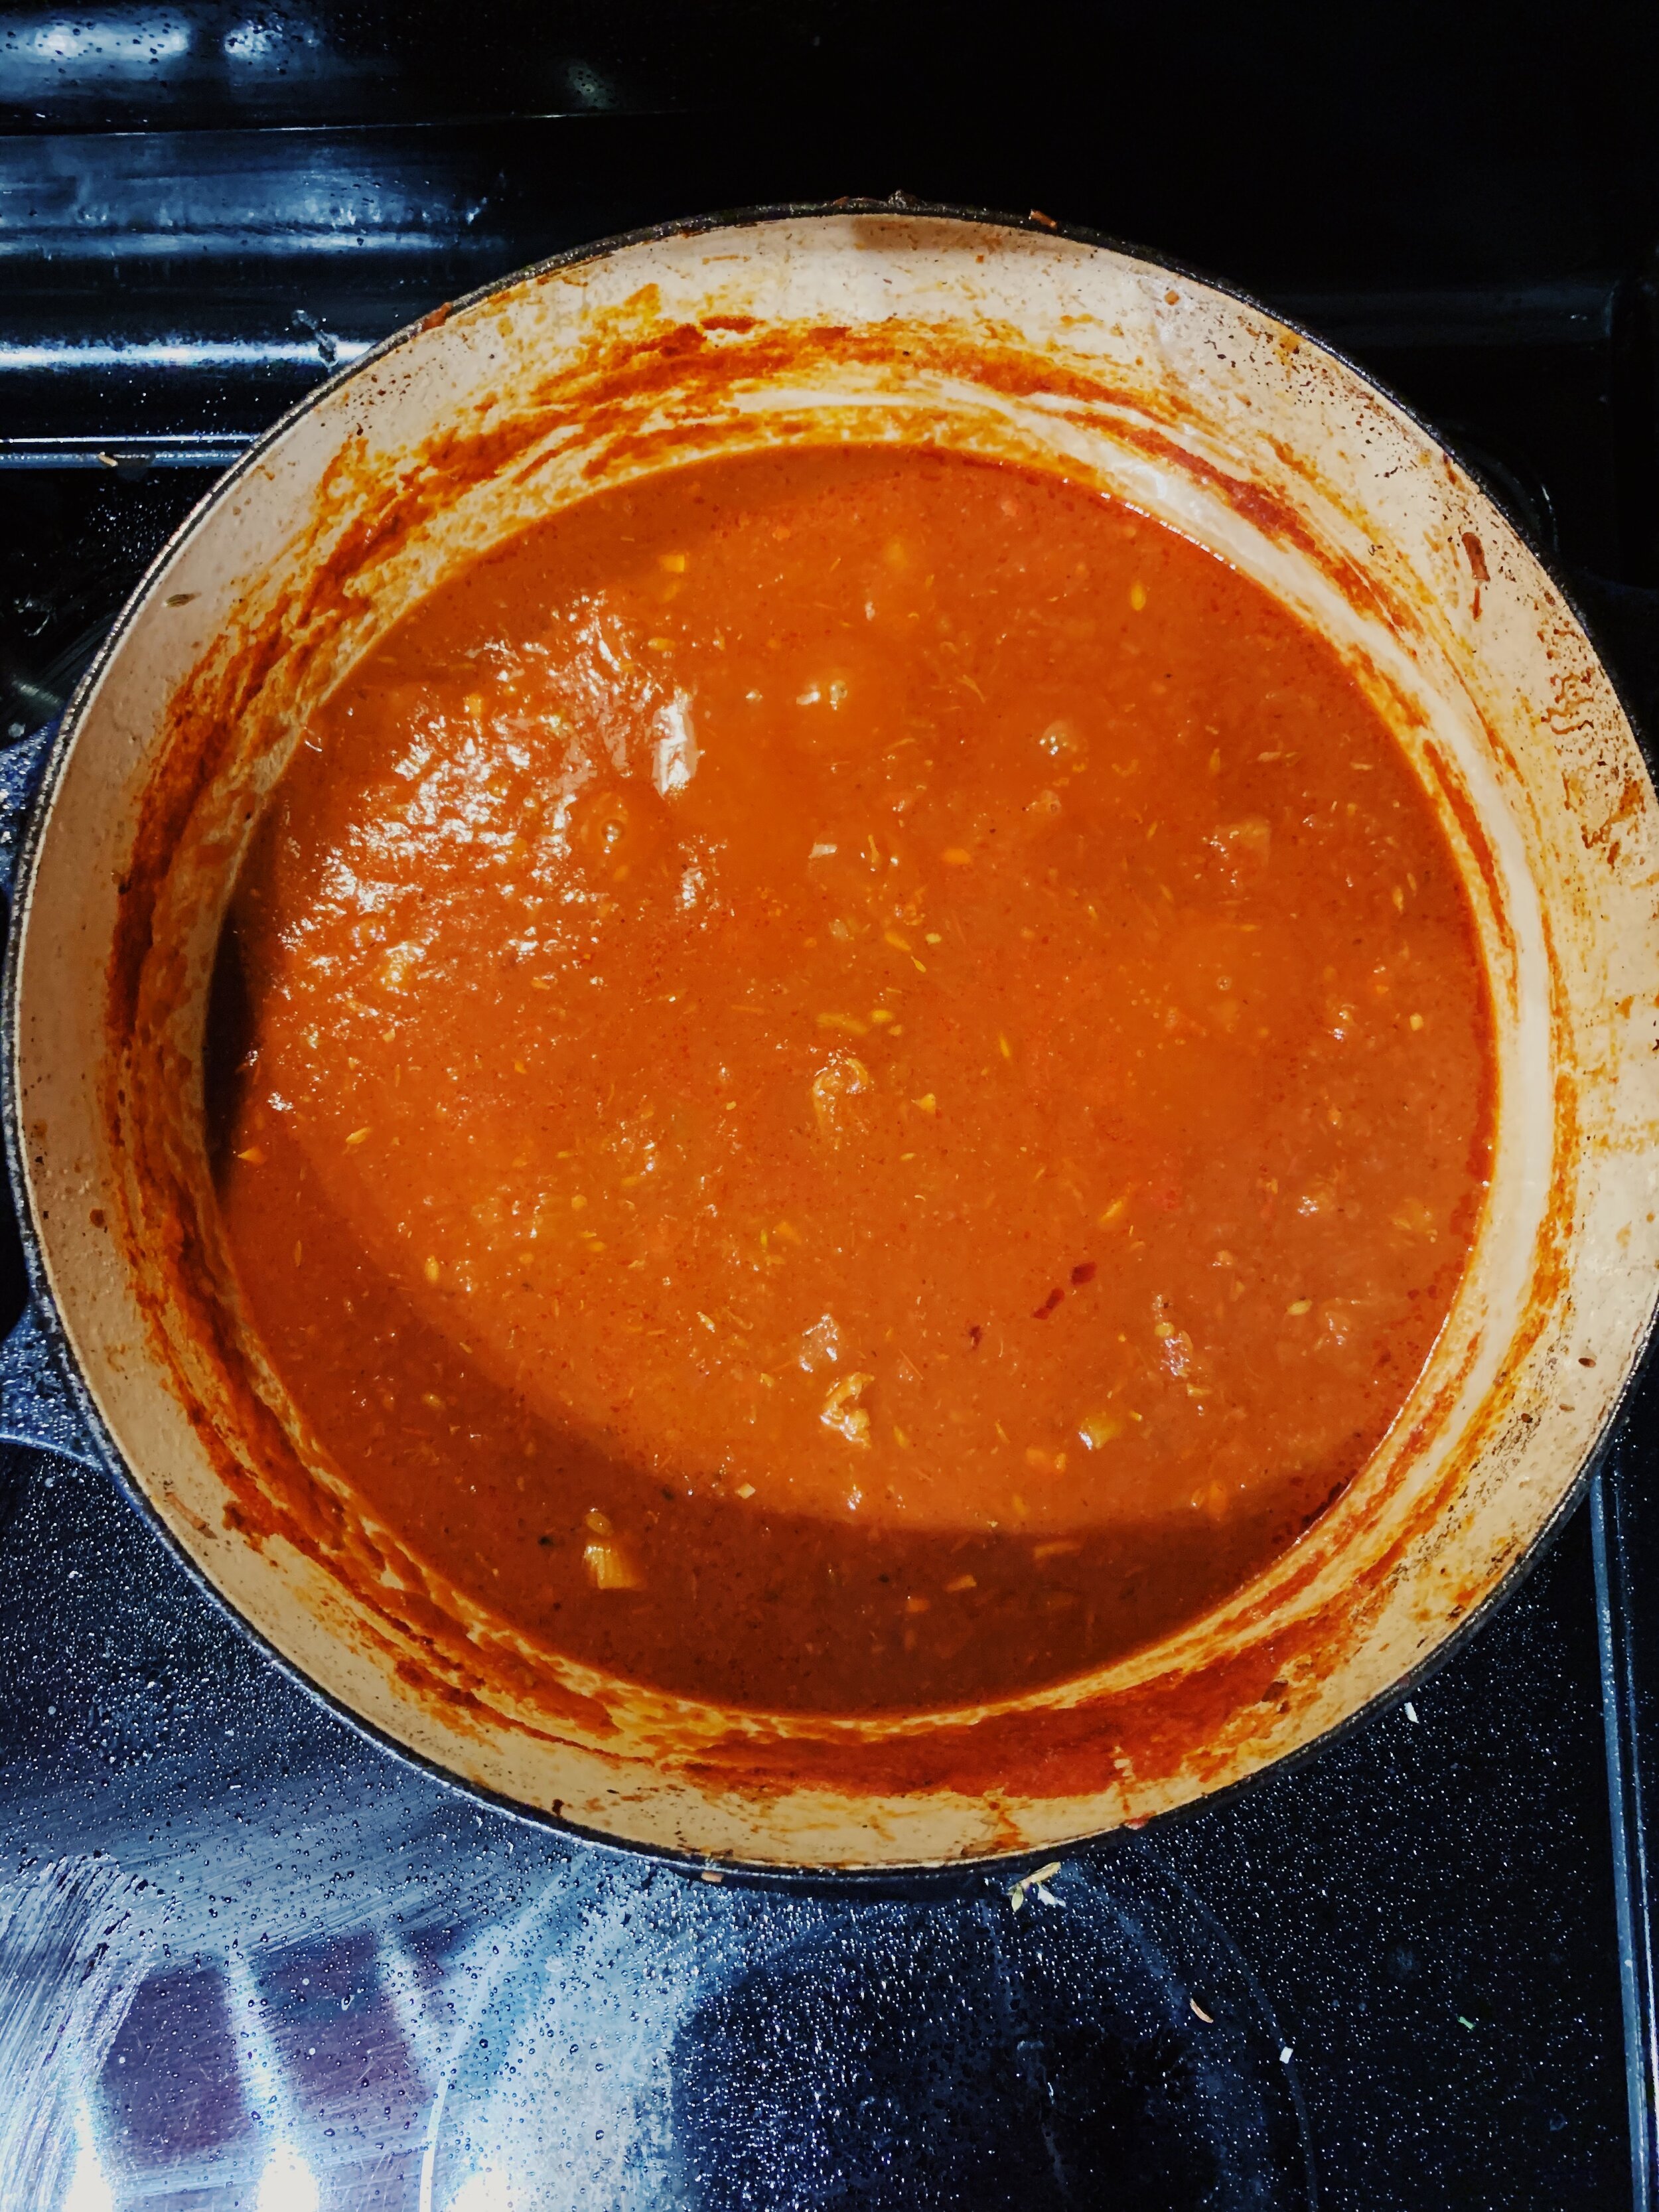
Of all the white bean varieties, I chose to make this with cannellini beans. In my experience, cannellini hold their shape better out of the can and have more flavor than Great Northern White beans. To make the beans, you need to sauté some thinly sliced onion and garlic in a good bit of olive oil. Then add a big glob of tomato paste and chile flakes, before dumping in the beans with water and letting them simmer until they’ve turned soft and creamy. At every step, she has you season with salt and pepper. Sort of sounds like most pot-of-bean recipes, right? It’s the next two ingredients that change the game. 

Breadcrumbs. Fresh breadcrumbs. Whatever you do, please don’t buy these at a store. Store bought will not achieve the texture you’re hoping for. Instead, take fresh or stale bread from your fridge and tear it to smaller pieces that can be pulsed in a food processor to proper crumb size. Alison asks you to toast the crumbs in a large pot with another pool of olive oil until they are a glistening golden hue, then sprinkled with salt and pepper. These crumbs will provide the crunchy textural contrast that makes this bean dish so special. 

And finally preserved lemon. This ingredient brightens this dish spectacularly. It also requires some forethought. I believe you can buy preserved lemons at a grocery store, but it’s just as easy to make your own. This was my first time preserving lemons, and I chose to use a short-cut recipe by Mark Bittman. (I’ll soon be preserving more lemons and will use a recipe that yields a more shelf-stable jarful. However this recipe produced great results and is a reliable last-minute method.) 

Once the beans have achieved the soft, creaminess level you’re looking for, turn off the heat and add chopped preserved lemon bits to the pot. Sprinkle the breadcrumbs over the top and serve. Every bite explodes with flavor and rich texture -- the creamy beans in a spicy tomato sauce, dappled with sweet and sour lemon bits and crunchy, oily, salty breadcrumbs. 

I’ve made this recipe twice already - once for J and I, and once for guests, too. I served it with Alison’s Garlicky Broccoli and Greens, which I’ll explore in another entry soon. I think some fresh bread would also do nicely. The beans made great lunch leftovers. 

I’m writing this on a Wednesday morning, and while it’s only 10am, I’m now starving. I think I’ll go make this recipe for lunch!

1 recipe cooked, 224 recipes to go.

Tomato-y-white-beans-breadcrumbs-preserved-lemon-dinner-alison-roman-annie-varberg.jpg